Hot off the Oscars, everyone’s talking about ‘what they wore’, but I’m more interested in where they hang it all when they get home. What does that space look like?
Everyone’s got their daily routines and ideally, their zone. My husband, Ryerson, and I just brought ours to life. We sold our fab little 20’s colonial tudor this fall and bought a bigger/older project: an 1805 farmhouse in Franklin Lakes, NJ (yes, BRAVO Housewives territory).
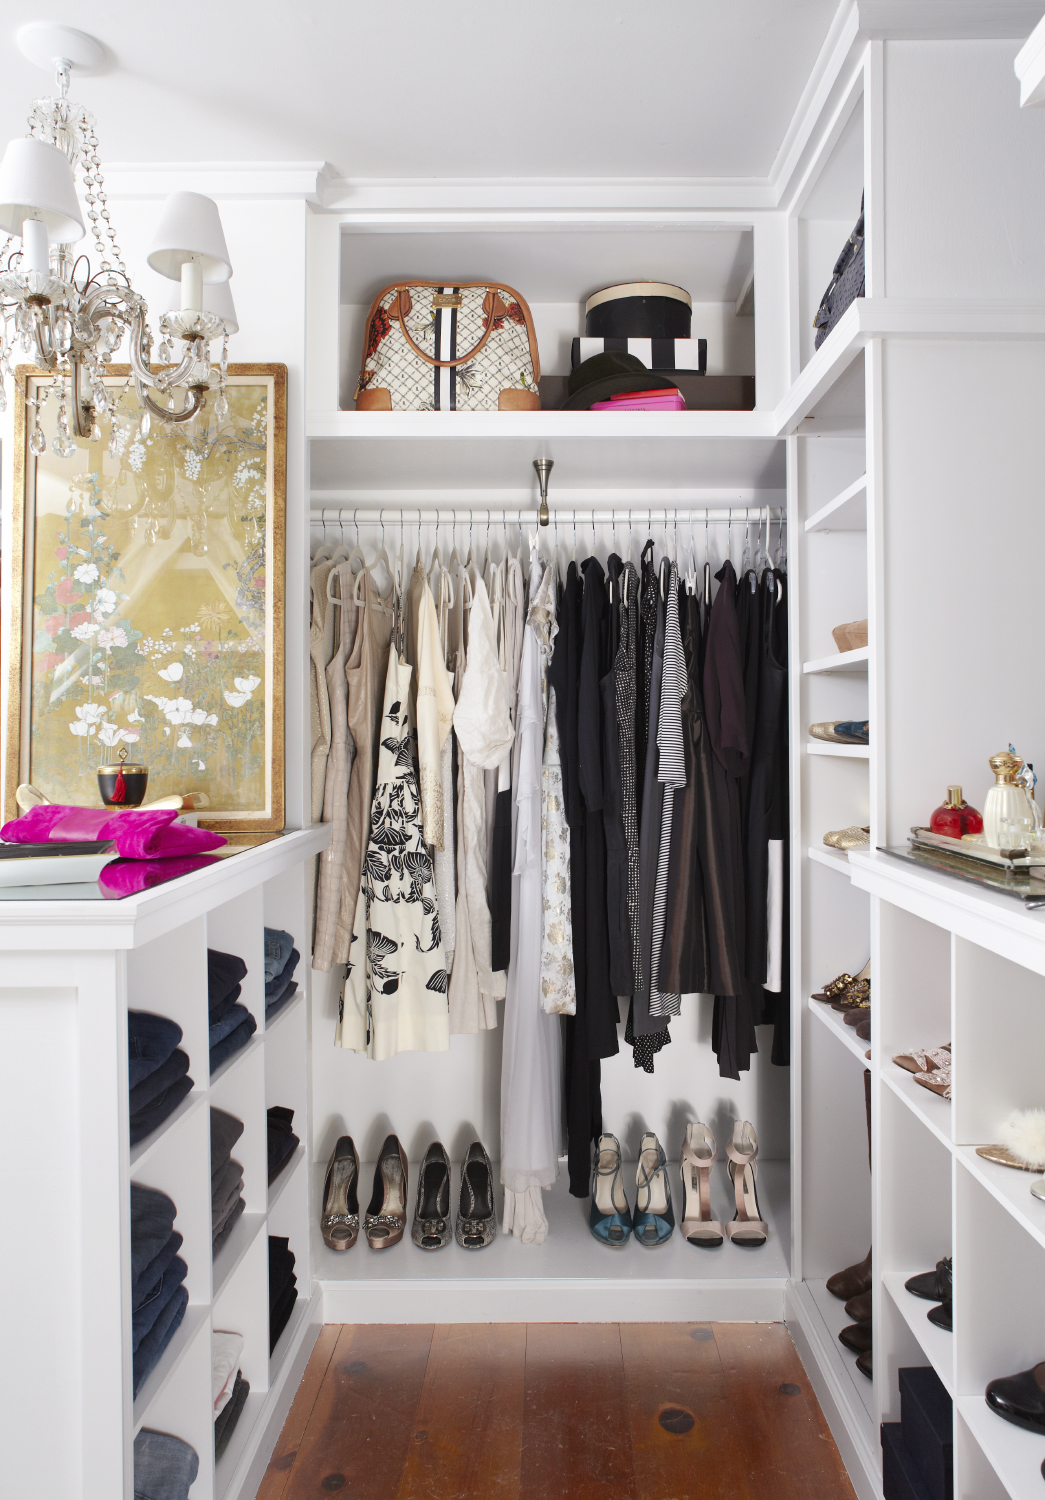
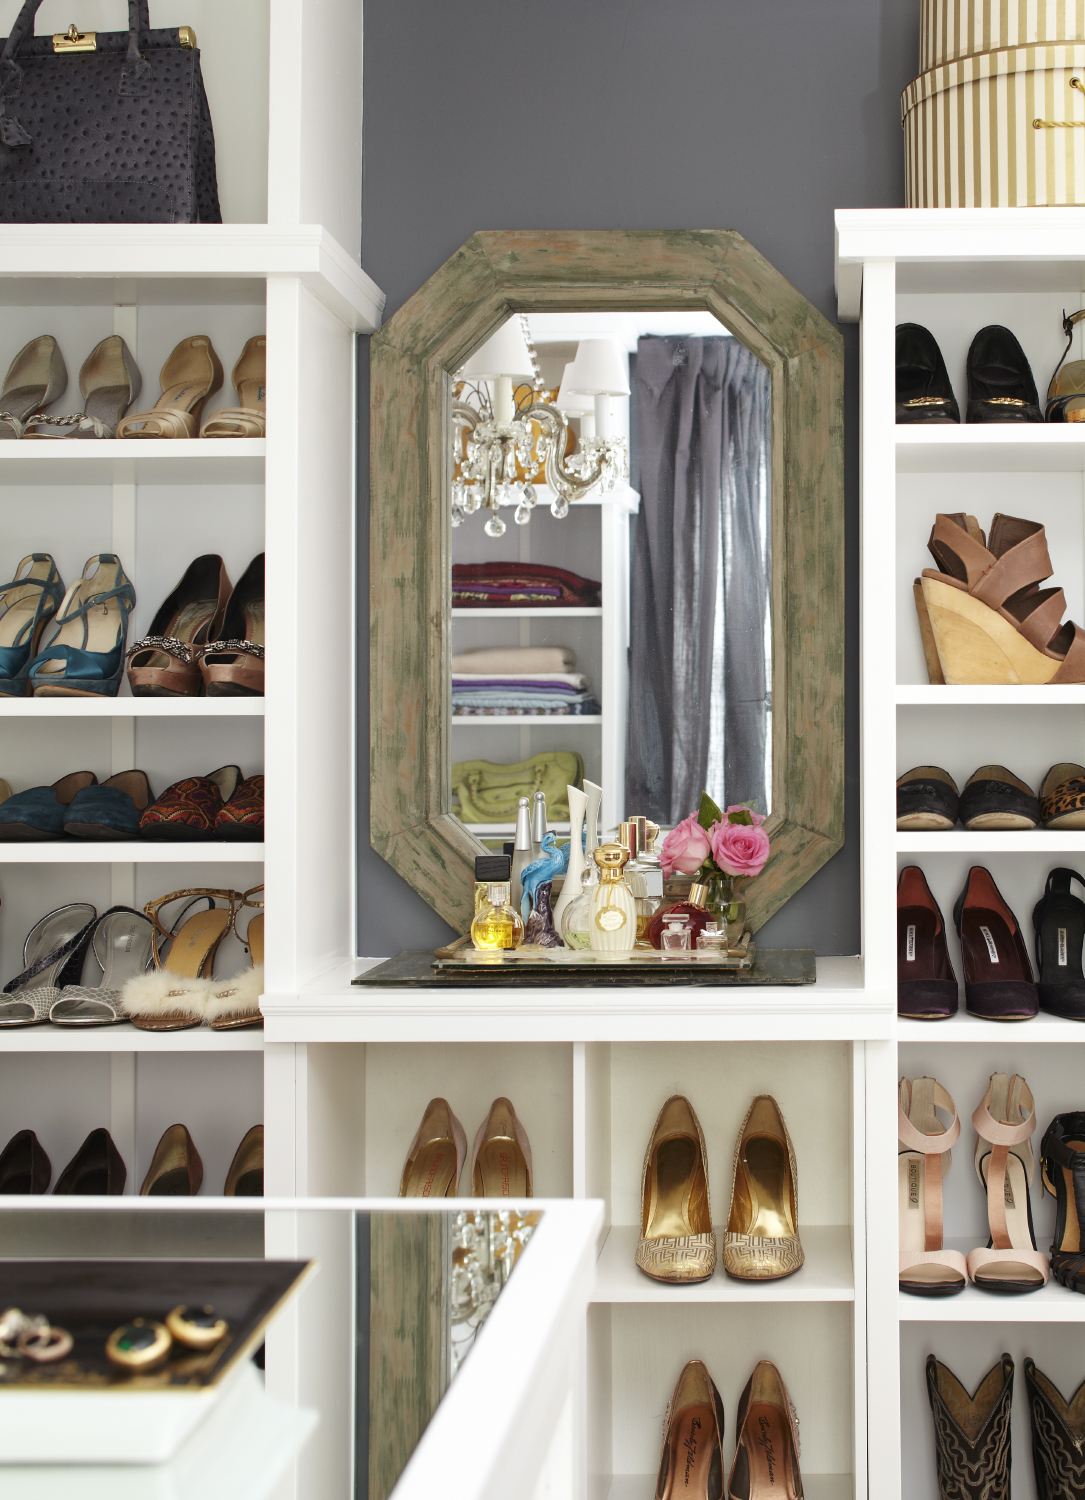
Moving whilst crazed at our jobs was traumatic at best, so we focused our weekend-warrior energies on getting our private quarters finished first. ‘Oasis of organization & comfort’ has been our mantra. As usual, we took the job very seriously and built ourselves some totally over-the top closets. Ry turned the existing walk-in into his own personal haberdashery (sans valet) and I took the liberty of transforming our off-bedroom office into a gallery of glam. I’m a jeans, boots and blazer gal by nature but this wardrobe-chapel is making me see things in a whole new light.
Interior Design & Styling by moi, Meredith McBride Kipp
Photography by Laura Moss
Closet construction by Ryerson Kipp et moi
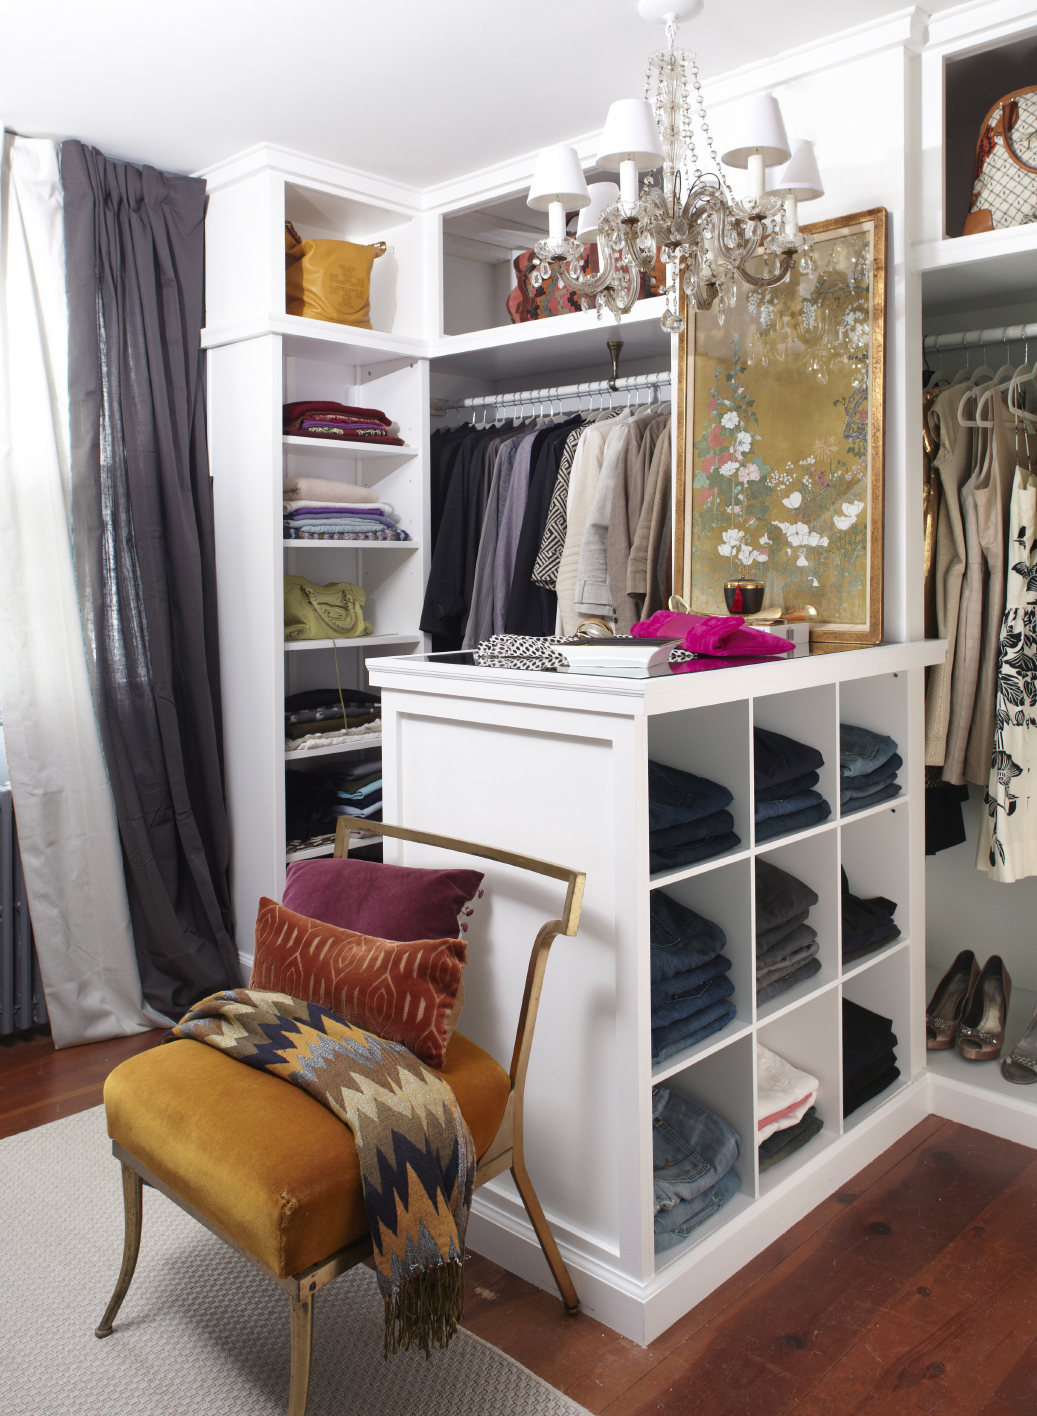 My coveted Billy Haines slipper chair from the 40’s makes a great statement piece.
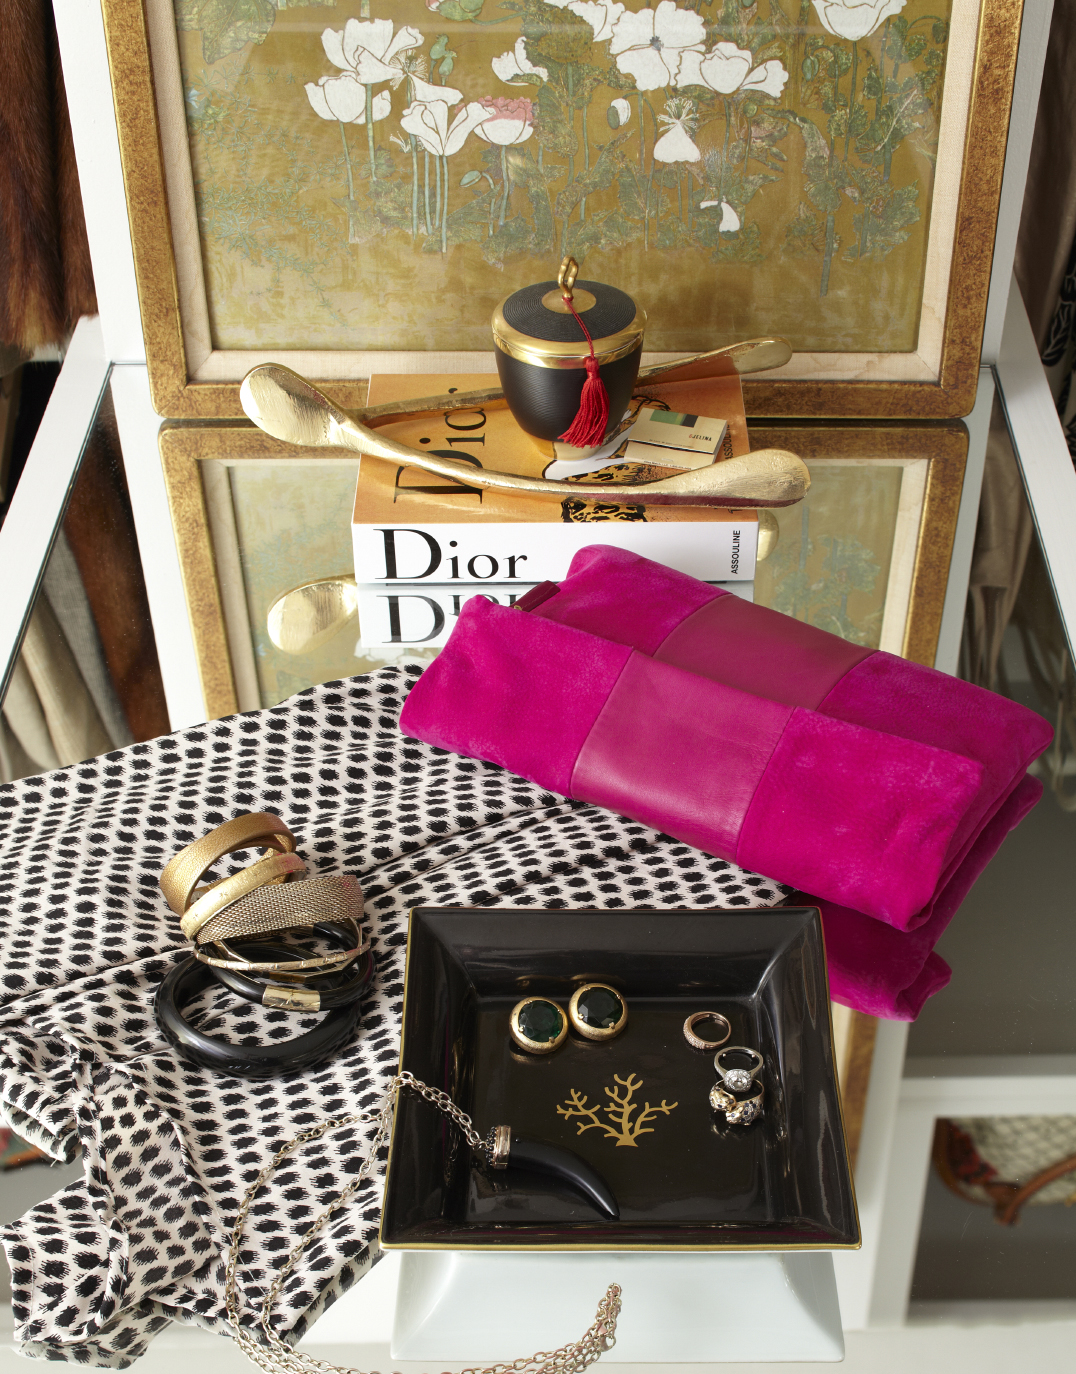 Hot pink clutch and gold leather wrap bracelet by cousin Ted Kruckel at Gigi New York. Gorgeous Key Tassel candle (my favorite gifting item) by friend Elad Yifrach, founder of L’Objet. Tray by Royal Limoges from my factory tour purchases in Limoges, France a few years ago during Pairs (Maison et Objet) market— OBSESSED— bought the Asian-laquer-red china to match. The giant wishbone is by Nima Oberoi. I can’t remember where I picked it up, but it was a must-have-you moment. Looks like you can buy it at a number of places now, here’s one.
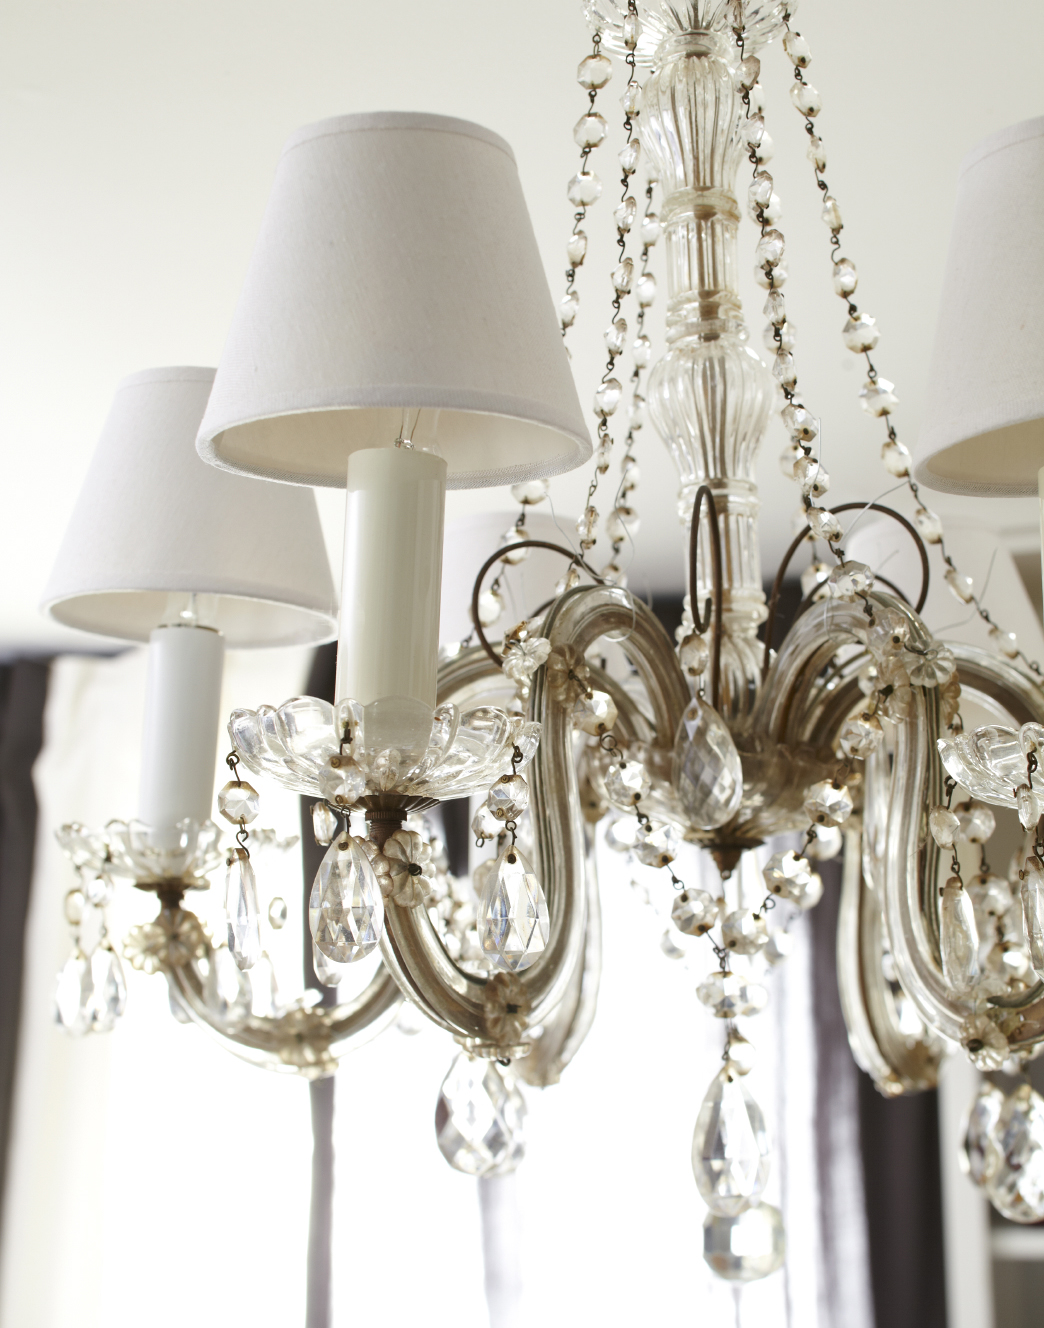 I rewired and cleaned this pretty, old chandelier (estate sale purchase) to add a little classic romance to the space.
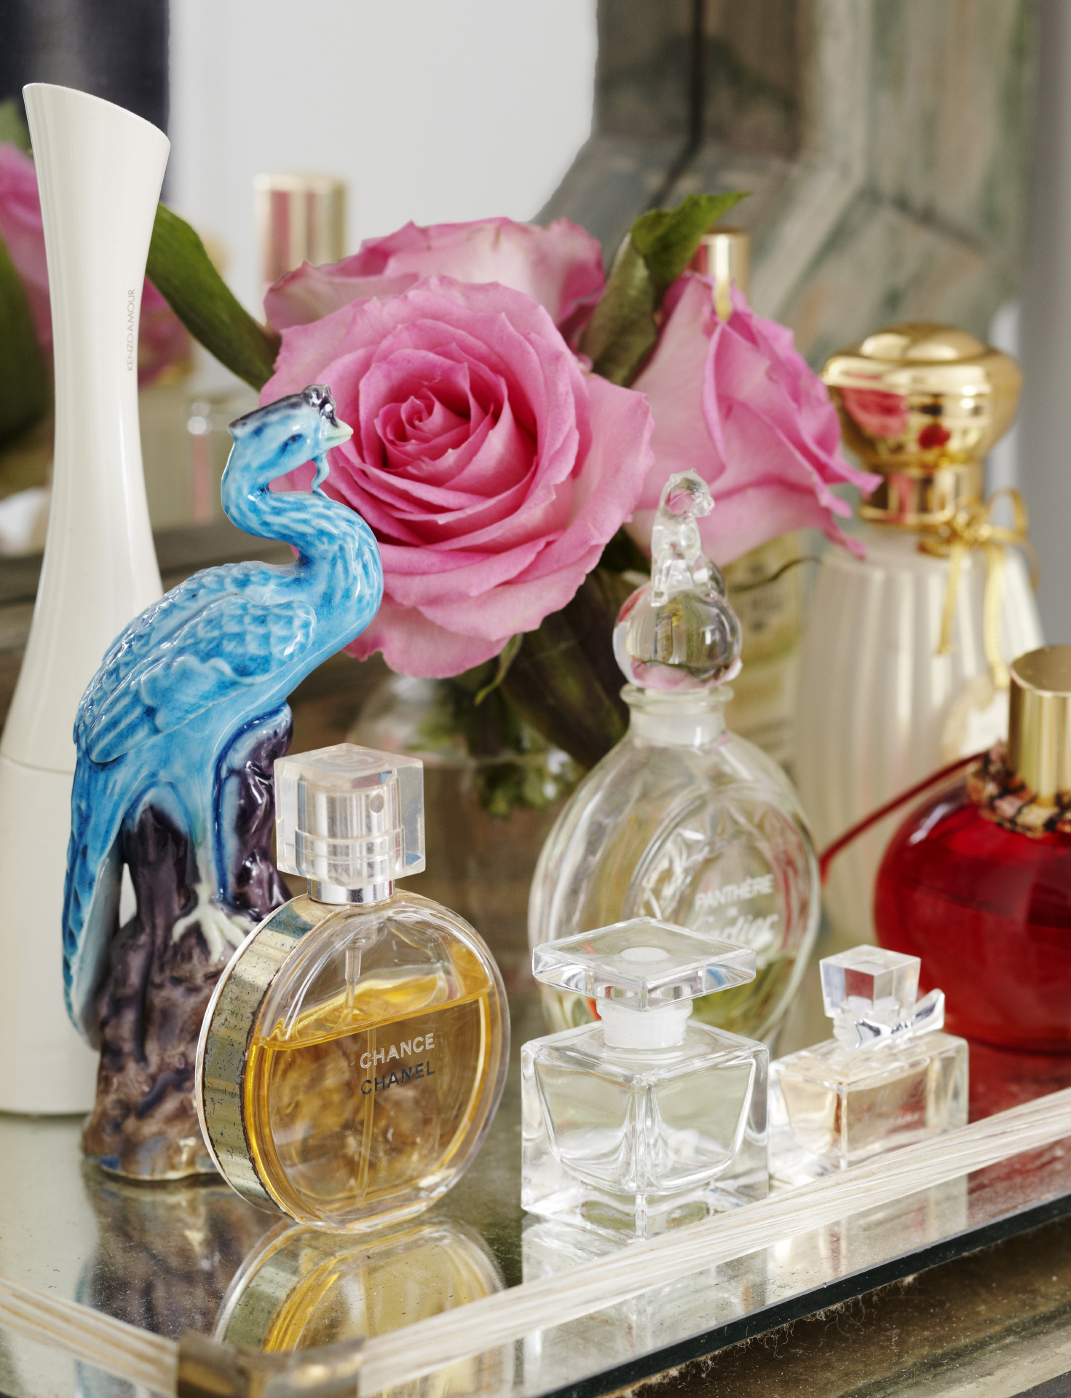
 Using a level, I simply hammered rows of nails into the wall to create a display for all my casual accessories. It’s much easier to accessorize when you can see all of your options. This is an easy project I highly recommend. I chose the wall that is usually hidden by the open closet door, but if you are doing this on a more prominent wall, you might want to get pretty brass hooks or decorative knobs to use instead, just to give it a little more polish.
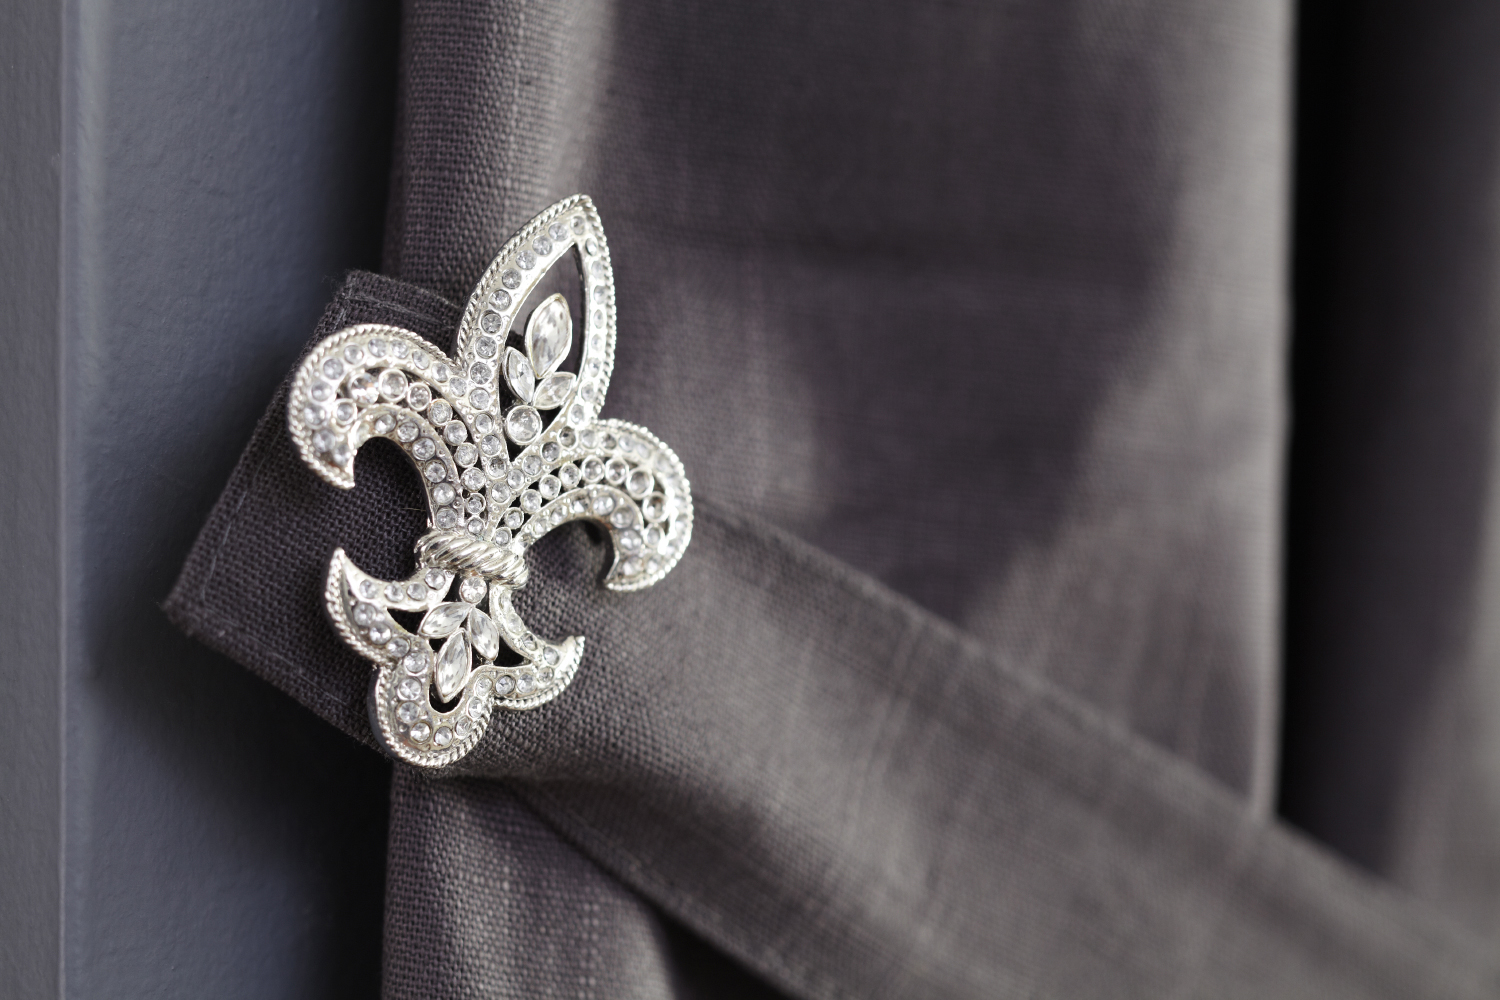 I have too many funky old broaches (this one is Kenneth Jay Lane) lying unappreciated in a drawer, so why not use them to accentuate your boudoir decor?
 I used a mixture of brass knobs for my accessories drawers.
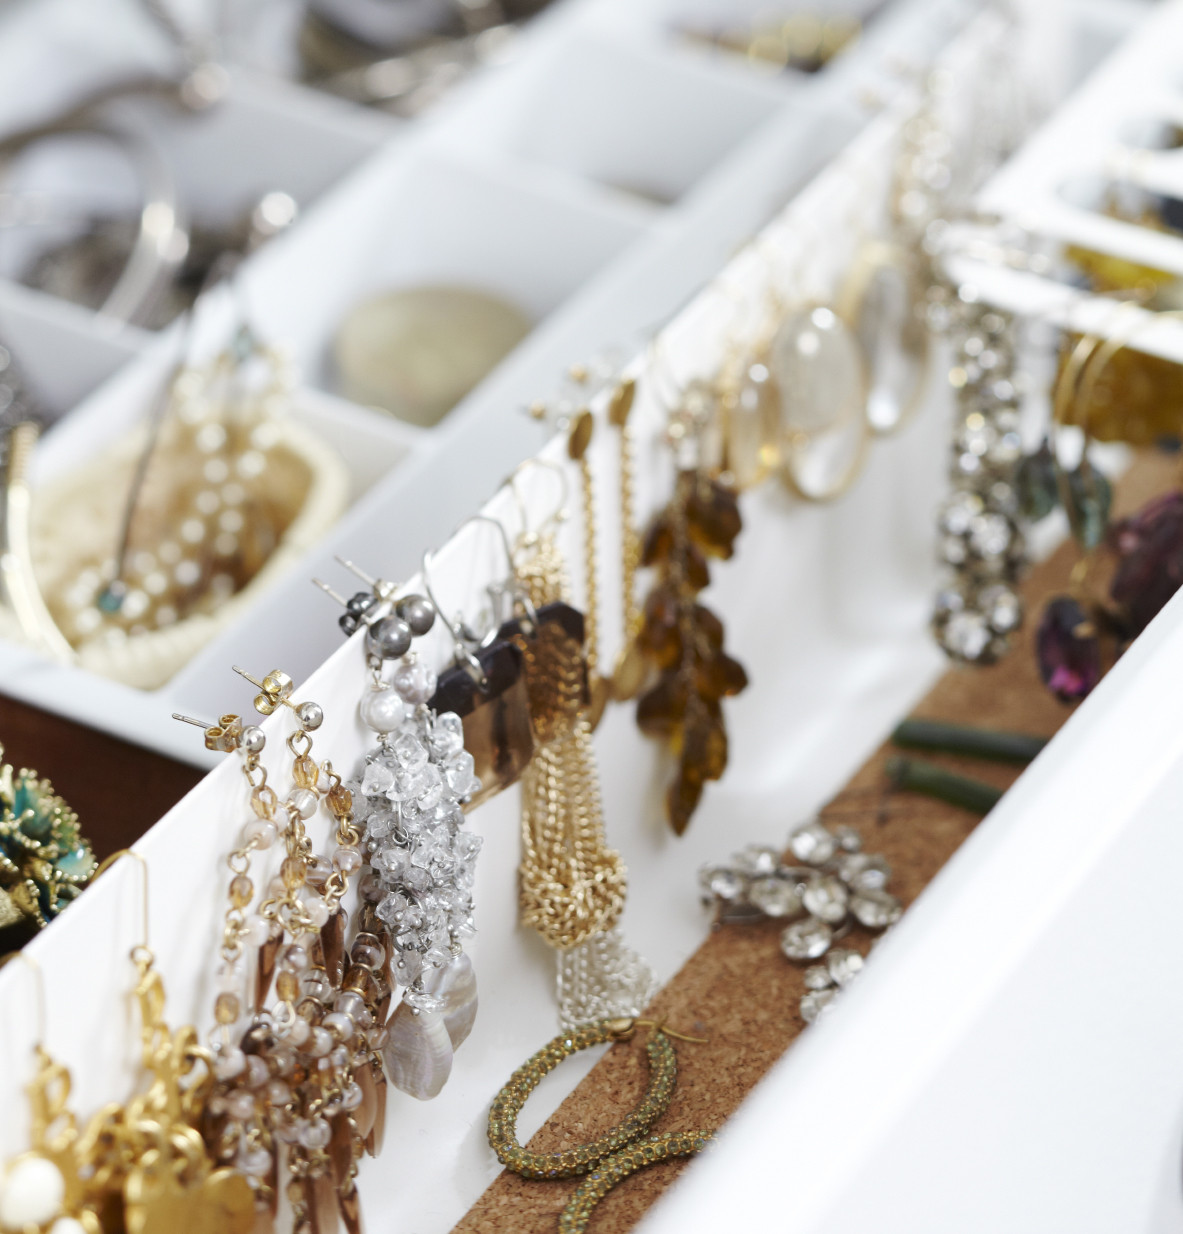
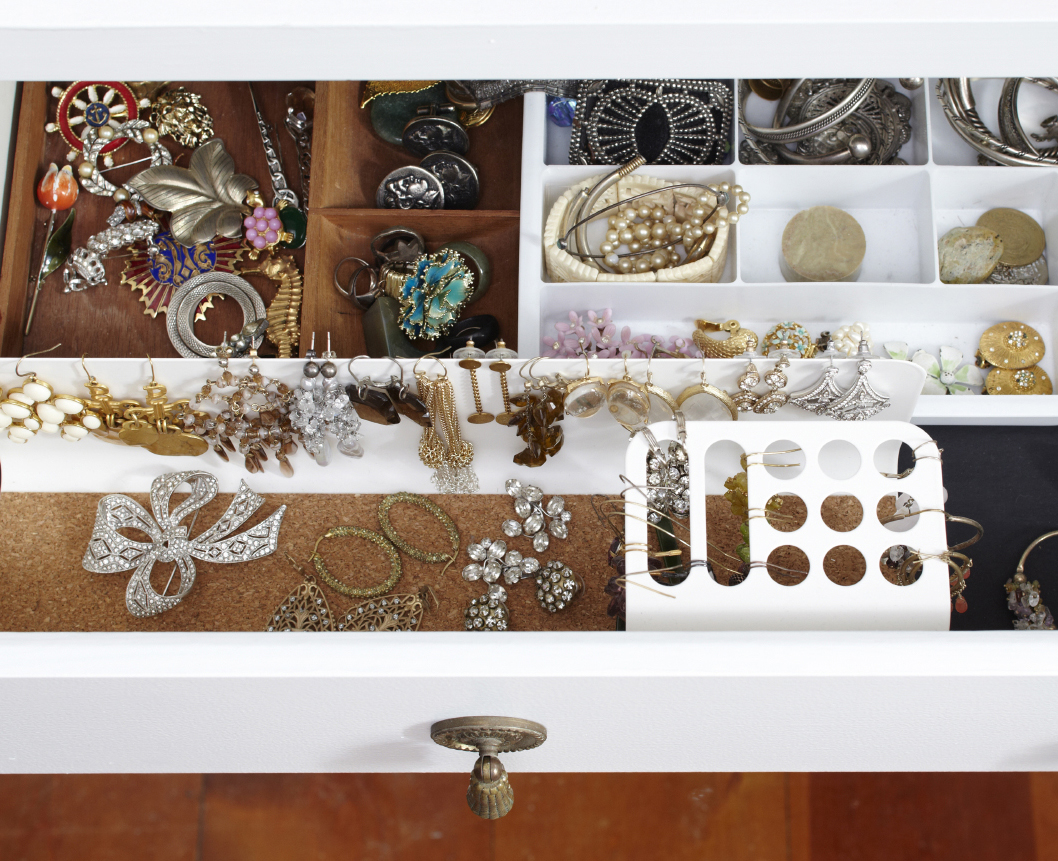 Standard options for accessory organizers tend to be tacky, so I like to hide everything in drawers. Here, I’ve used a simple, modern desk accessory to hang all of my hoops and dangling earrings. It’s a great way to display and store them.
To purchase the full story (with before photos) for editorial or commercial use, it is now available at Red Cover.

amerelife.com by Meredith McBride Kipp is licensed under a Creative Commons Attribution-NonCommercial-NoDerivs 3.0 Unported License.
© Meredith McBride Kipp and amerelife.com. Unauthorized use and/or duplication of this material without express and written permission from this blog’s author and/or owner is strictly prohibited. Excerpts and links may be used, provided that full and clear credit is given to Meredith McBride Kipp and amerelife.com with appropriate and specific direction to the original content.
