
I celebrated my child’s first birthday yesterday. ‘Has a whole year passed?!’ Indeed it has! It’s hard to believe my lifesize-elephant-sculpture is now a distant memory or—if you are a new mom you’ll get it—barely a memory at all.
The past year has been a blur to say the least! In this order; I had a baby (while working like a dog at a shelter magazine), got laid off (decided there is a first and last time for everything), totally panicked, came up with a million hair-brained ideas to get by, scrapped them all, focused on raising a child (with my amazing husband), started a new business (interior design), and—this past weekend—threw a wedding-size birthday party for the baby & husband. Because why not?!
In the chaos of caring for a baby and managing a new business with vibrant clients, I completely forgot a local home magazine was doing a piece on my nursery design! It was such a nice surprise yesterday—and weird timing—to see this delightful article (below)… that I am ever so grateful for. Thank you Brooke!!! I’ve included several photos of the project below and even some process shots (far below).
Through the Years
WRITTEN BY BROOKE PERRY
INTERIOR DESIGN BY MEREDITH McBRIDE KIPP
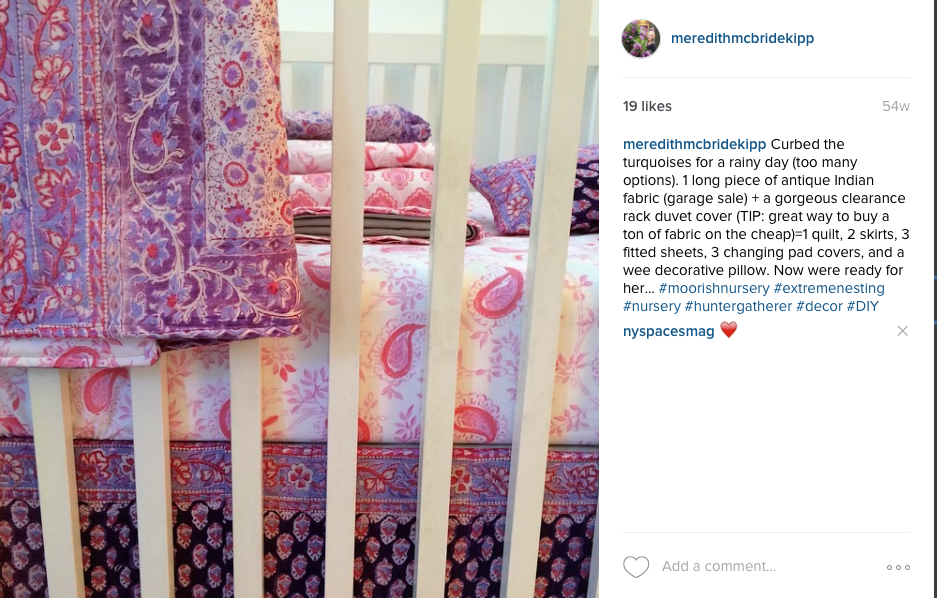
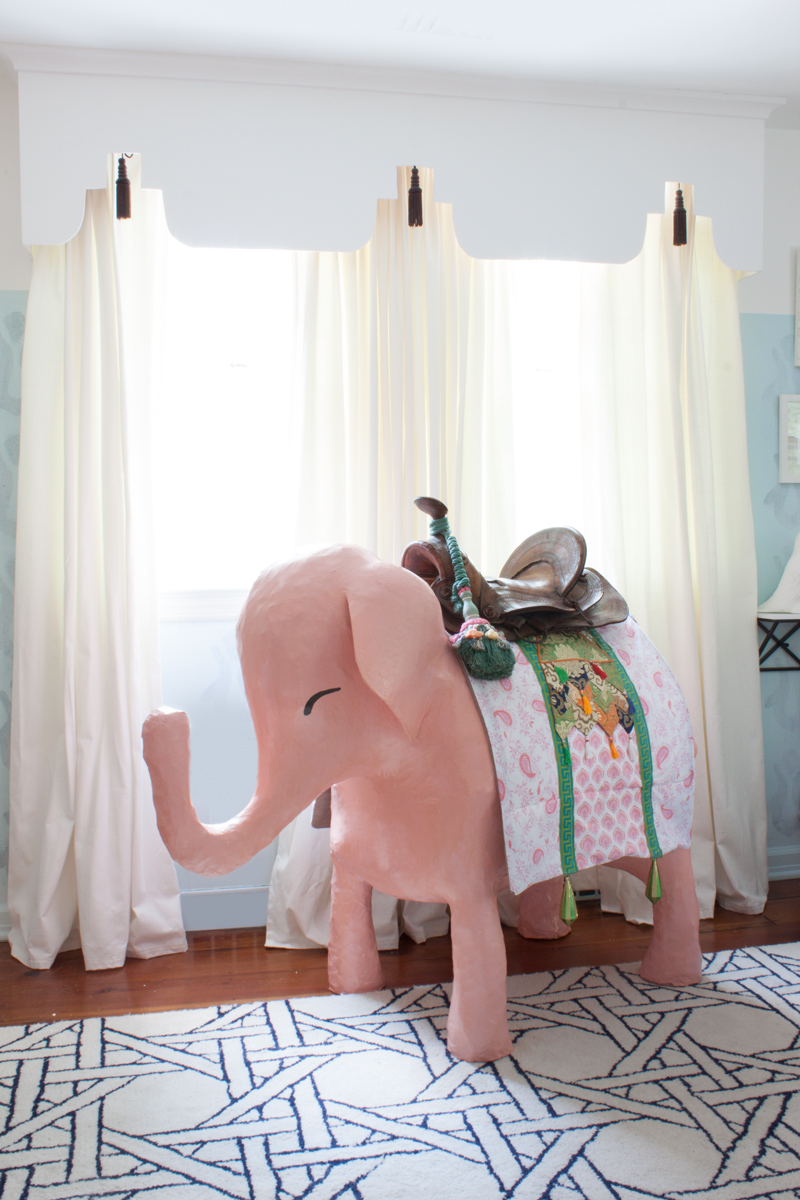
Envisioning a “fun, worldly and adventurous” nursery for her daughter, Franklin Lakes interior designer Meredith McBride Kipp dreamed up a Moorish fantasy highlighted by crisp white drapery, playful elephants and even a hand-painted silhouette of the Taj Mahal. “I didn’t want the room to feel overtly like a nursery;’ says the designer, who chose pieces that can work well in the room or elsewhere in the home over the years.
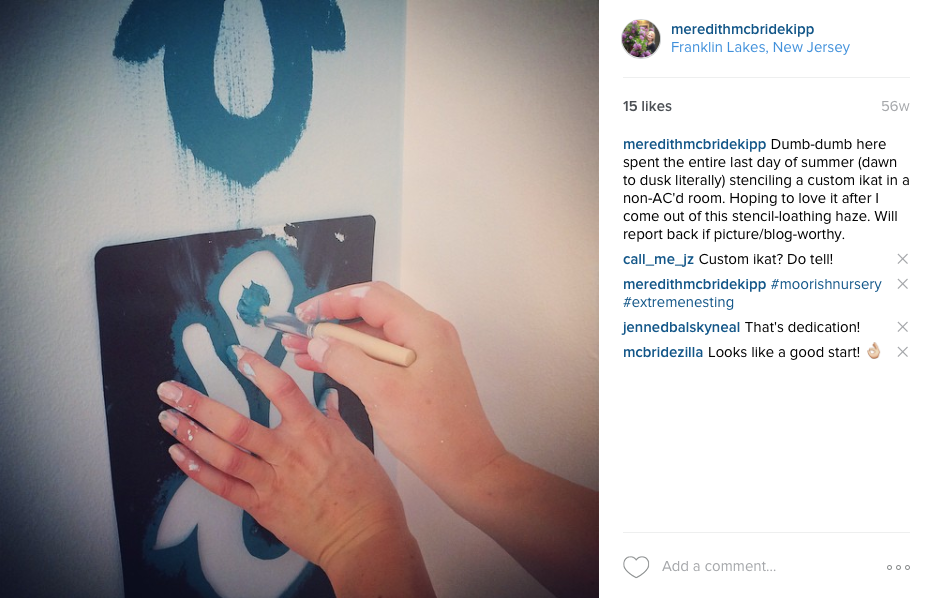
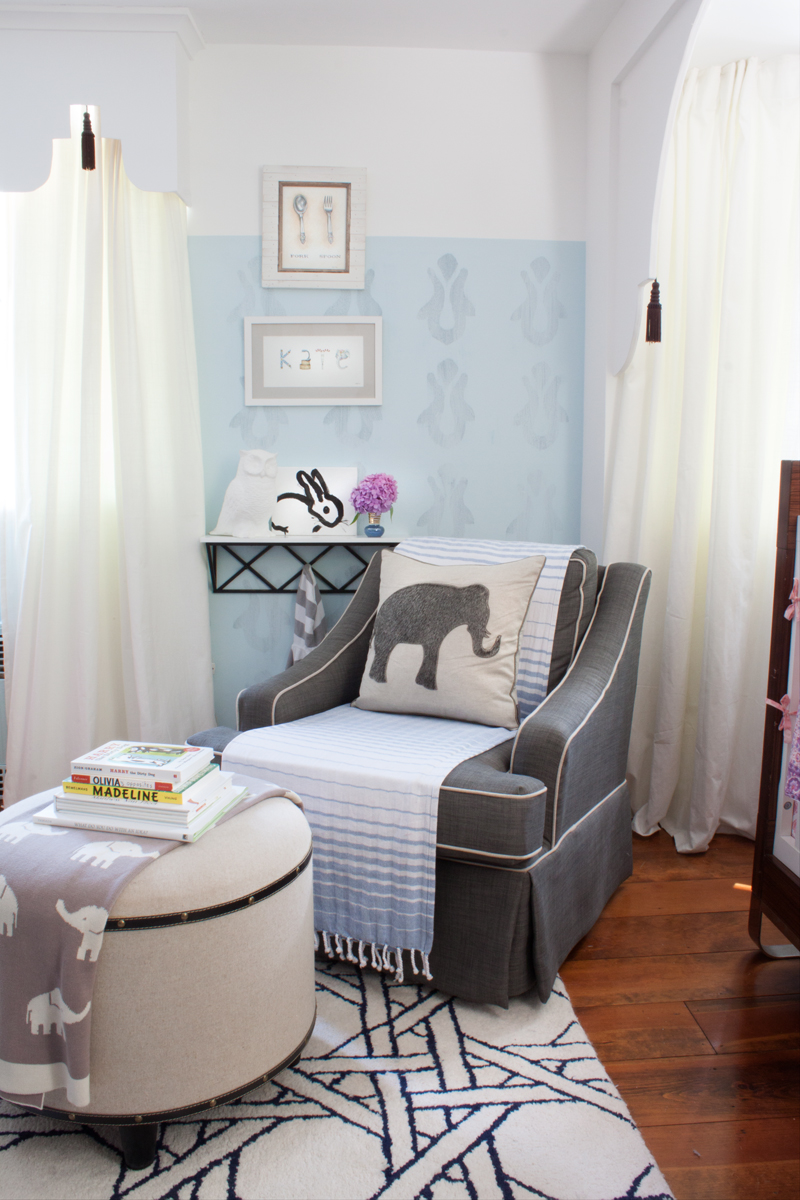
In lieu of a traditional rocking chair, Kipp opted for a classic deep-gray club chair glider with cream piping from HomeGoods, toning down its “serious” feel with a blue and white stripe Turkish cotton throw and a canvas elephant pillow by Tahari Home. A leather and canvas ottoman, also from HomeGoods, is a work anywhere piece. On the walls, Kipp stenciled a custom-muted ikat pattern on light blue three-quarters of the way up the wall, transitioning to matte white to the ceiling.
The designer brightened the room’s original wood floors with the addition of a navy and white bamboo fretwork patterned rug from India. Its white background works beautifully with simple white drapes from lkea, which tuck beneath custom-built valences embellished with brown tassels. “They are a decorative homage to beautiful Moorish plasterwork;’ she says.
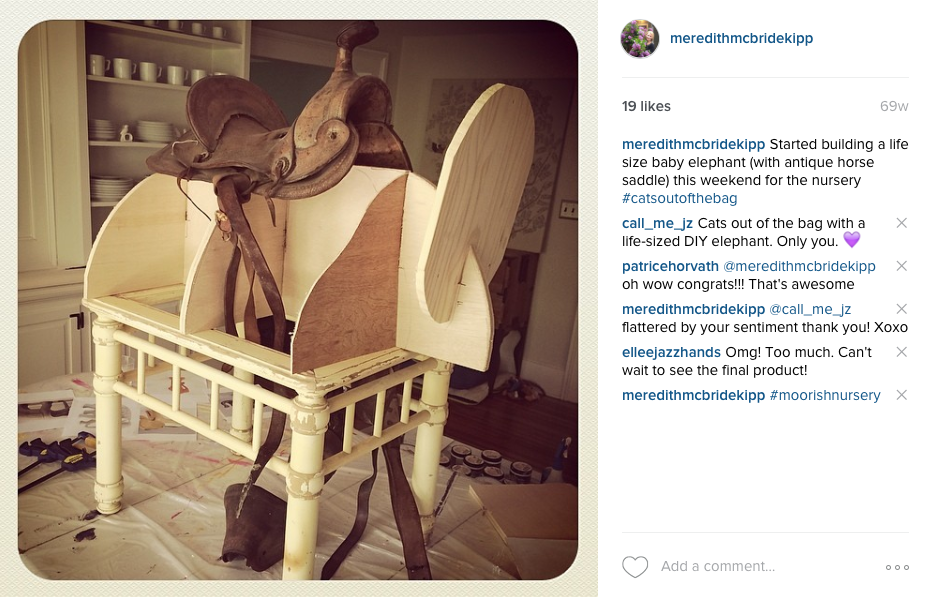
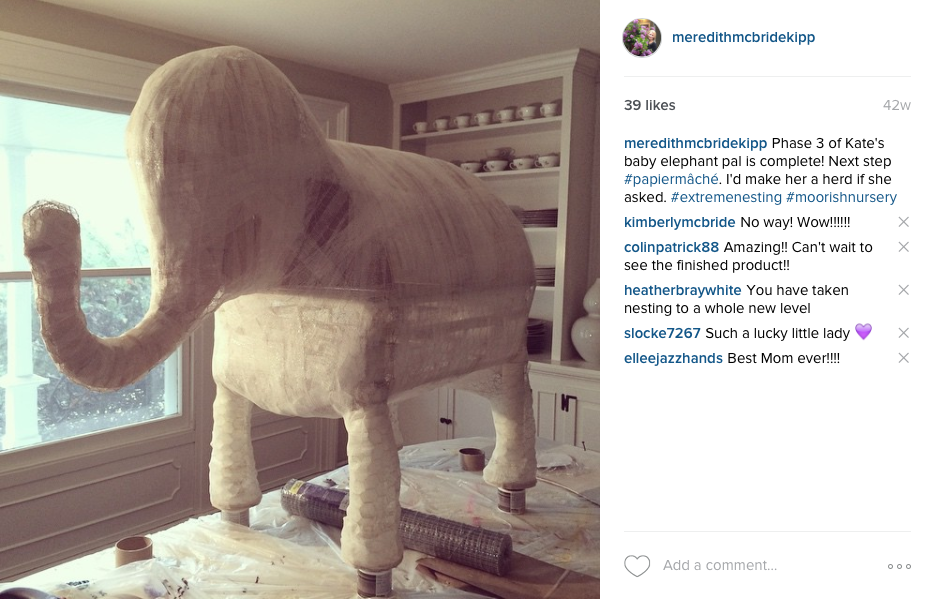
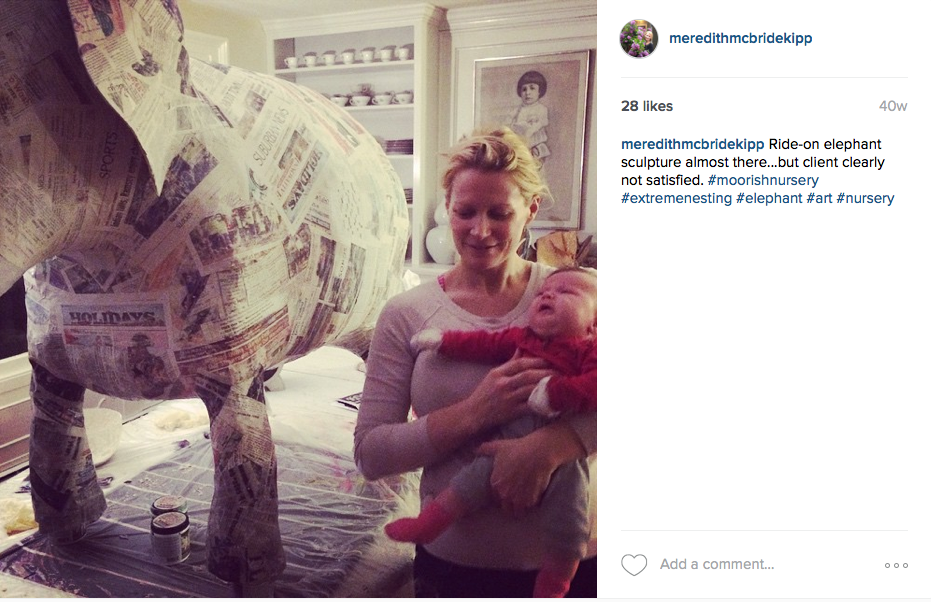
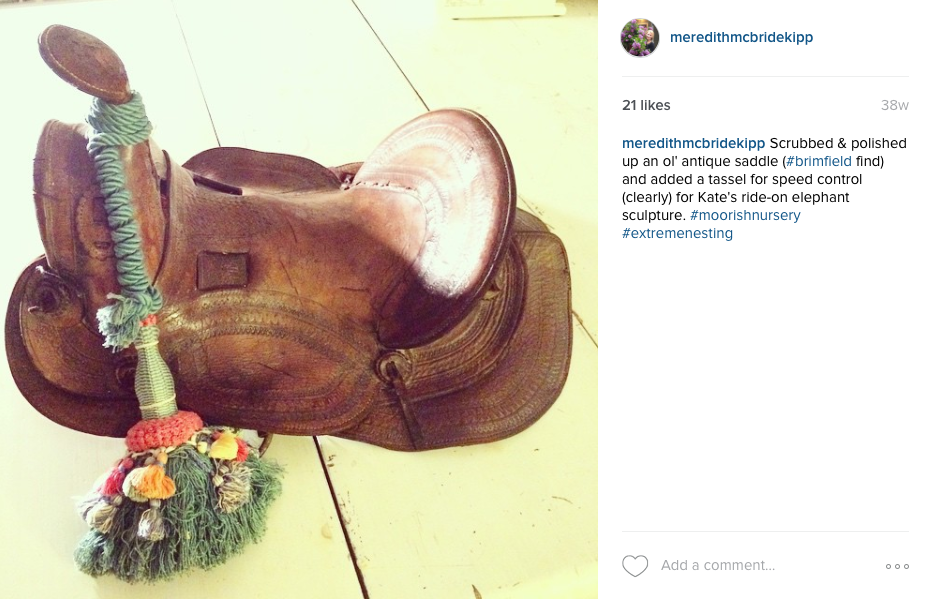
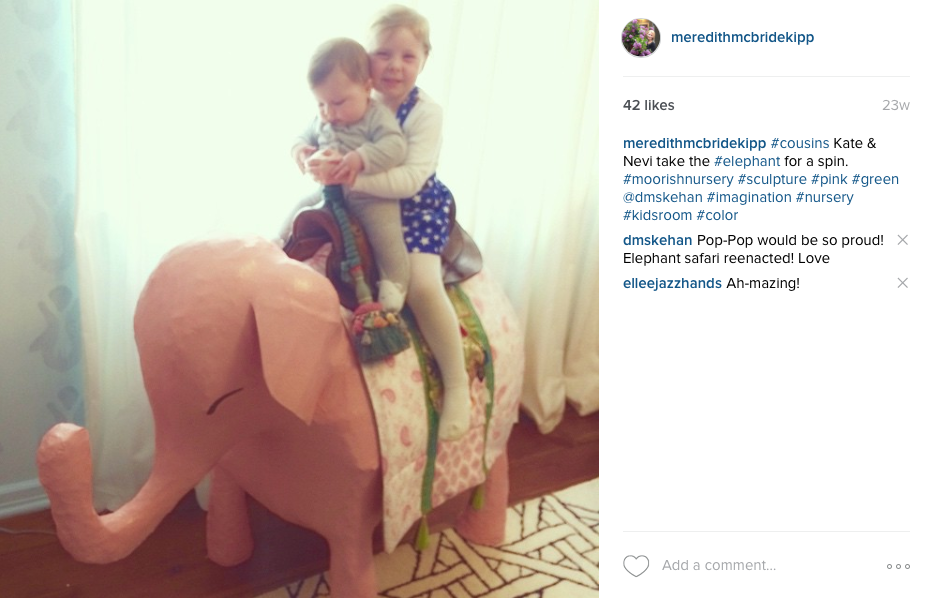
The room’s most charming feature is the nearly life-sized baby elephant topped with an antique riding saddle. A former creative director turned blogger, interior designer and gifted DIYer, Kipp built the playful pink pachyderm herself using a wood frame, chicken wire and papier-mache.
The antique mahogany dining room sideboard, an estate sale find, is repurposed as a changing table (not shown). “I couldn’t bear to paint it,” she says, “so I added a bold band of white contact paper down the front to add interest:’
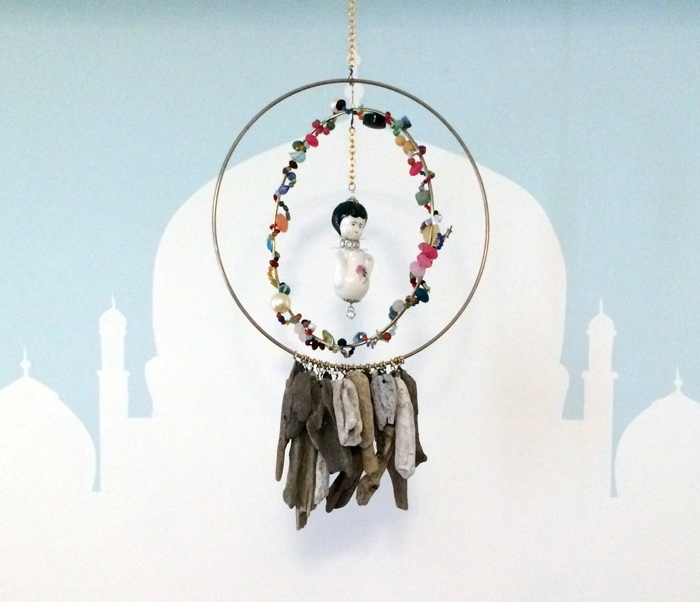
Mobile by Michal Dagan
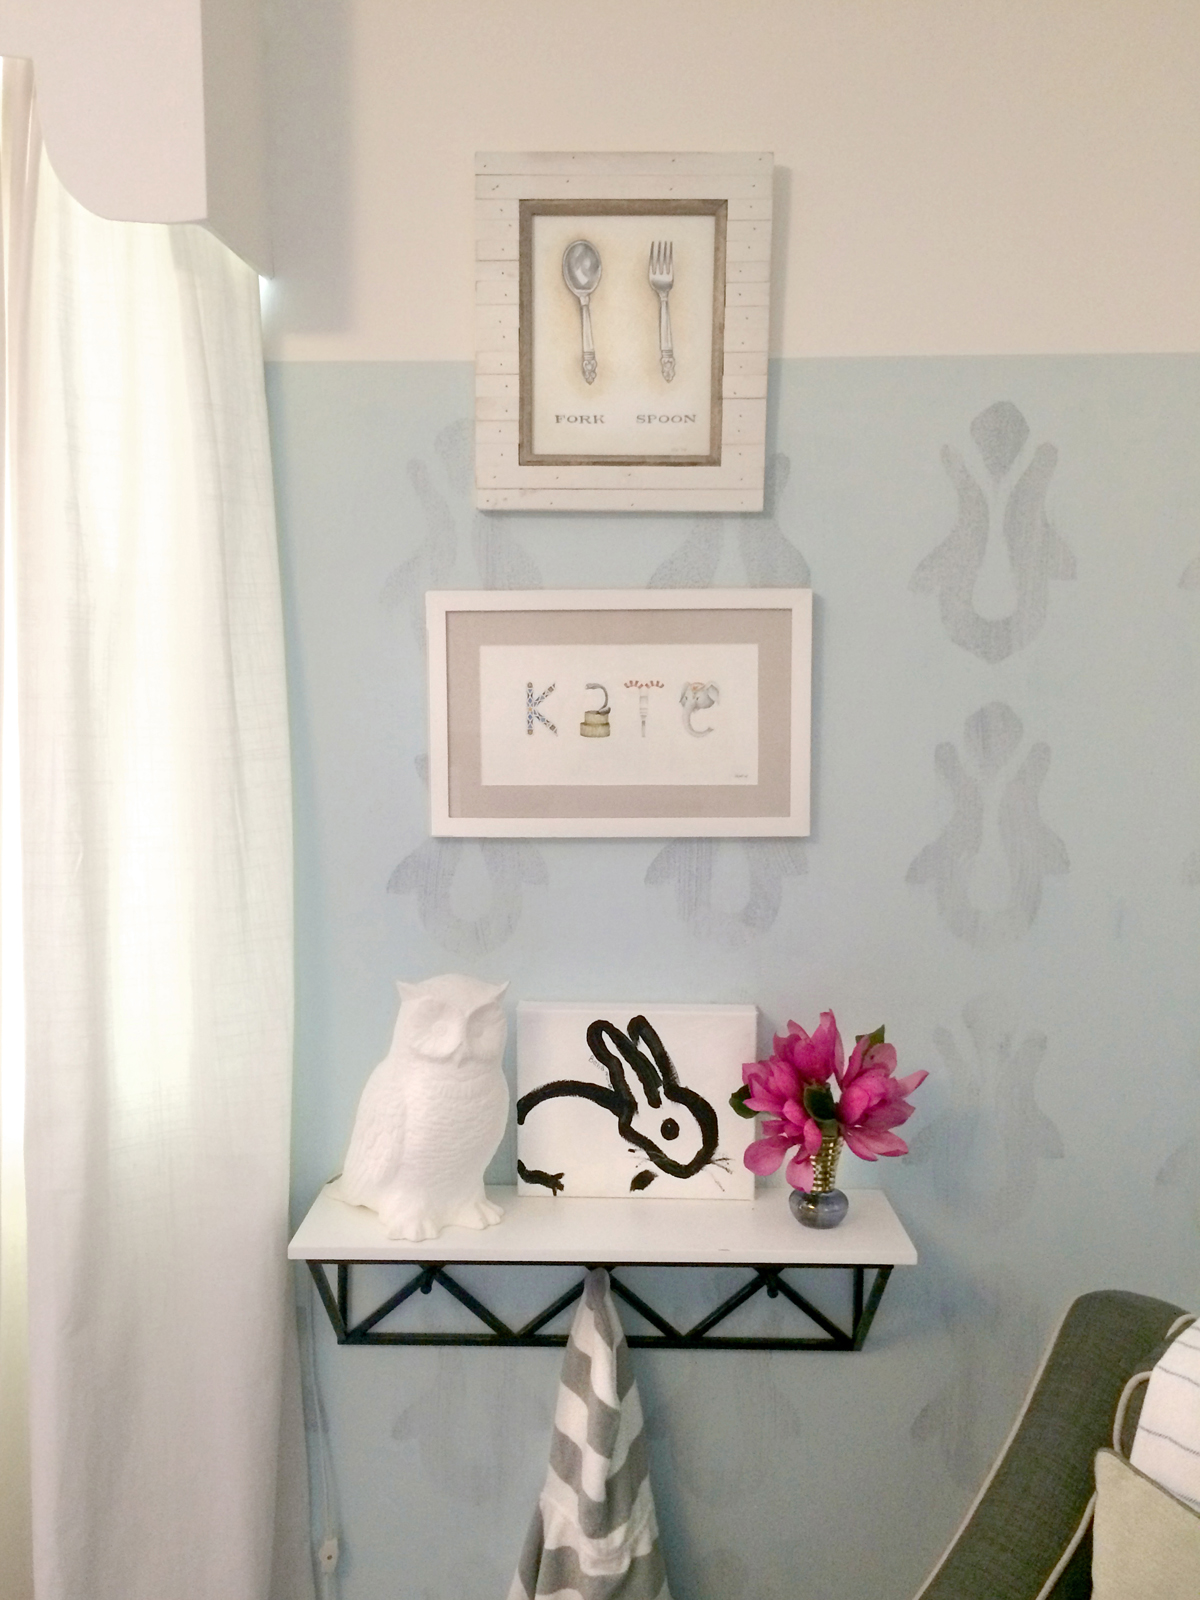
illustrations by Scott Woods (top) and Sally King (bottom)
PROCESS SHOTS OF THE ELEPHANT ET AL: