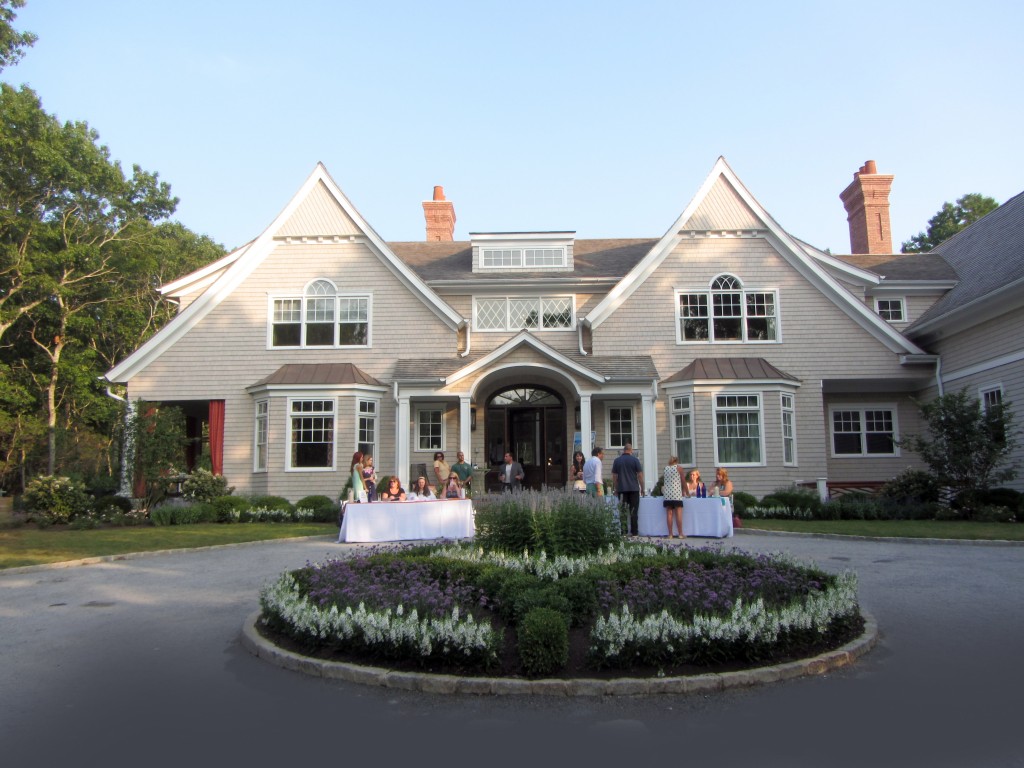
Mark your calendars decor deal-finders and haute-hunters! Only one more week to go until Traditional Home’s annual Hampton Designer Showhouse has their online auction! A handful of special items from each designer will be auctioned off… and (a portion of) the proceeds will benefit Southampton Hospital.
A few weekends ago, my husband Ryerson and I attended the Gala Preview Party for the debut of the 2013 Hampton Designer Showhouse. The party was lively, the cocktails were flowing, the crowd was very glamorous and the interior design was exceptional.
Though we did not get to meet him, we saw Thom Felicia (if you look closely at the picture above, you’ll see him checking in). Upon arrival, we decided to see the house before checking out the outdoor party—which turned out to be a good game plan—and we moved through each room and meet all the designers with ease and sans traffic.
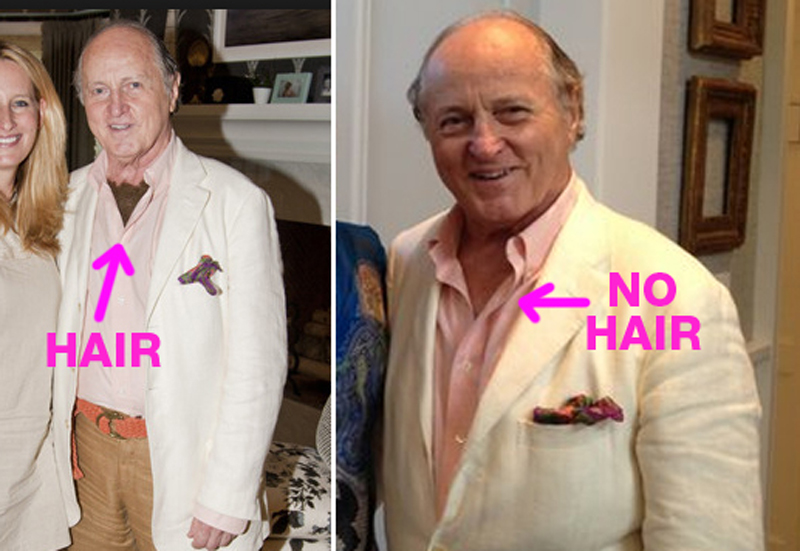
After passing through Celerie Kemble‘s grand but restful master bedroom, I spotted idol and decor celeb (and Honorary Showhouse Chairman), Mario Buatta. I immediately turned red and noted the lack of AC in the house. I’ve met Mr. Buatta probably 3 or 4 times now, but have never managed to have a satisfying conversation over the sound of my chattering teeth. This time was no better… He had an absurdly robust plume of chest hair protruding from the top of his neckline—normally buttoned and bow-tied—that I fought hard not to make eye-contact with while I reintroduced myself. I explained that I had just written a magazine column on him and his new retrospective (Mario Buatta: Fifty Years of American Interior Decoration, published by Rizzoli) that is about to come out. He seemed amused watching as I struggled with his practical joke (see photos below, it was indeed faux chest hair that came out later in the party). We parted ways—me reeling from missed opportunities of composure and humor—and bee-lined it for the bar.
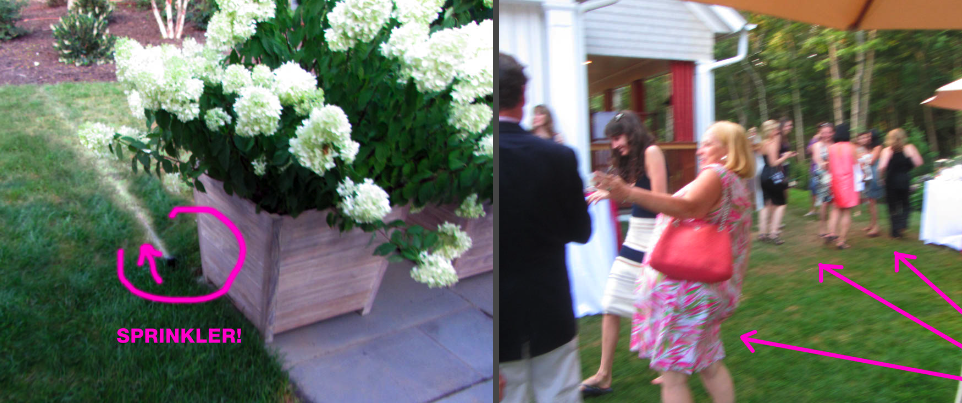
The back yard was abustle with a lively, quintessential Hamptons summer party crowd. After procuring a cocktail, we had the pleasure of bumping into another of my interior design idols, Vicente Wolf, and his friend (also a well-known interior designer) Matthew Yee. We were engaging in a nice little chat (everything my Buatta conversation was not) until—out of nowhere—Vicente & Matthew sprang away! Before I could worry about what I’d said, the lawn sprinkler soaked my lower half, and I too leapt backwards (before it got my white silk shirt) and watched in shock as women (and men) screamed and ran. Gowns got soaked, seersucker wilted, and white linen pants became see-through. It was hilarious. And a blessing in disguise? I think so: it was over 100°F and wildly humid out.
After that, it was time to go. Plenty of excitement for one decor party night.
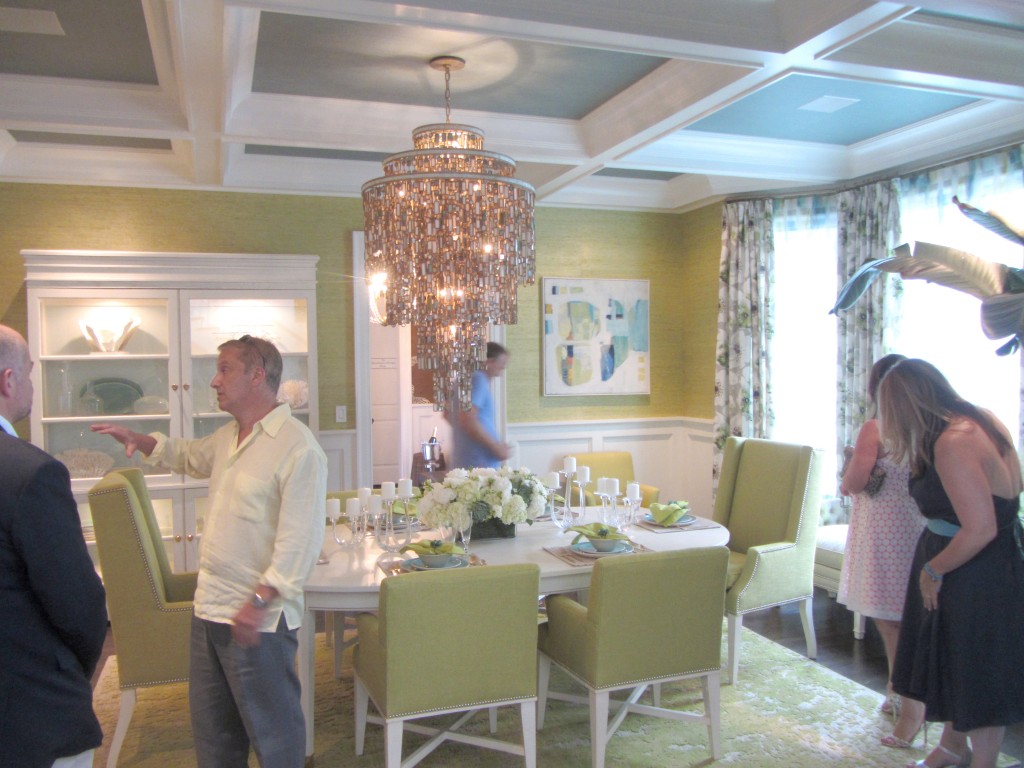
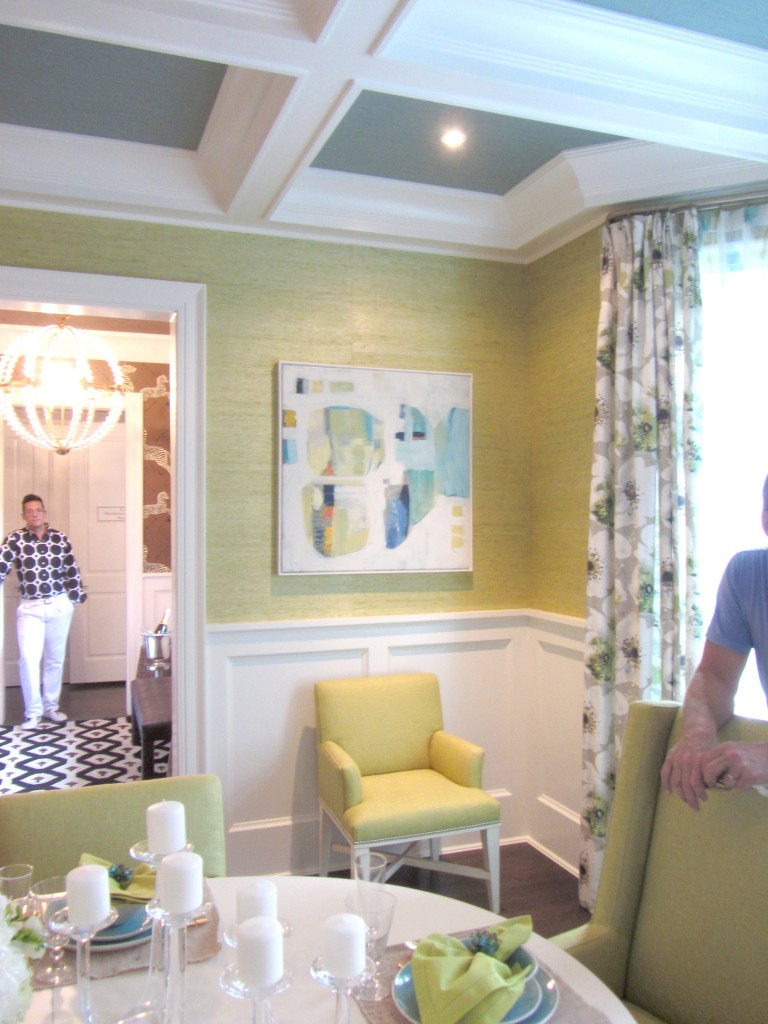
ABOVE: Lillian August‘s cheerful and punchy dining room. I love the painting on the back wall by Julie Headland.
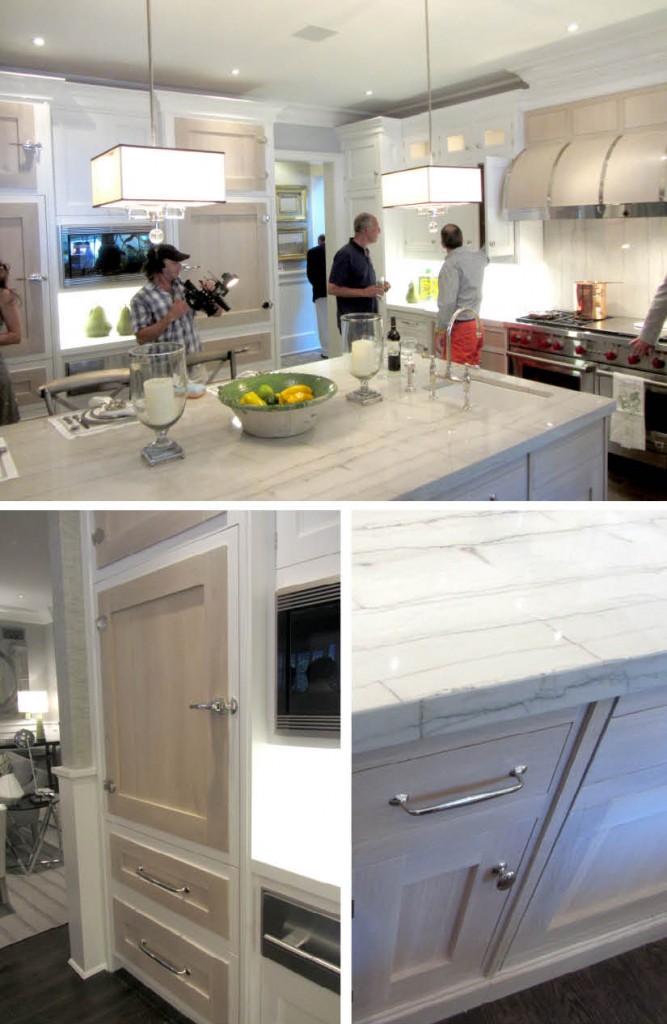
BELOW: Bakes and Company‘s kitchen with outrageous countertops and custom refrigerators and freezer drawers (shown bottom left). Hot!
Below (3 photos) of Patricia Fisher Design‘s sitting area and breakfast nook. The saffron and light grey with pops of bright green were a refreshing and inviting combo.
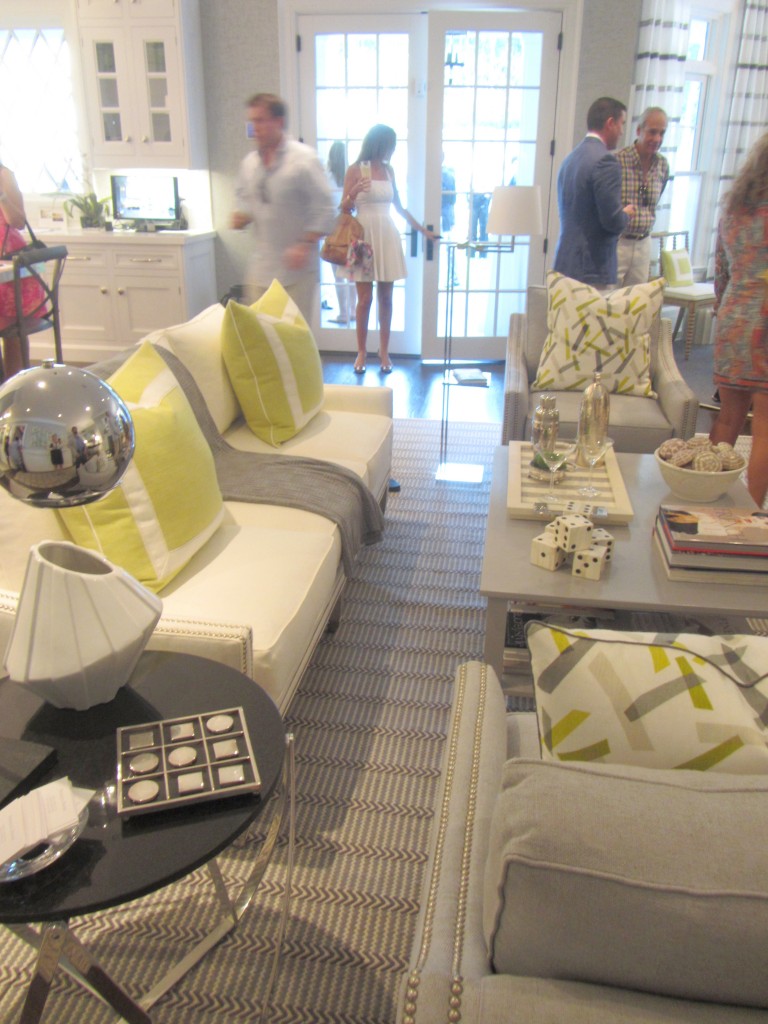
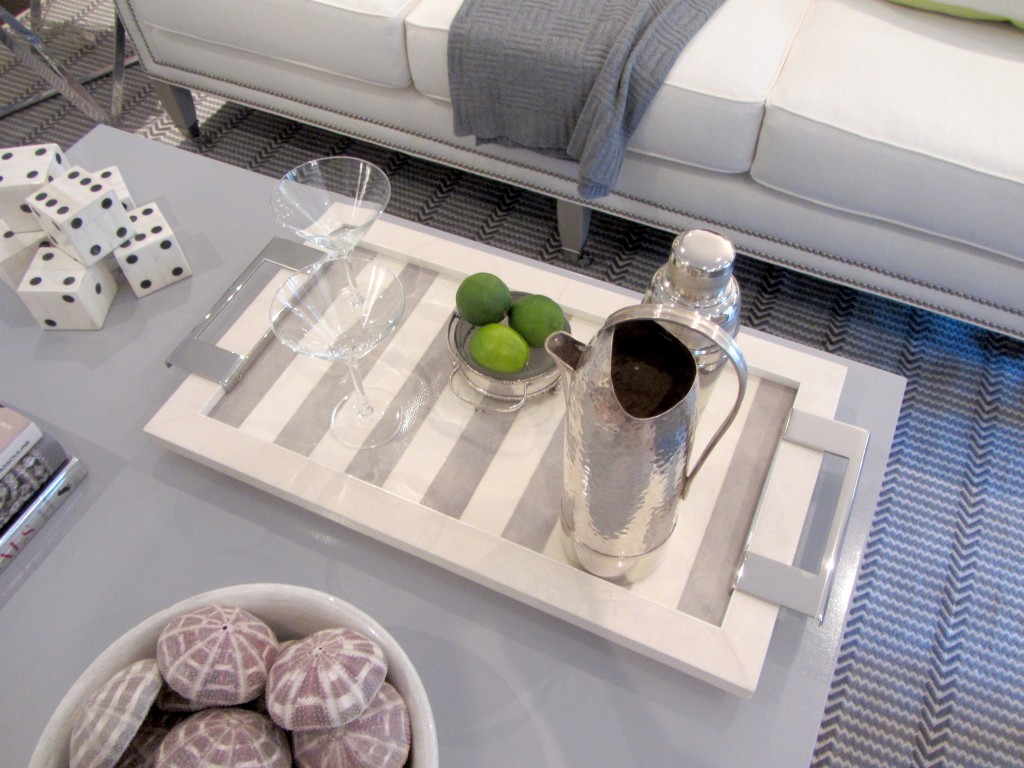
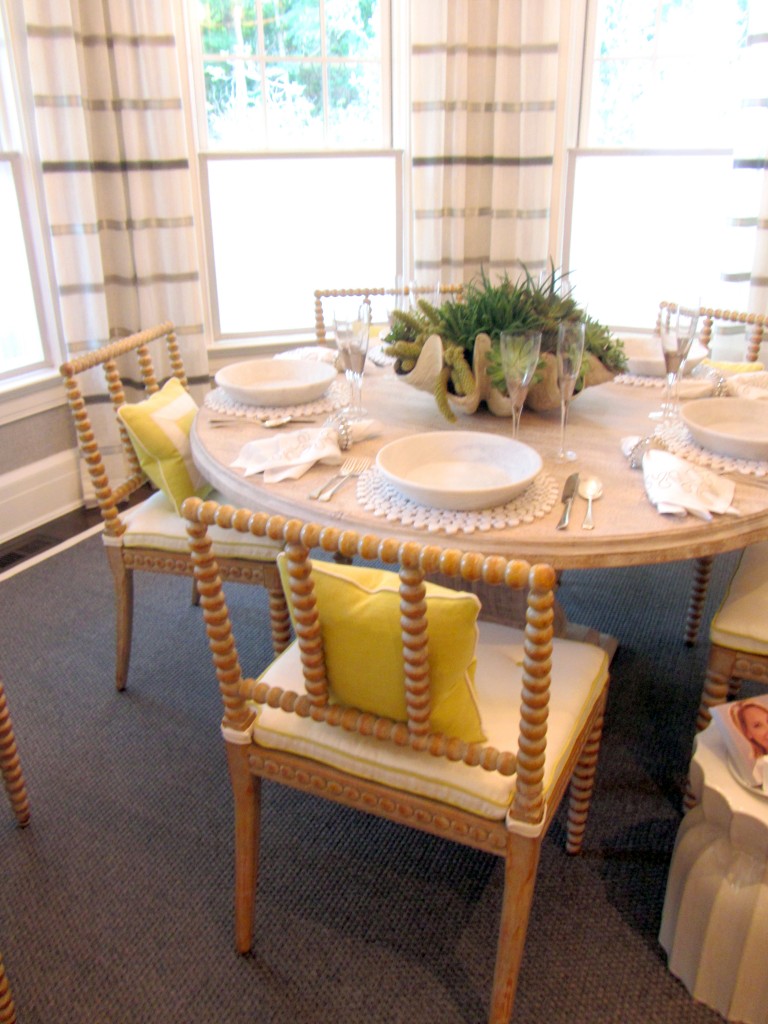
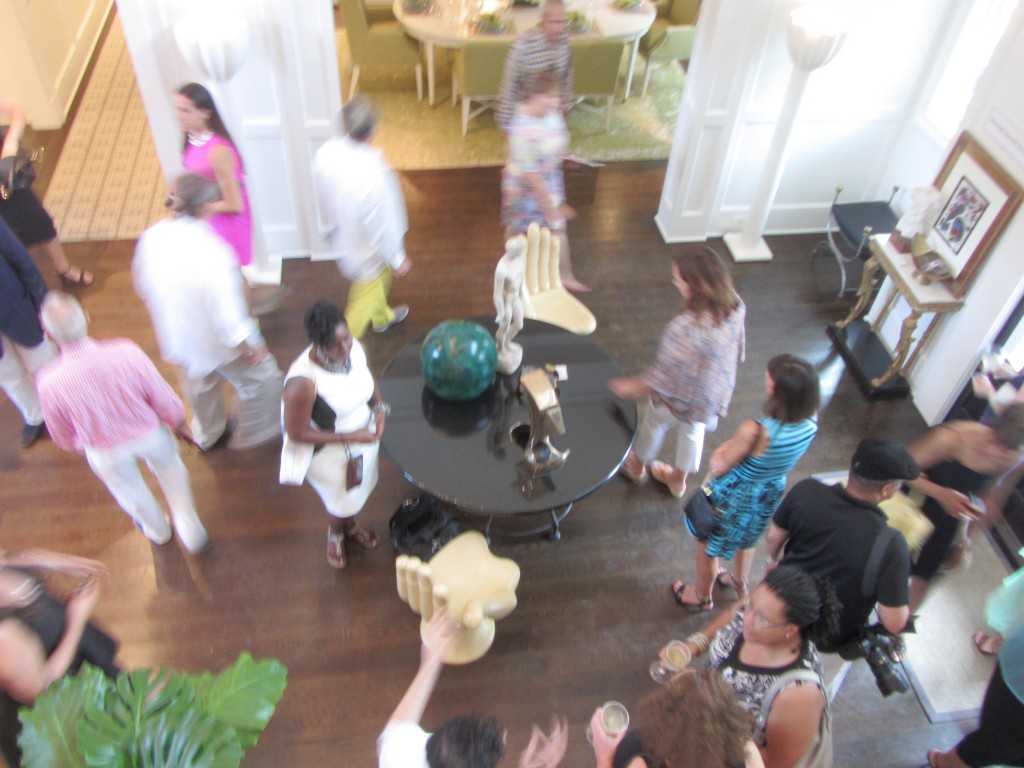
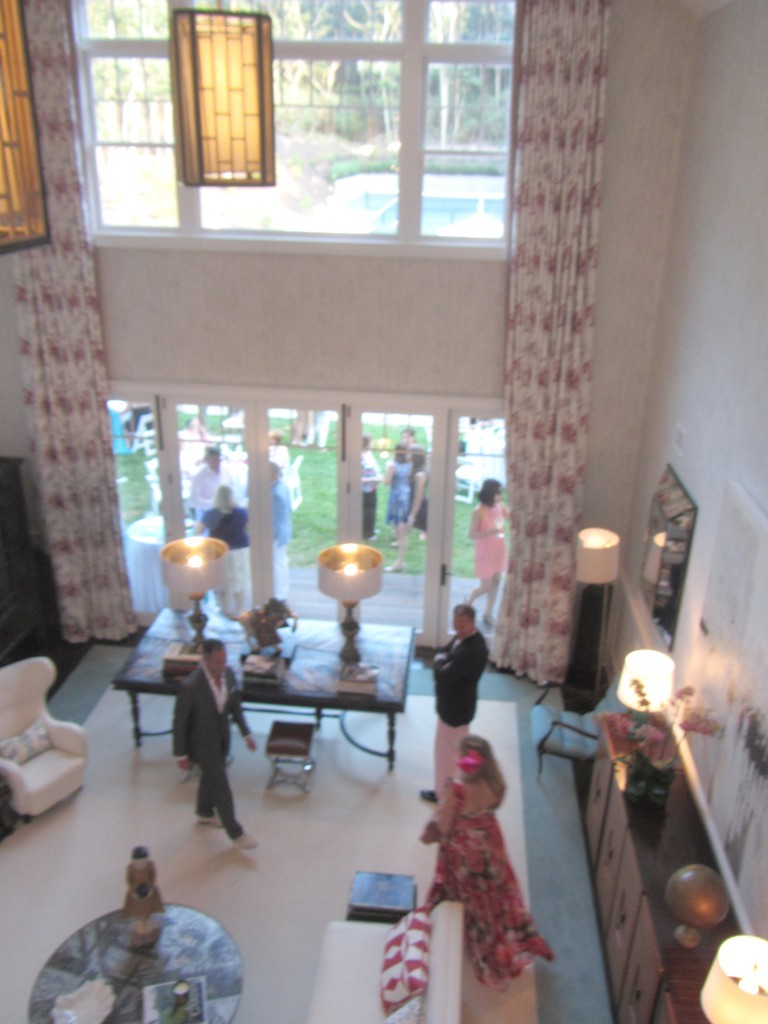
Below (2) photos taken from upstairs of the guests cruising through the entry foyer by Michael Herold Design, and the living room by Brian del Toro Inc.
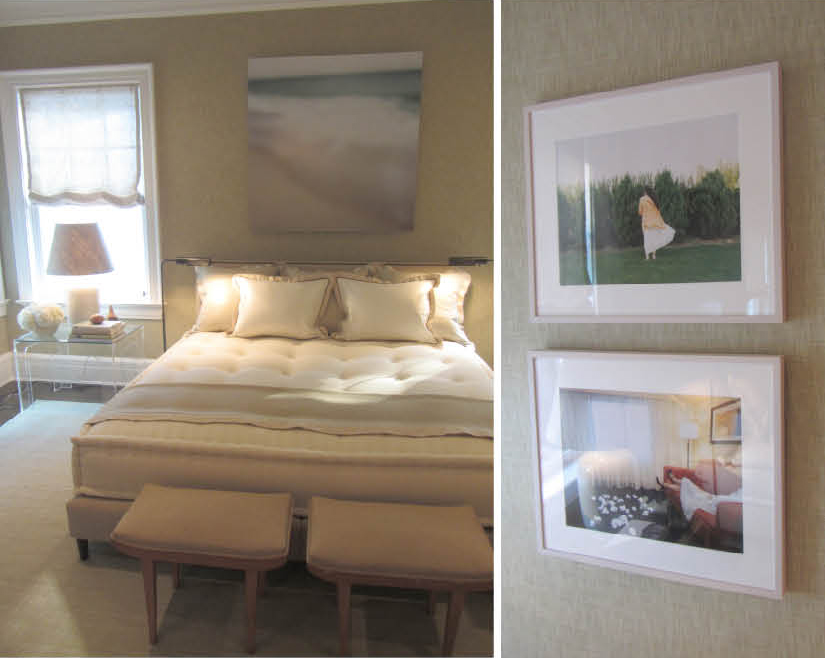
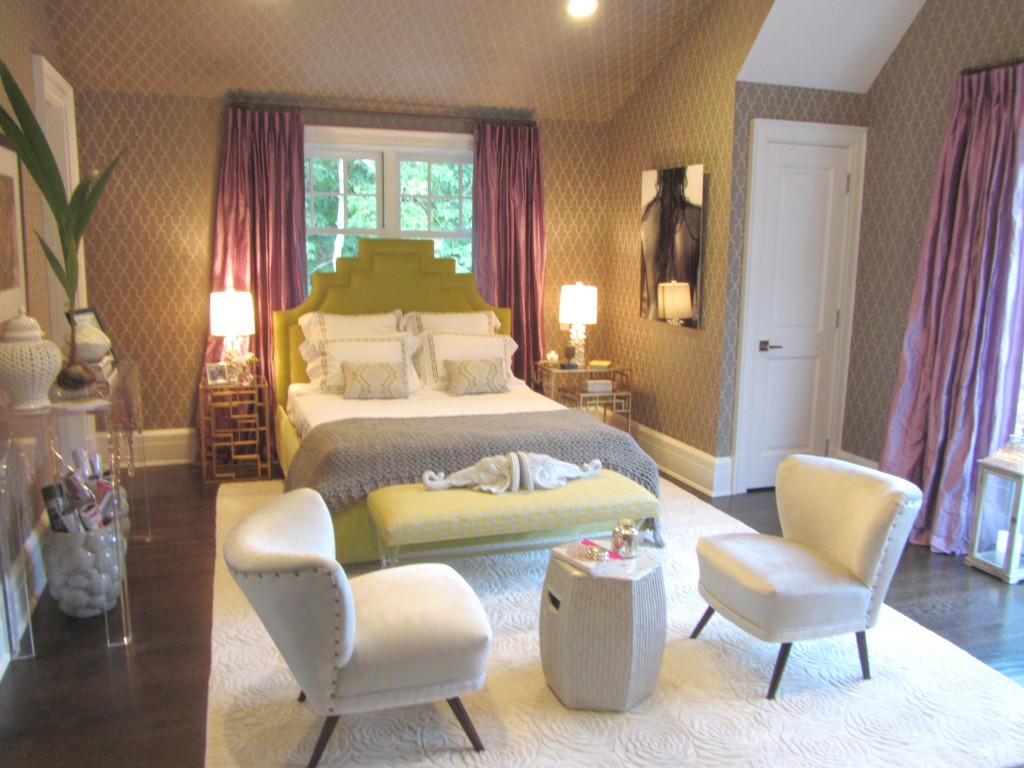
Brady Design‘s beautiful and serene guest room/tv room. The hand-crafted mattress upholstered in baby alpaca was the inspiration for the room, as it could be used as a lounge during the winter OR covered with sheets during the guest-ing season.
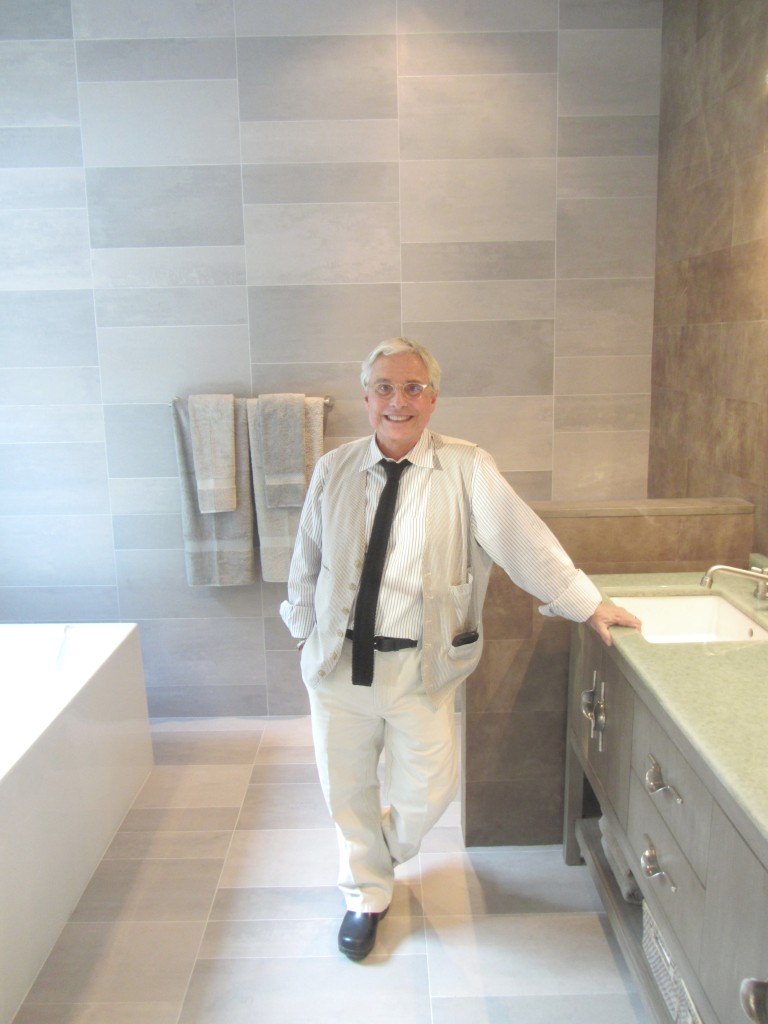
Alan Court & Associates‘s (Alan shown below) created a stunning guest bath with stone and leather walls! I had to touch.
Barbara Page Home‘s playful guest room overlooking the backyard had dramatic photography from Robin Rice Gallery
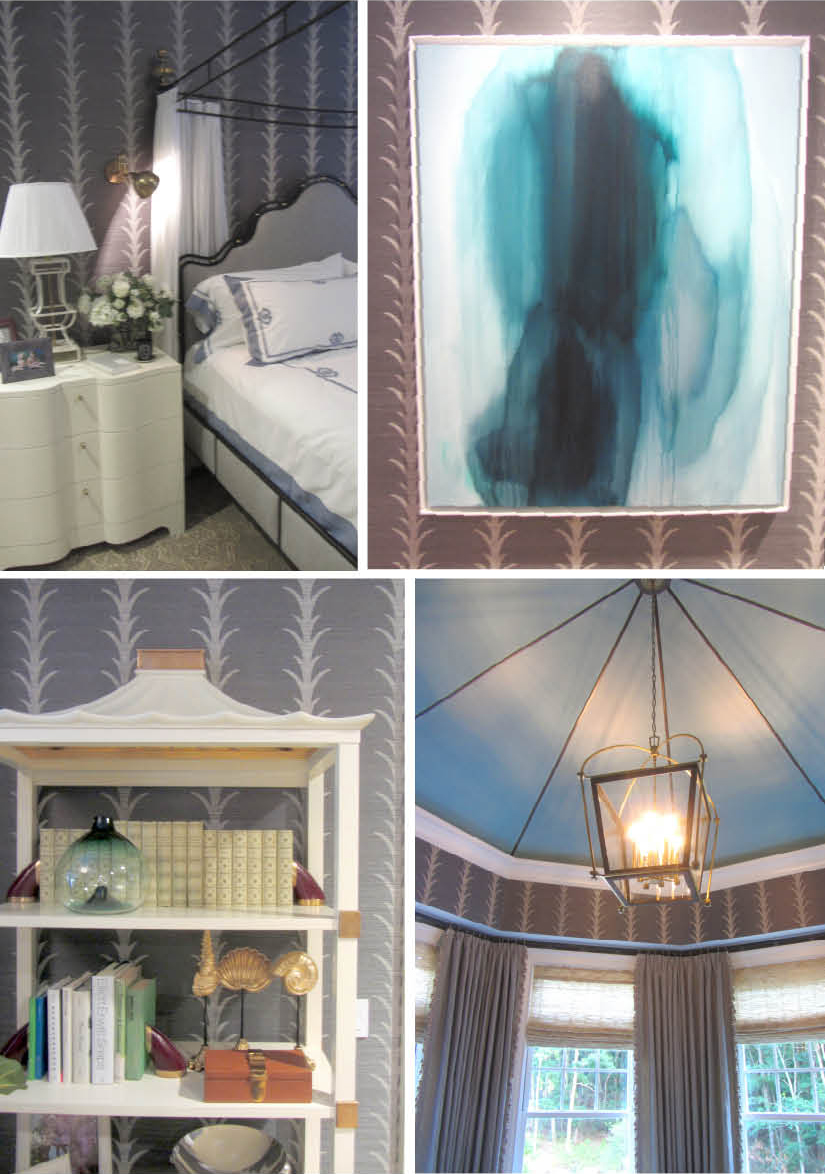
Celerie Kemble‘s master bedroom with charcoal seagrass walls and pops of turquoise and blue hues.
 The charming Mr. Mario Buatta, before and after my chest shrug run-in. I guess he got too hot! Here’s a link to the piece I wrote about his book that comes out in September
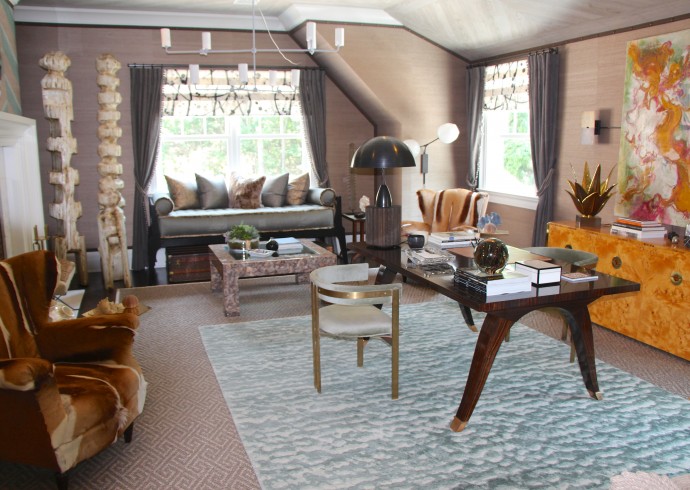
Below is my favorite room in the house, by Bradley Stephens, Stephens Design Group (photo courtesy of KDHamptons.com). These masculine quarters share a 2-sided fireplace with the master bedroom and the ceiling (though you can’t tell from the photo) covered in a fabulous, distressed-wood wallpaper. Bradley said it was a painstaking job, but added so much to the room that it was worth the effort. The room was eclectic and handsome and had a wonderful mix of art and artifacts, including an dissected lobster, similar to one I saw a few years back in the world-famous taxidermist, Deyrolle (one of my favorite places in Paris).
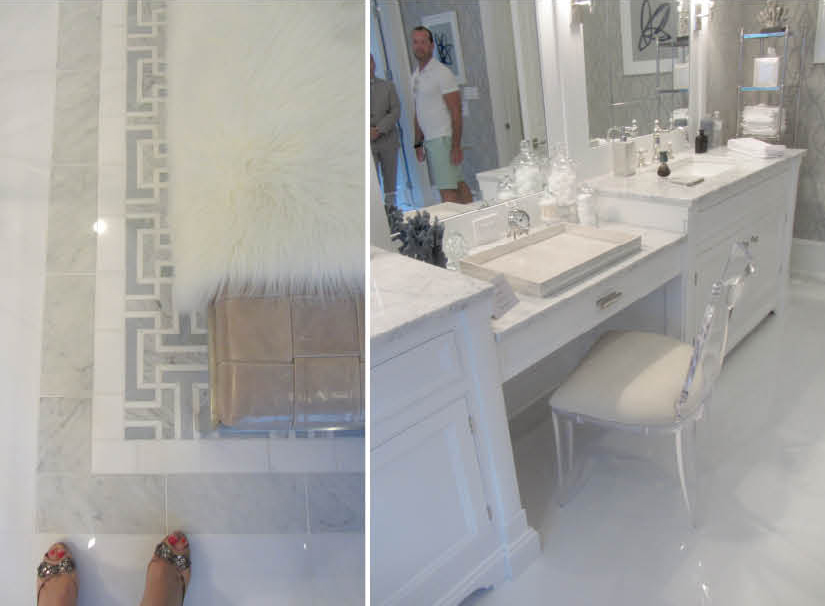
Michael Mariotti’s glamorous master bath with patterned seagrass walls, ornate tiling, and a beautiful leather bench with flocatti throw.
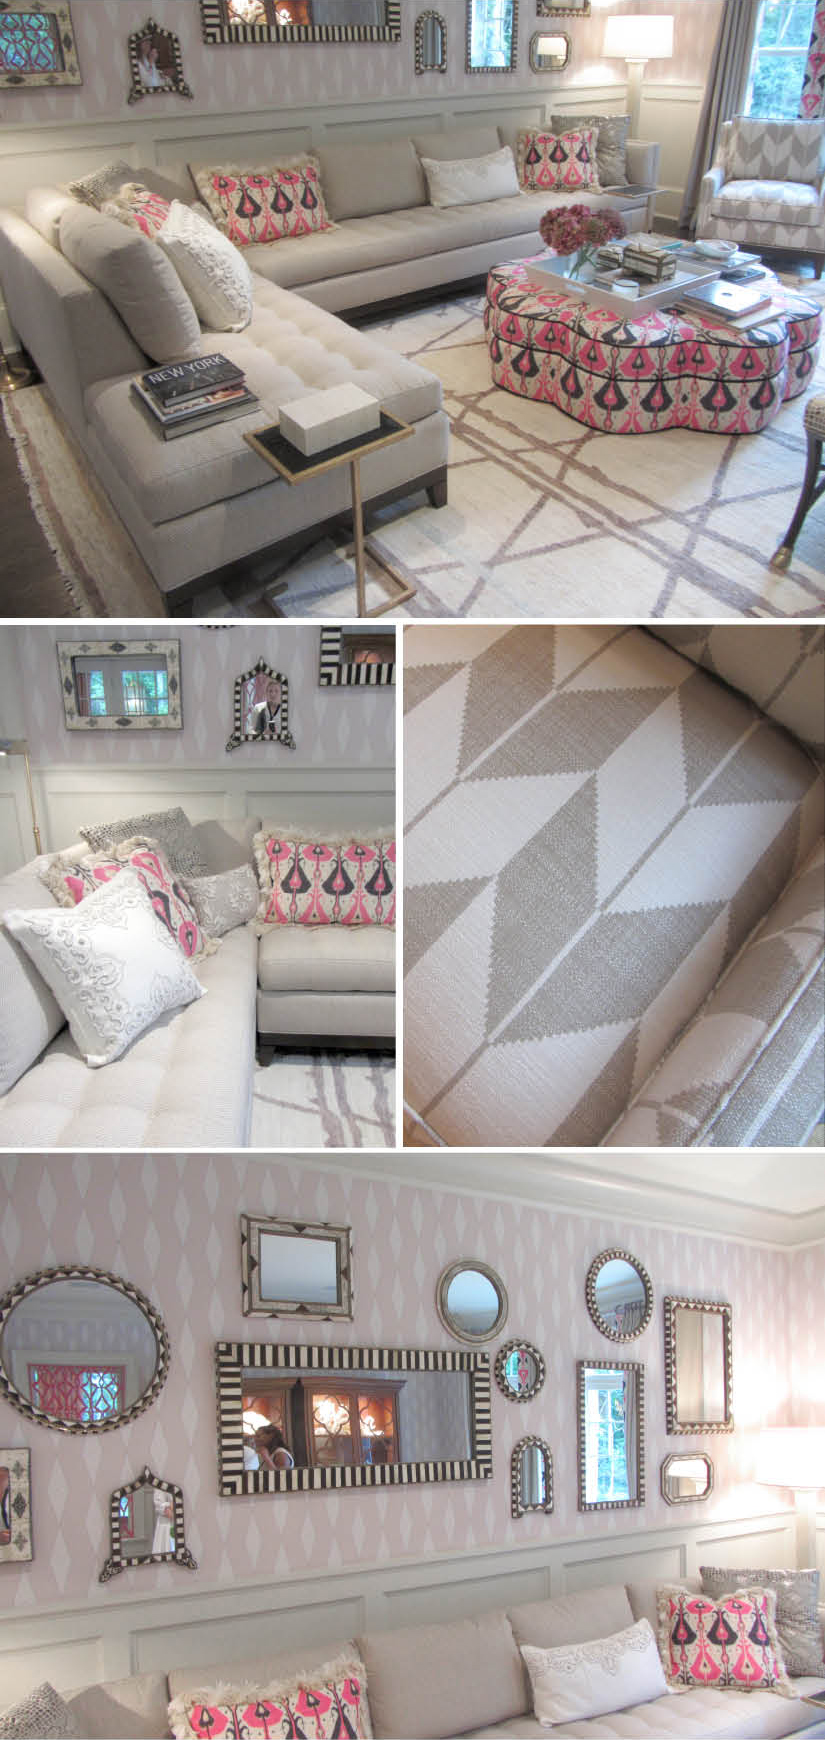
Sherrill Canet Interior’s Morroccan-inspired family room for Pearson (where all the furniture and textiles are from). Sherrill laid all the mirrors out on the ground in the middle of a market in Morrocco in order to visualize them in this comfortable and graphic room!
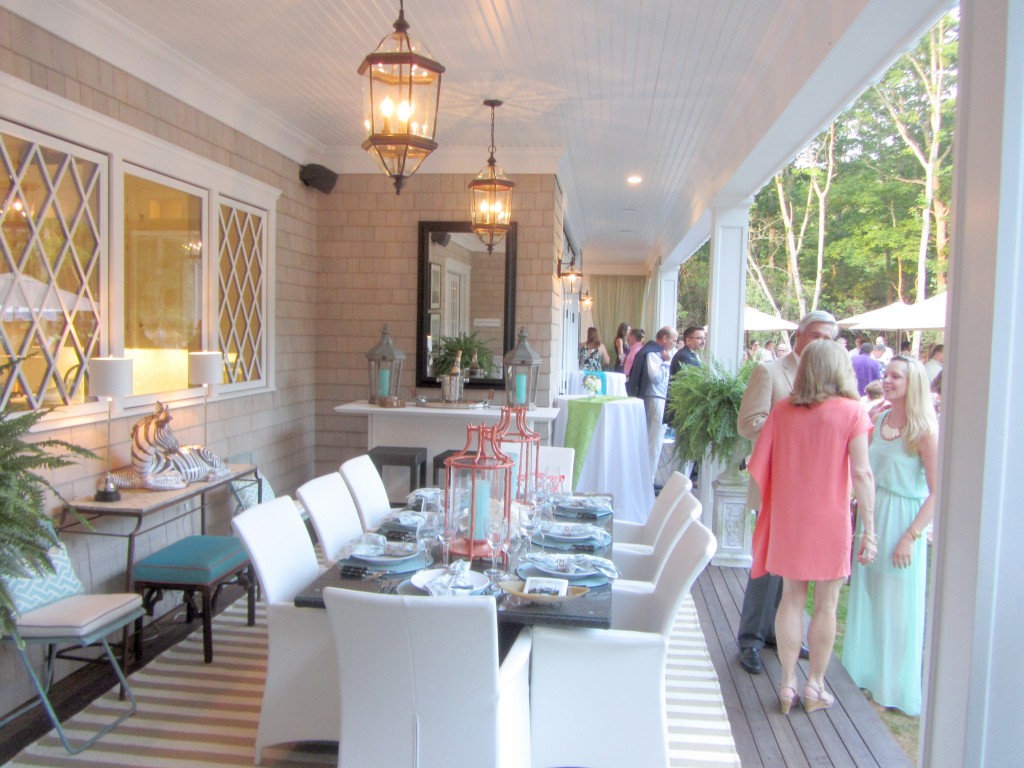
Ken Gemes’s casual outdoor dining area facing the backyard party
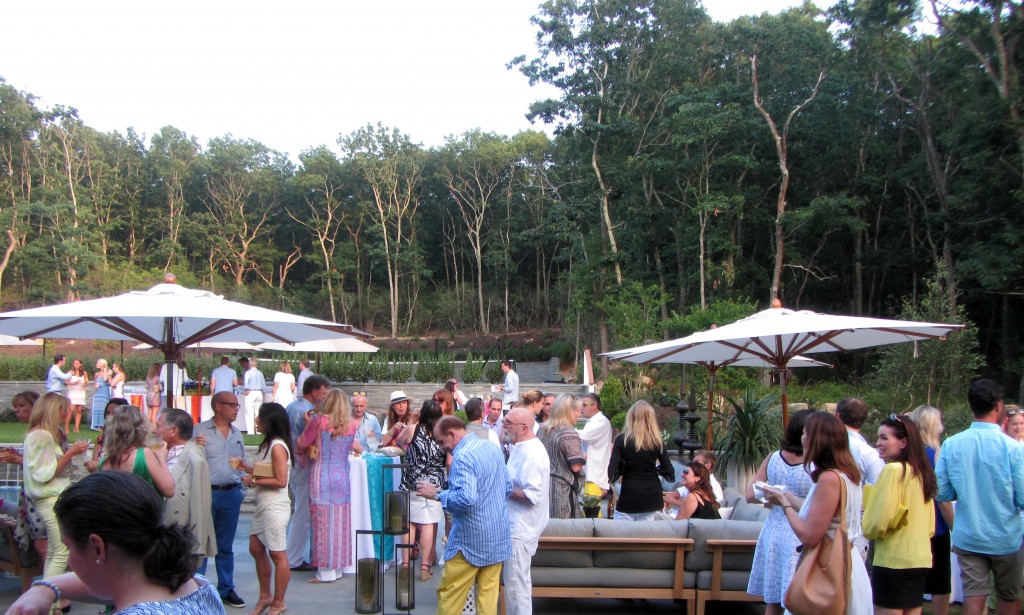
The lively outdoor party
One of the aforementioned fashion-foiling sprinklers (below left); and the guests running from the scene (below right). My sad, wet, bejeweled shoes (not shown)
 Click here for Editor at Large’s video coverage of the event with Traditional Home’s stylish Tory Mellot (who I worked w/at Elle Decor) doing interviews.
To read about other fabulous Hamptons events (and laugh hysterically), check out my cousin Ted Kruckel’s most recent BizBash column, “This Year’s Hamptons Events: From the Sublime to the Ridiculous”

amerelife.com by Meredith McBride Kipp is licensed under a Creative Commons Attribution-NonCommercial-NoDerivs 3.0 Unported License.
© Meredith McBride Kipp and amerelife.com. Unauthorized use and/or duplication of this material without express and written permission from this blog’s author and/or owner is strictly prohibited. Excerpts and links may be used, provided that full and clear credit is given to Meredith McBride Kipp and amerelife.com with appropriate and specific direction to the original content.
