Paddling Out to Rockaway

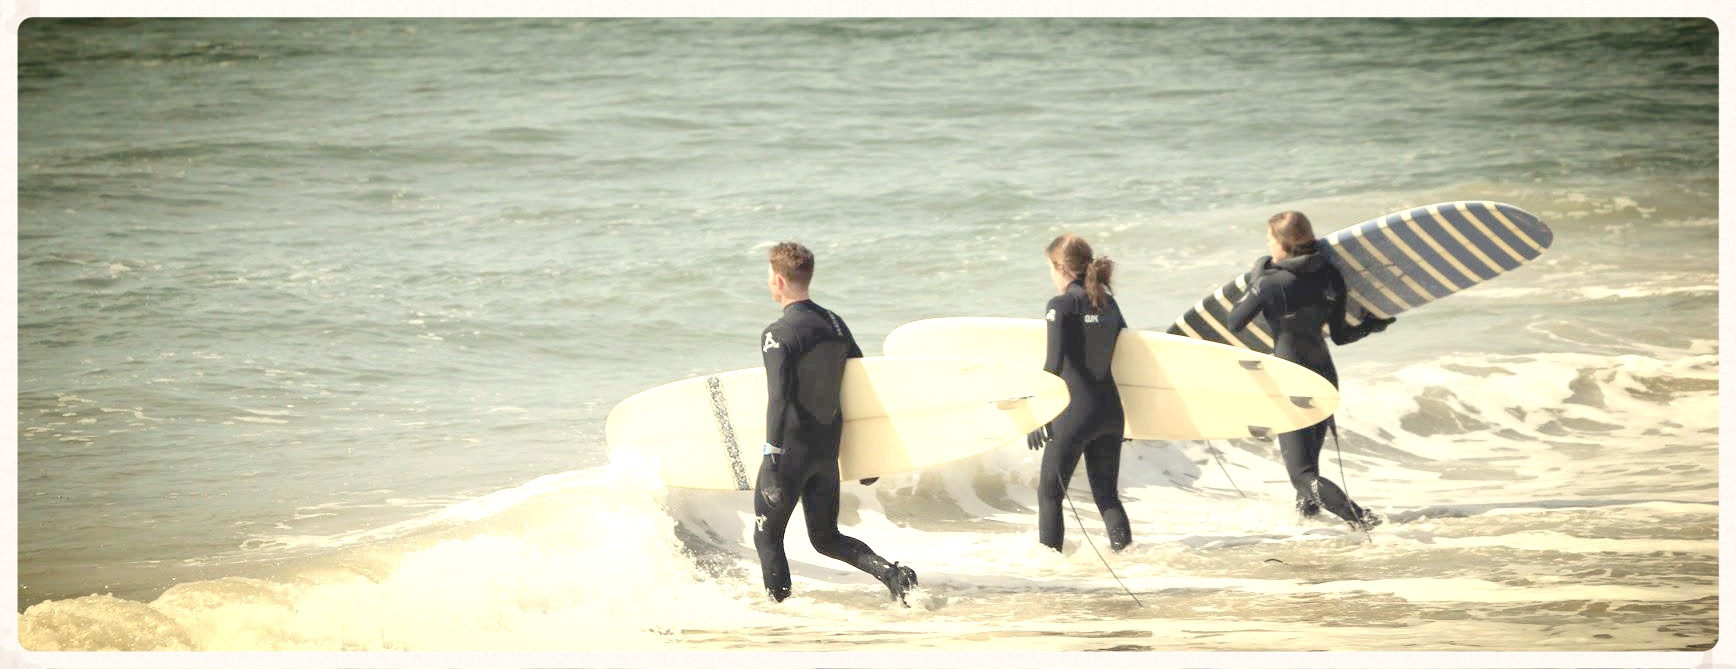
I went out to Rockaway Beach last weekend—an area that was devastated by hurricane Sandy of 2012—to hang with surf blogger (NYCurchin.com), sustainable fashion marketer (at Rogan and Loomstate), philanthropist, and sister, Annie McBride.

Annie has been surfing for several years and was accustomed to taking mass transit—surfboard in tow—to the Queens coastline from Williamsburg when Sandy hit town. Due to her appreciation for the beaches and her general philanthropic nature, Annie spent months helping with the recovery effort in Rockaway and quickly fell in love with the culture there. Now a Rockaway resident, this NYC Urchin is in her element.

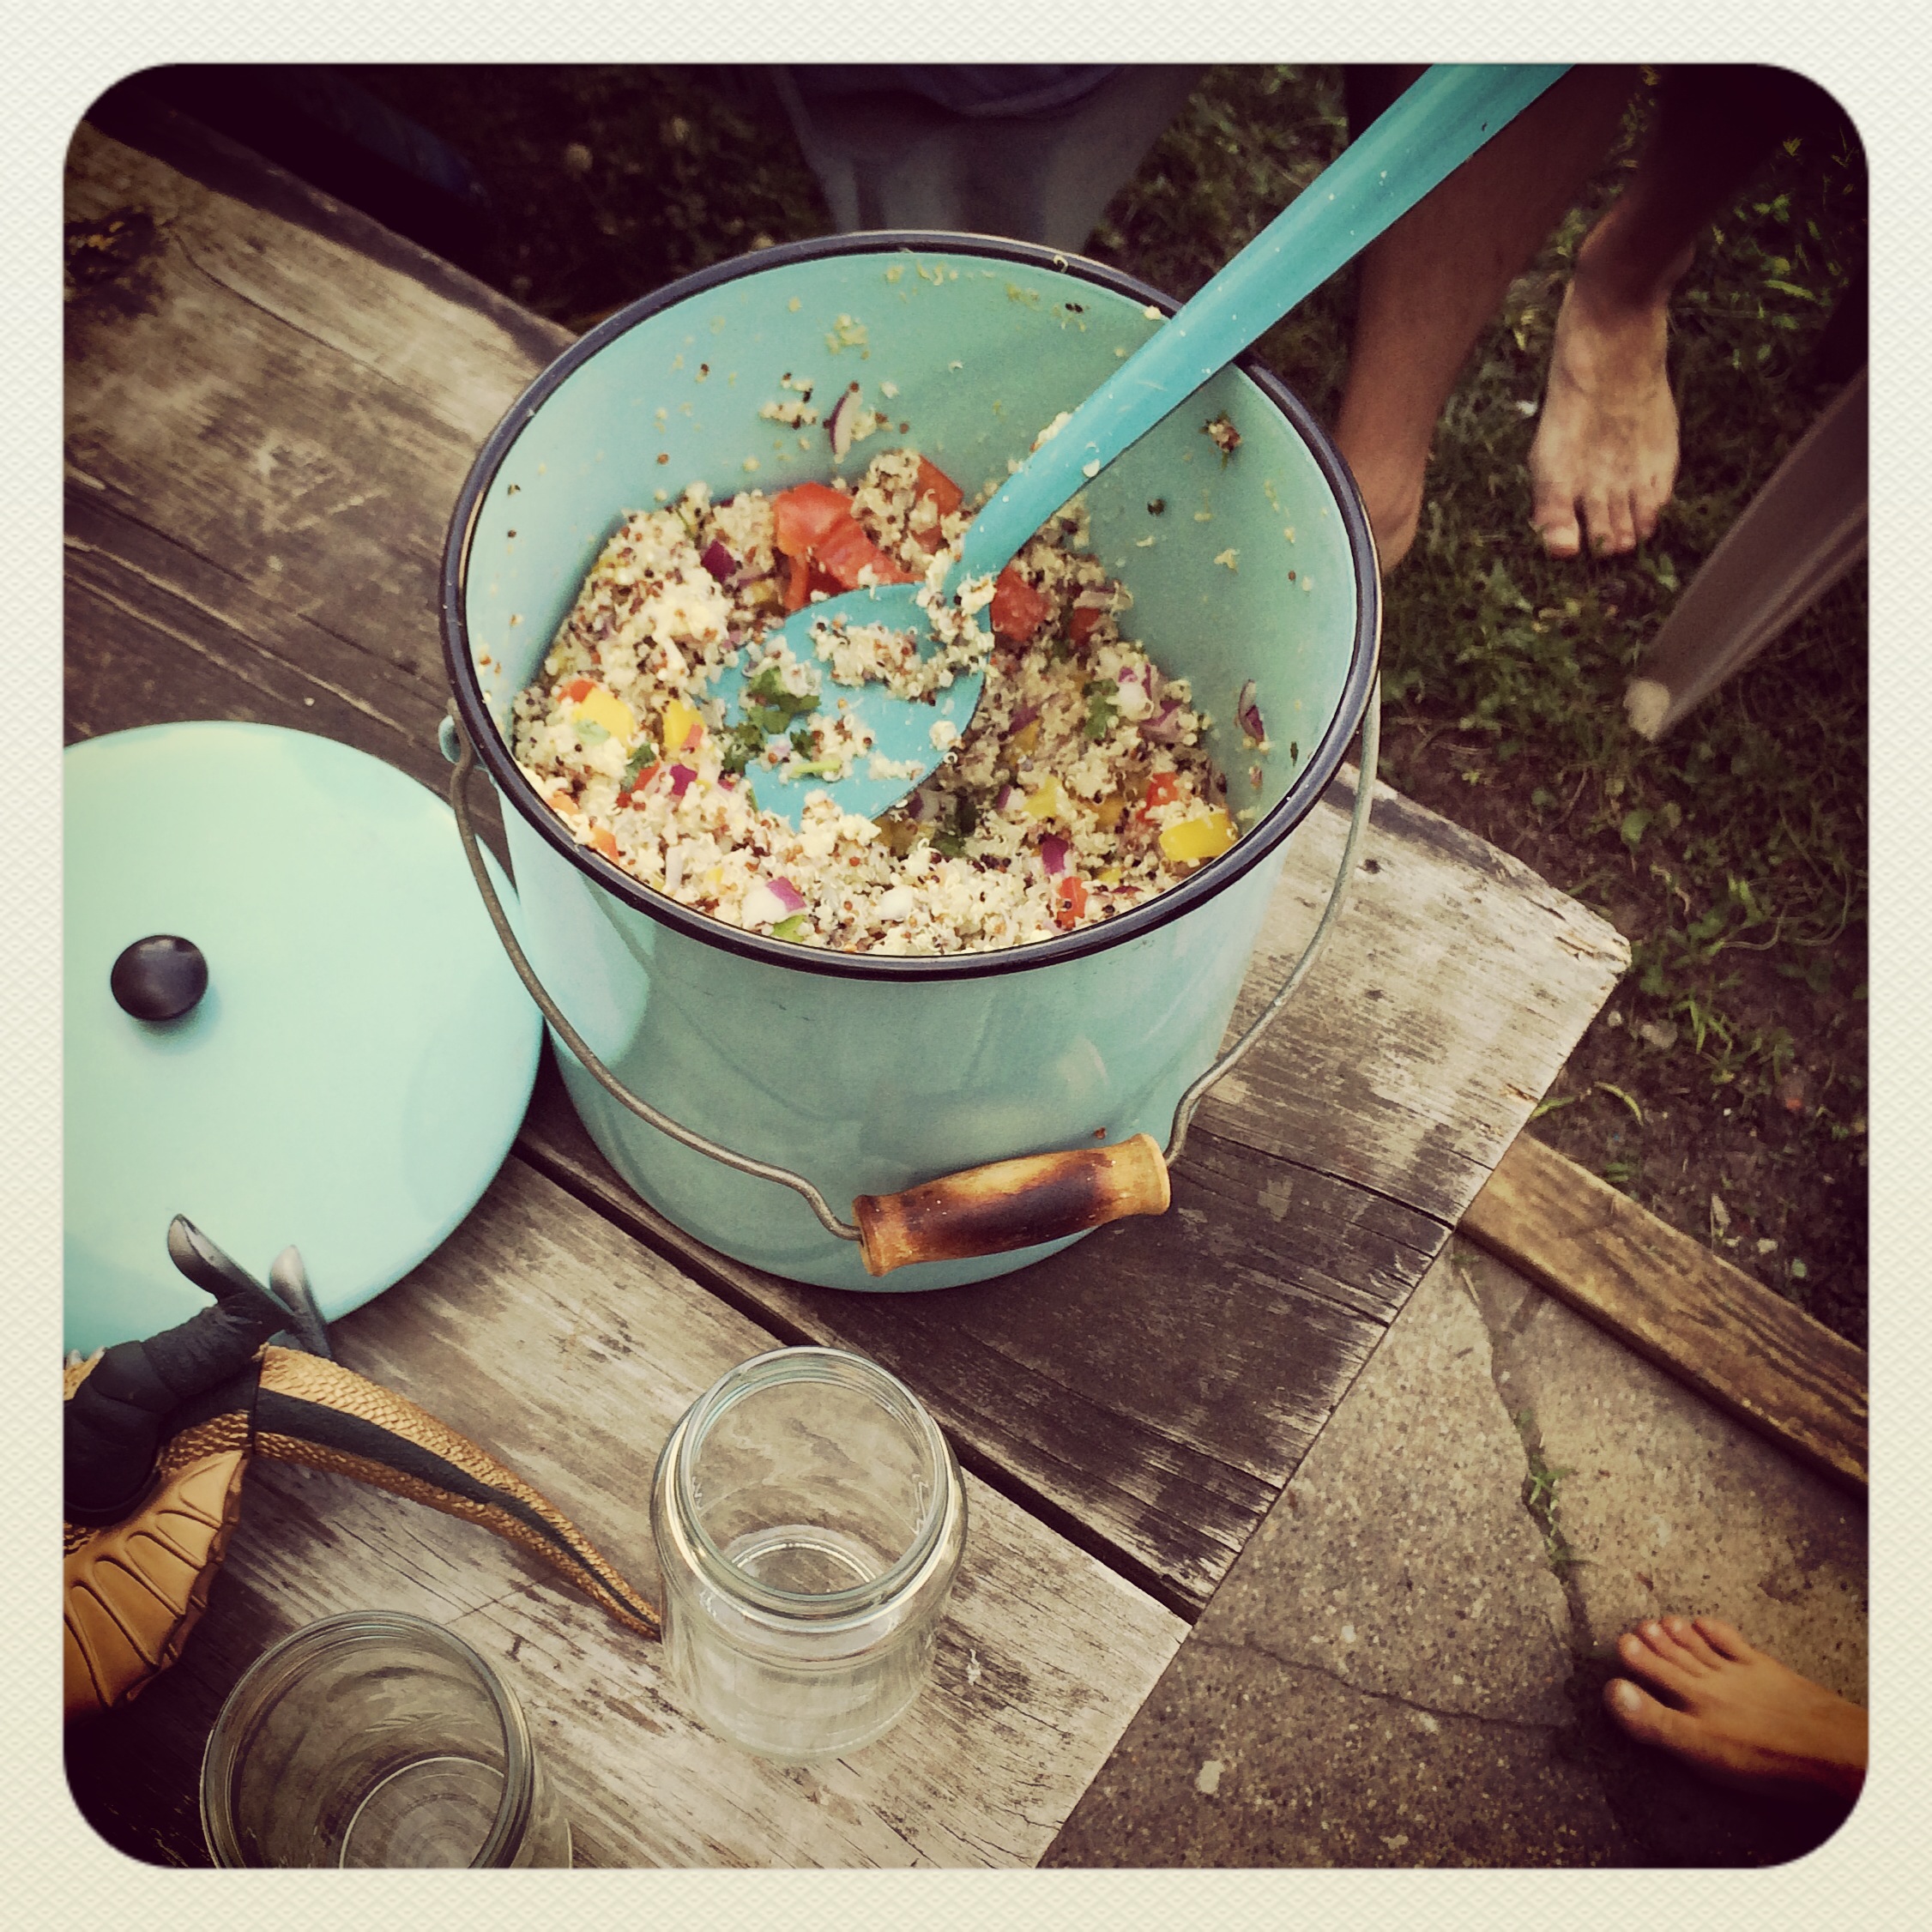
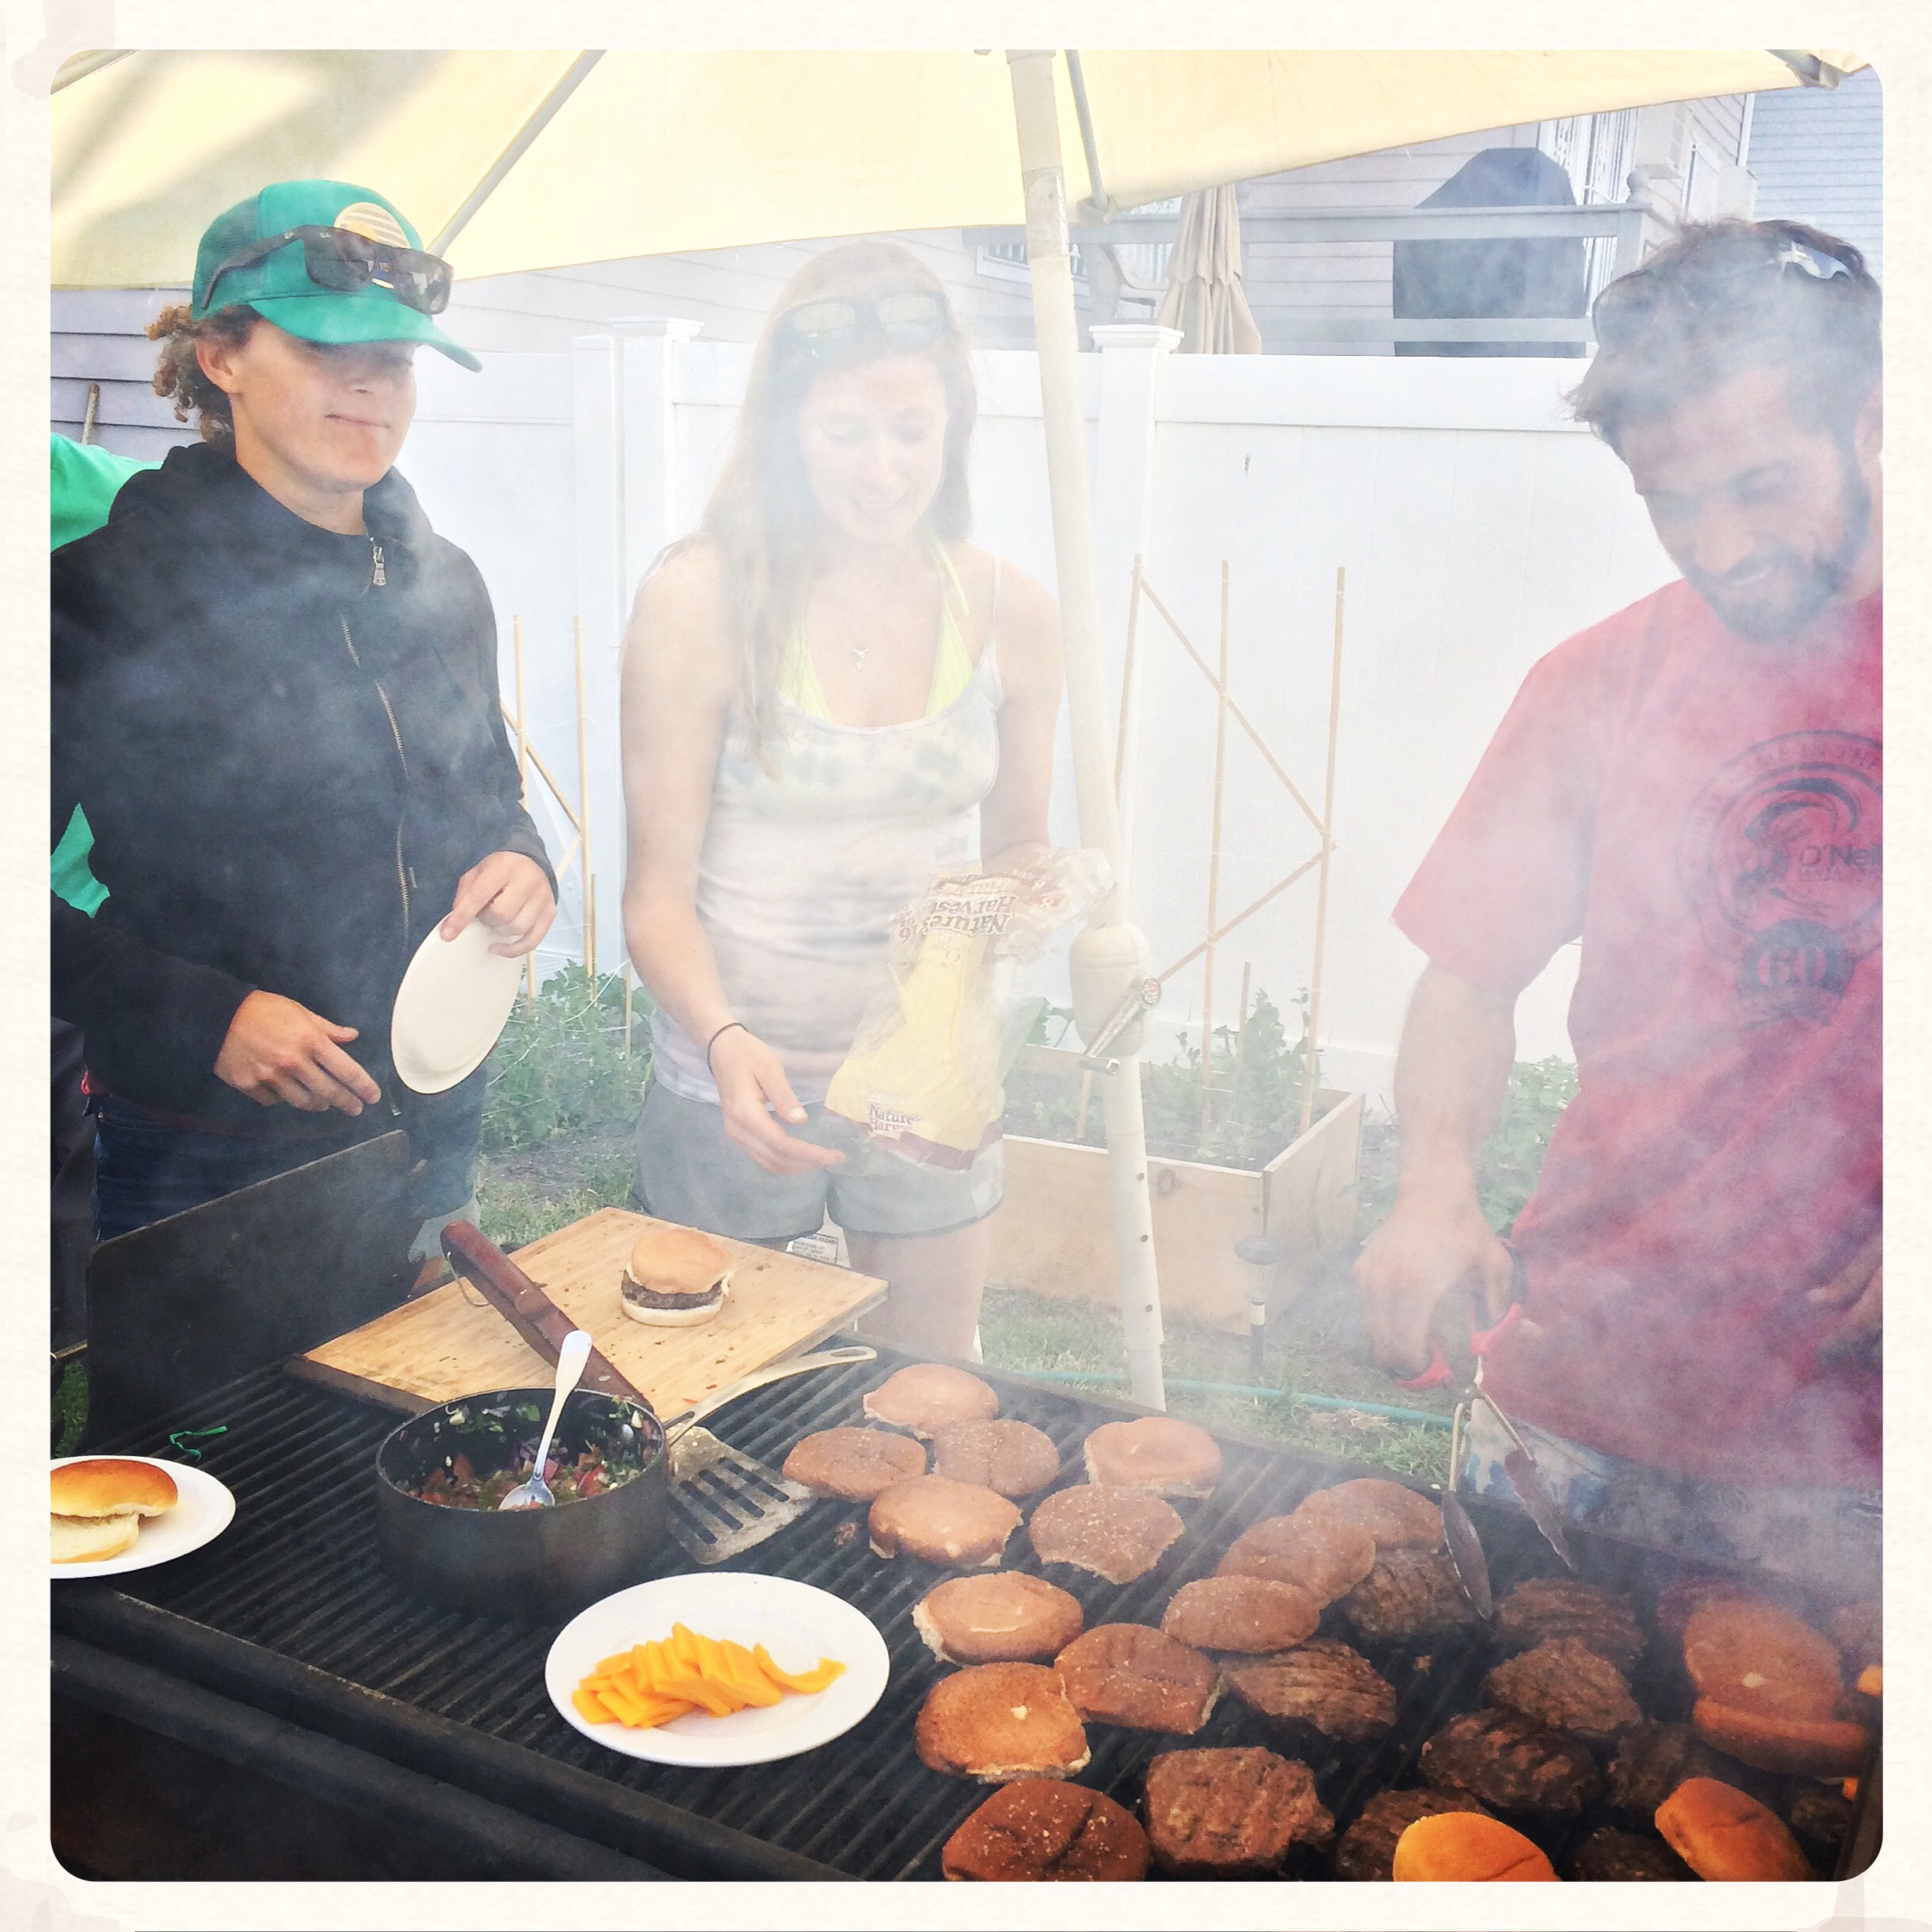
After a morning of surf and sun, Annie hosted an intimate barbecue with friends and neighbors. I was not nearly bohemian enough for the crowd, but anyone can connect over good summer food. Below are the recipes she embellished for the best Veggie Burgers I have ever had (I am a proud carnivore) and a totally delicious Quinoa Salad.

Pass the poi, mahalo!

Quinoa Summer Salad
(modified from allrecipes.com)

Ingredients
4 cups water
1 cup white quinoa
1 cup red quinoa
1 1/2 large red onions, chopped
1 red bell pepper, chopped
1 yellow bell pepper, chopped
1 teaspoon sea salt
12 grinds black pepper from a grinder
1/4 cup olive oil
2 limes, juiced
2 tablespoons chopped fresh cilantro

Directions
Bring water to a boil in a pot; add white quinoa and red quinoa. Reduce heat, cover, and simmer until water is absorbed, 15 minutes. Set quinoa aside to cool while you complete the remaining steps.
Combine red onions, red bell pepper, yellow bell pepper, sea salt, and black pepper together in a bowl. Stir in white and red quinoa.
Whisk olive oil and lime juice together in a separate bowl; pour over quinoa mixture. Stir to coat. Add cilantro and stir to incorporate. Cover salad and refrigerate for flavors to blend, at least 4 hours.


Lentil Quinoa Burgers
(modified from Women’s Health Magazine)

Ingredients

1/2 cup quinoa
1 can (19 oz) lentils, rinsed
1/2 cup plain bread crumbs
1 egg, lightly beaten
2 gloves garlic, chopped
2 tsp cumin powder
1/3 cup cilantro
Juice of half a lemon
1/2 cup walnut pieces
2 tsp vegetable oil
6 buns

Directions

In a saucepan, combine quinoa and 1 cup water. Bring to a boil and simmer about 10 minutes. Let quinoa cool.
In a bowl, combine half the lentils, bread crumbs, egg, garlic, cumin, cilantro, lemon juice, cooked quinoa, and salt and pepper to taste. Place in a food processor or blender; process until well combined. Add remaining lentils and walnuts; pulse until they’re incorporated. Form into 6 patties.
Preheat grill to medium. Brush burgers with oil and cook for 4 minutes per side. Toast buns for 2 minutes.


SHOULD YOU VENTURE TO ROCKAWAY THIS SUMMER,
HERE ARE A FEW PLACES NOT TO MISS:

Transportation: The NYC Beach Bus provides beer and a ride to Rockaway

Breakwater Surf Co: for board rentals

Rockaway Taco: a classic neighborhood spot for—you guessed it—tacos. Place is popular morning, noon and night.

Whit’s End: for the best pizza you’ll ever have

Playland: Super bohemian-chic motel with bar and outdoor games

Caracas: beach bar with arepas and drinks (arepas are south american corn pancakes)

Veggie Island (may have new name now): for your morning coffee and fresh pressed juices

THIS WEEKEND there is s surf, skate and music festival: Rock Stock and Barrels

And don’t forget to check out the new Moma PS1 Rockaway! show featuring solo projects by Patti Smith, Adrián Villar Rojas, and Janet Cardiff. IT OPENS TODAY, June 29- Sept 1, 2014.

DIY Lamp Makeover

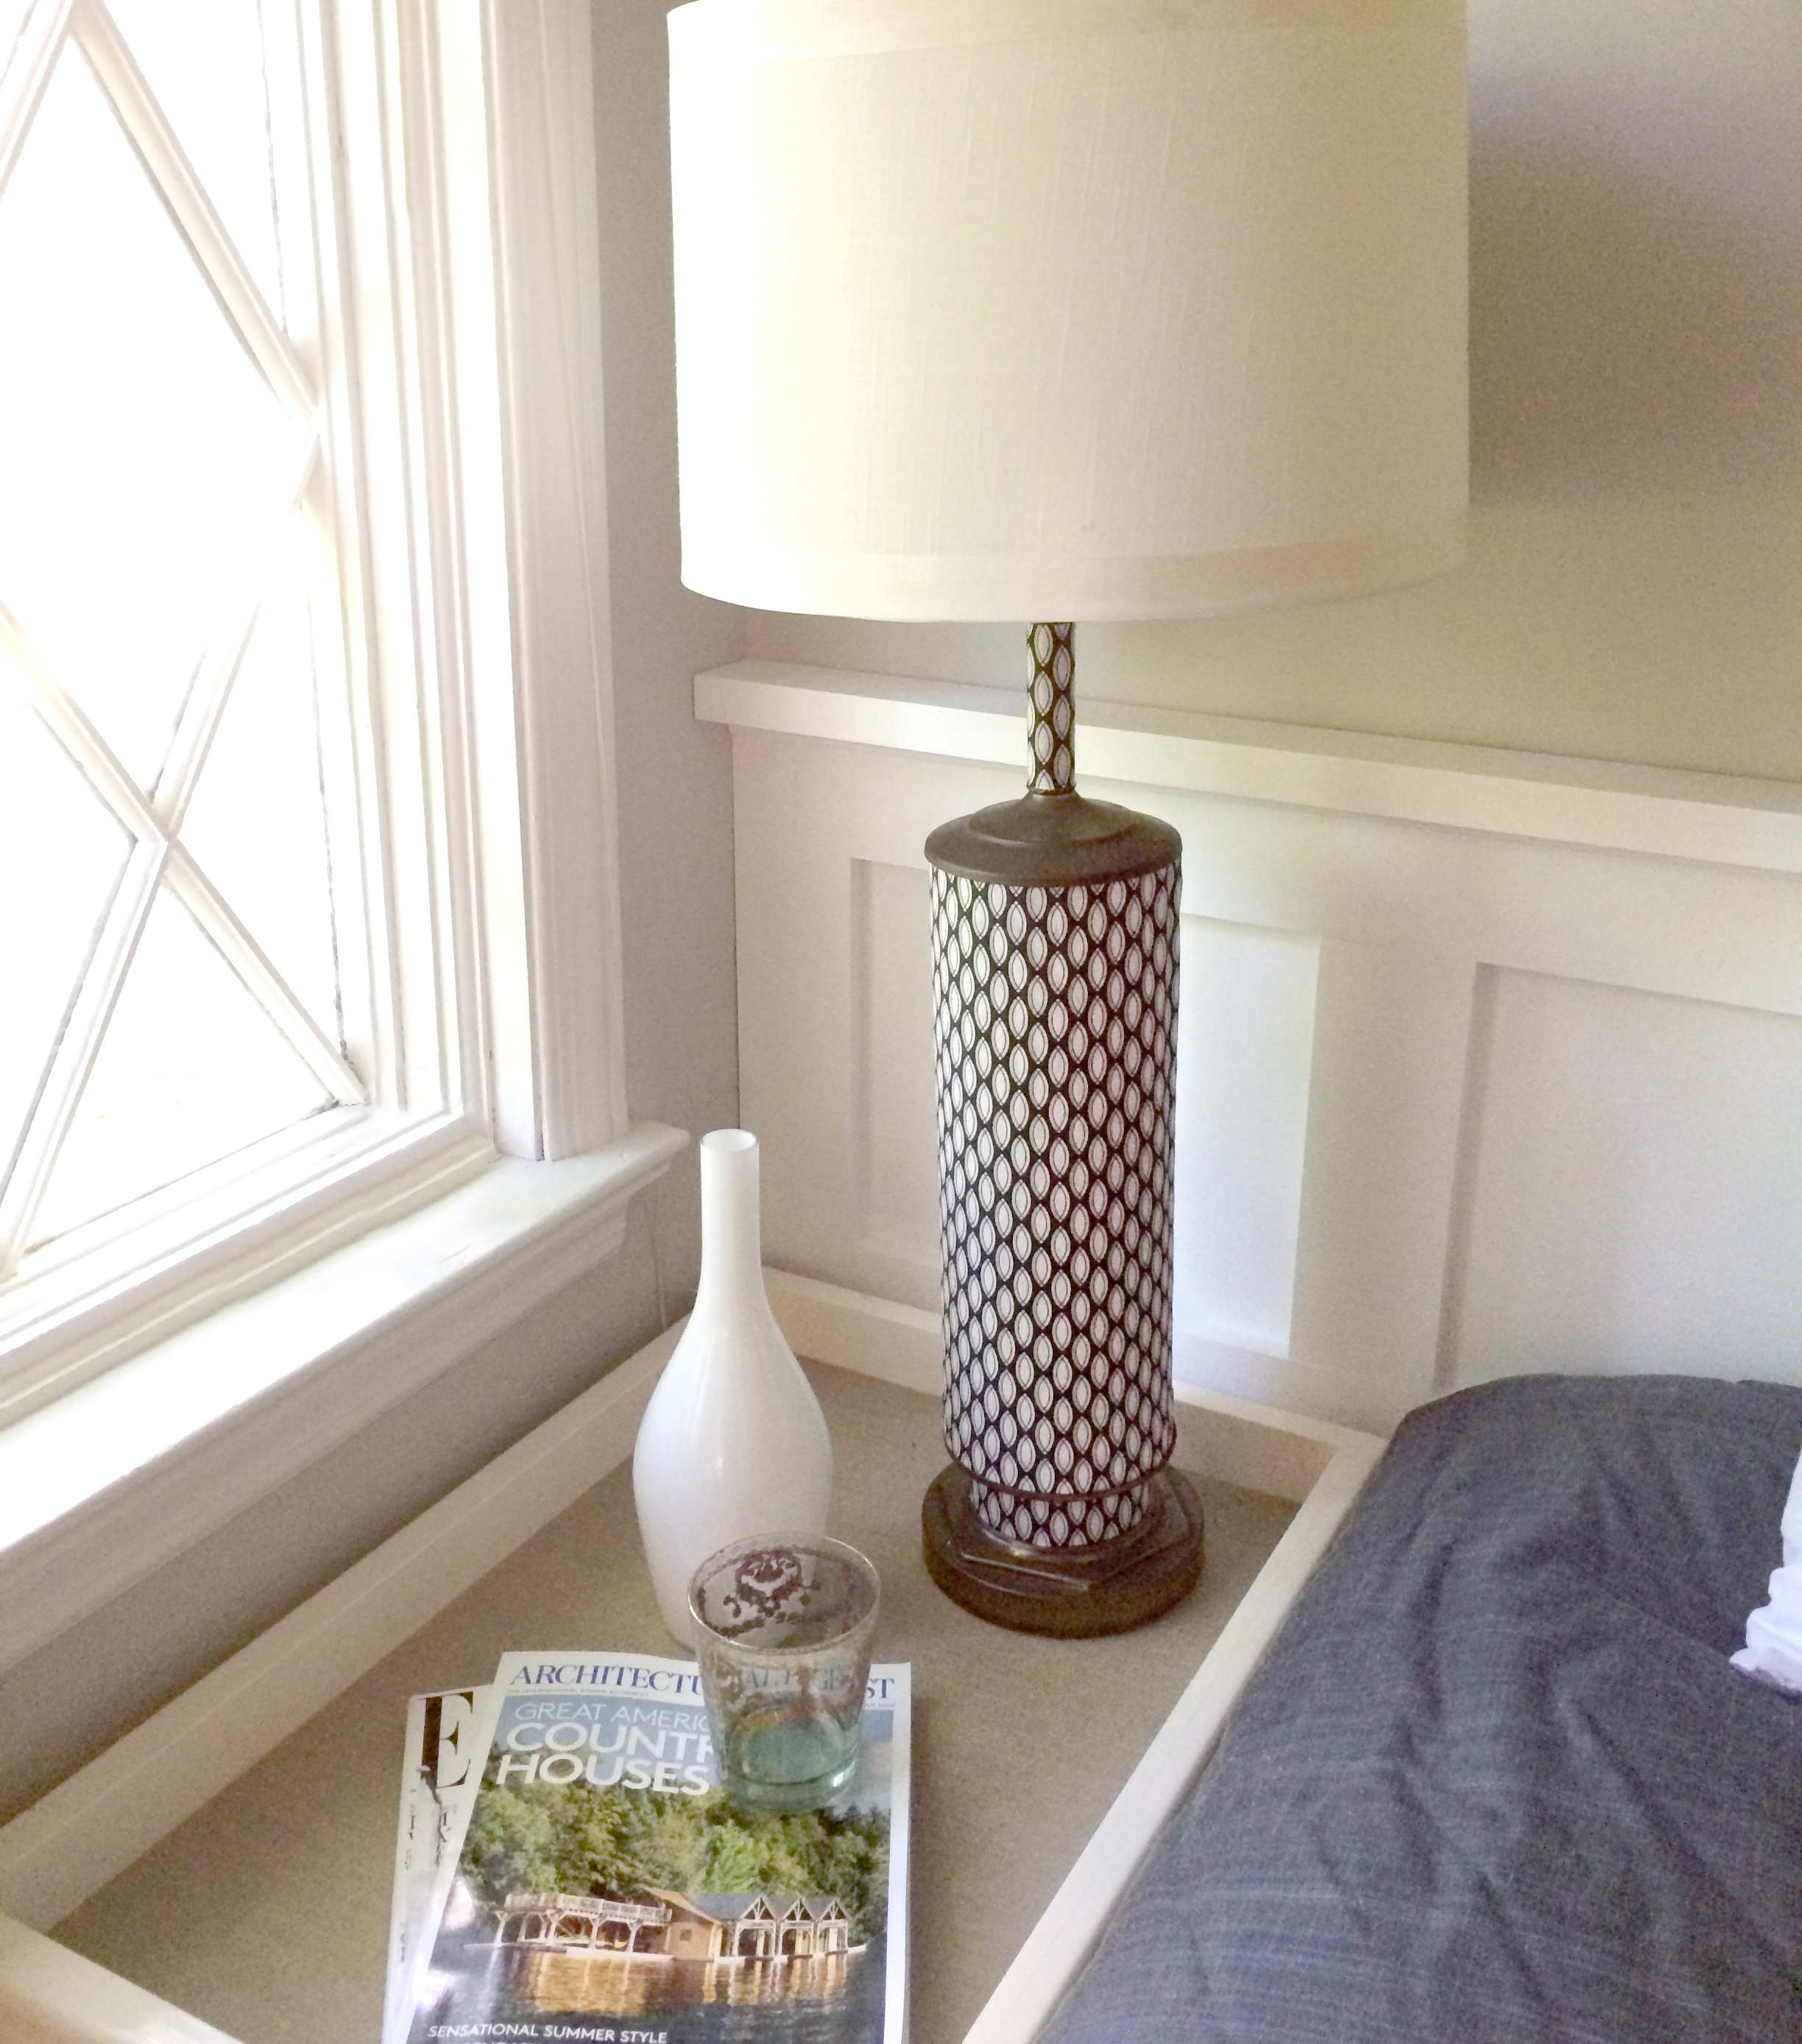
Newly finished lamps in my guest room.

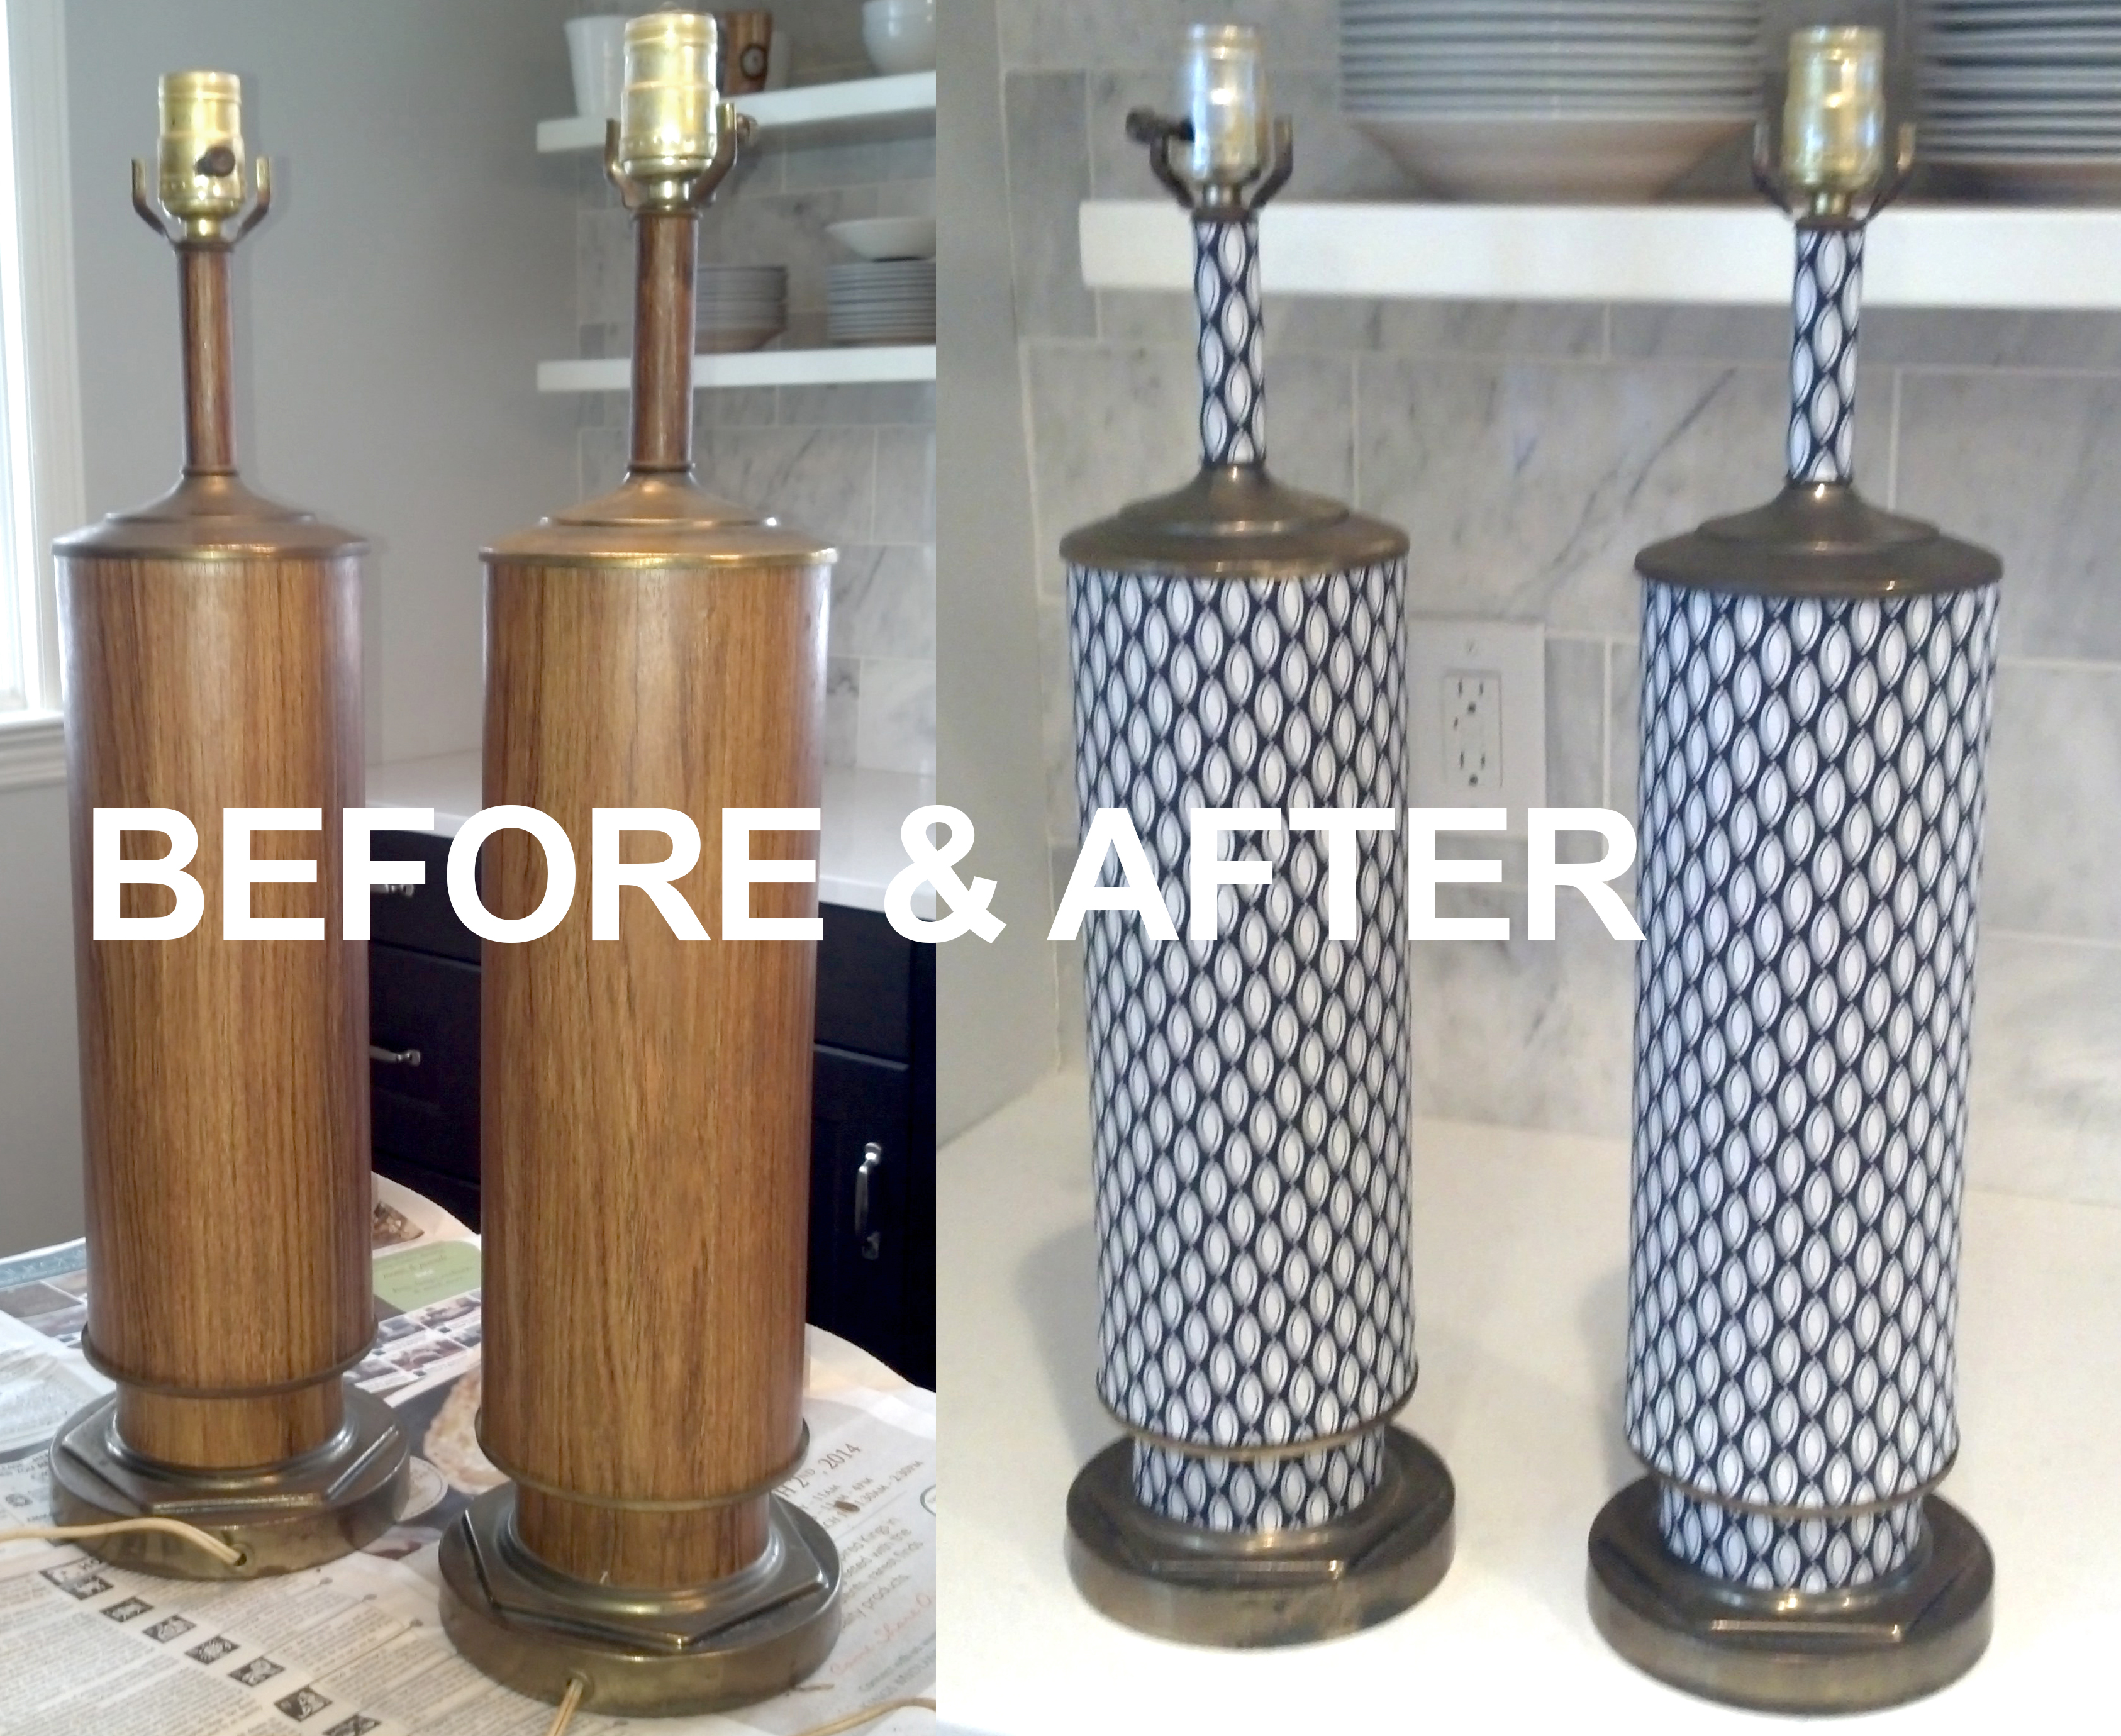
I don’t know about you, but I have a closet of things I should bring to Salvation Army but just can’t part with. I also have a habit of picking up people’s rejects (these 60’s wood veneer lamps for example) and other sad items at antique stores and estate sales that are screaming for a facelift. Here, I help you (and myself) tackle 2 of these afflictions at once and create one beautiful product out of two unwanted ones.

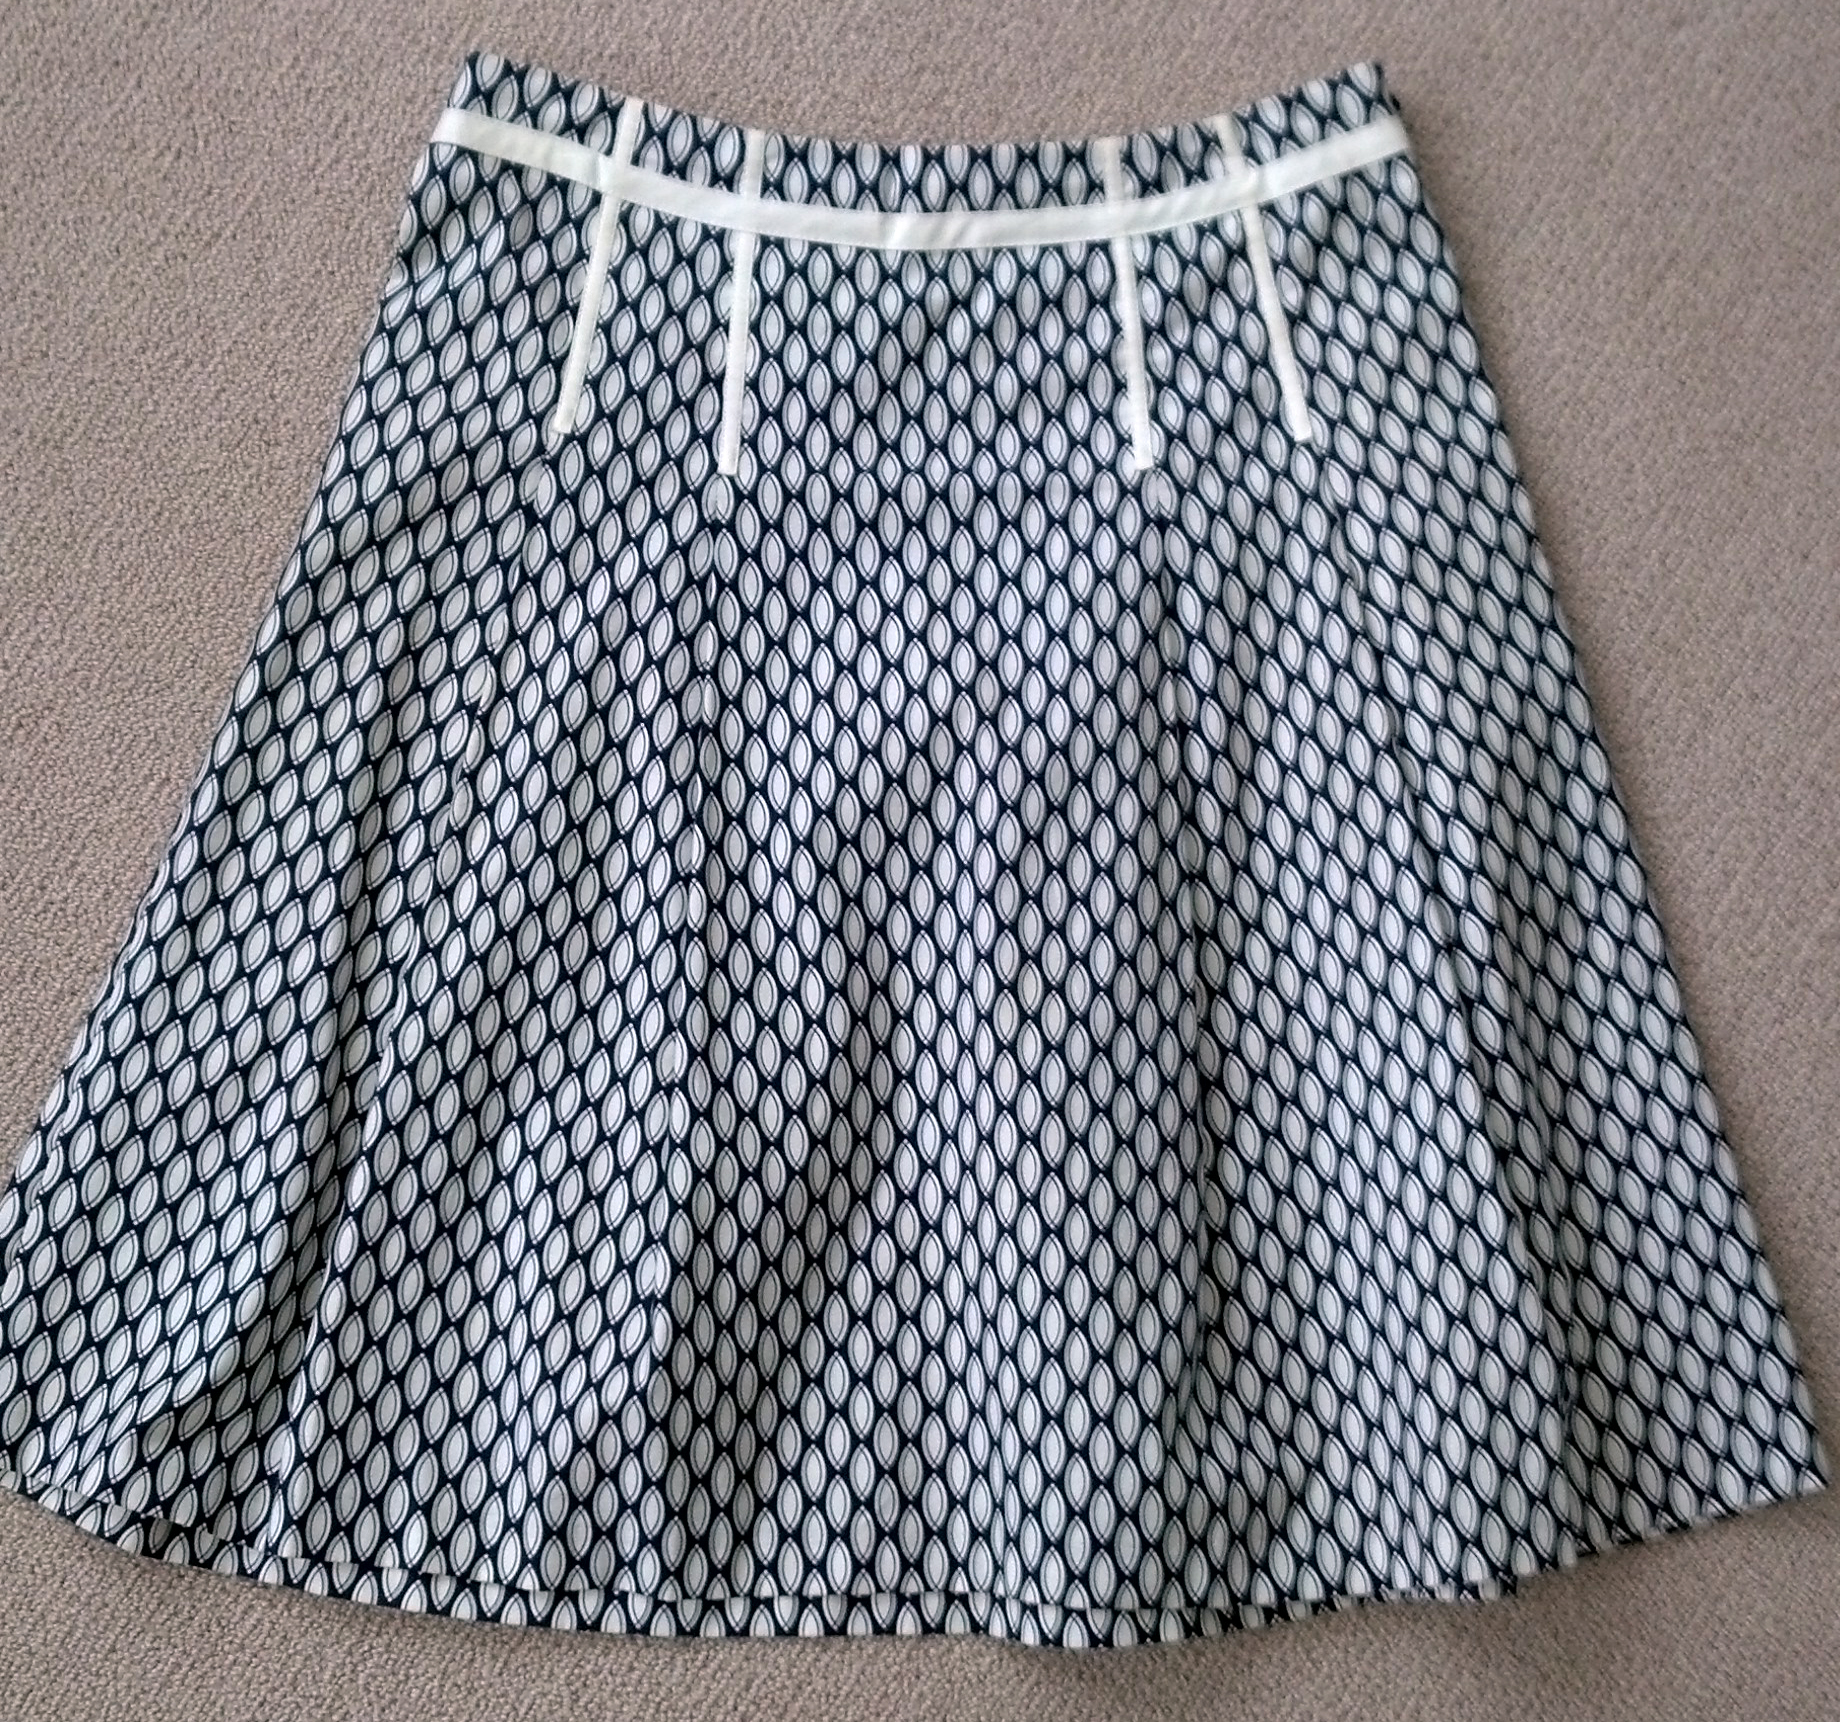
Using a skirt—from about 10 years ago—I reupholster a pair of lamps. Back story on the skirt I only wore once: it was a sweltering summer day in midtown (NYC) and I was working at Elle Decor magazine at the time. We were throwing a book signing party that night in conjunction with PR team LaForce + Stevens for Martha Baker’s coffee table book about beautiful pools, The Swimming Pool: Inspiration and Style from Around the World. I would have paid my small salary to be in a pool at the moment but instead found myself sweaty, running late, and hustling through god-awful Times Sq to get to this event. I detoured into the GAP and in under a minute reappeared refreshed and in this skirt (picture Clark Kent in the phone booth). Both Margaret Russell (EIC of Elle Decor at the time) and author Martha Baker complimented me on the skirt that night, so it only seems appropriate that I’ve—hoarded the skirt until now and—turned it into a pair of lamps.

I think the tight pattern lends itself well to this small-scale project and gives these lamps sort of a French mid-century meets Herend porcelain look. Read below for instructions on how I did it. Happy DIY’ing!

GAP skirt from 10 years ago.


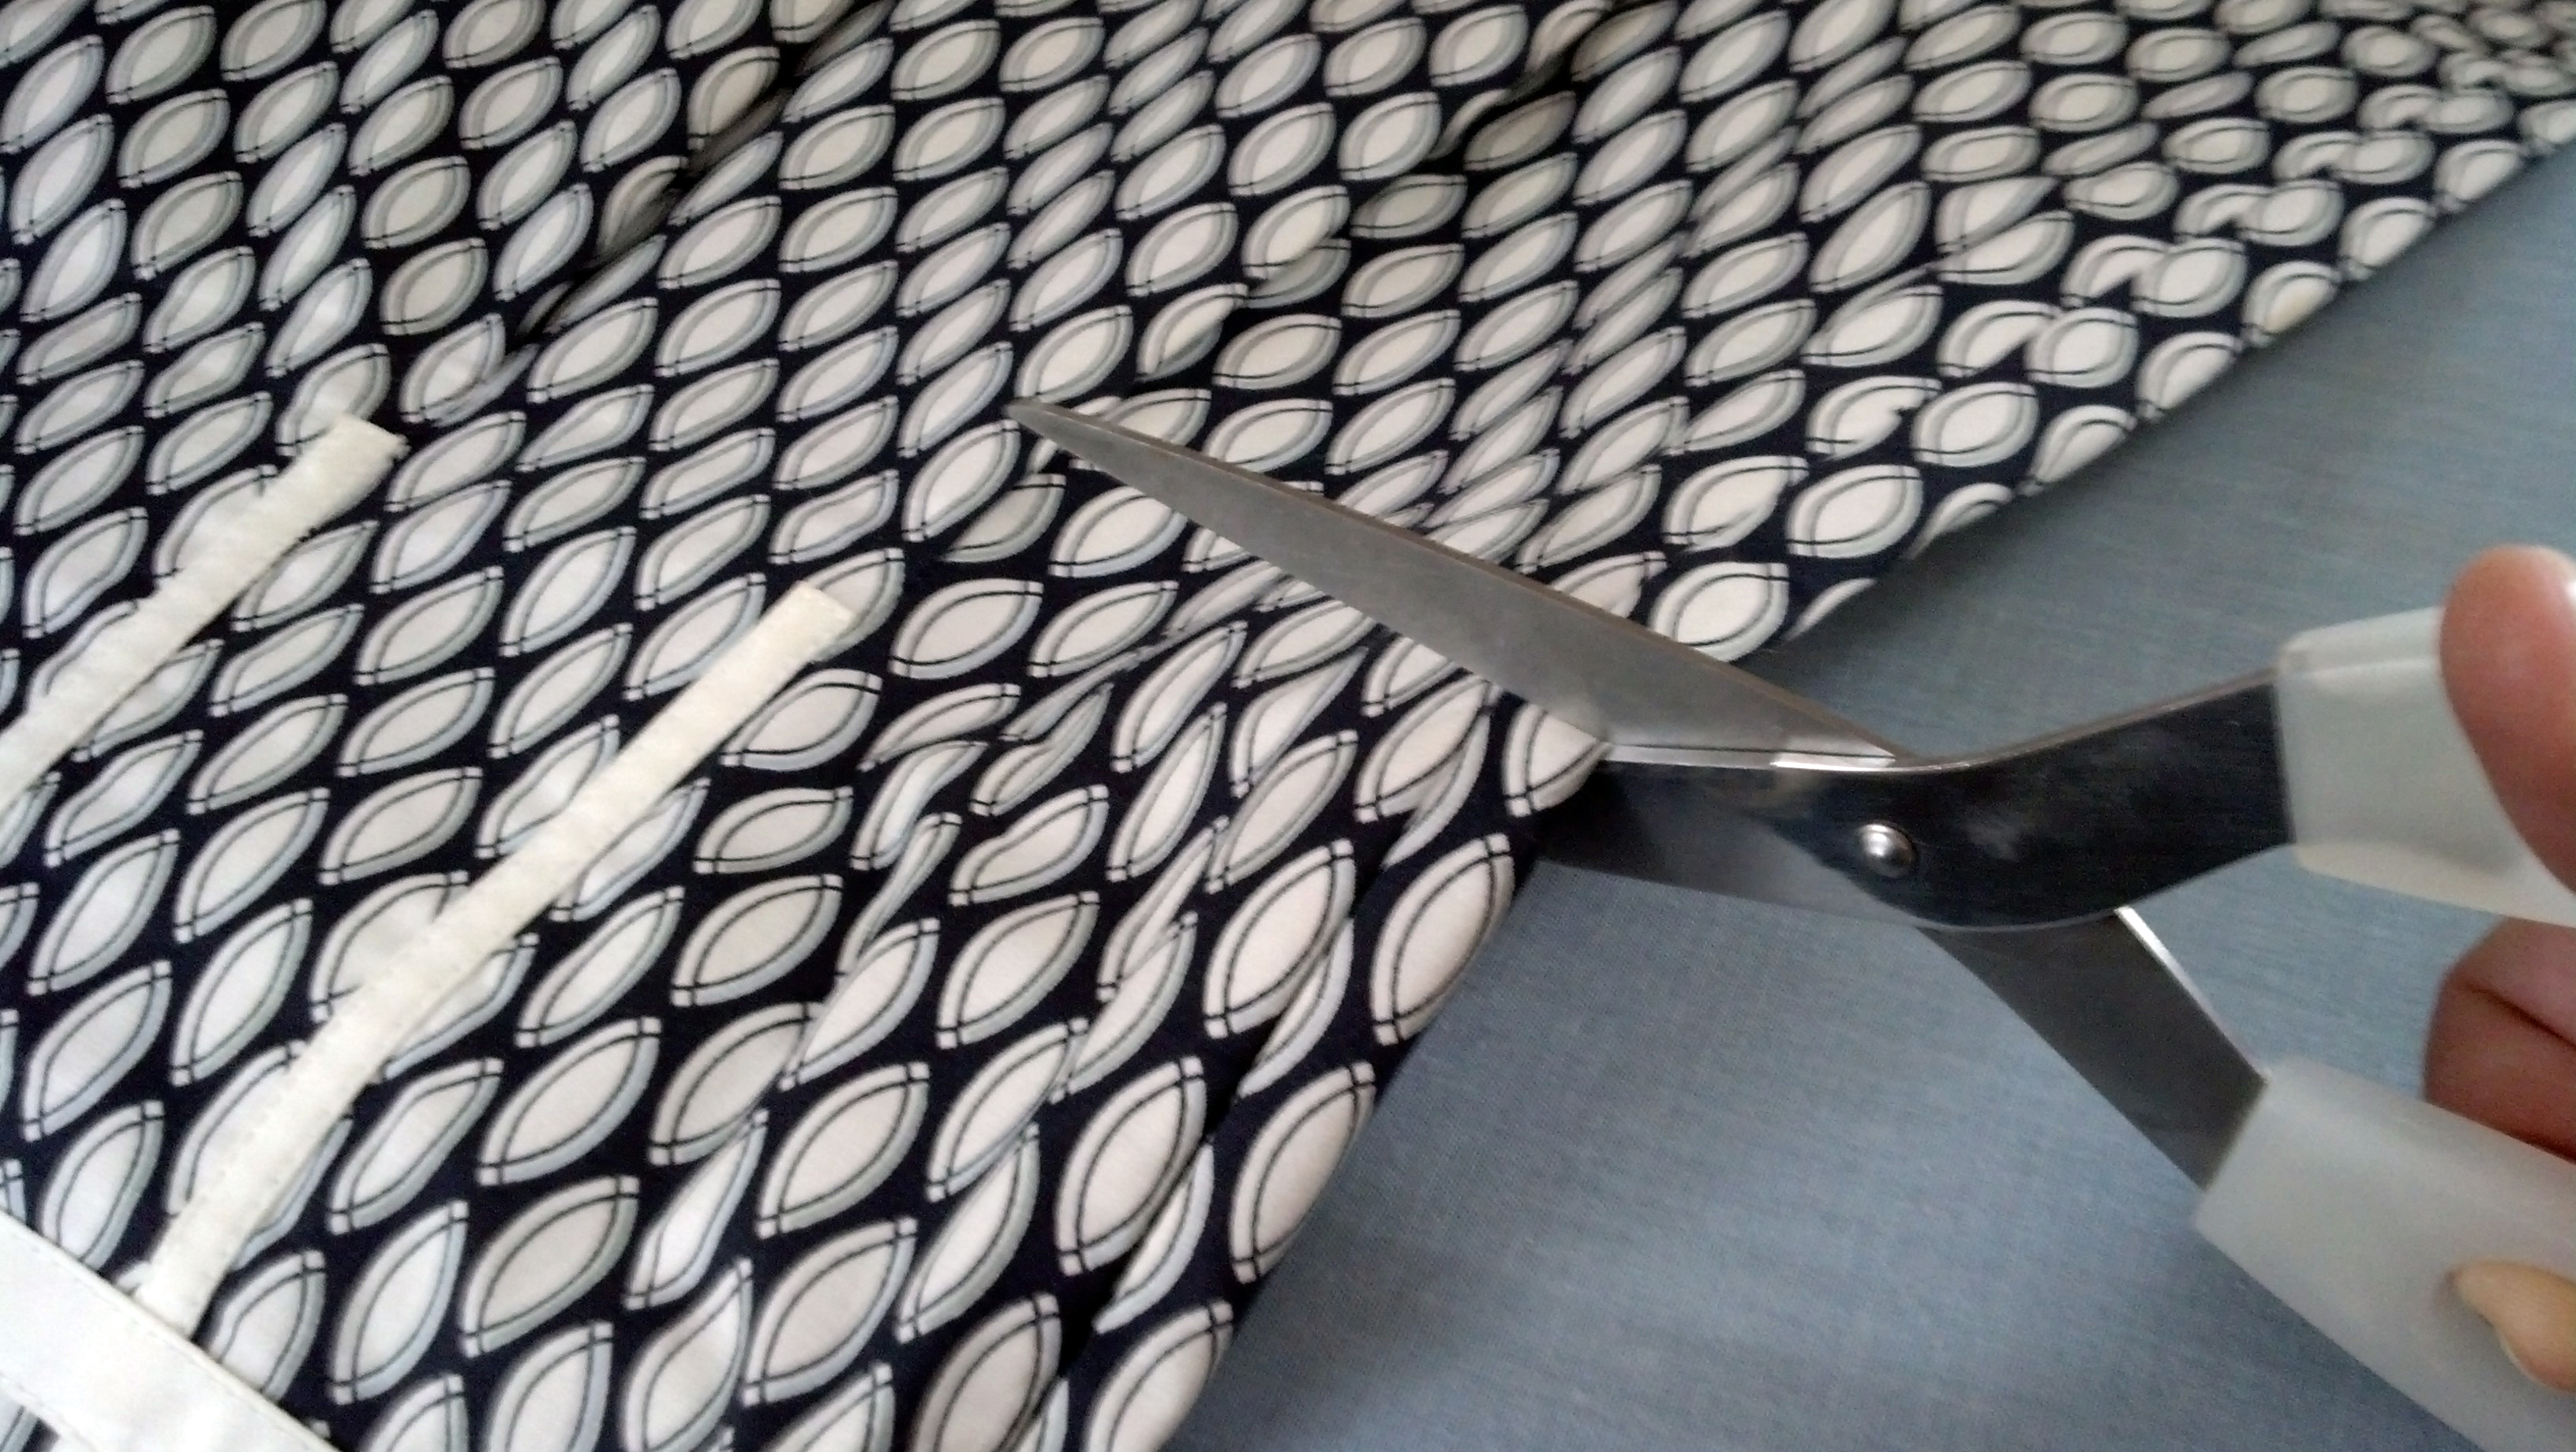
I cut the skirt into clean fabric panels, removing zippers, pleats, etc.

I ironed the fabric to start with a fresh, flat material.

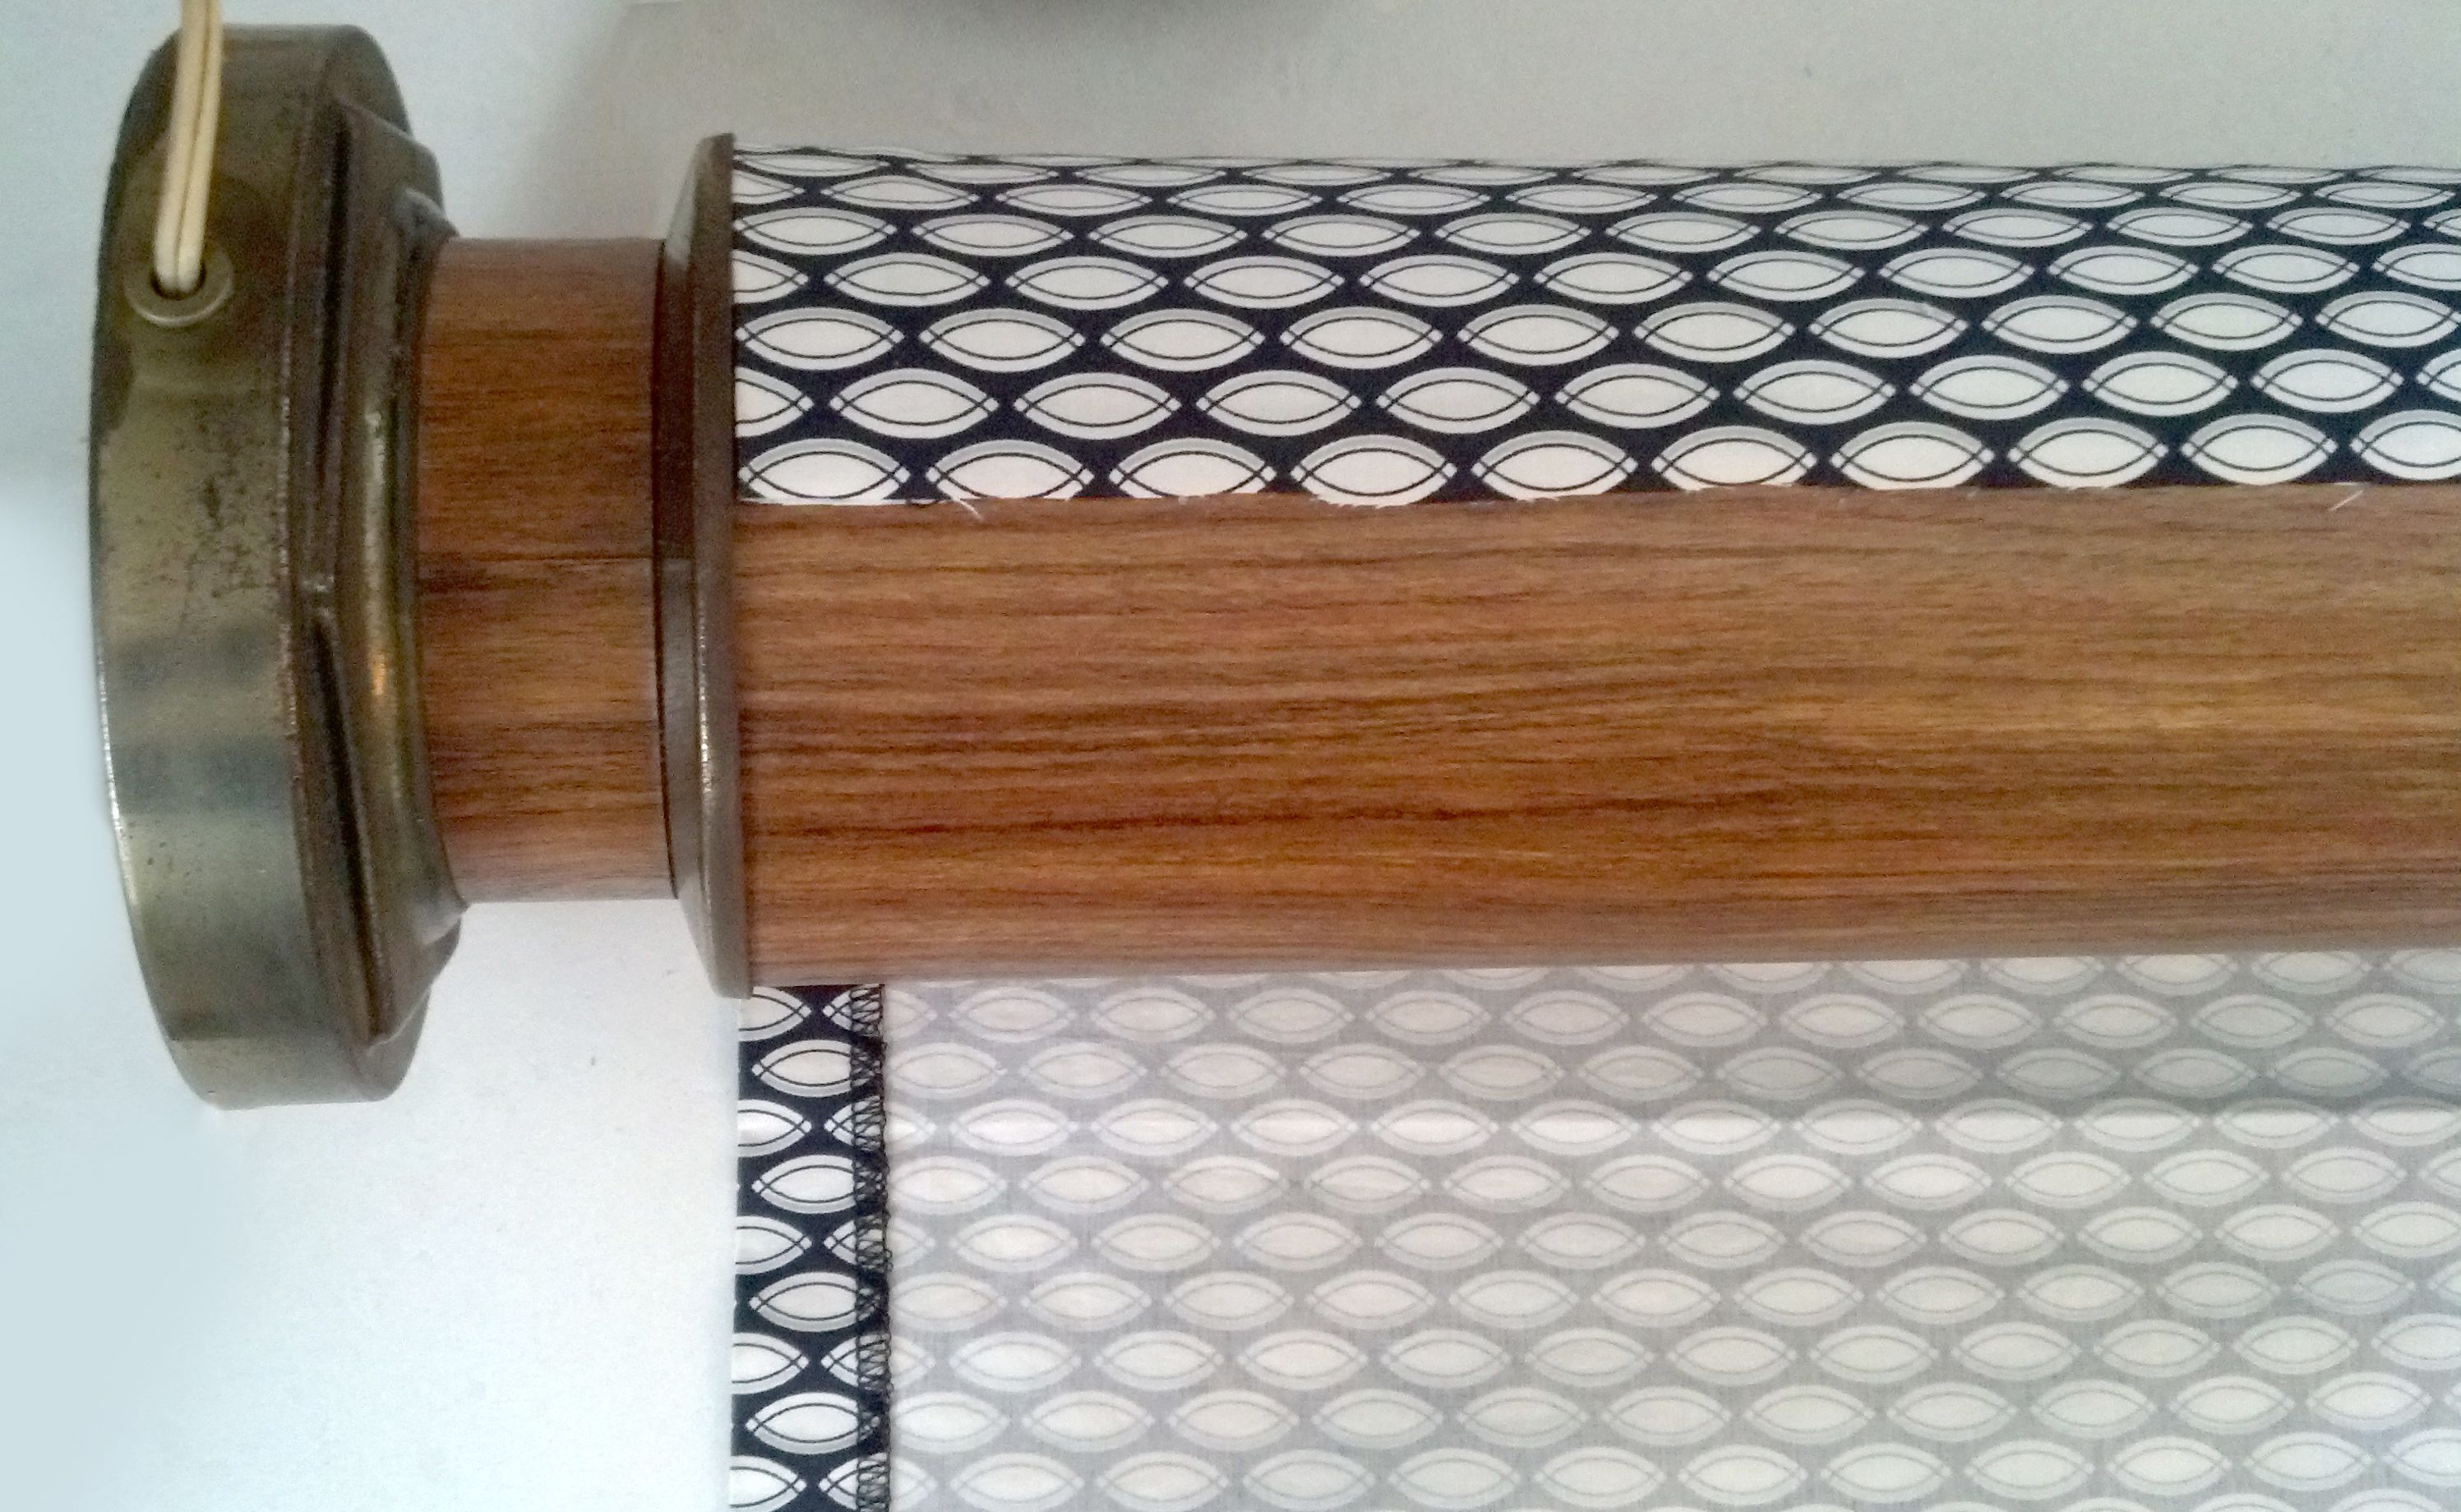
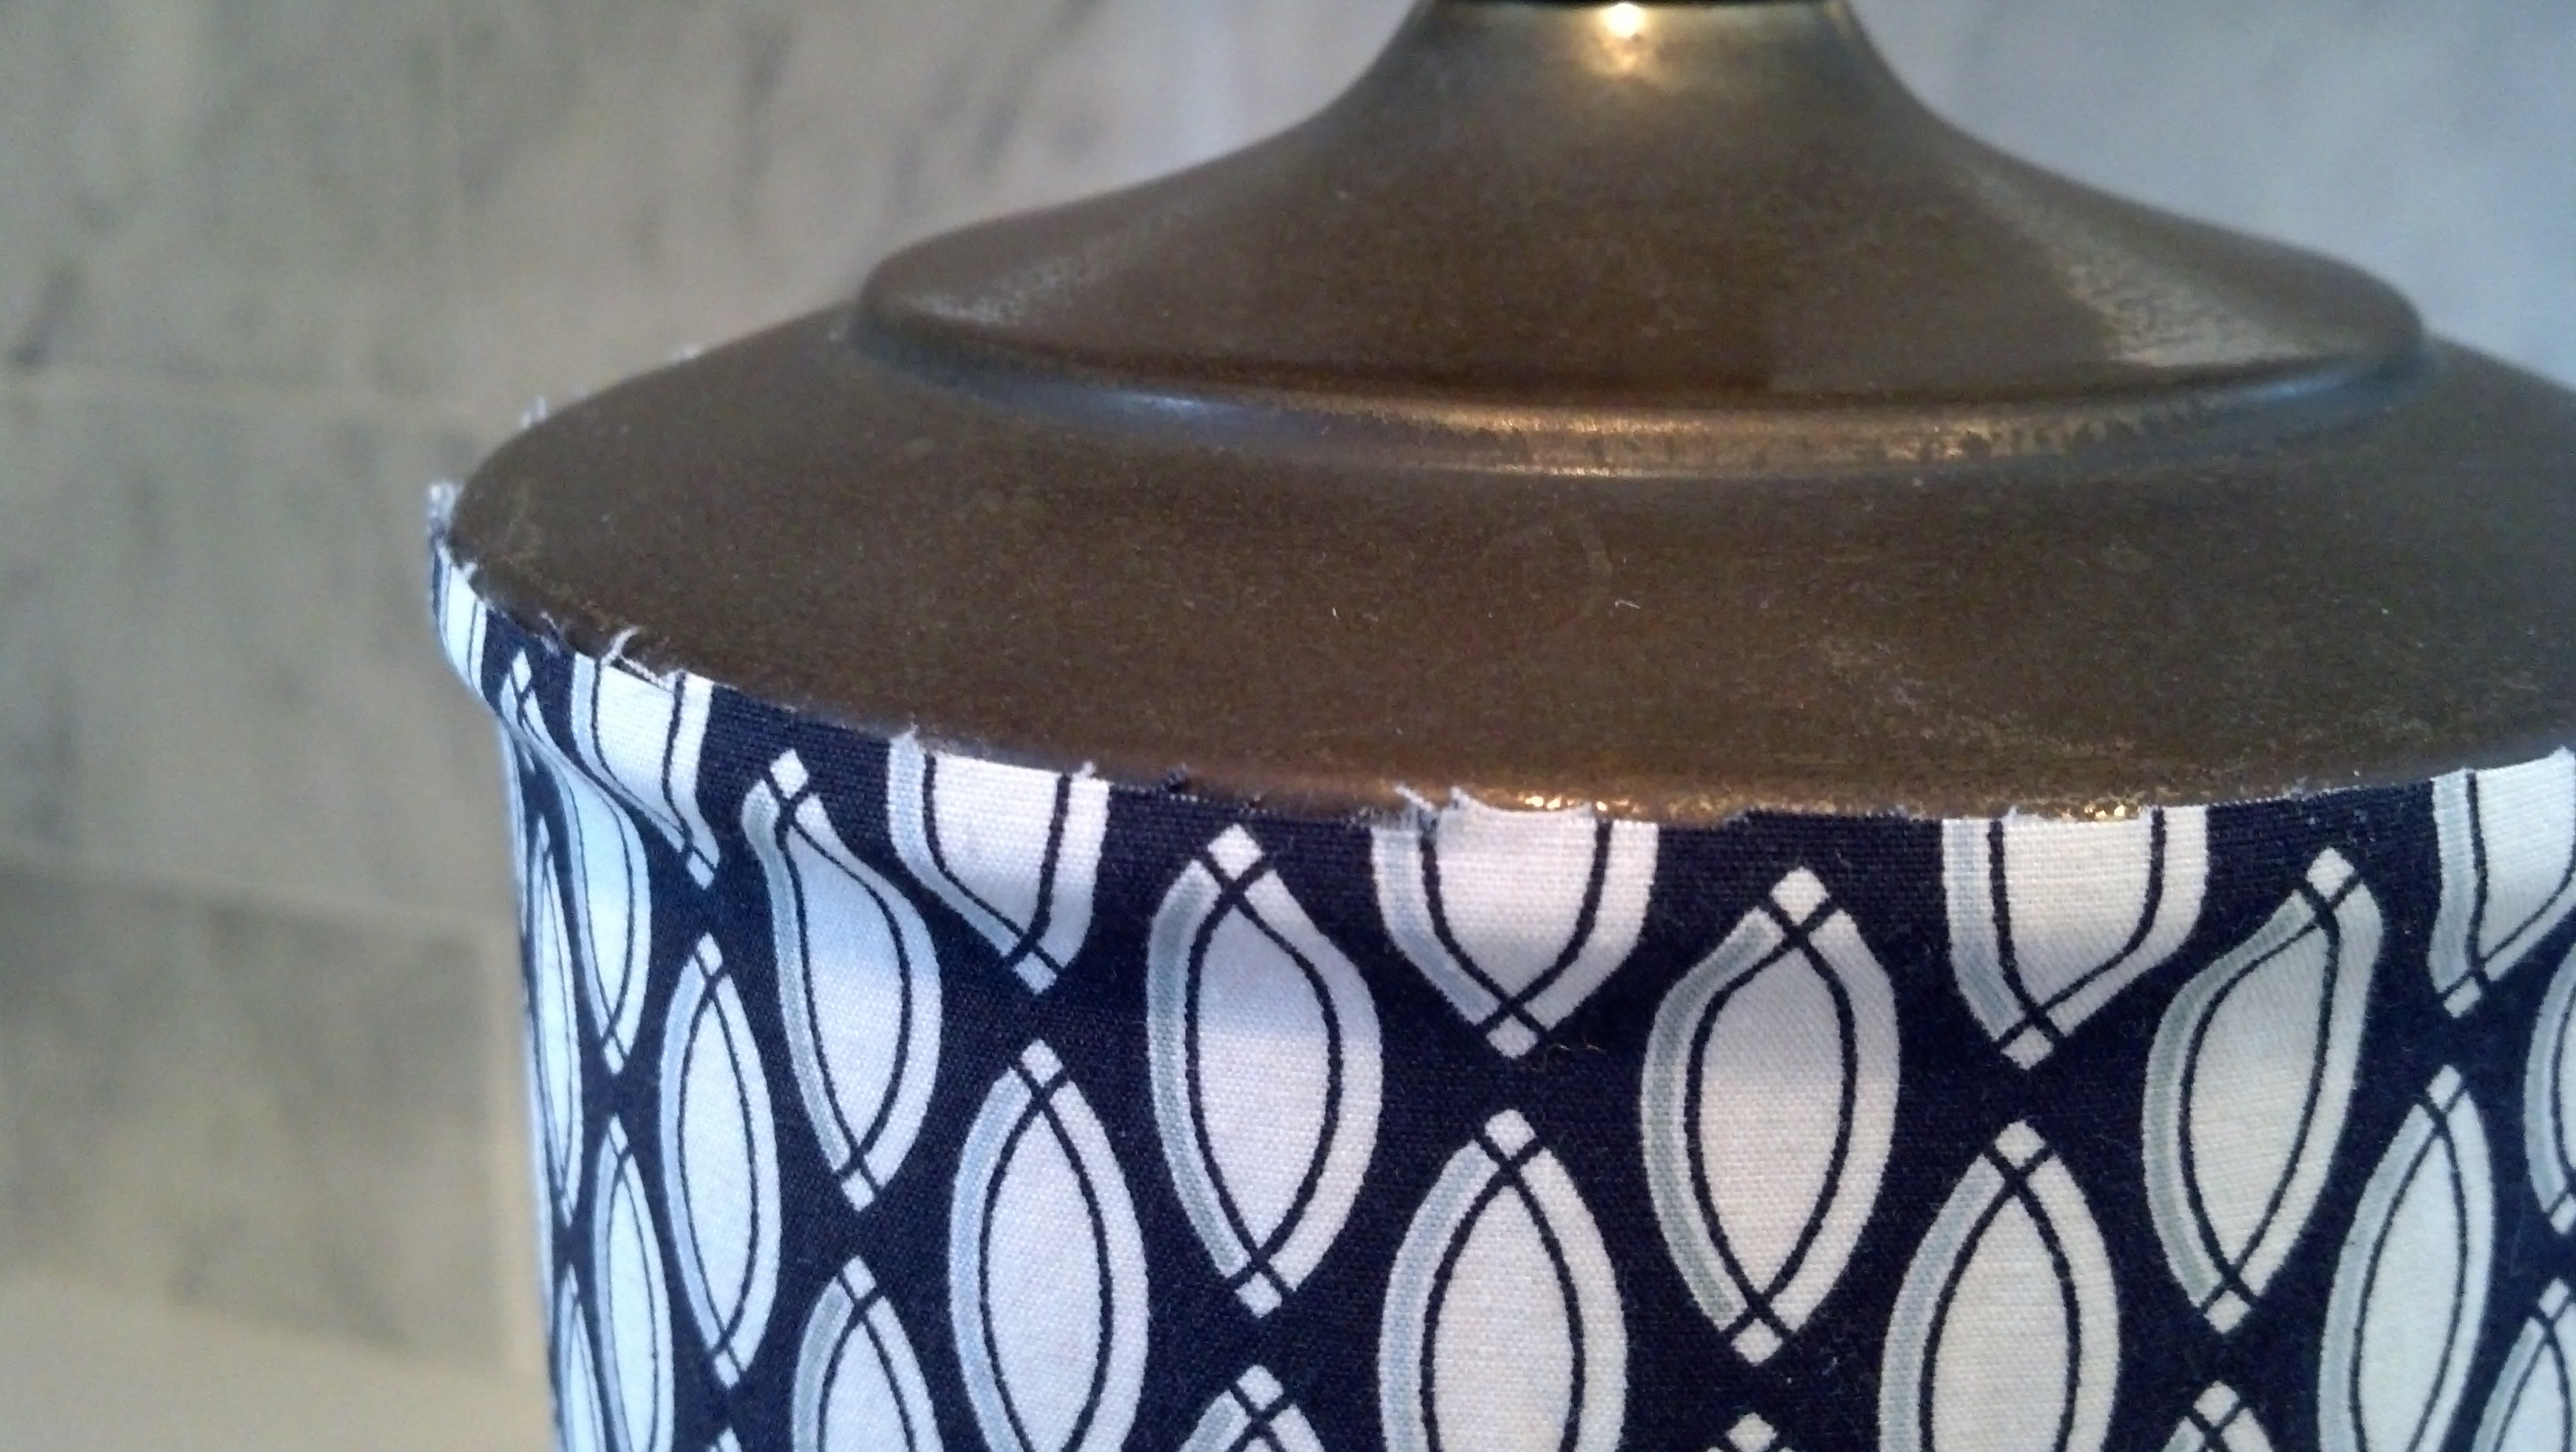
After measuring the height of the lamp base, I cut a panel large enough to wrap the base with a small overlap. I used the factory edge along the bottom of the lamp so I would have one less edge to finish later. With a glue gun, I ran a bead of hot glue along the length of the lamp and slowly fit the fabric to the lamp as i rotated it and glued as I went. I did not hem or fold the finished edge because I had a very clean cut and my final bead of glue was lean and tidy right up agains the edge of the cut.

I then trimmed the excess fabric along the top and left a slight overlap so that I would have extra to finish the top with.

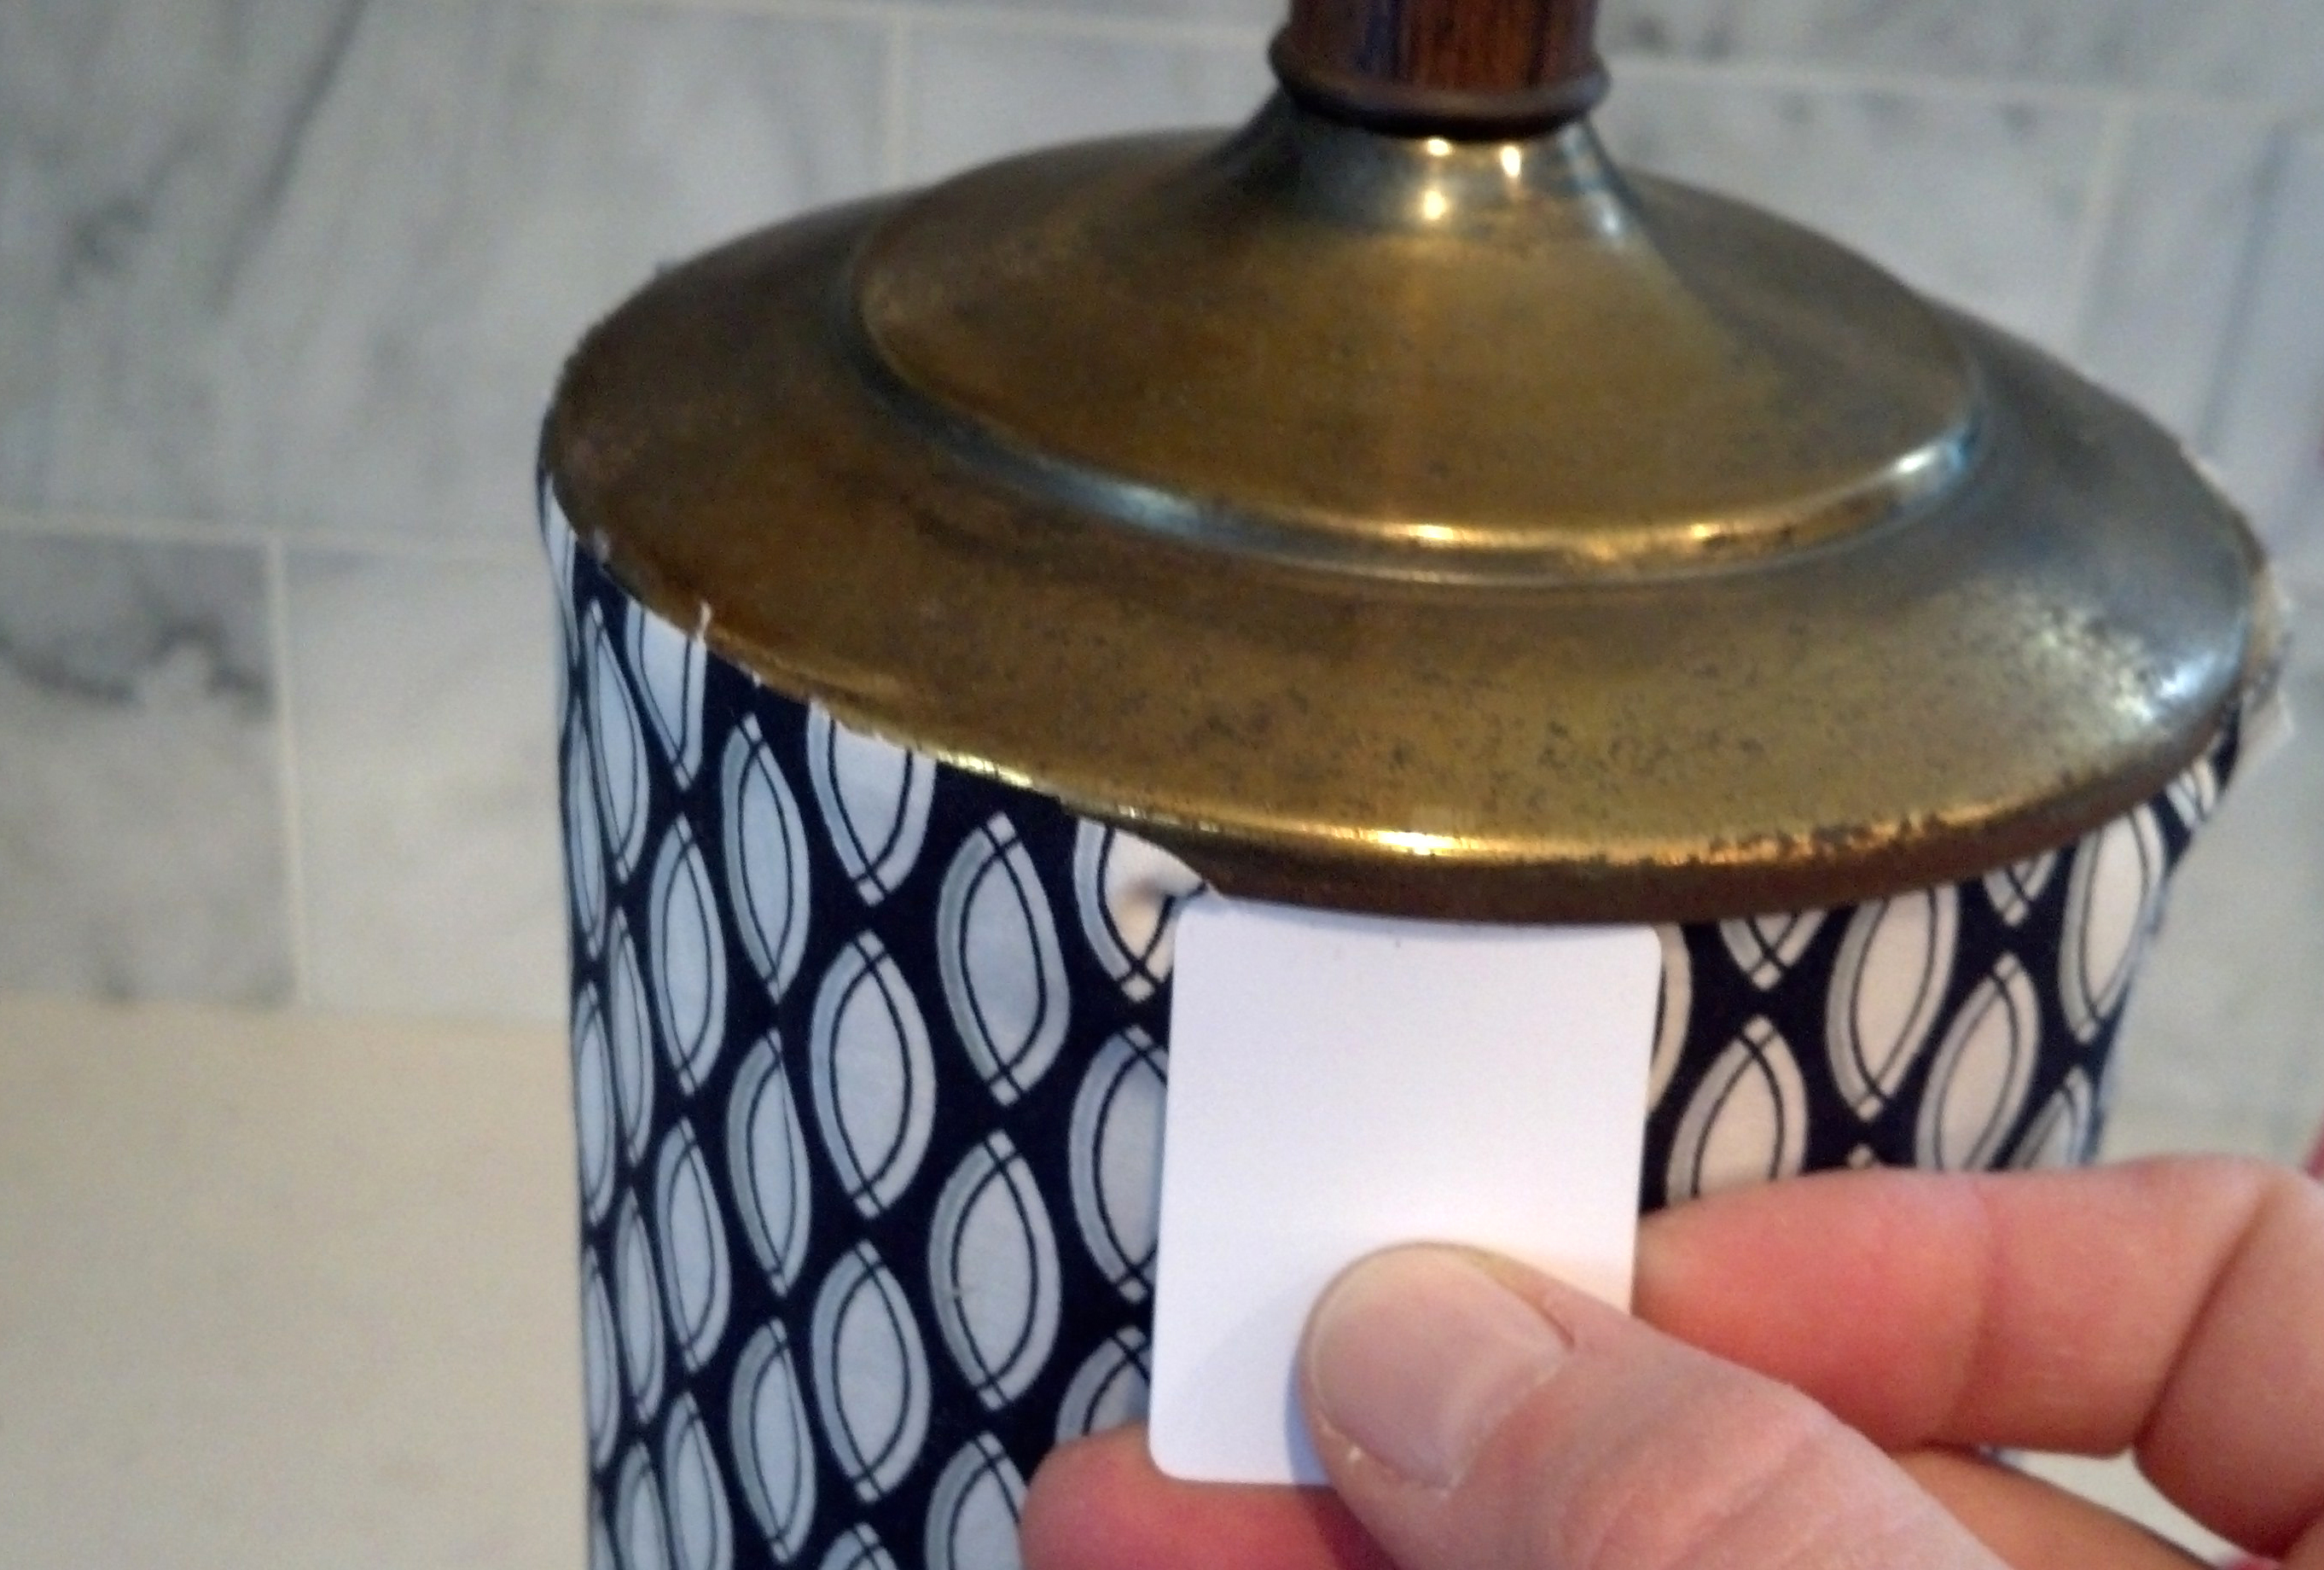
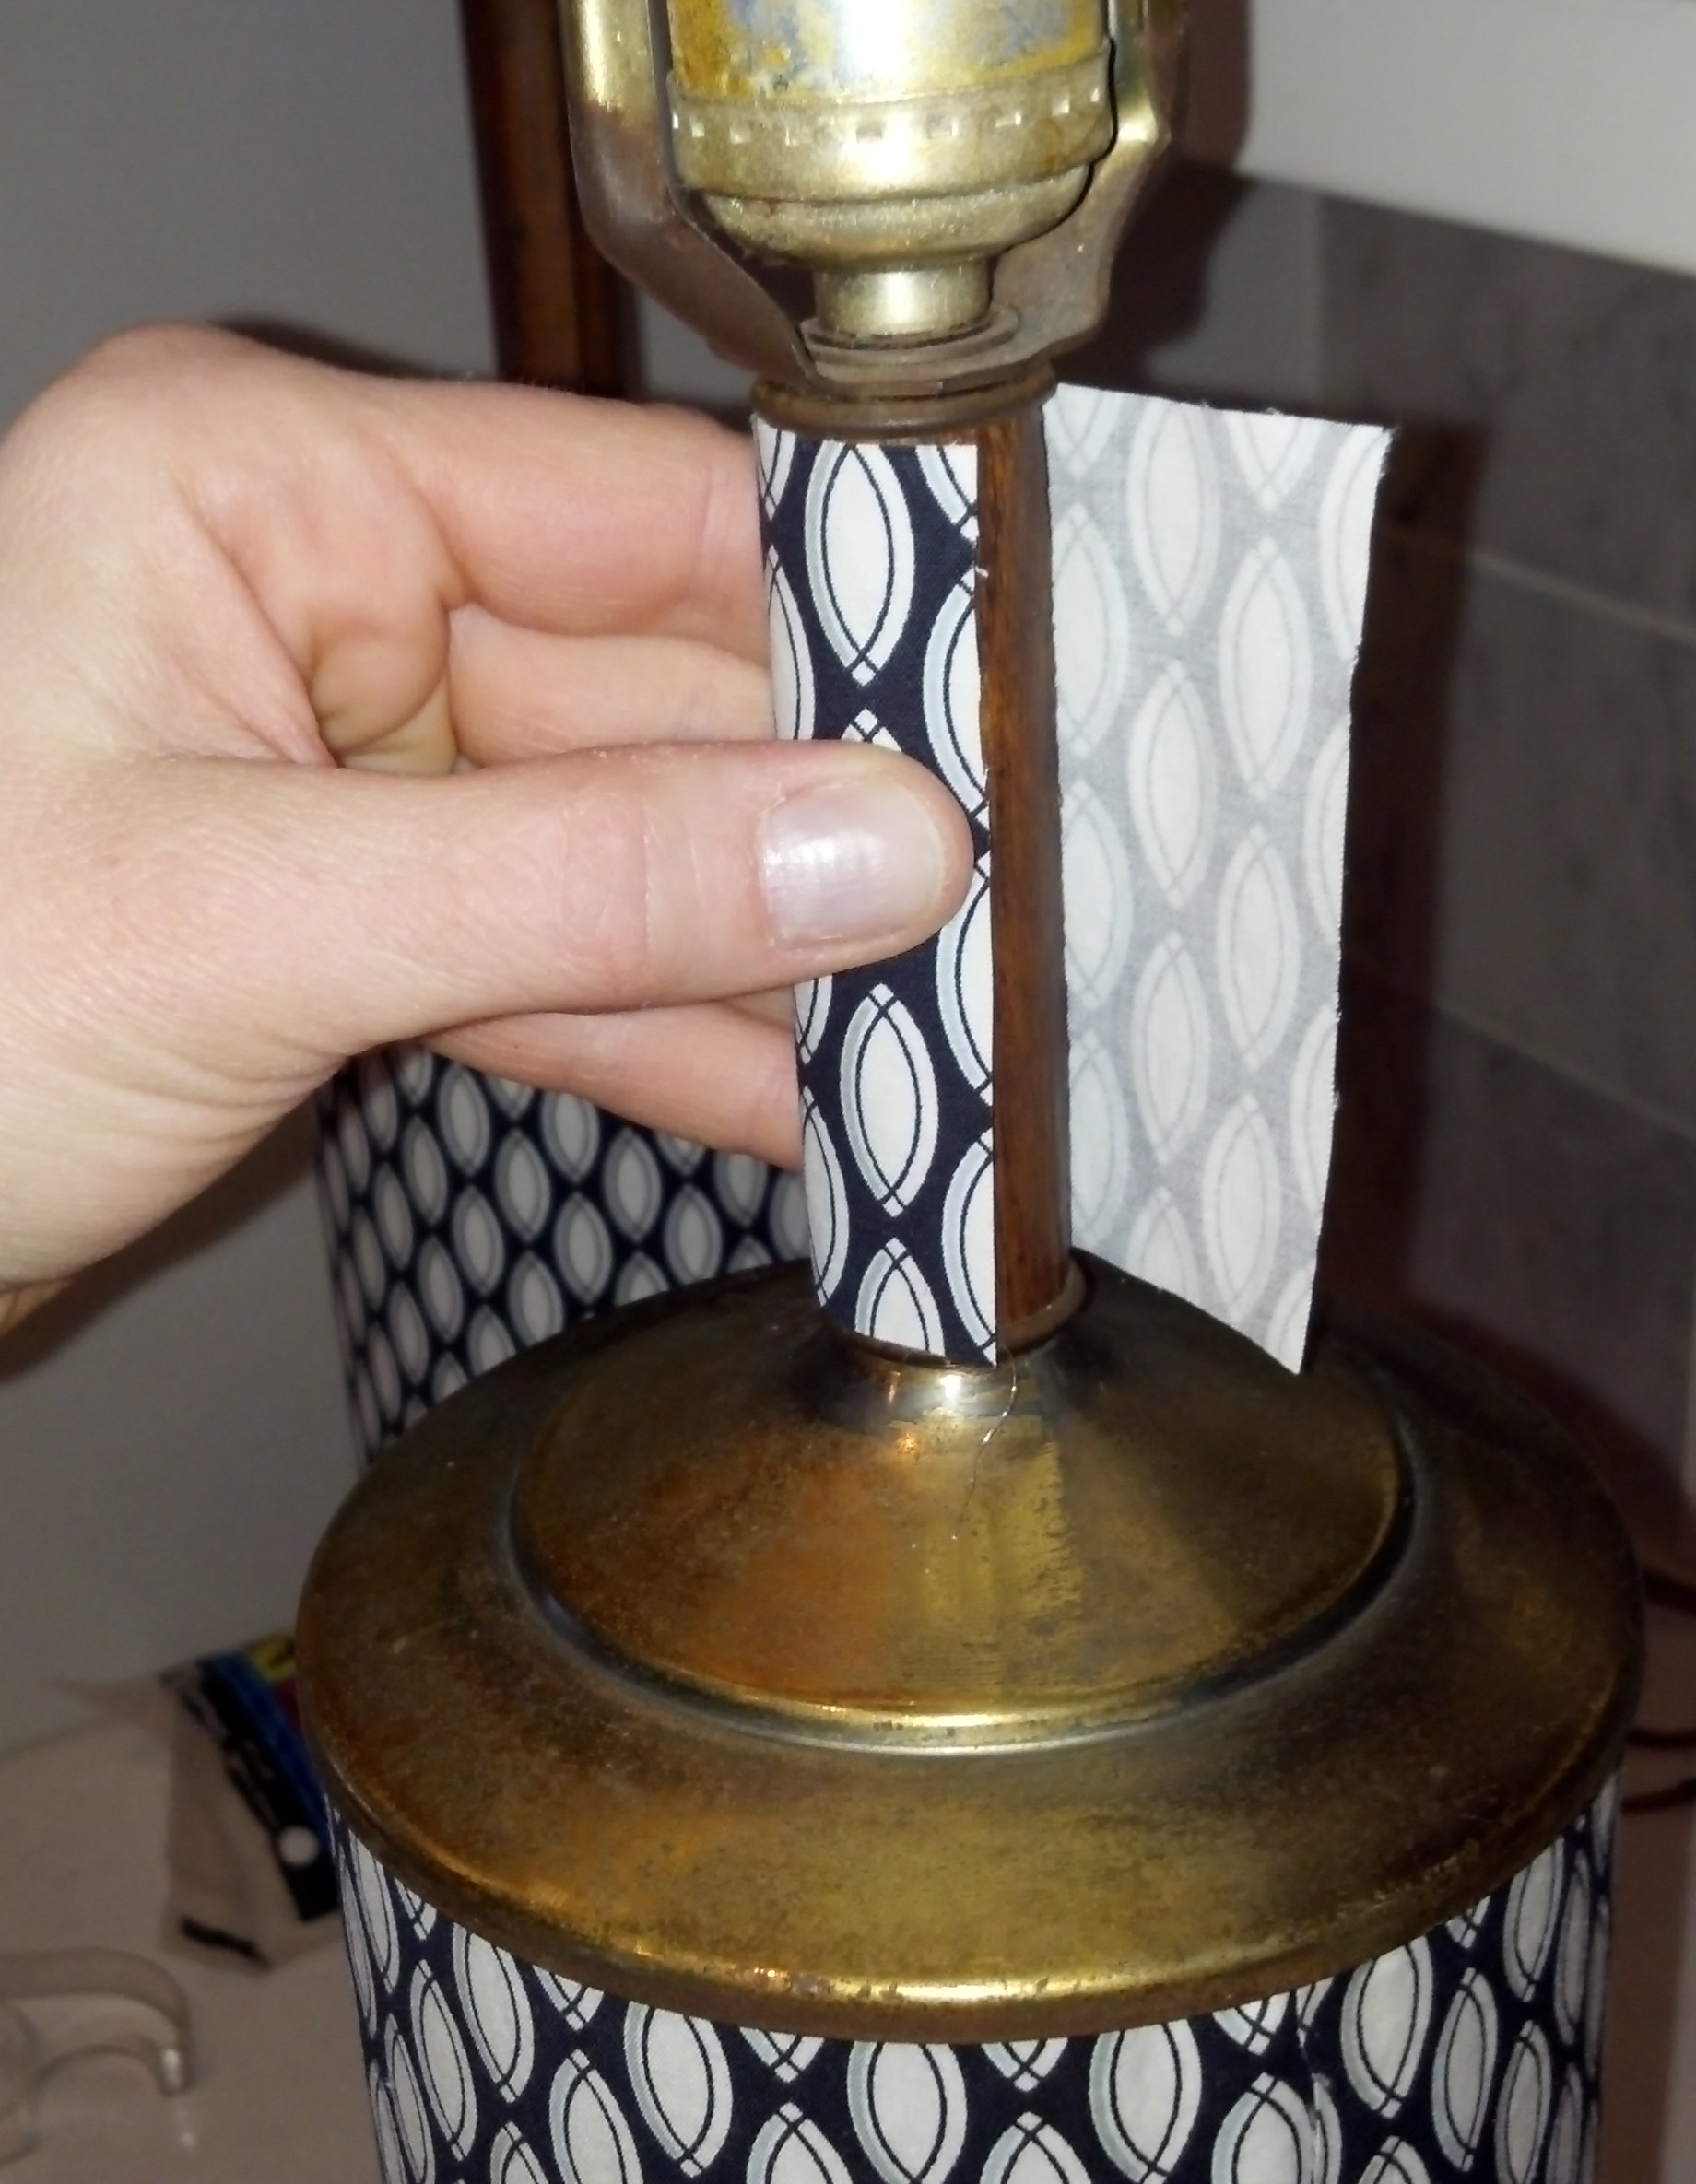
With a small plastic card (you could use the corner of a credit card or a thick business card), I tucked the extra lip of fabric under the metal collar at the top of the lamp.

I then measured and cut strips for the two remaining wood veneer areas.

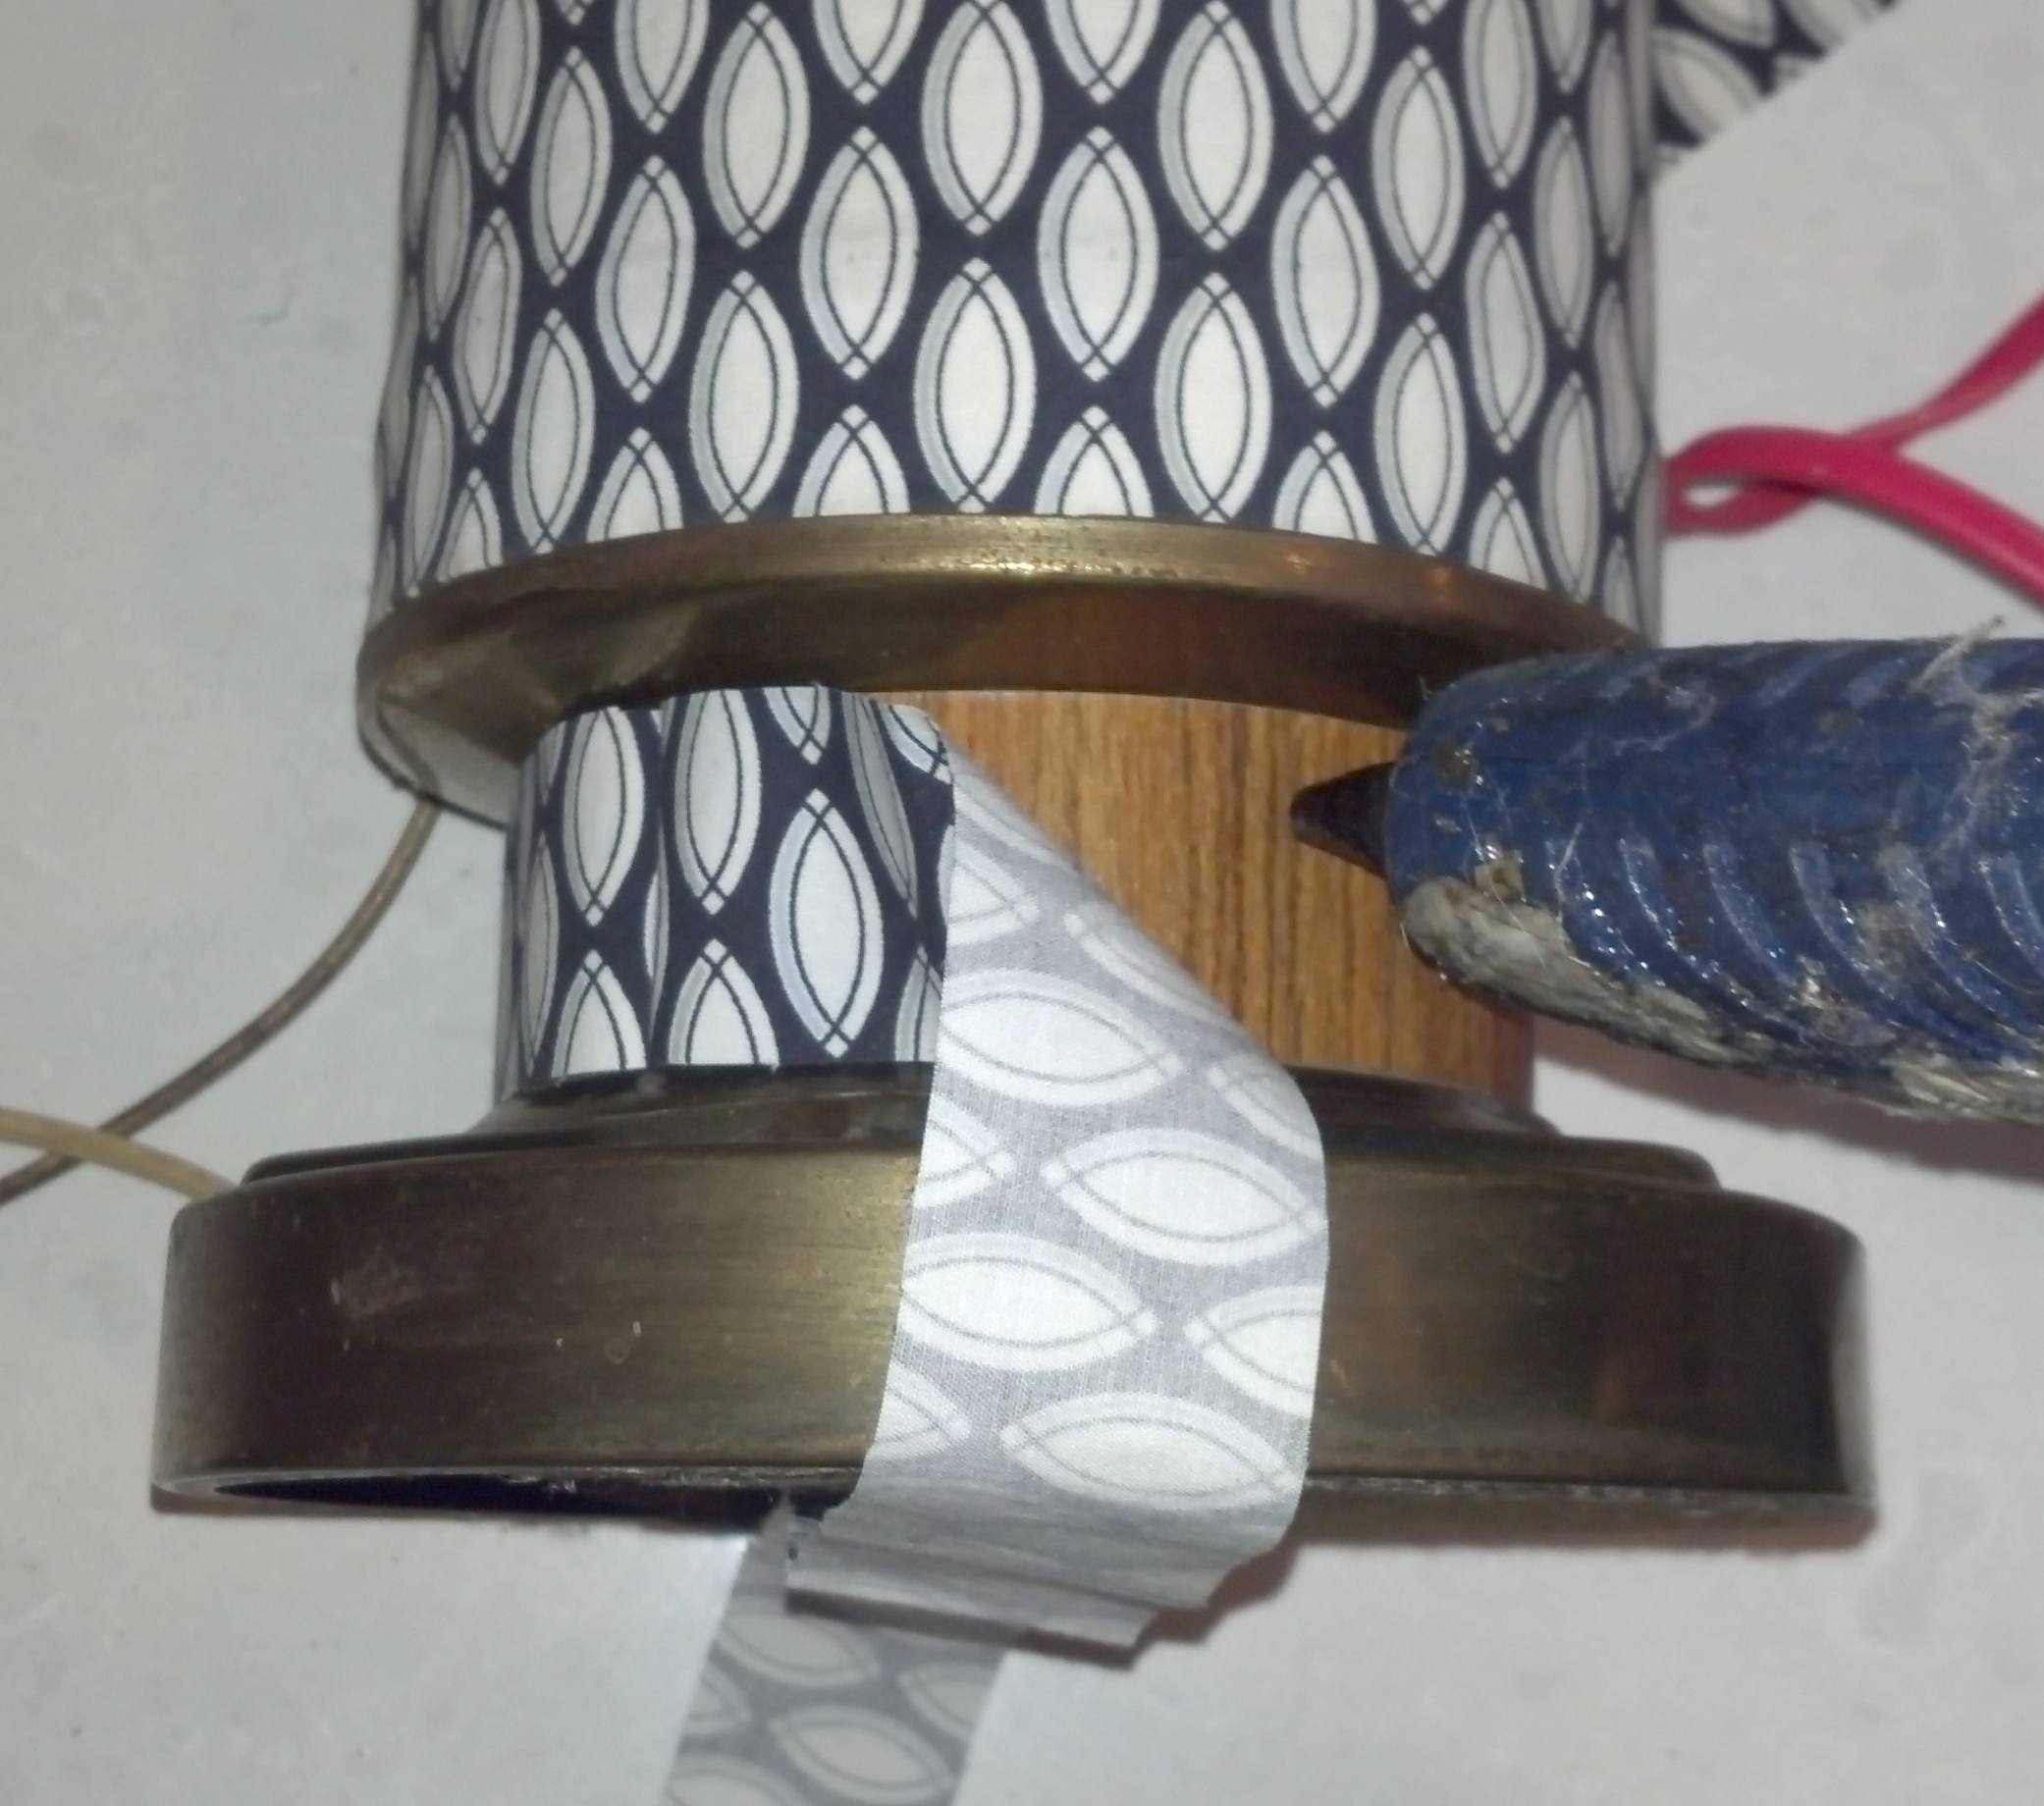
Again, I applied the perfectly cut fabric strips to the lamp and glued as I rotated

And then did the same with the last section.

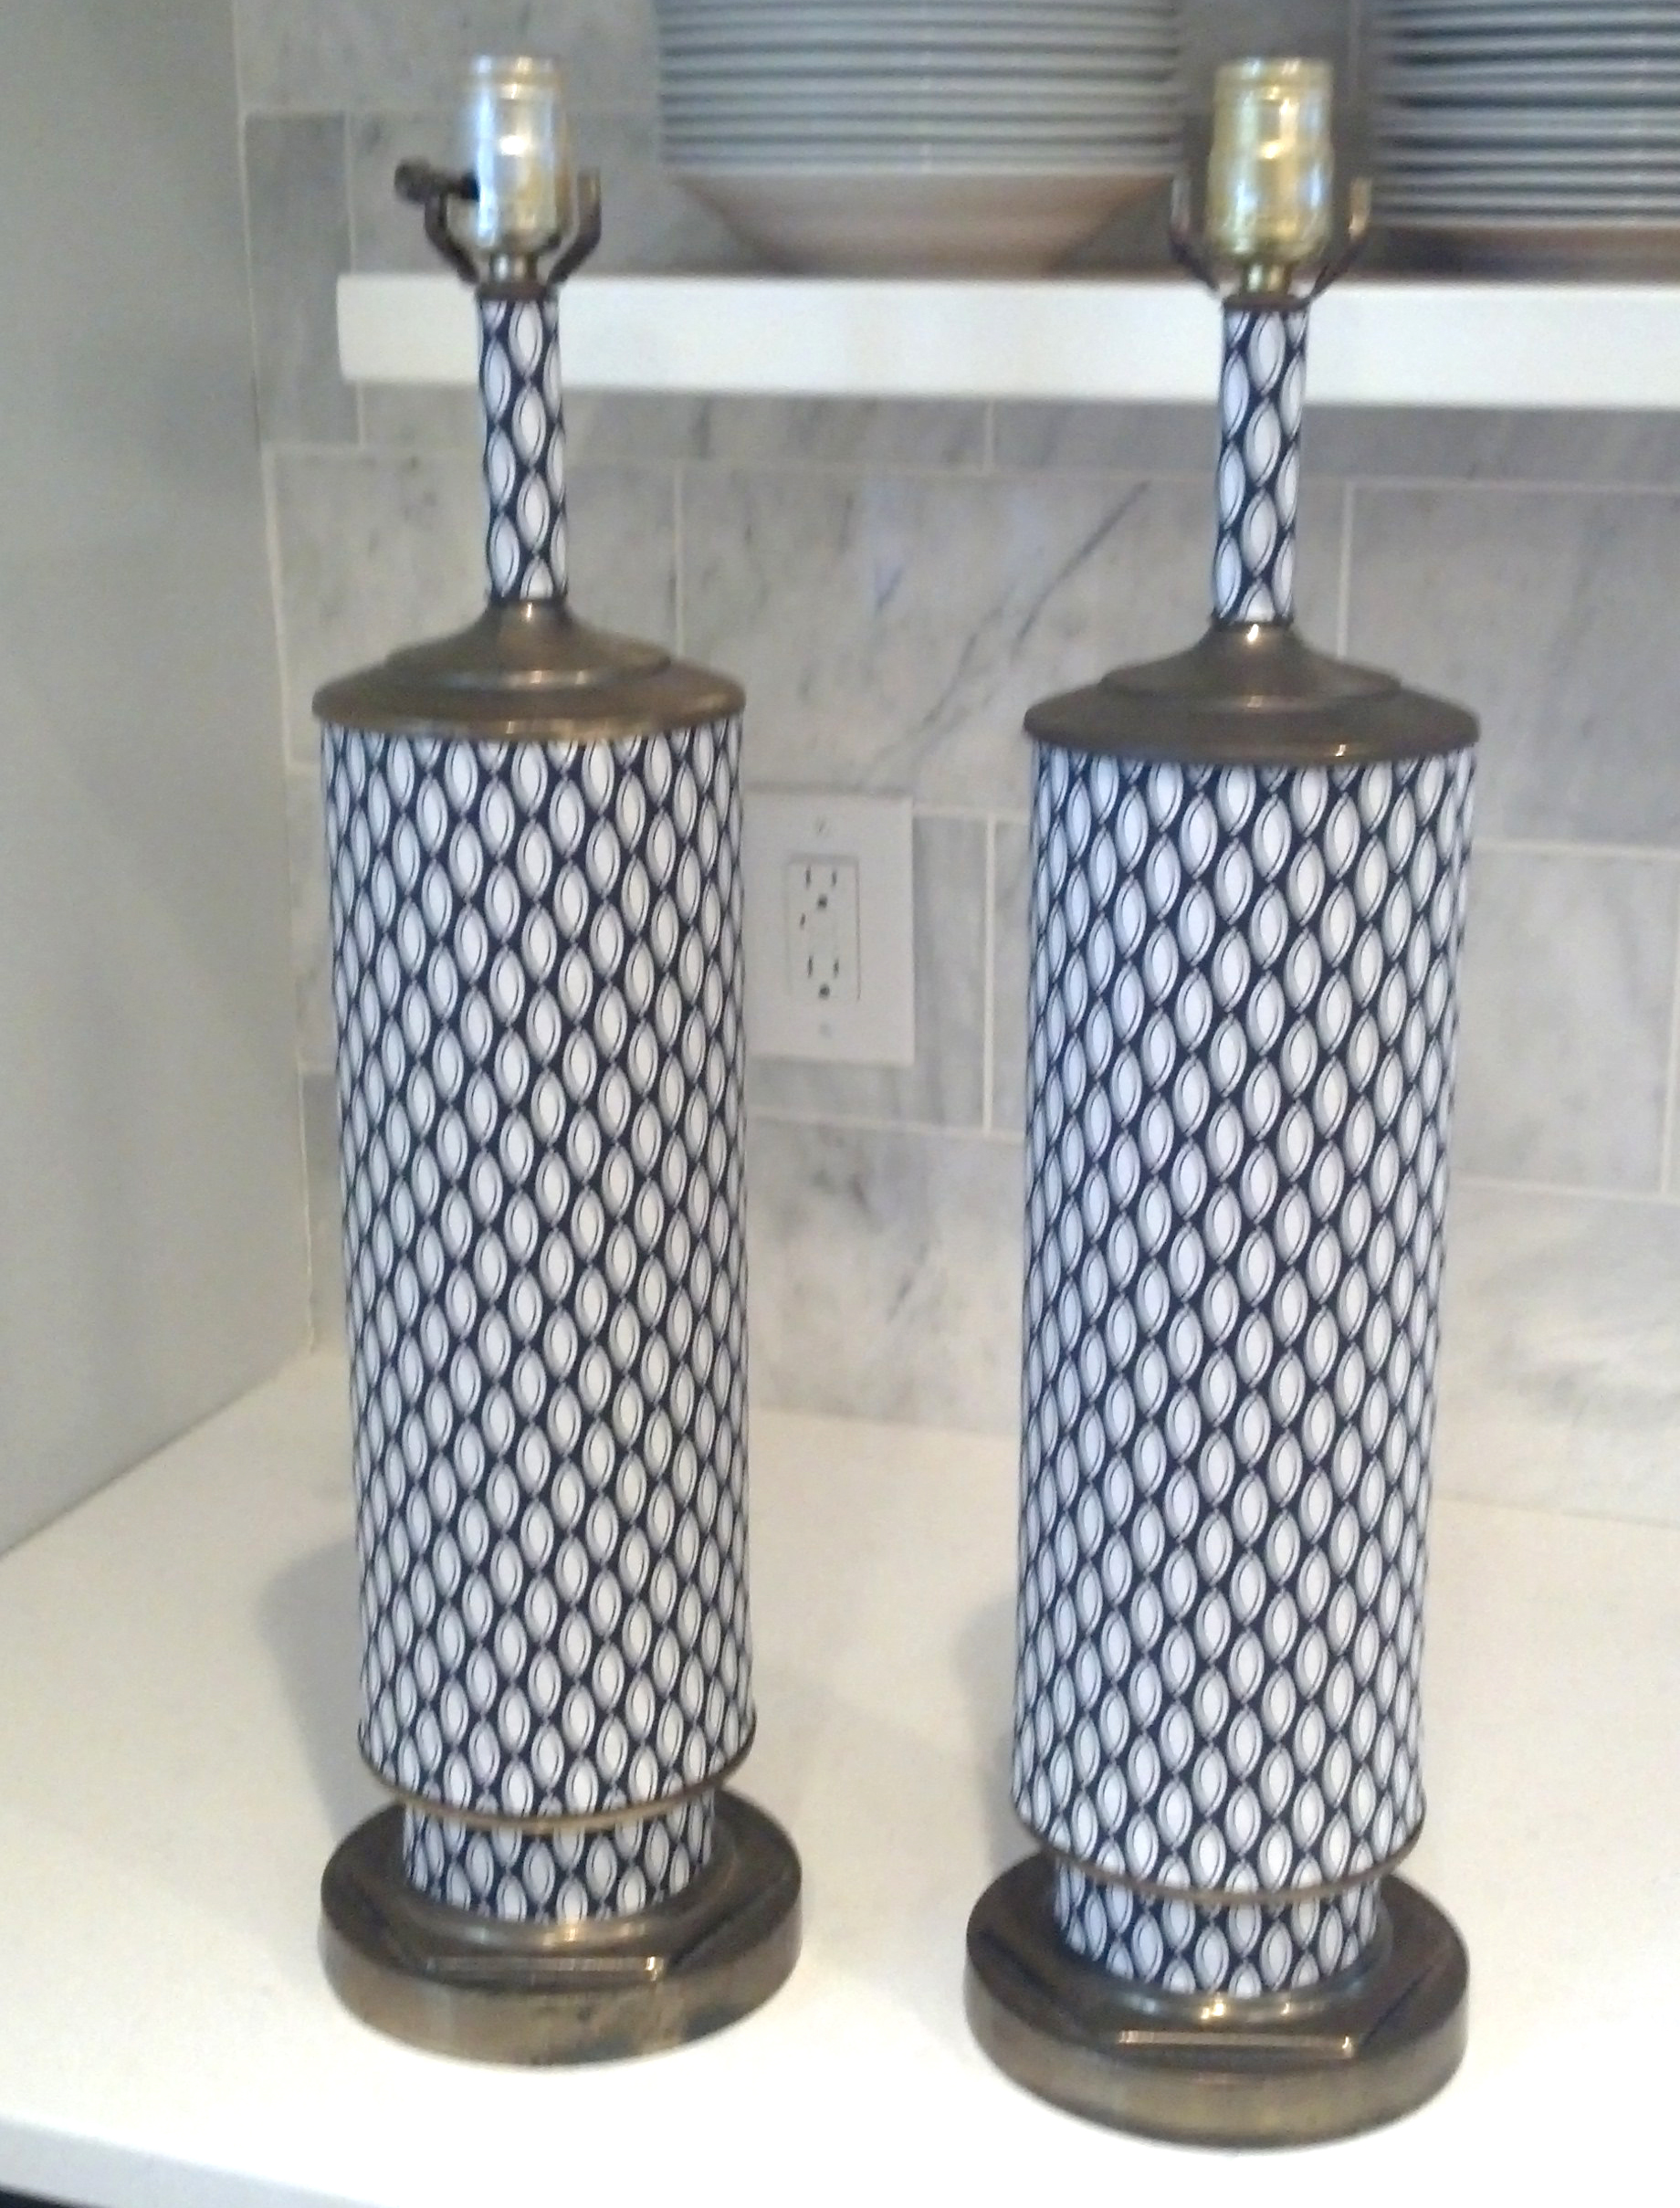
Here’s what they looked like after all was said and done. The tight pattern on the fabric gives the two tired lamps a very sleek new look.

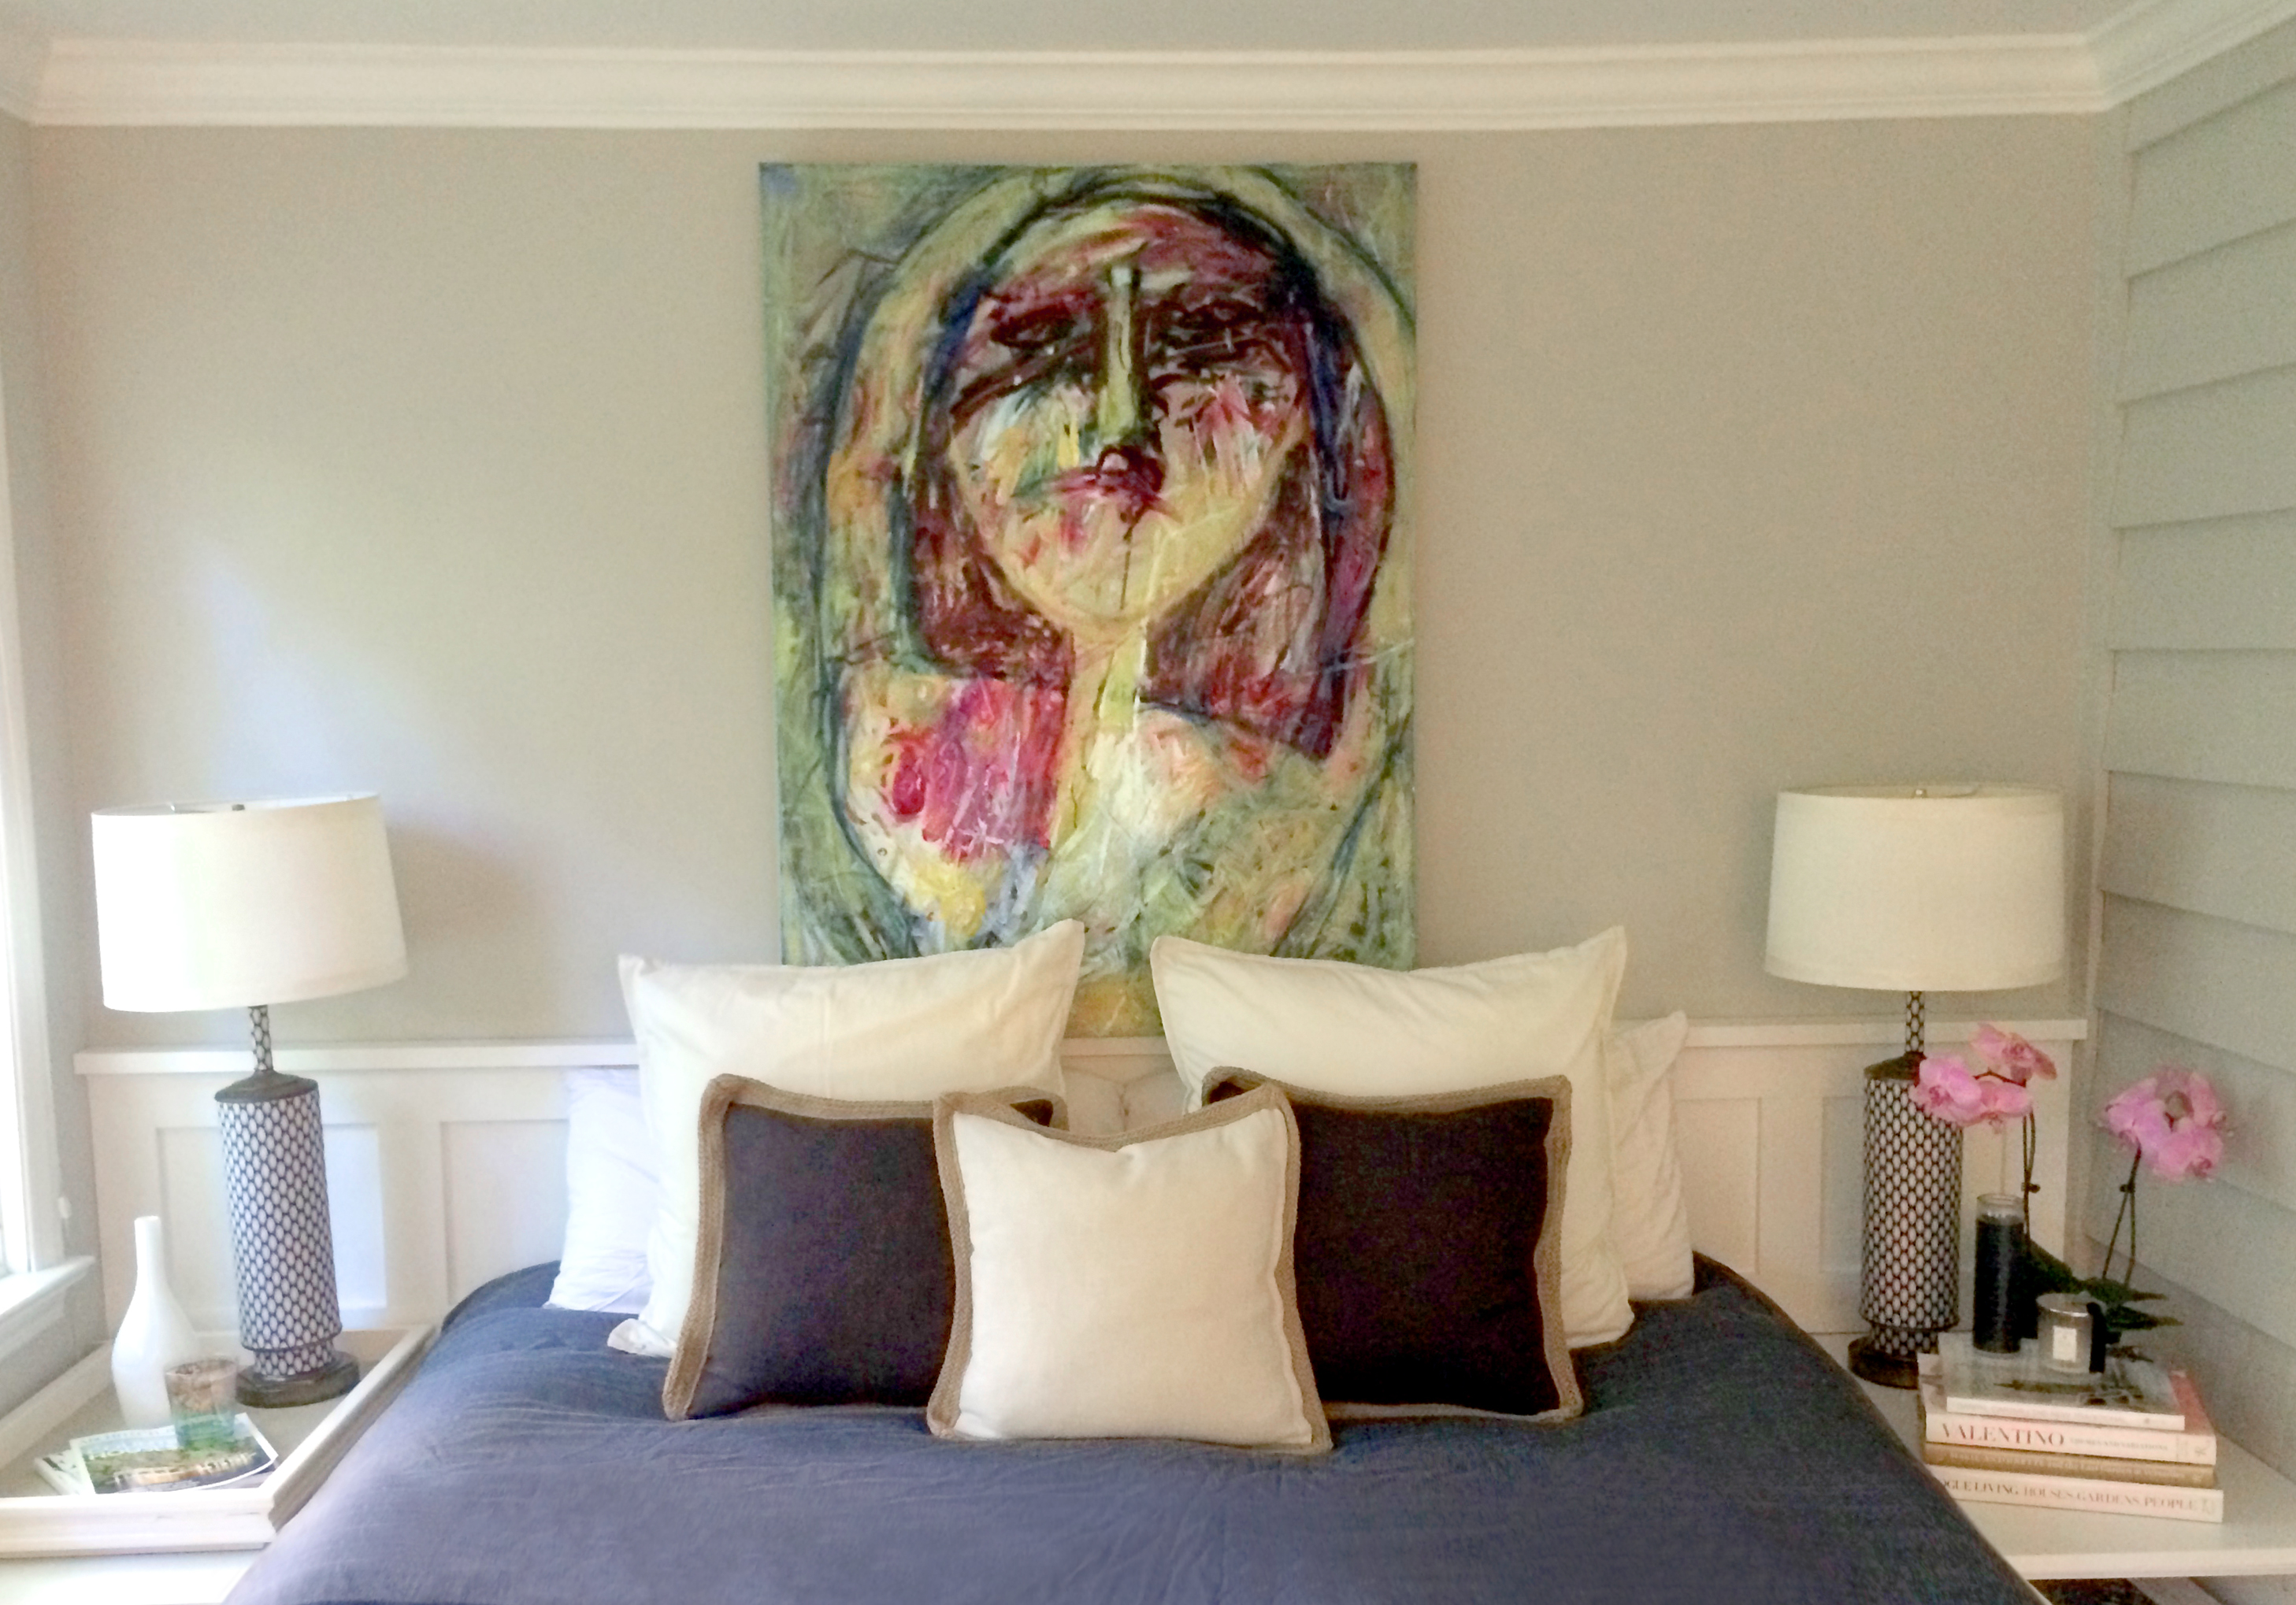
And at last, they find a home in our guest room, flanking the bed.

The painting above is by Ellen Reinkraut. Throw pillows are similar to these ones by Pottery Barn.

Cape Cod Mod

In the quiet town of Orleans, on the Cape of Massachusetts, lives a couple with their two English Setters, Dotty & Betsey (those are the dogs). Chris Ramel is retired but an avid sportsman and his wife, Mary MacLellan (marycmaclellan@gmail.com), is a practicing architect. They moved here a few years ago from Denver and though Mary has spent a good amount of her life visiting the Cape and her brothers all live there, they fall into the loving category of “wash-ashores” which, according to locals, includes anyone residing on the Cape that is not a native since birth.

Despite the name they have successfully renovated and restored a very classic Cape Cod style home…and added a tasteful addition (Mary’s design) to accommodate an extensive art collection, a spacious and modern kitchen with sitting area, a living room with lofted studio (Mary’s office), a master suite, a 2-car garage, and—last but not least—an outdoor shower that is to die for. Their blending of classic antiques with very modern accents—throughout the home—is a pleasant surprise. But, much like the warm hosts, the kitchen in particular really grabs you and draws you in.

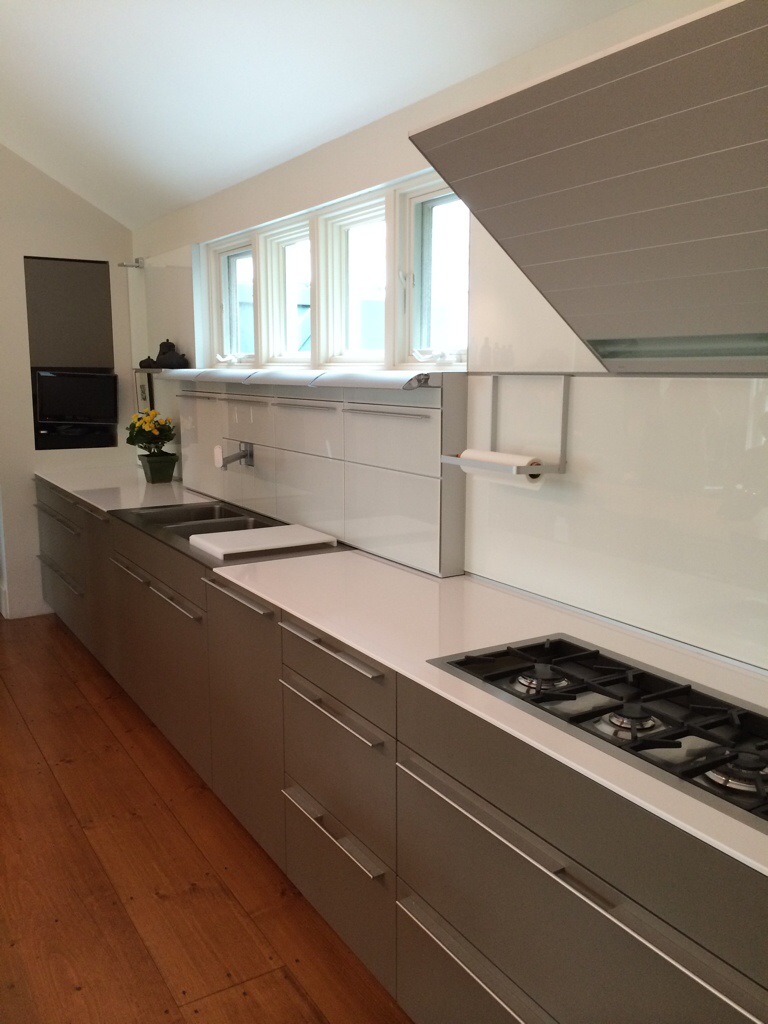
The vast and sleek Bulthaup kitchen that Mary envisioned for the space is now a reality

The kitchen shares a spacious room with this sitting area so that the couple can entertain while they cook. Dining and side chairs by Cassina. The large abstract is by painter Edward Holland: www.edwardholland.com

One of the Ramels’ English Setters. This one is Betsey. Very shy with guests but incredibly loving and apparently an impressive hunting partner.
Chairs by Cassina


The large dining table is equipped to accommodate quite a crowd.

Mary has a beautiful collection of matte Wedgewood Black Basalt china.
The clay body, black basalt, was developed and introduced by Josiah Wedgwood in the late 1700’s was going to be the new big thing; “Black is Sterling and will last forever”

strong yet playful piece (subject: popcorn) by Barbara Breedon entitled “Wheelers of Course” which is a farm in Hudson, Ohio that Mary frequented as a child and remembers the popcorn fondly.

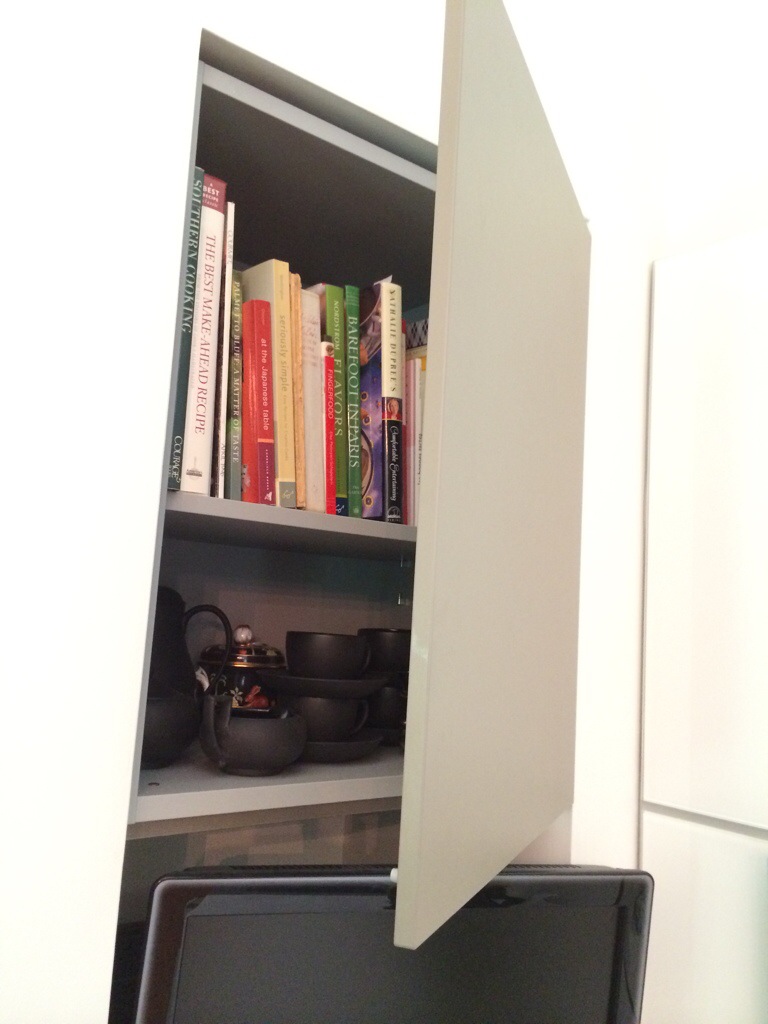
Tucked behind every sleek panel in the kitchen is a hidden alcove for very well-thought-out storage.

The sink has a great setup. With two large bays, a swiveling wall-mounted Bulthaup faucet and a cutting board that sits in the grooves of the sink edge, you can prep and clean just about anything with efficiency. Each panel behind the sink opens to reveal storage for cleaning supplies, spice racks, knife storage, a murphy-bed-style fold-out cutting board, and more.


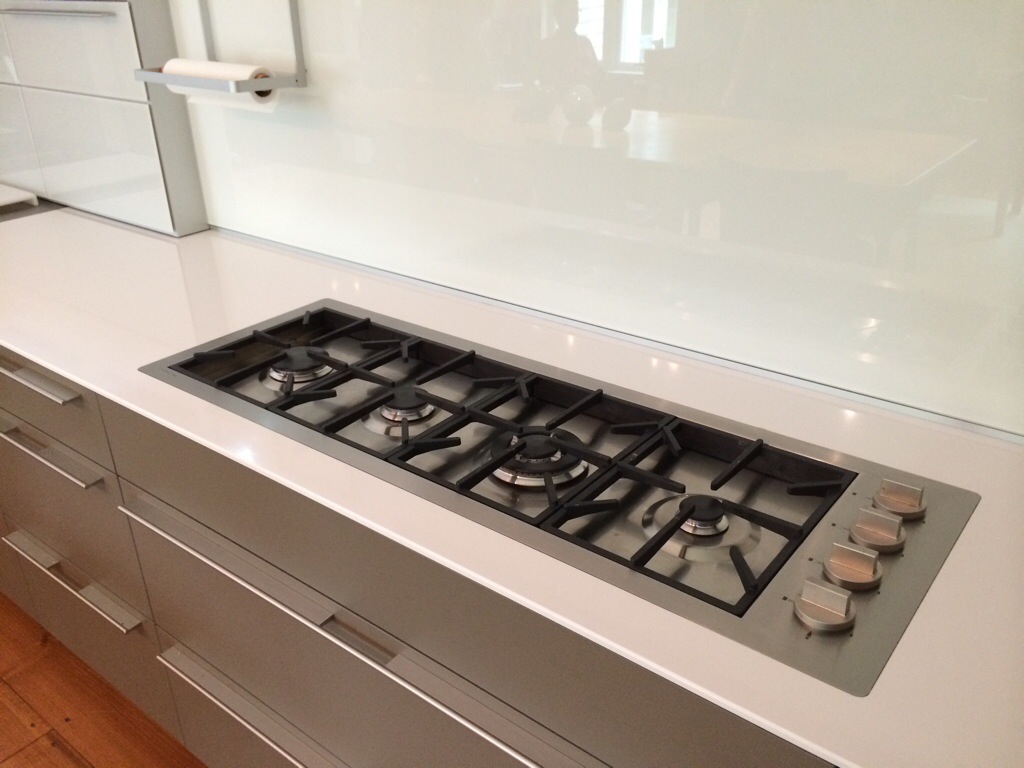
After years of custom range tops—in homes Mary has designed—she found a 4-burner side-by-side range top. This one is by Foster for Bulthaup kitchens. This allows Chris & Mary to cook up gourmet meals without leaning over other simmering pots. According to them it really opens up the work space. AND you don’t have that small stretch of counter in the back that is impossible to clean. I love this solution!

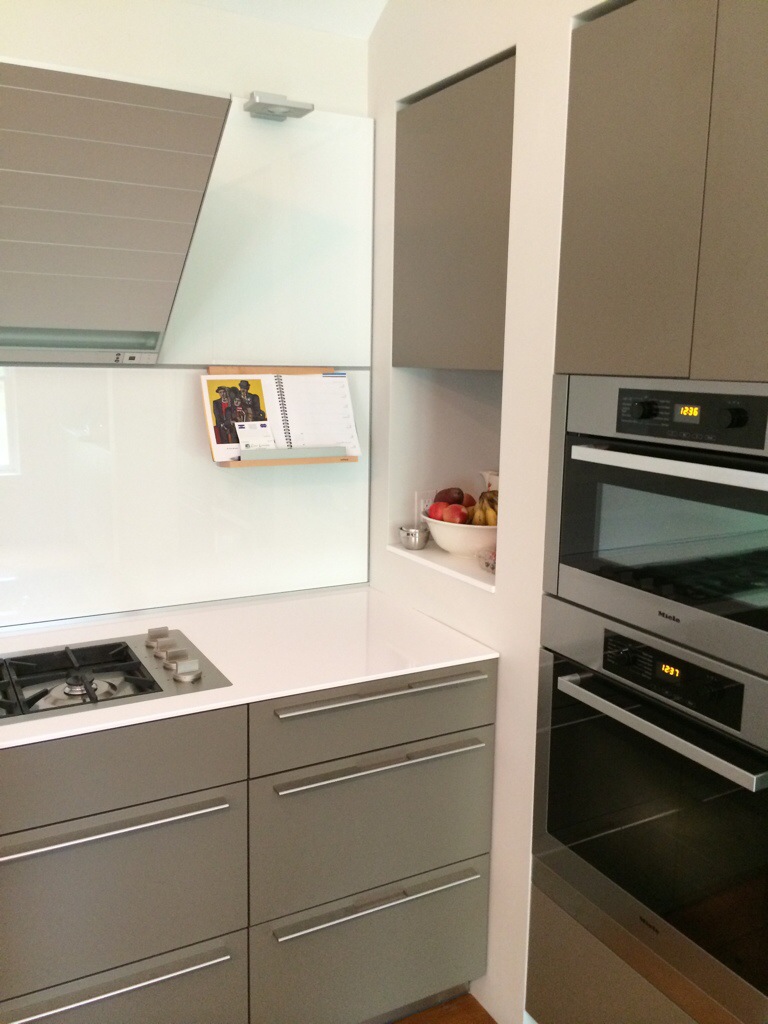
Note the uniquely designed range hood. The strip along the bottom is a light and the seven long skinny panels above it swivel open individually when the vent is turned on.

Also by Bulthaup are the ingenious in-wall accessories, including this great little cookbook rest to the right of the range.

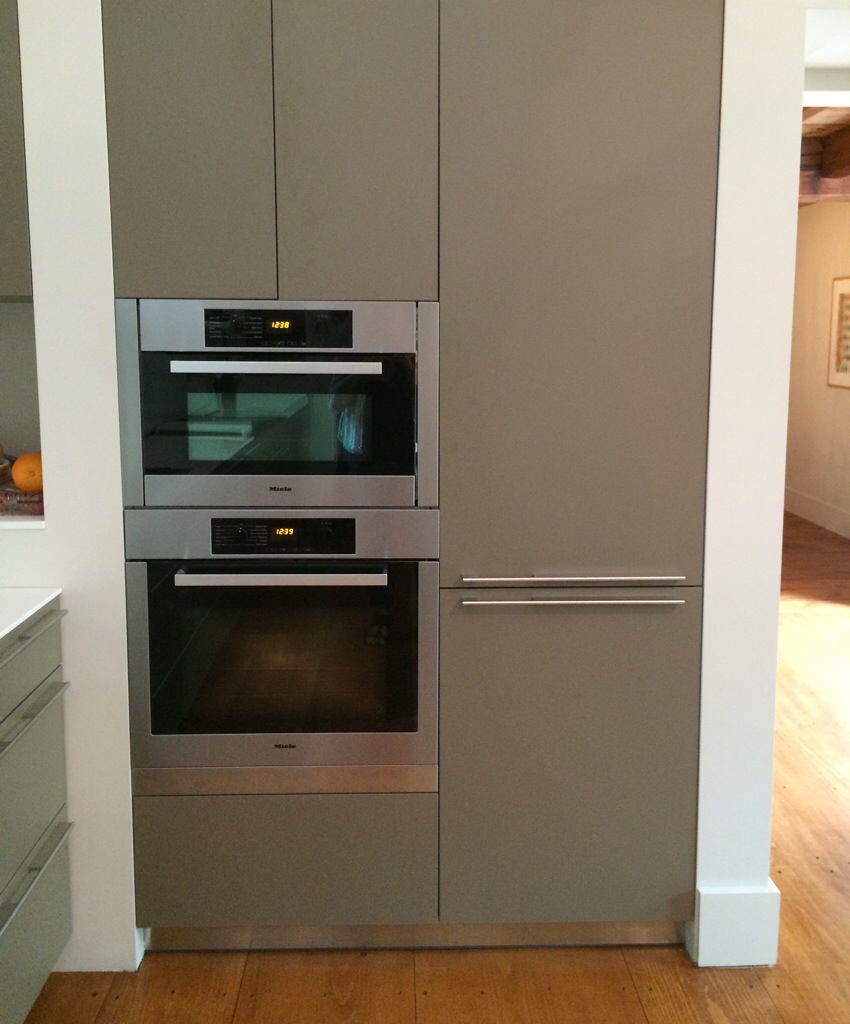
Appliances by Miele. Refrigerator (above) and Freezer (below) are cleanly hidden in the two right cabinets. There is ample space for the couple’s daily needs but they have a refrigerator in the basement for when they entertain large crowds or bring game birds home from a hunting trip.

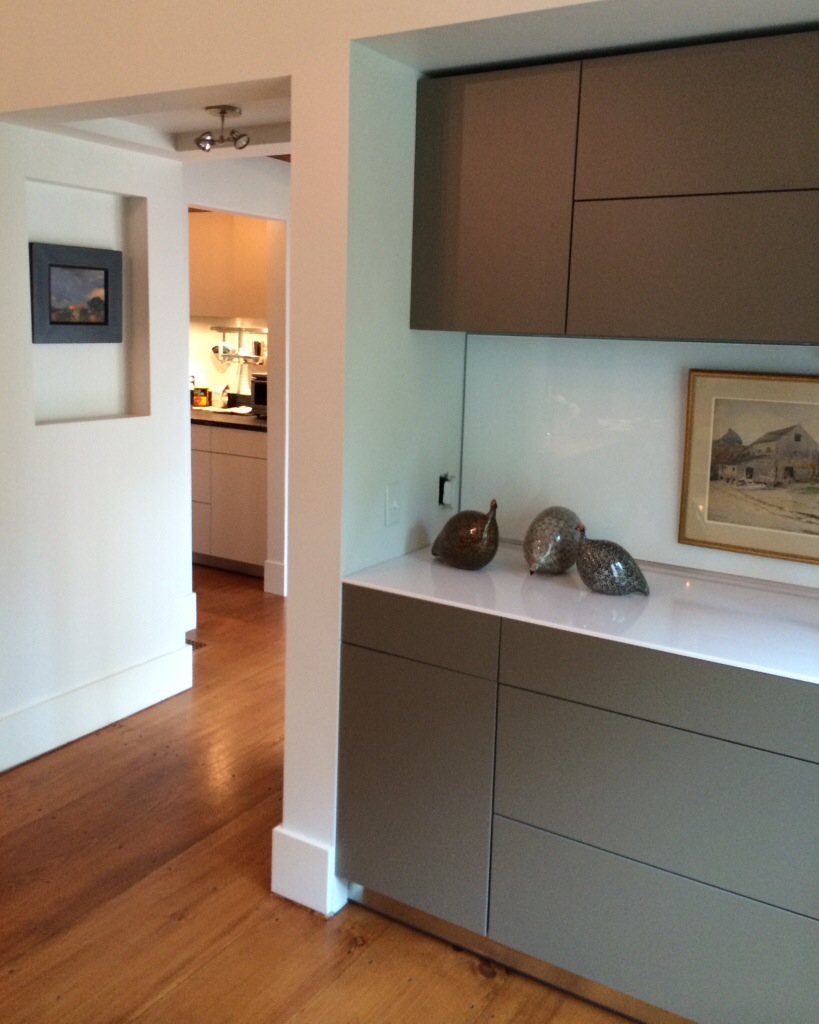
a view from the sitting area into the wet bar

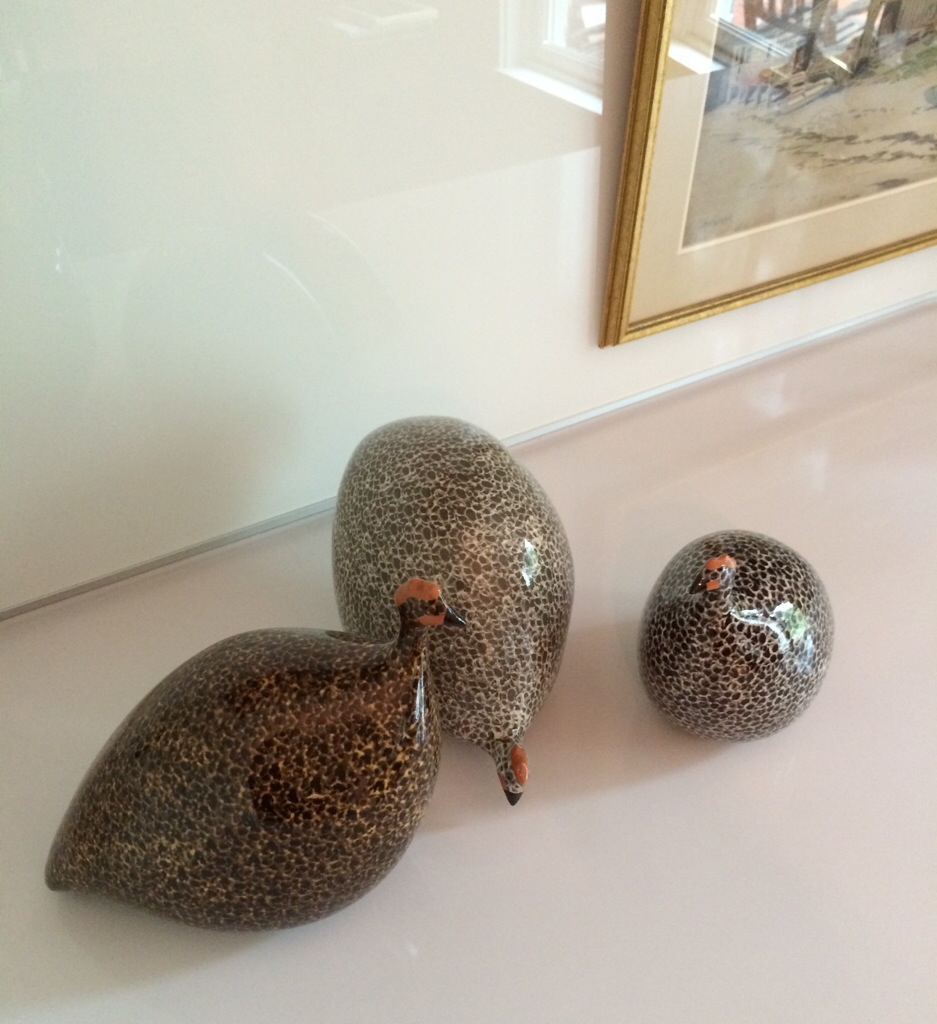
Three french-made Guinea hen sculptures adorn the buffet

The paintings that flank the doorway into the original part of the home are by Colorado artist Warren

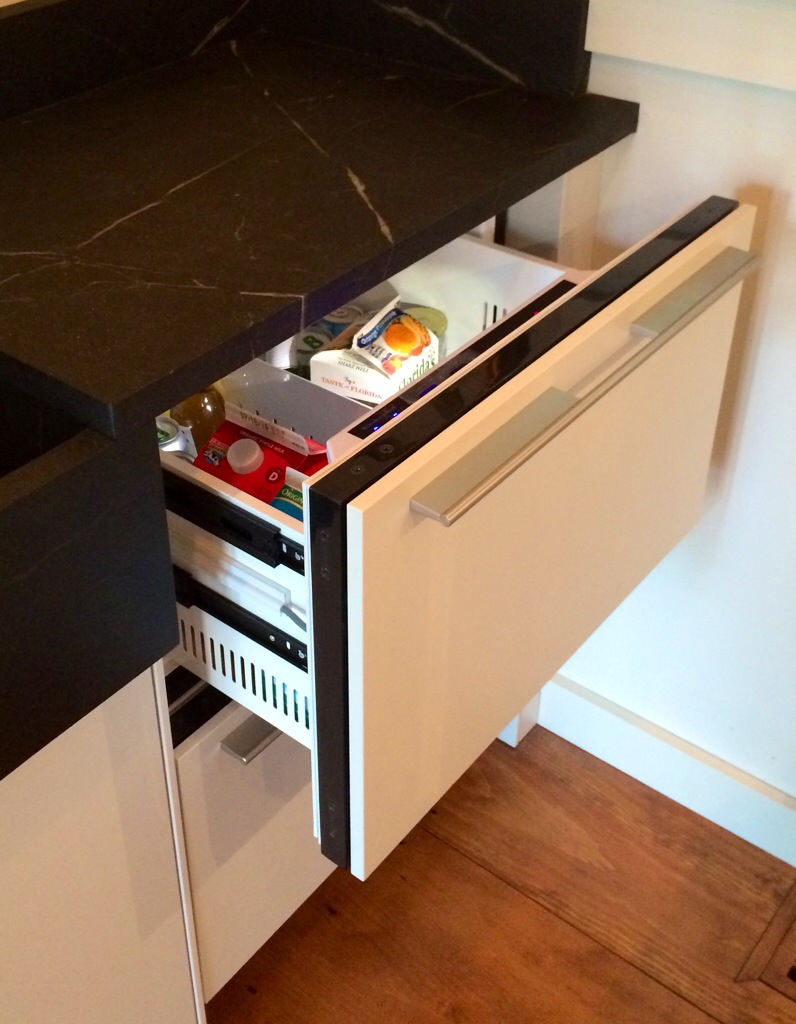
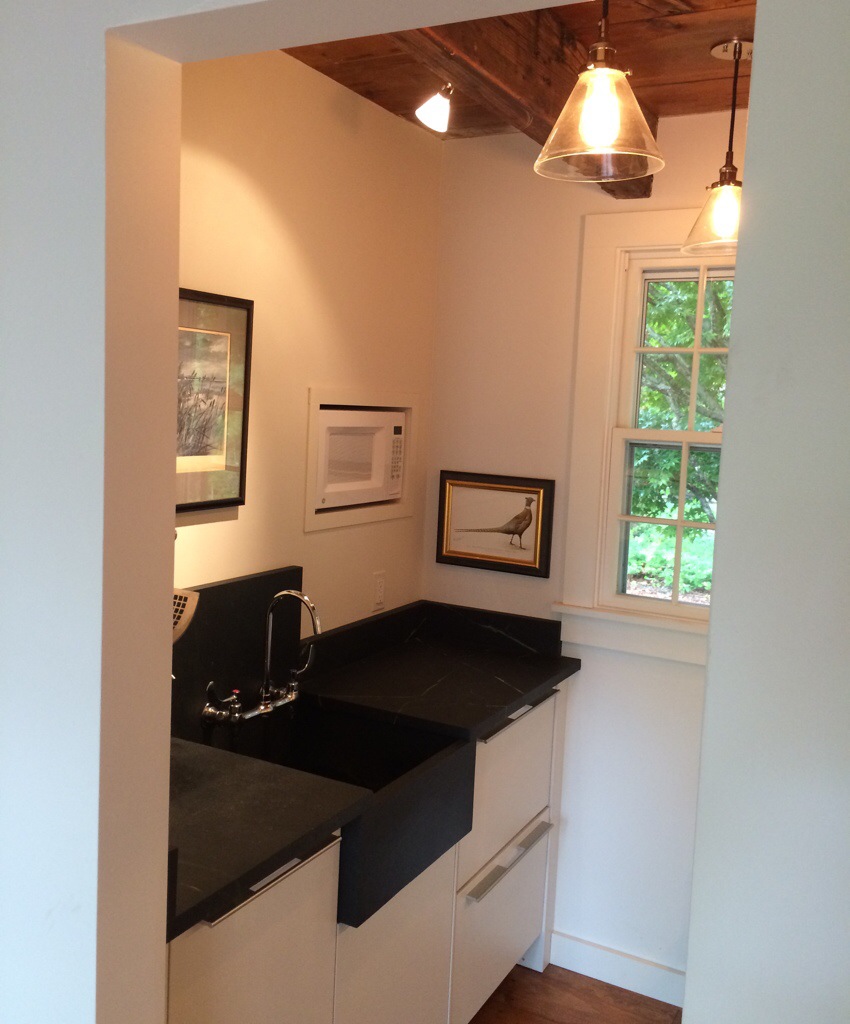
The wet bar (a miniature full kitchen) equipped with sink, 2 small refrigerators and more storage—house the coffee-maker, microwave and toaster oven. The painting to the right of the window is by prominent Colorado artist, Molly Davis.

The wet bar (a miniature full kitchen) equipped with sink, 2 small refrigerators and more storage—house the coffee-maker, microwave and toaster oven.

Sink and counters by stone fabricator out of Bellows Falls, VT

the slick and hidden double-decker refrigerator in the wet bar


The front of the home. Still in progress as they landscape and build a stone wall to encapsulate what will be a robust herb and flower garden.

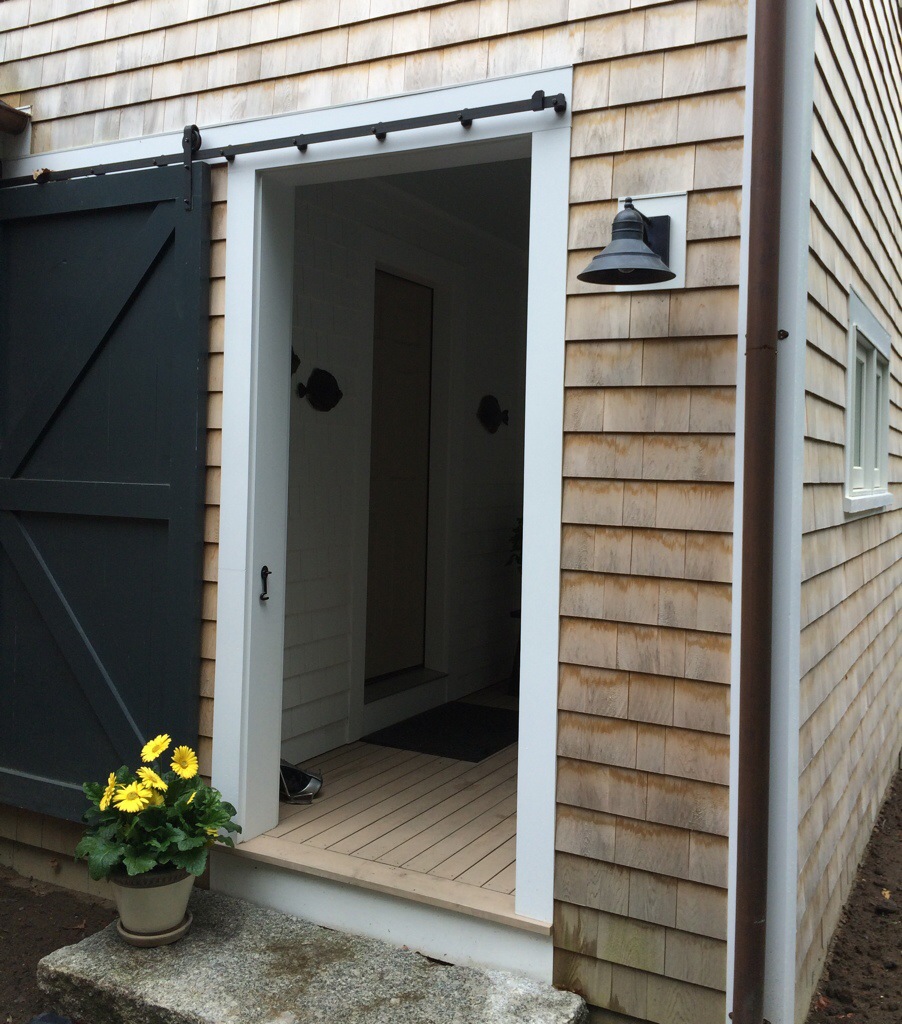
The entryway with sliding barn door


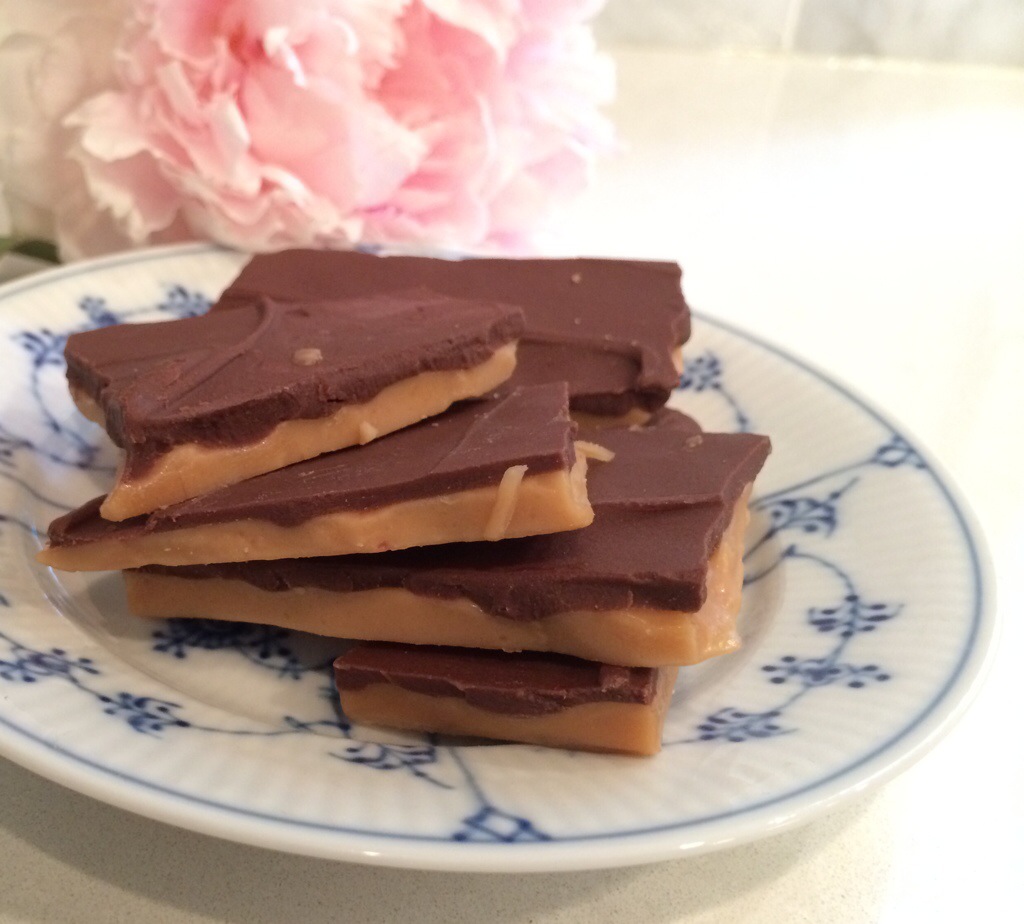
English Toffee Recipe

20140613-161947-58787642.jpg

I have been making the following recipe for English Toffee a lot recently. I found it on allrecipes.com and have tweaked it a bit and added some helpful tips for your preparation ease…and your taste buds.

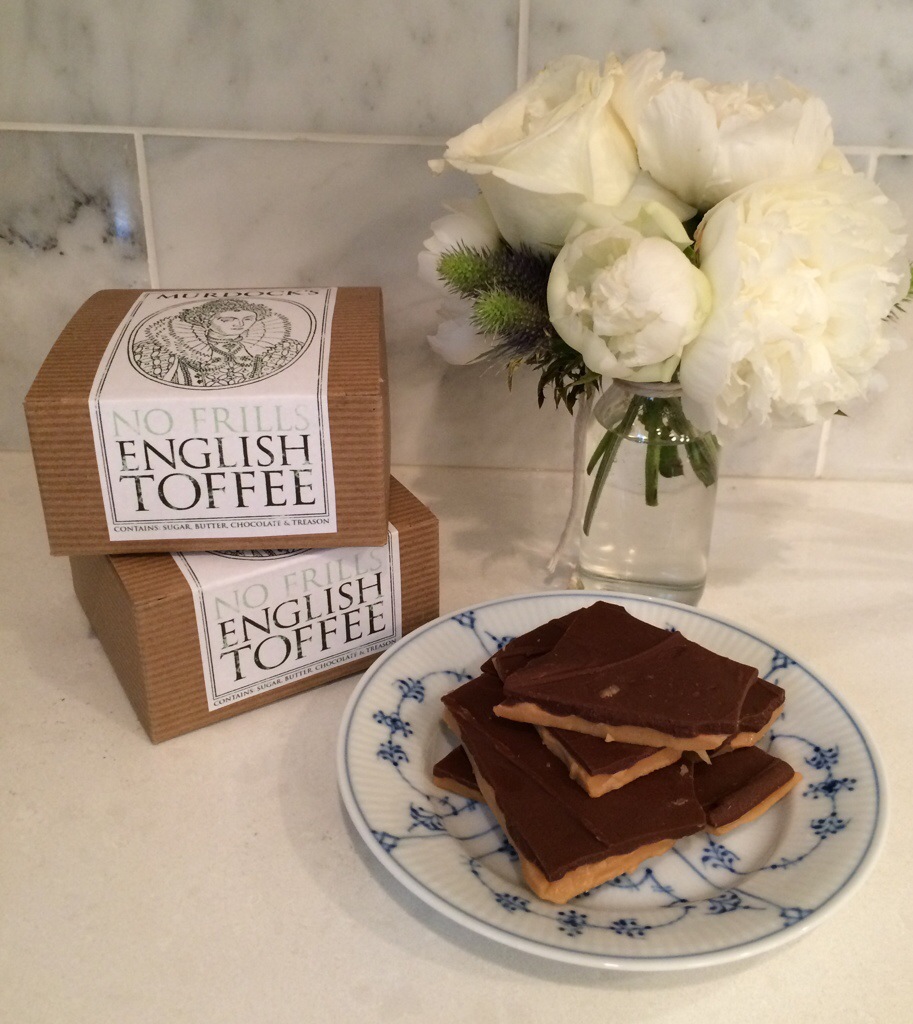
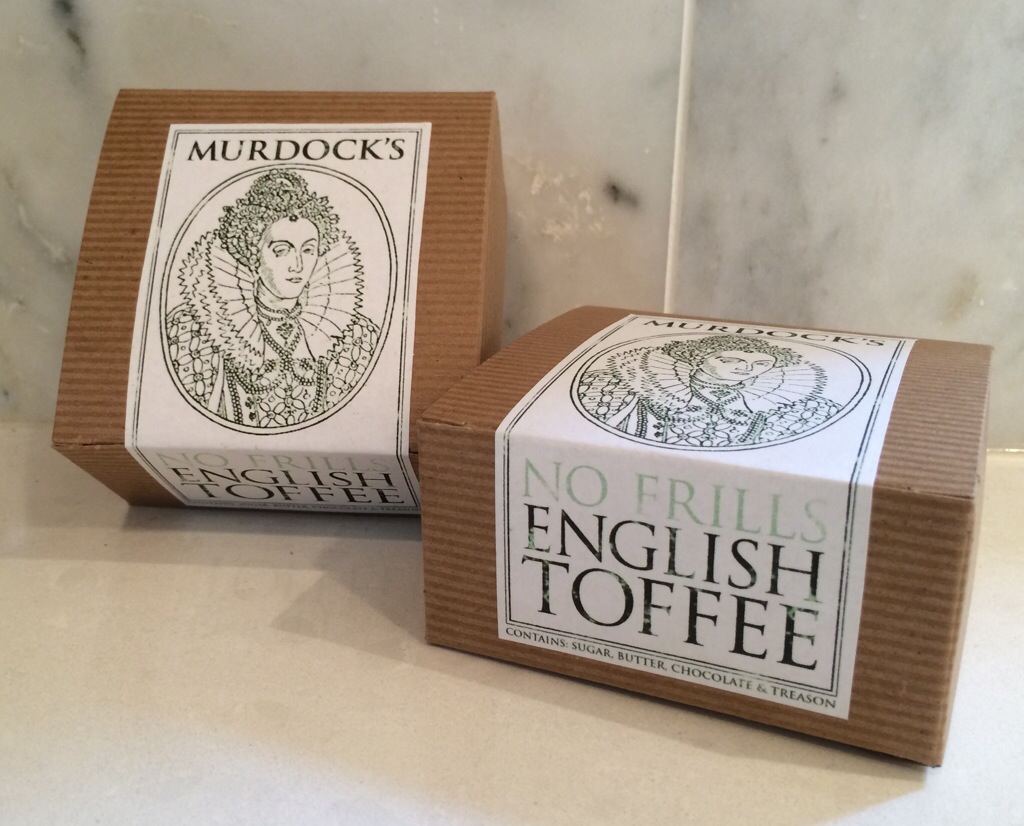
It’s incredibly simple and makes for a divine host gift for a summer weekend away…hence my custom packaging (seen below.)

If your friends and family don’t like this toffee, OFF WITH THEIR HEADS!

Ingredients
2 cups butter
2 cups white sugar
1 teaspoon salt
2 cups milk chocolate chips
1 cup finely chopped nuts (optional)

Directions
In a large, heavy-bottomed, non-stick saucepan, combine the butter, sugar and salt. Cook over low to medium heat, mixing CONSTANTLY with a small whisk. Allow to come to a simmer, and cook until the mixture becomes a warm amber color. Supposedly the temperature should reach 285 degrees F (137 degrees C) but I just drip a bit into ice water: if it becomes rock hard and brittle it’s ready to go.

As soon as the toffee reaches that proper temperature, pour it out onto 2 wax-paper-lined baking sheets and spread thin and even with a rubber spatula. Sprinkle the chocolate over the top, and let it sit for a minute or two to soften. Once melted/softened, spread the chocolate into a thin even layer. Sprinkle the nuts over the chocolate, and compress slightly.

Place the toffee in the refrigerator to chill until set. Once set, break into pieces. You can place the toffee in the freezer for a little while before you break into pieces and it will make the toffee even more brittle. Then store the toffee in an airtight container.

20140613-162052-58852522.jpg

20140613-162052-58852861.jpg
(Murdock is one of my nick names…this one coined by the friends we are staying with on The Cape this weekend)
Blue and white china (above) is Blue Fluted Full Lace by Royal Copenhagen.
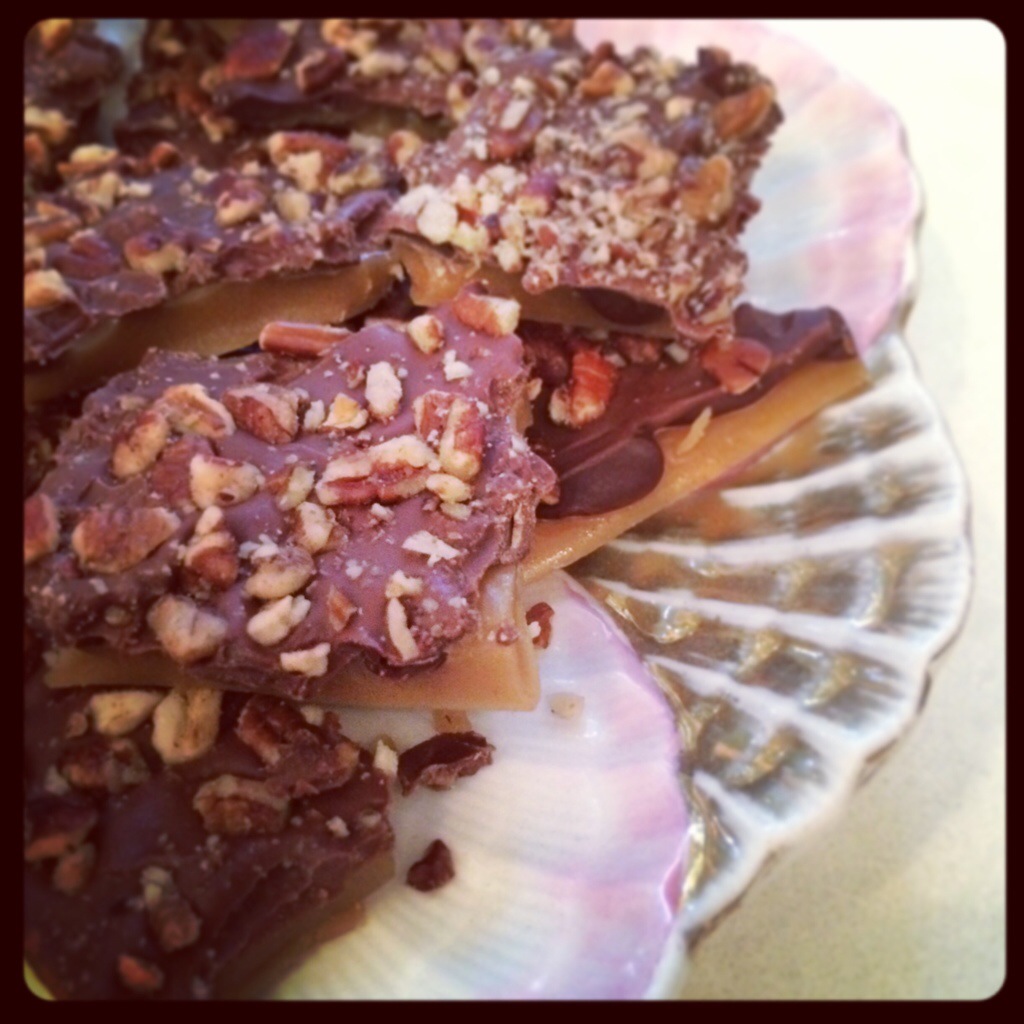
Pink and gold oyster plate (below) is an antique but I found a few similarly shaped on eBay.
Here’s what the toffee with nuts looks like:

20140613-162701-59221249.jpg

Rhinestone Retro Rehab

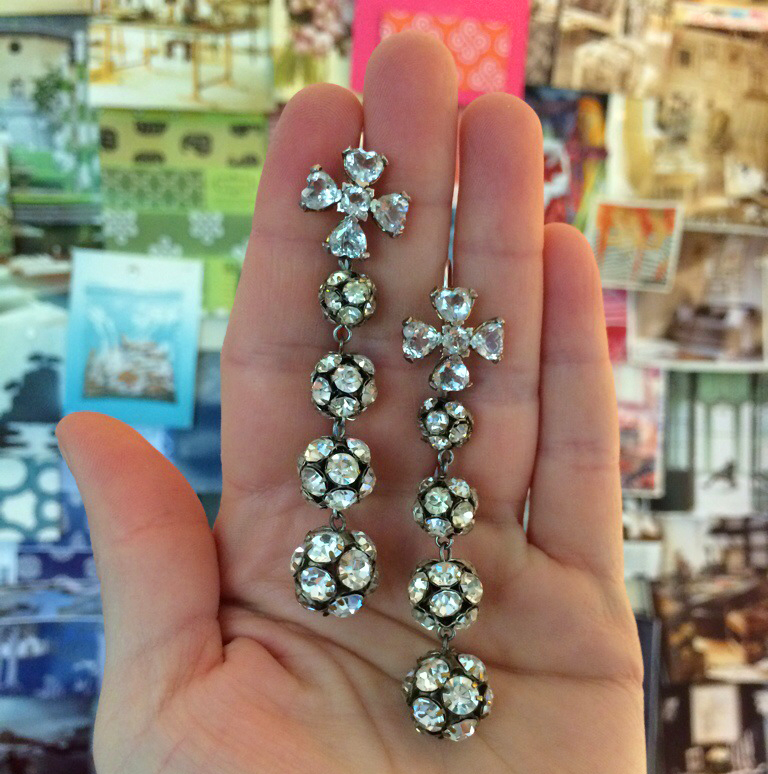
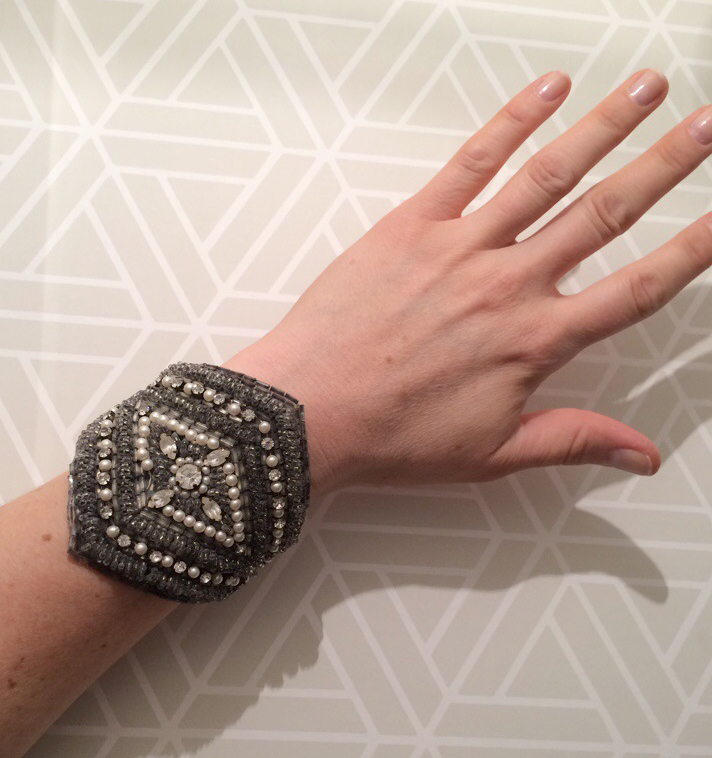
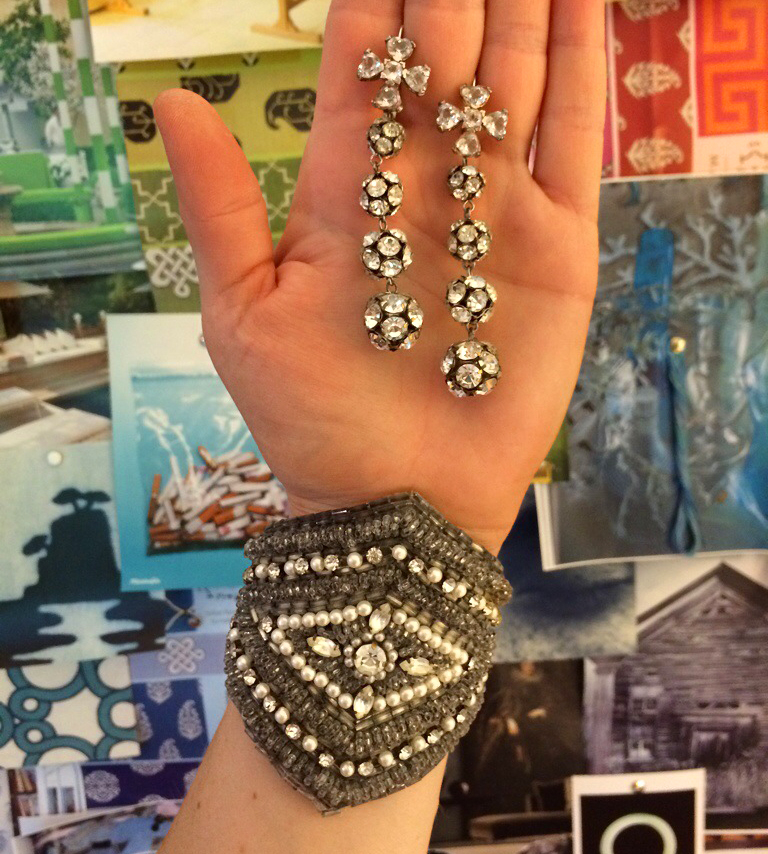
I rehabbed a few pairs of damaged vintage deco earrings today and made a cuff bracelet to match with a salvaged beaded appliqué from a beat-up vintage dress from Salvation Army.

Earrings: I removed both the clip-on backs and post backs from the 2 pairs of earrings, to start. With fine, but heavy weight fiber wire I strung the earrings together and fastened them to new, stainless steel (hypo-allergenic) earring hooks. Side story, my grandmother wore the long rhinestone-cluster ones—that look like lincoln center’s huge exterior chandeliers—to Nixon’s inaugural ball in the late 60’s. They are my absolute favorite but were both missing a bead at the top… and were clip-on.


Here’s what I did to make the bracelet:

 1. Using crazy glue I secured the beads around the edges and trimmed excess fabric and thread.
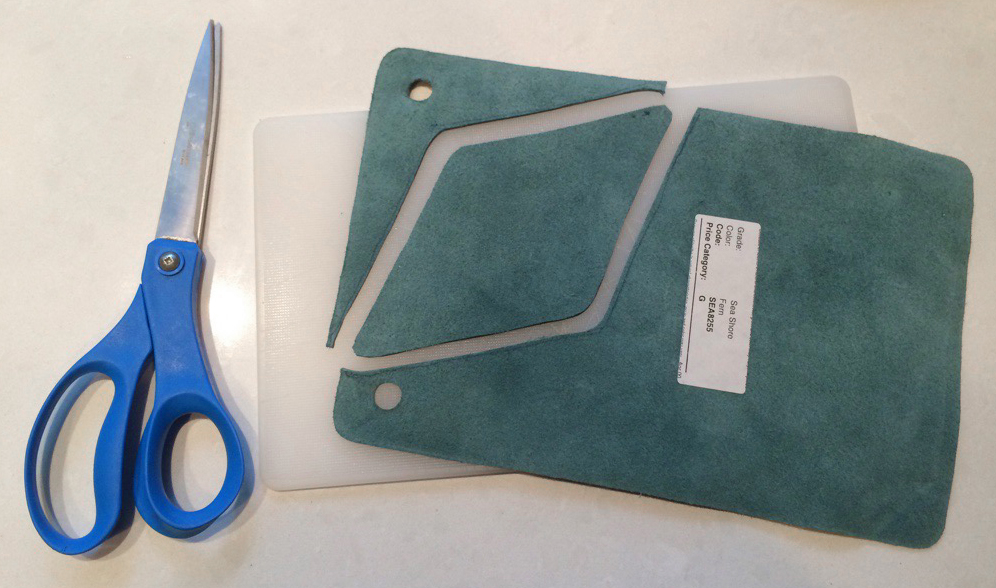
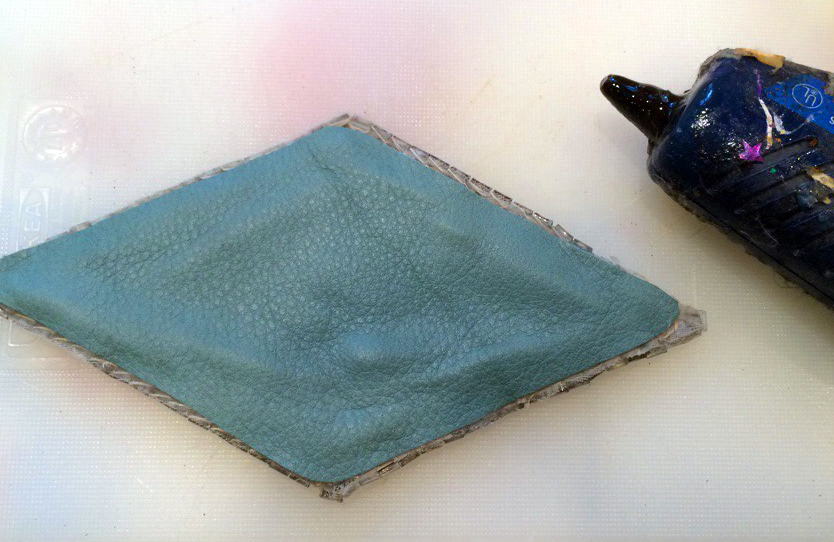
2. I traced the appliqué onto the back of a leather sample (I used turquoise for a pop of color) and cut the leather smaller by an eighth of an inch all the way around so that it would not show from the other side once bent into shape.
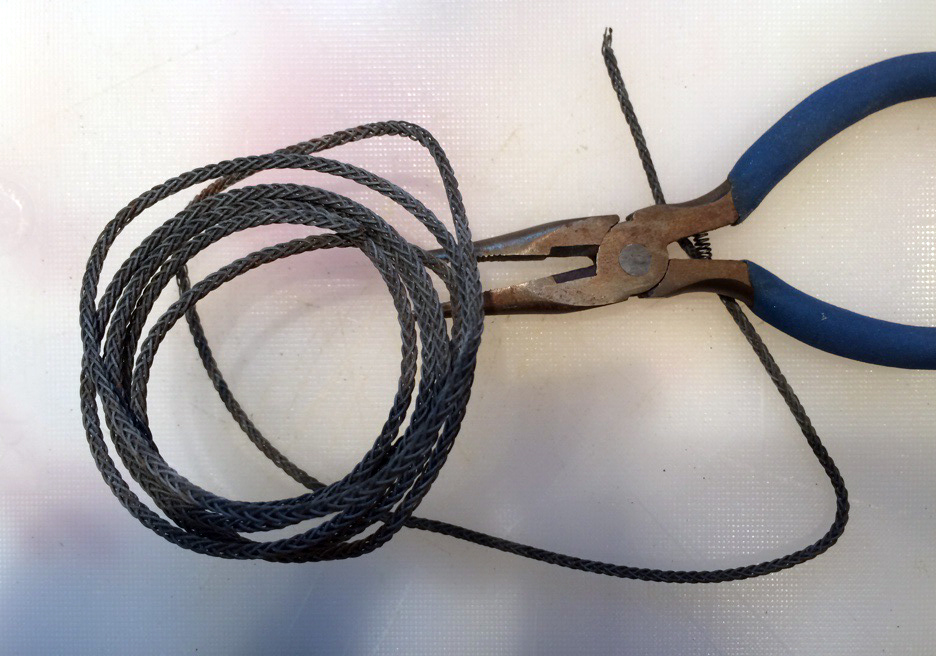
3. Using thick, heavy-duty woven art-hanging wire and a pair of wire cutters, I ran a spiral around the leather piece—with about a half-inch setback from the edges—and secured it in place with hot glue. (sorry, forgot to shoot his part!)
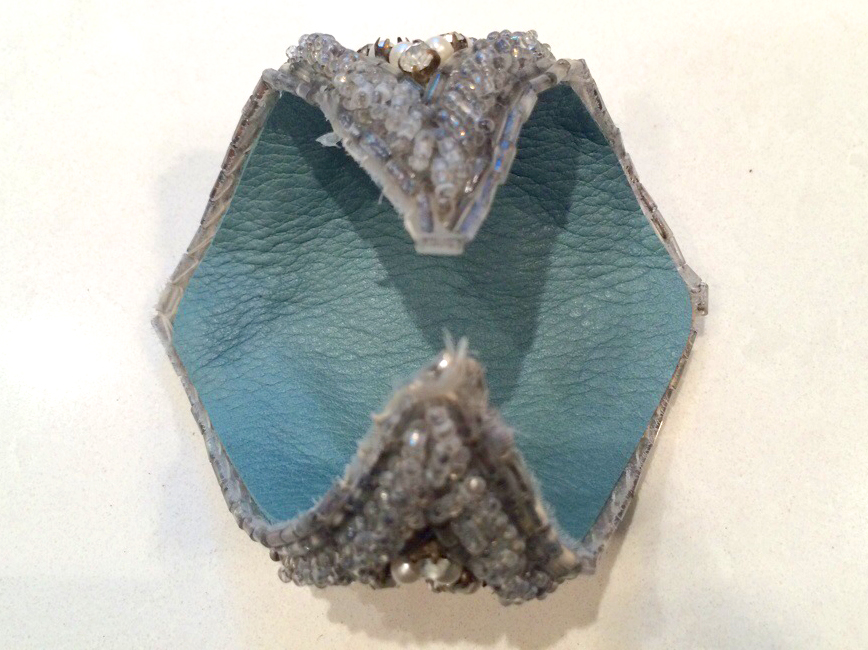
4. Once the wire was set in place on the leather, I ran a bead of hot glue around the outside edge of leather piece and several more lines along the center and then adhered it to the back of my beaded appliqué. I pressed firmly on both sides to secure them together.
5. Once glue had cooled and set completely, I bent the piece to form a cuff and fit it around my wrist an adjusted as necessary.