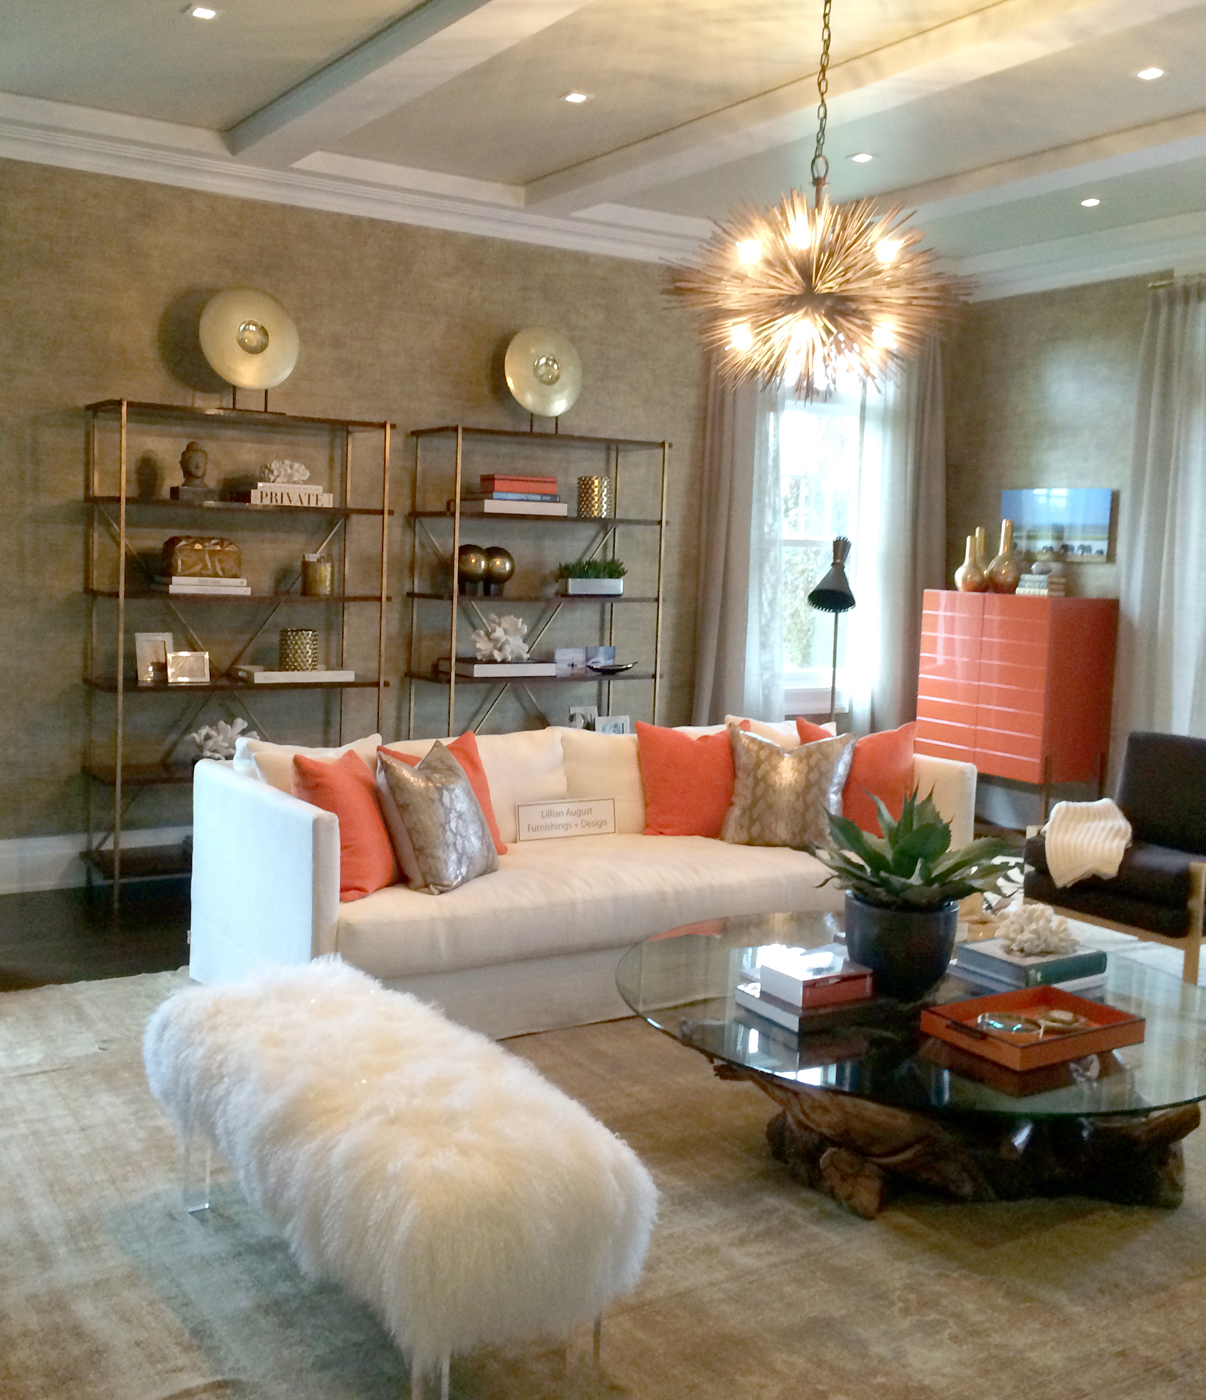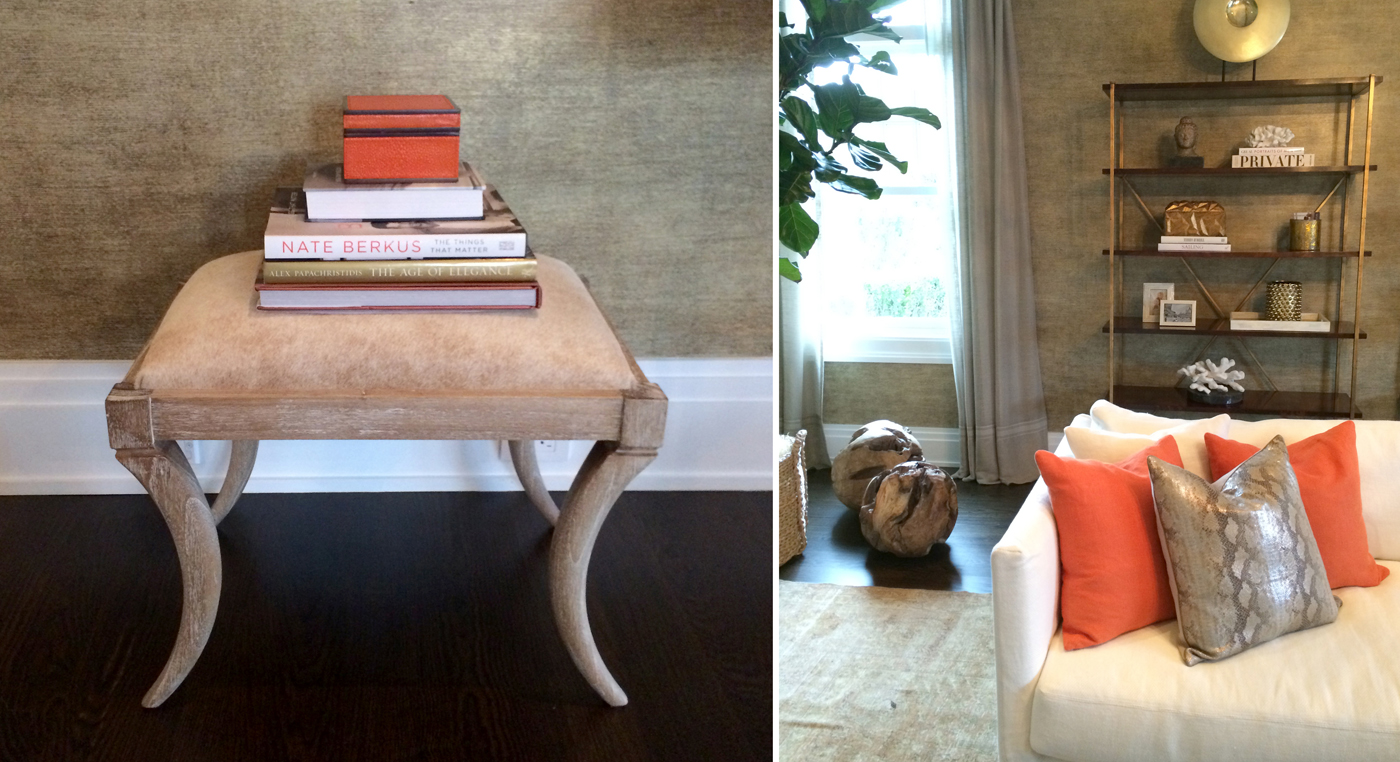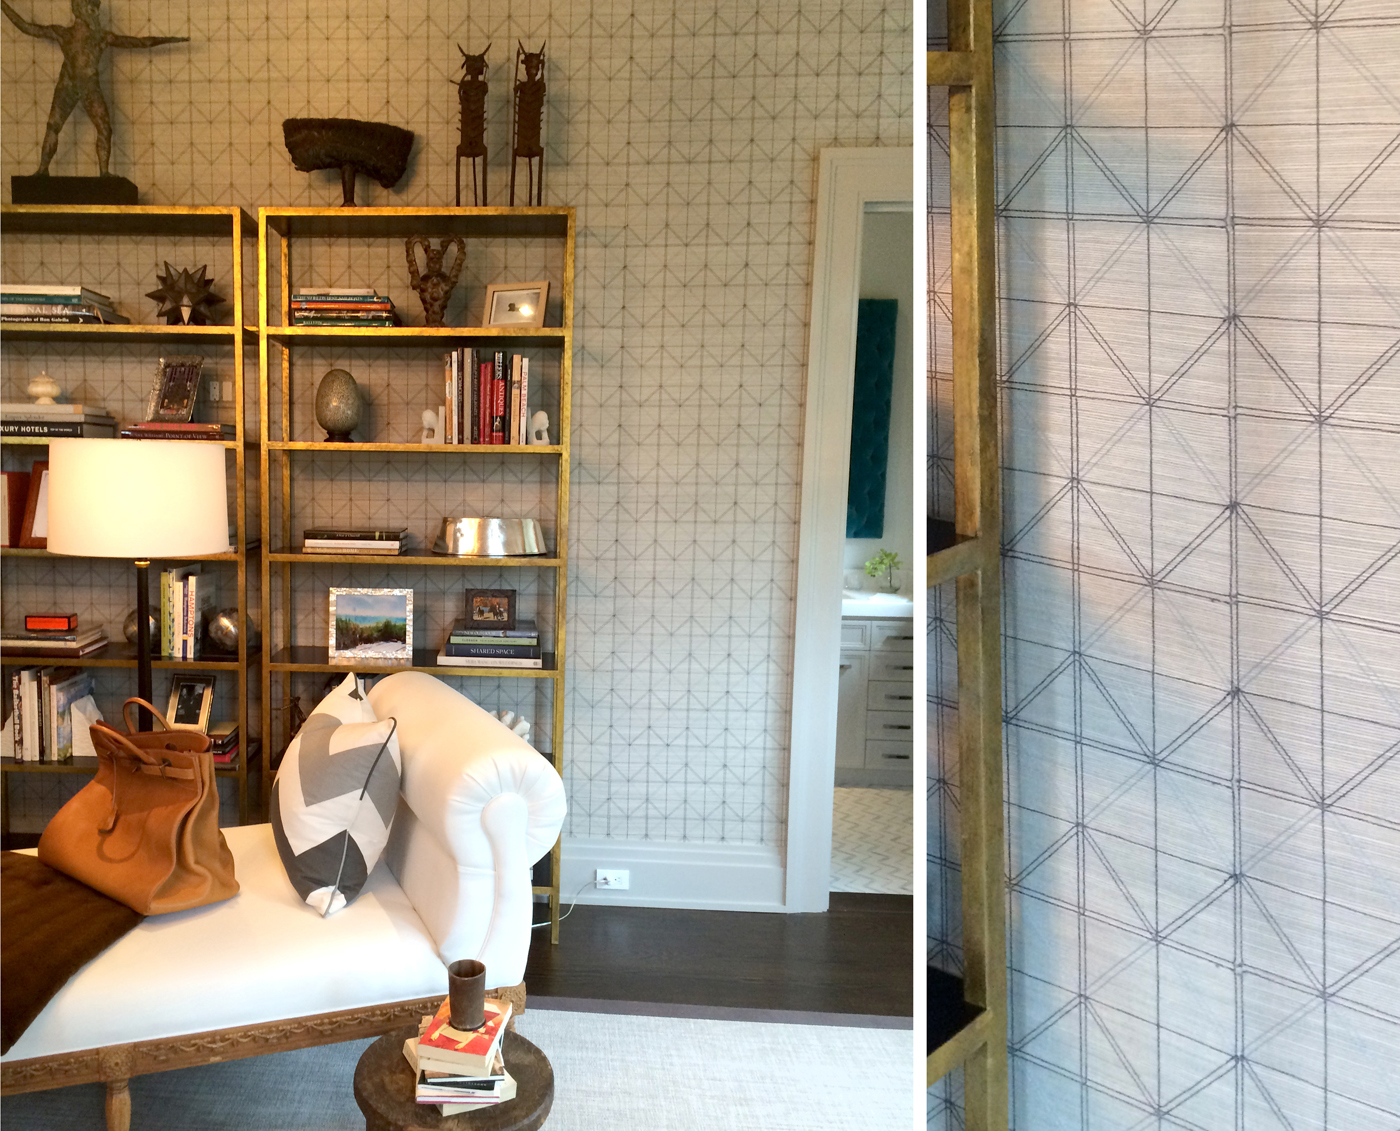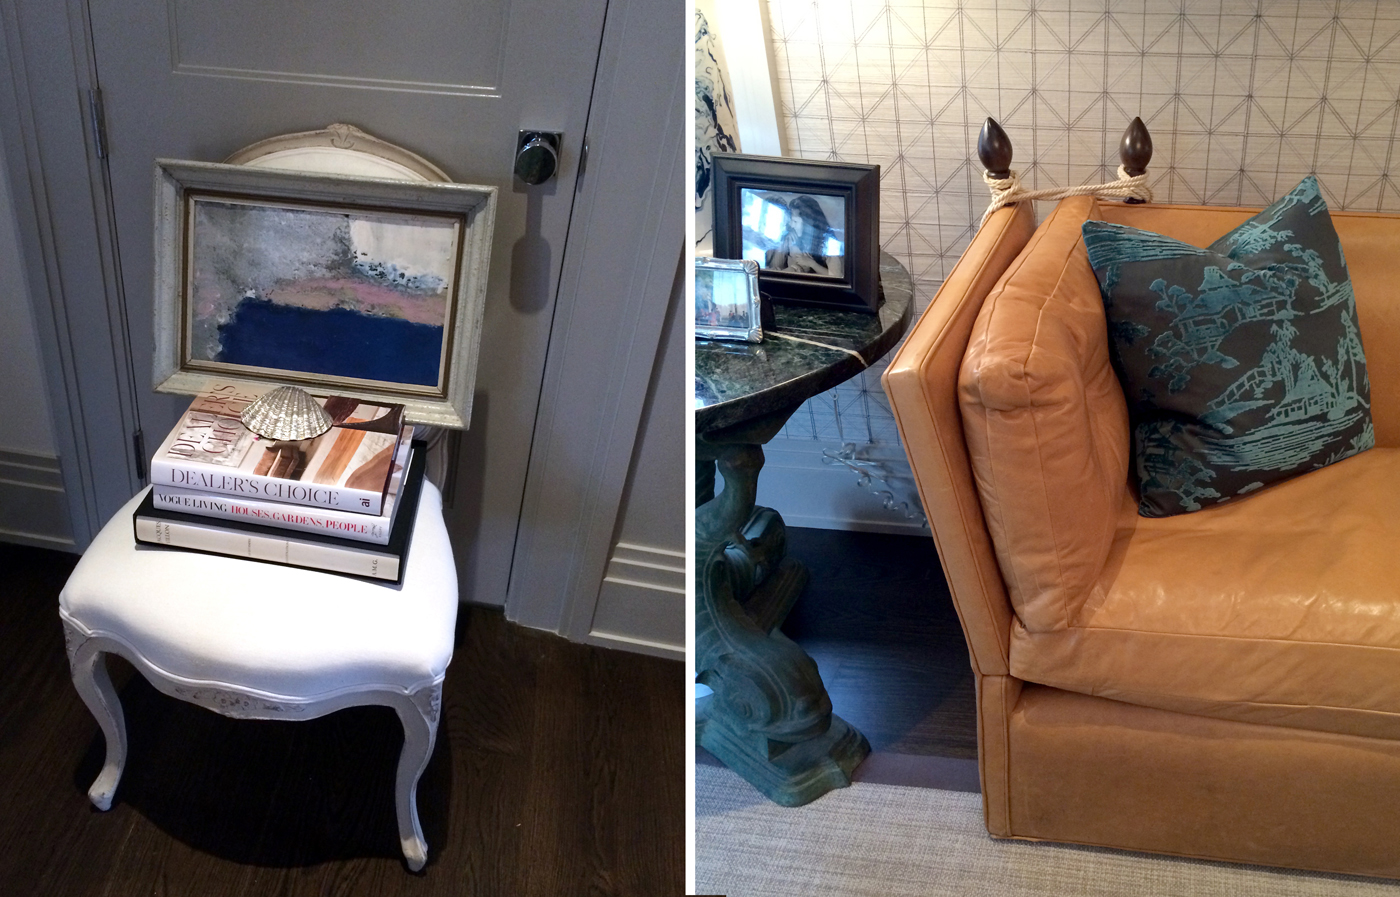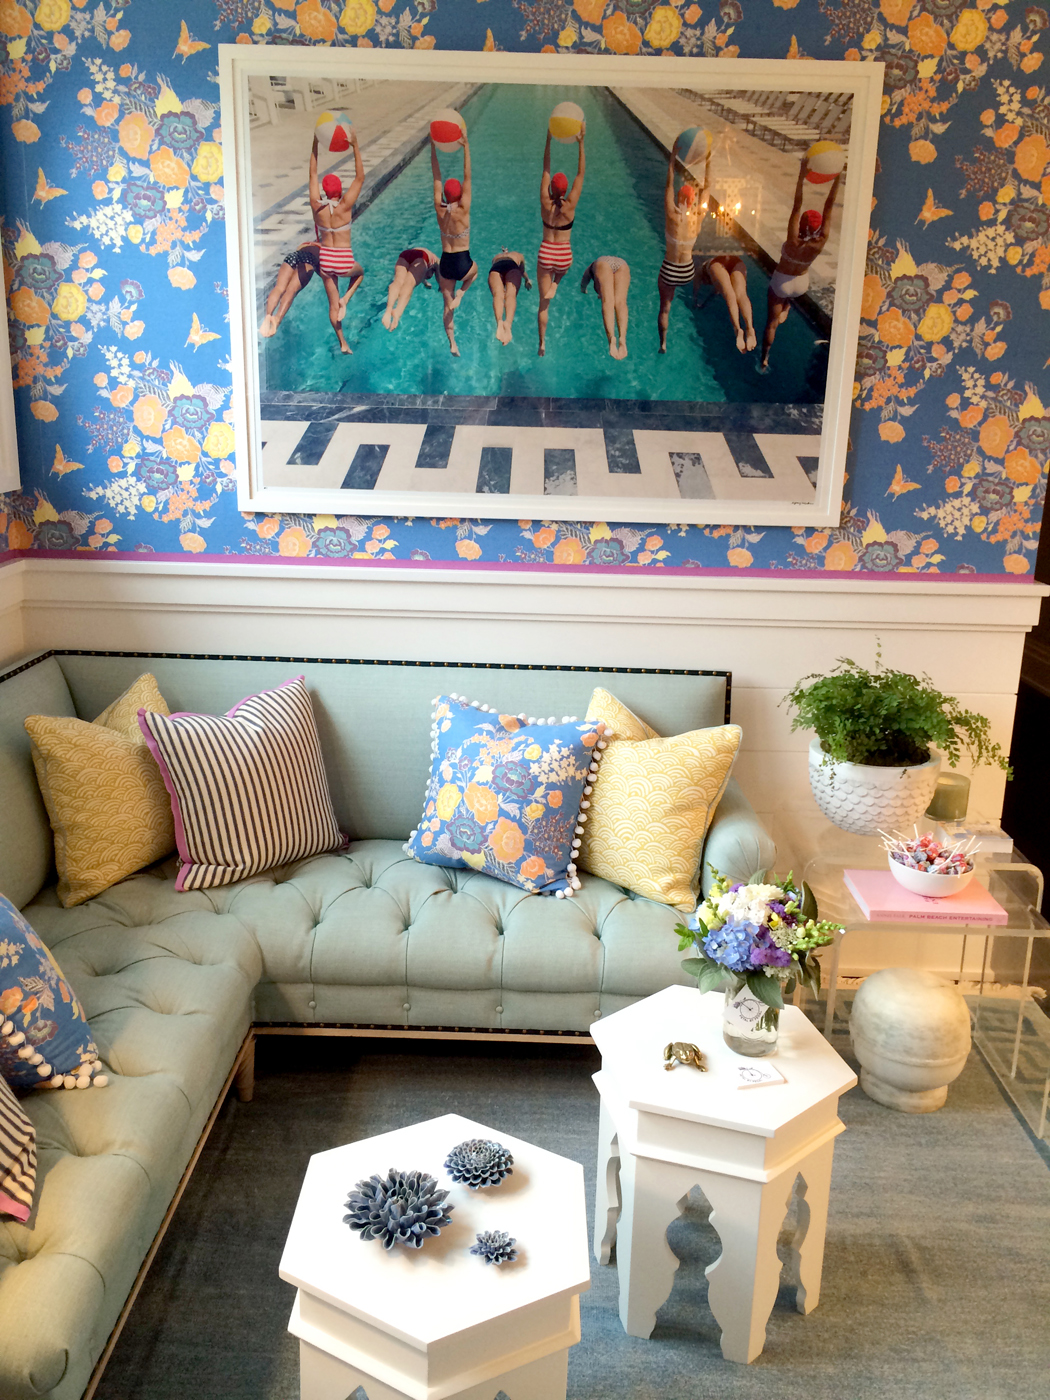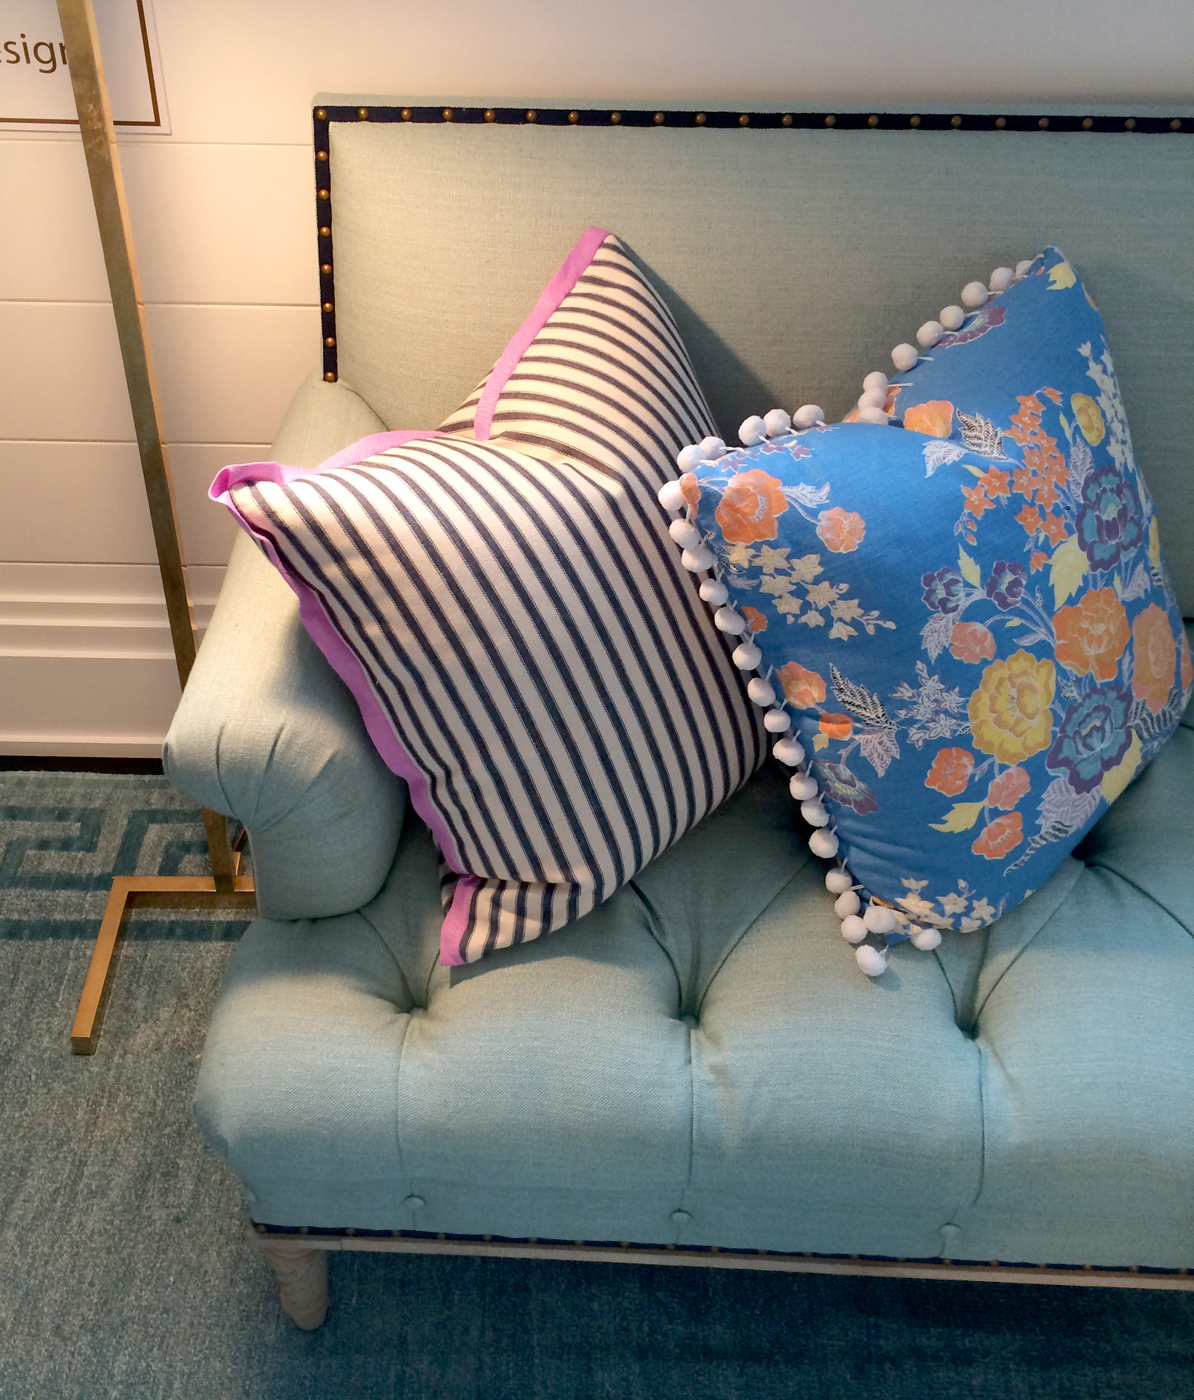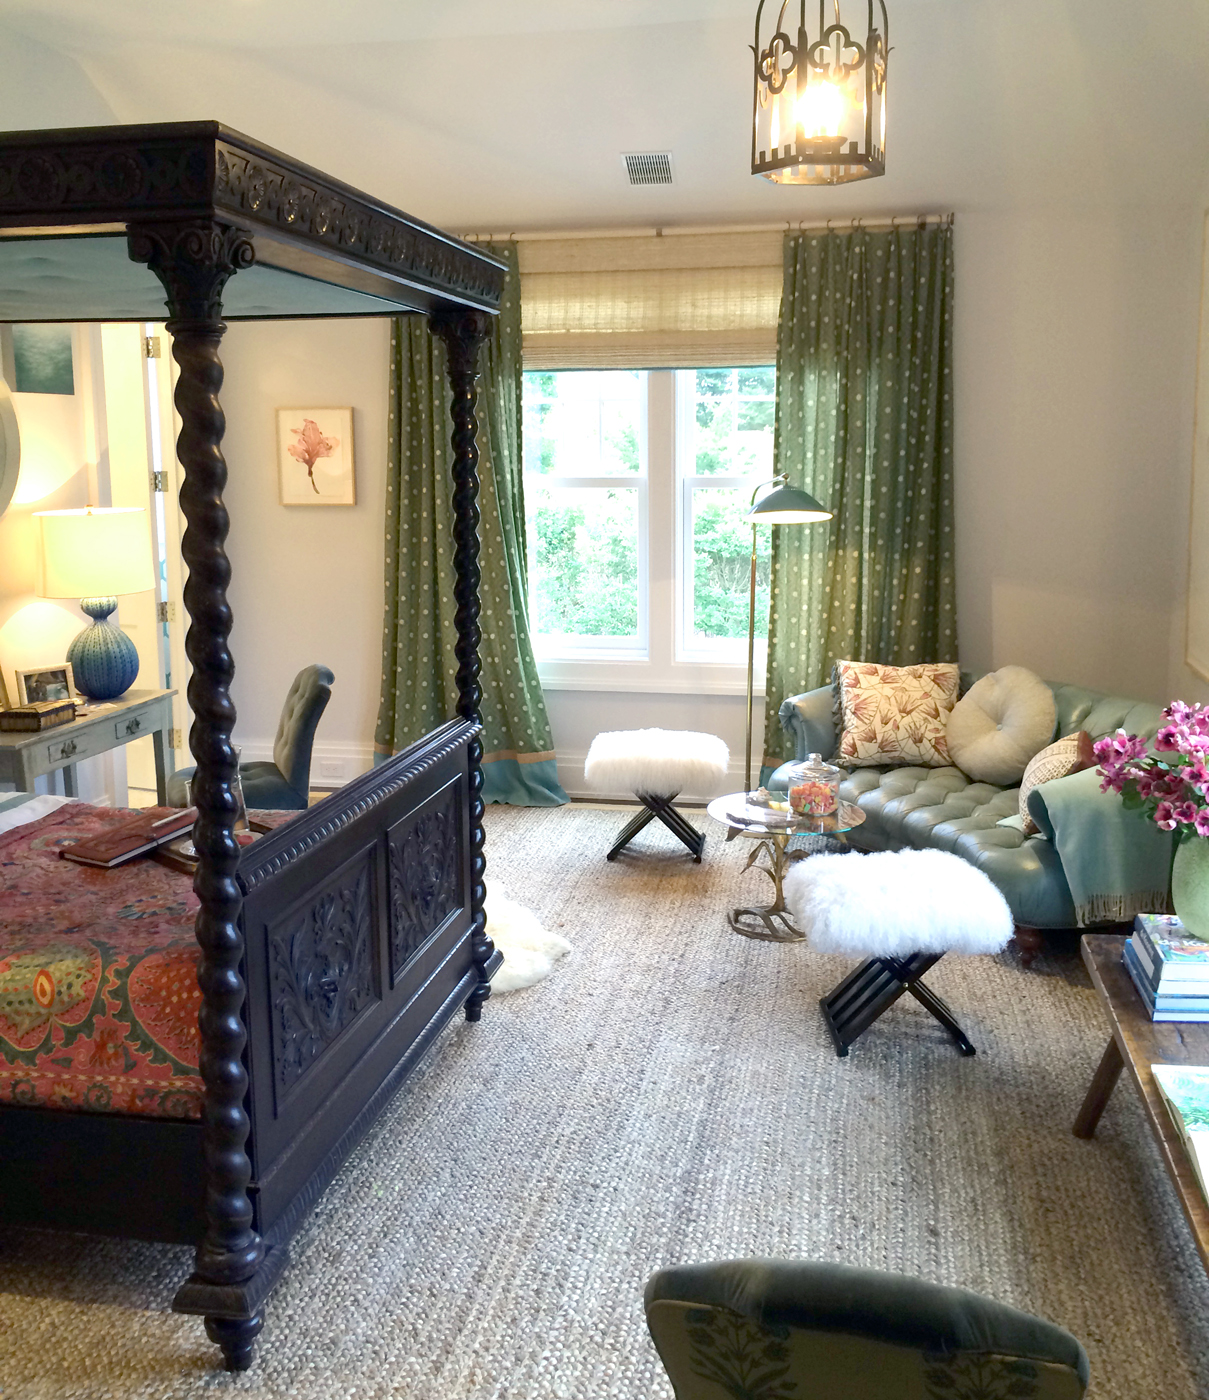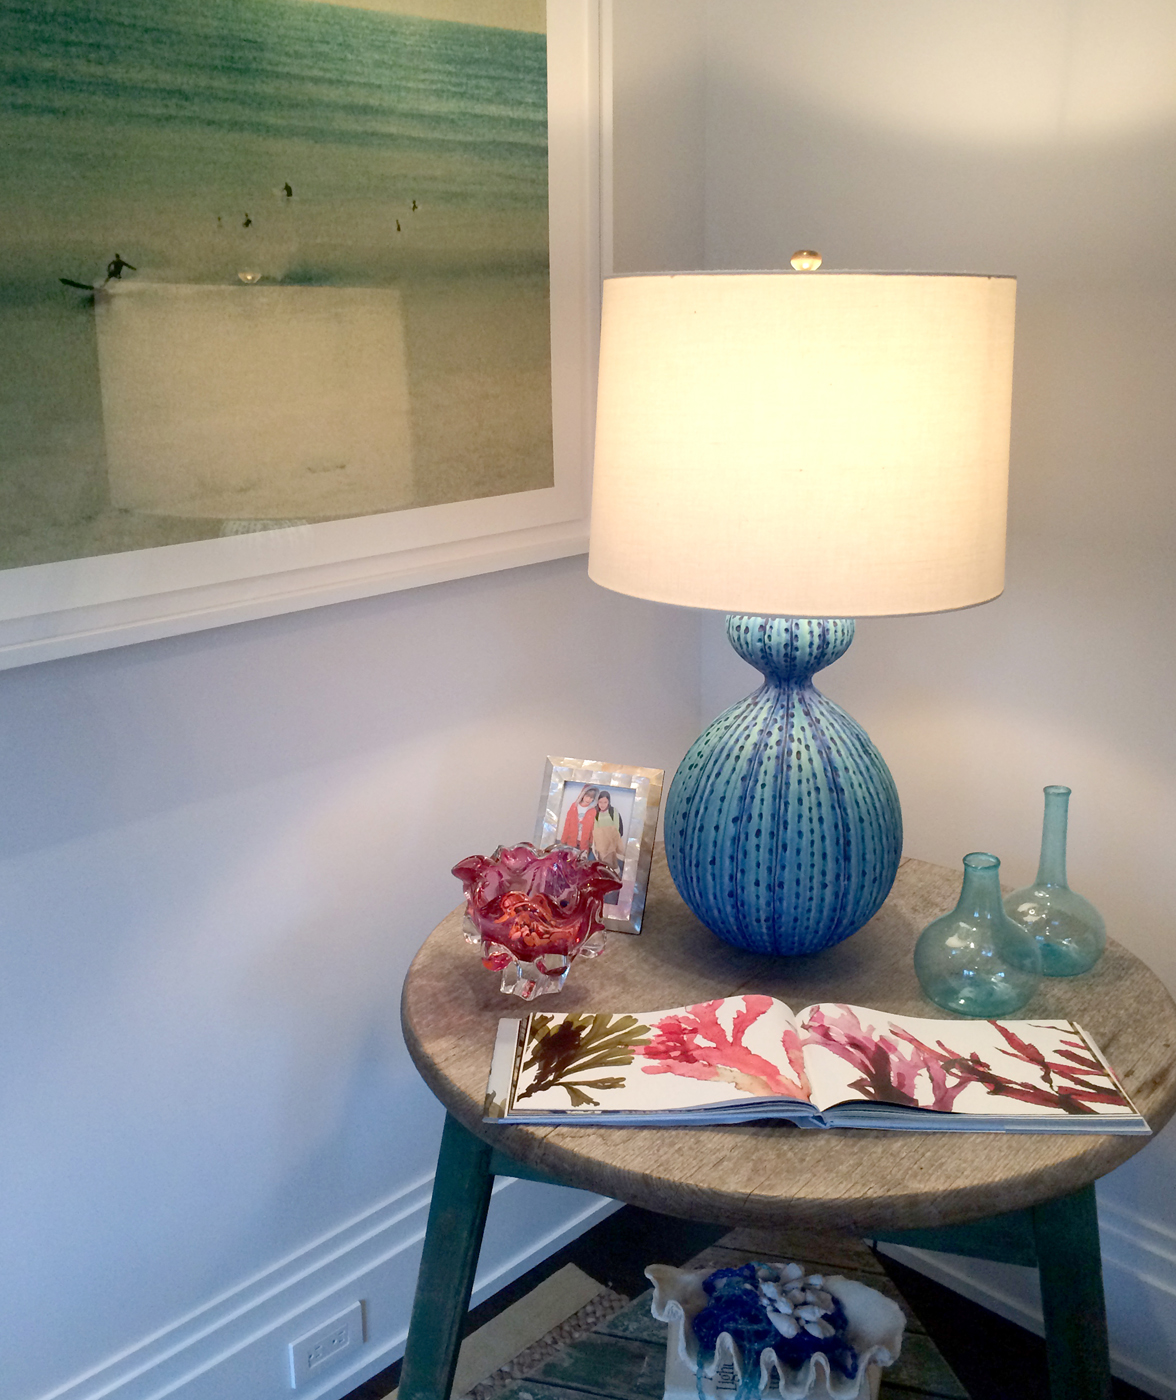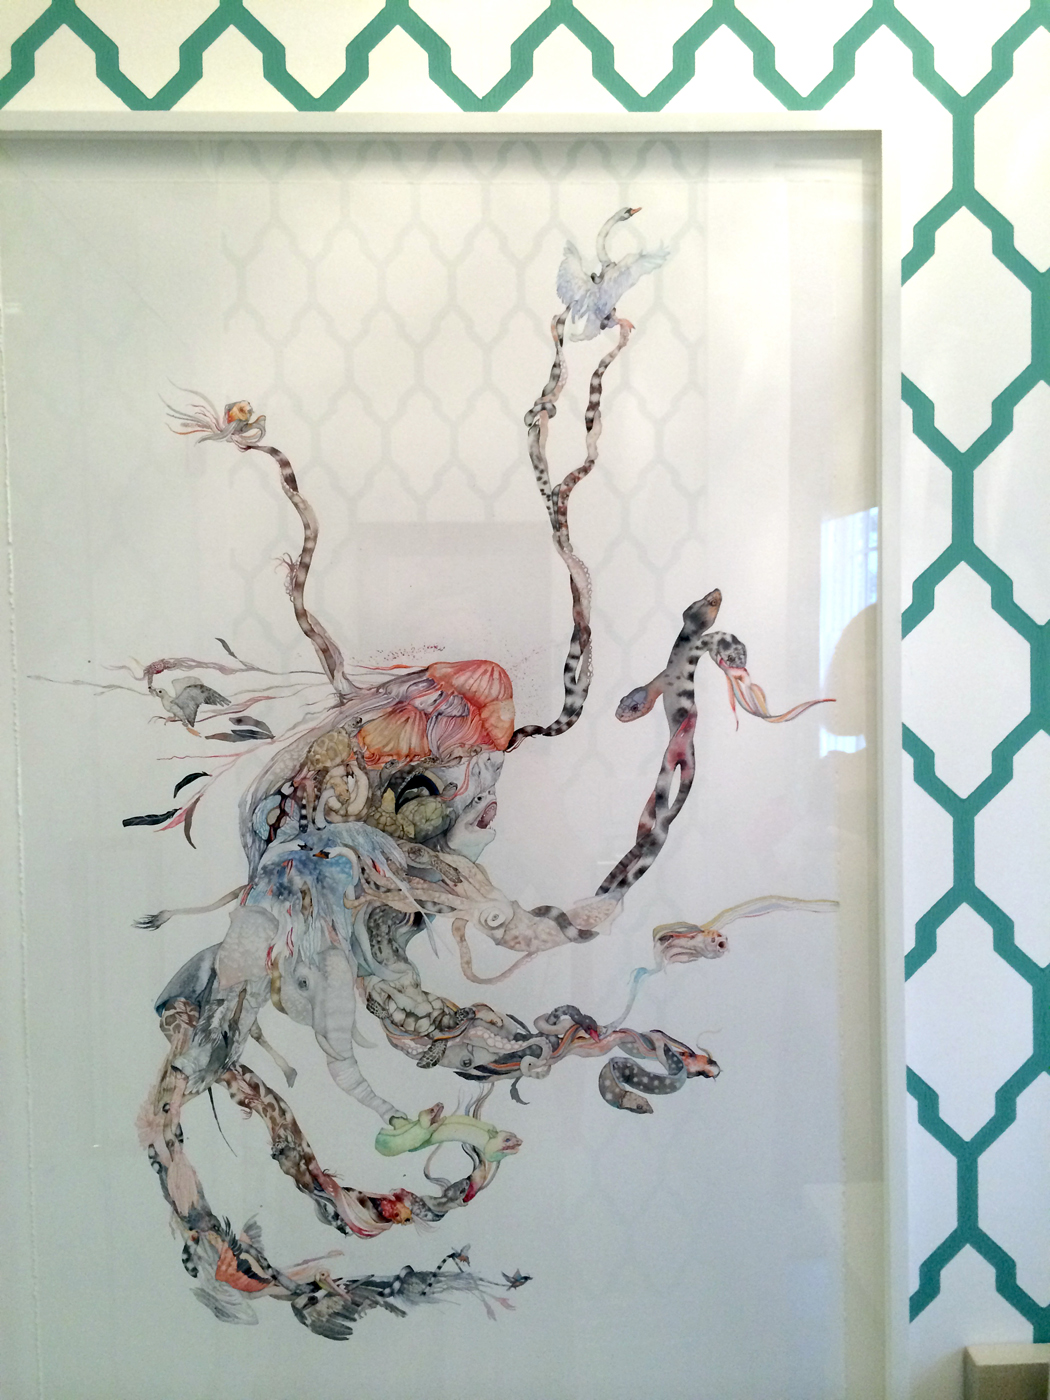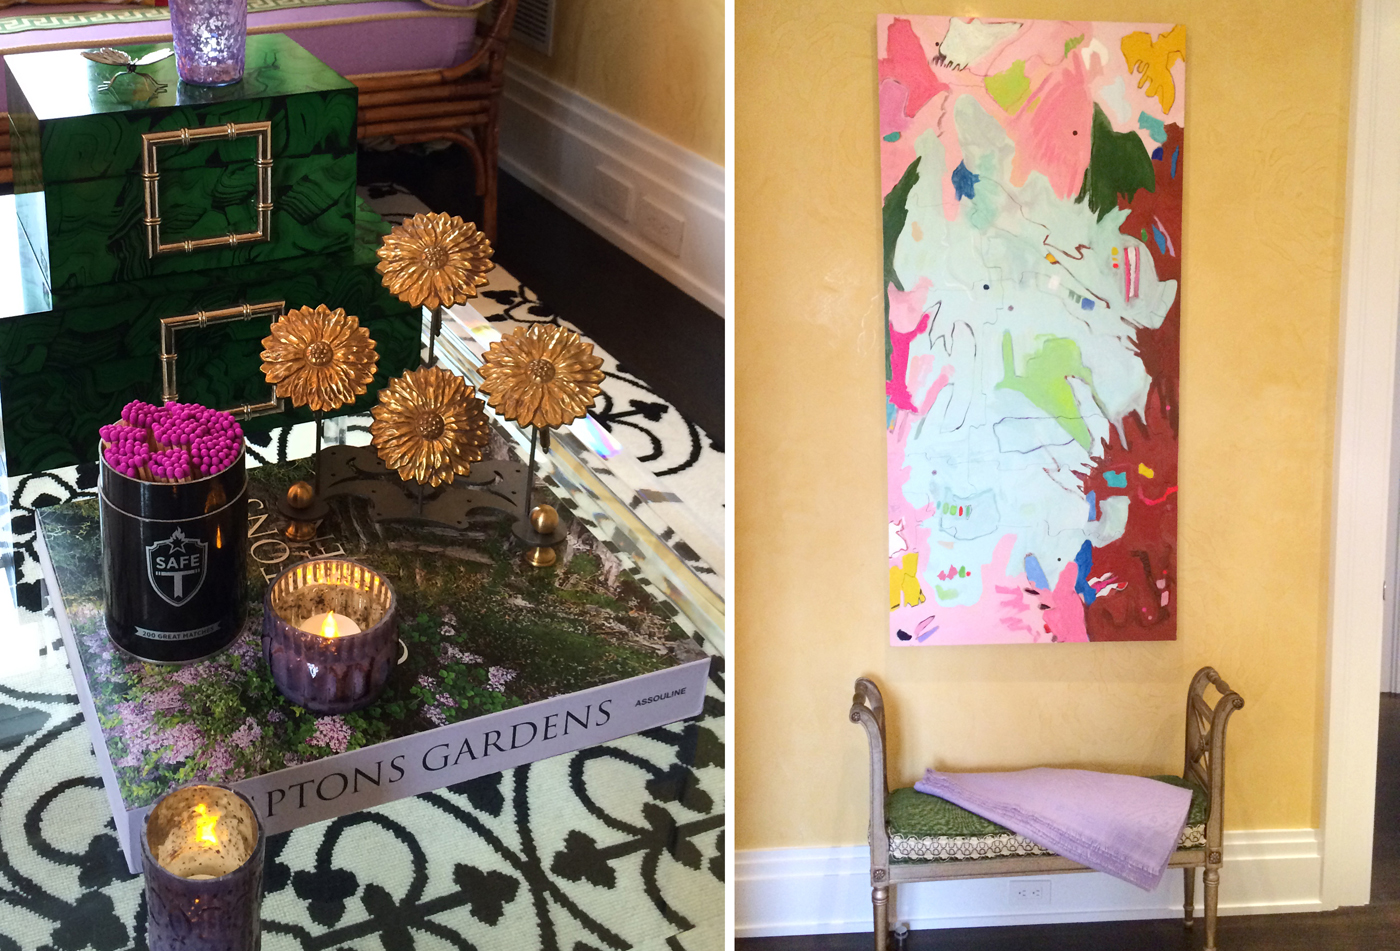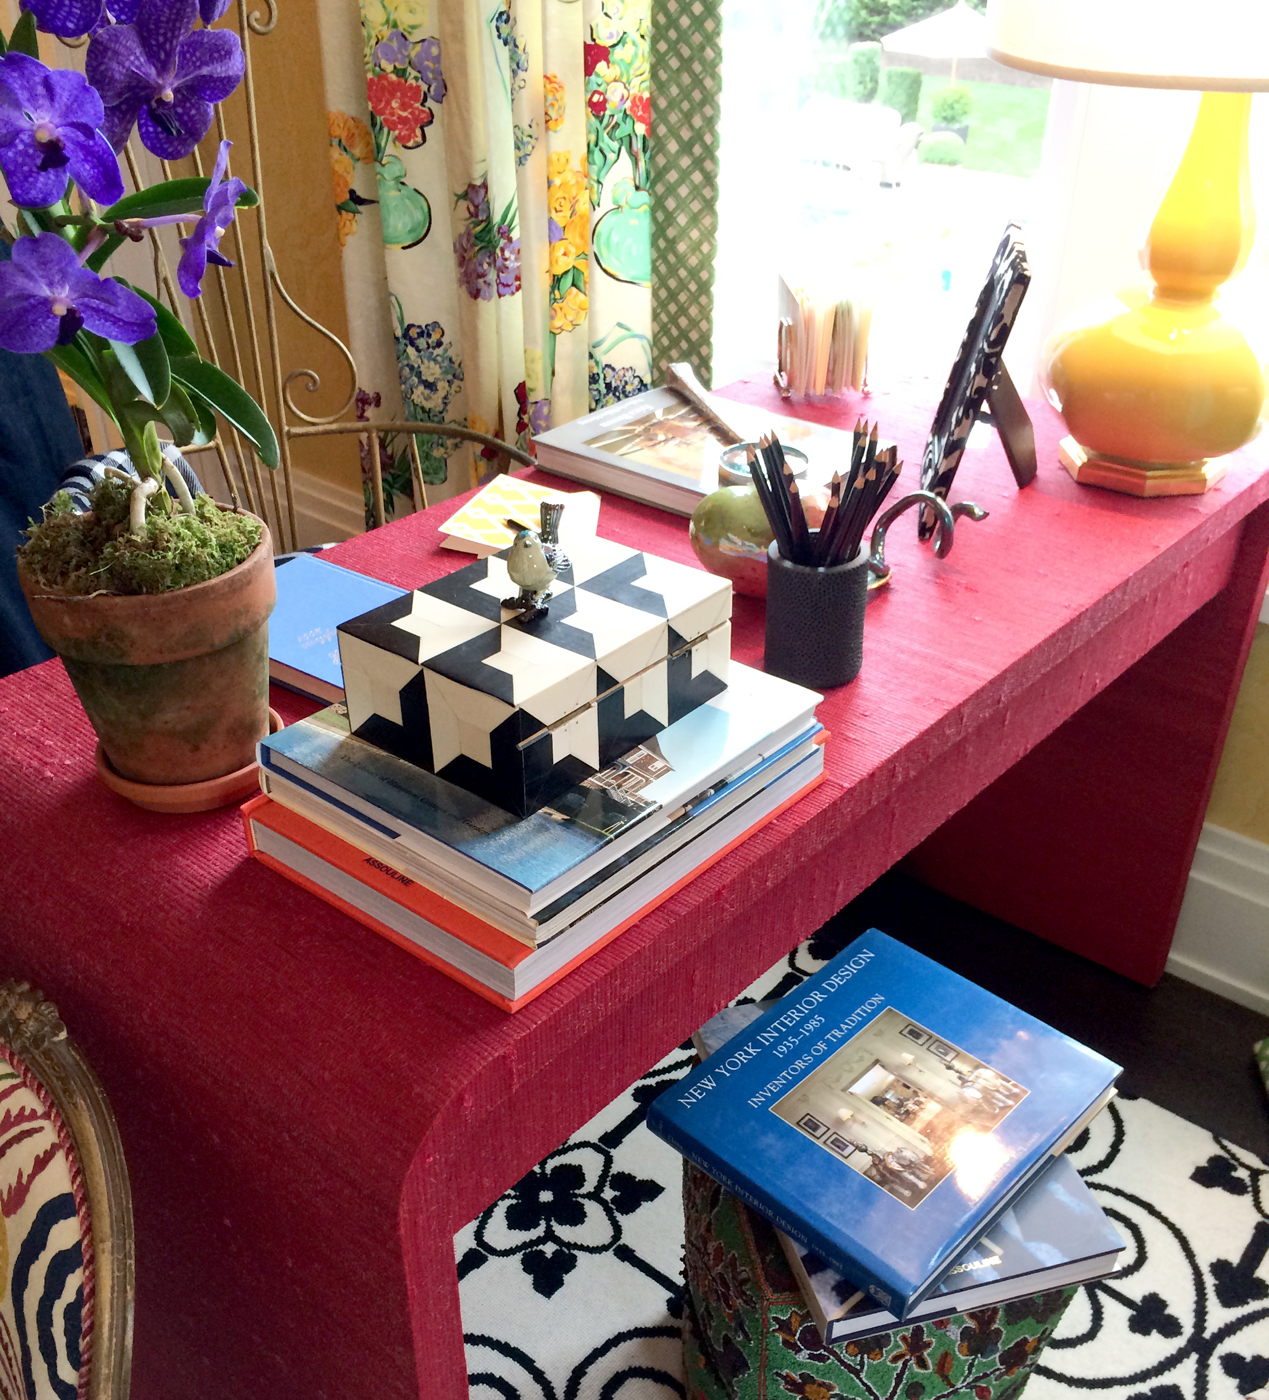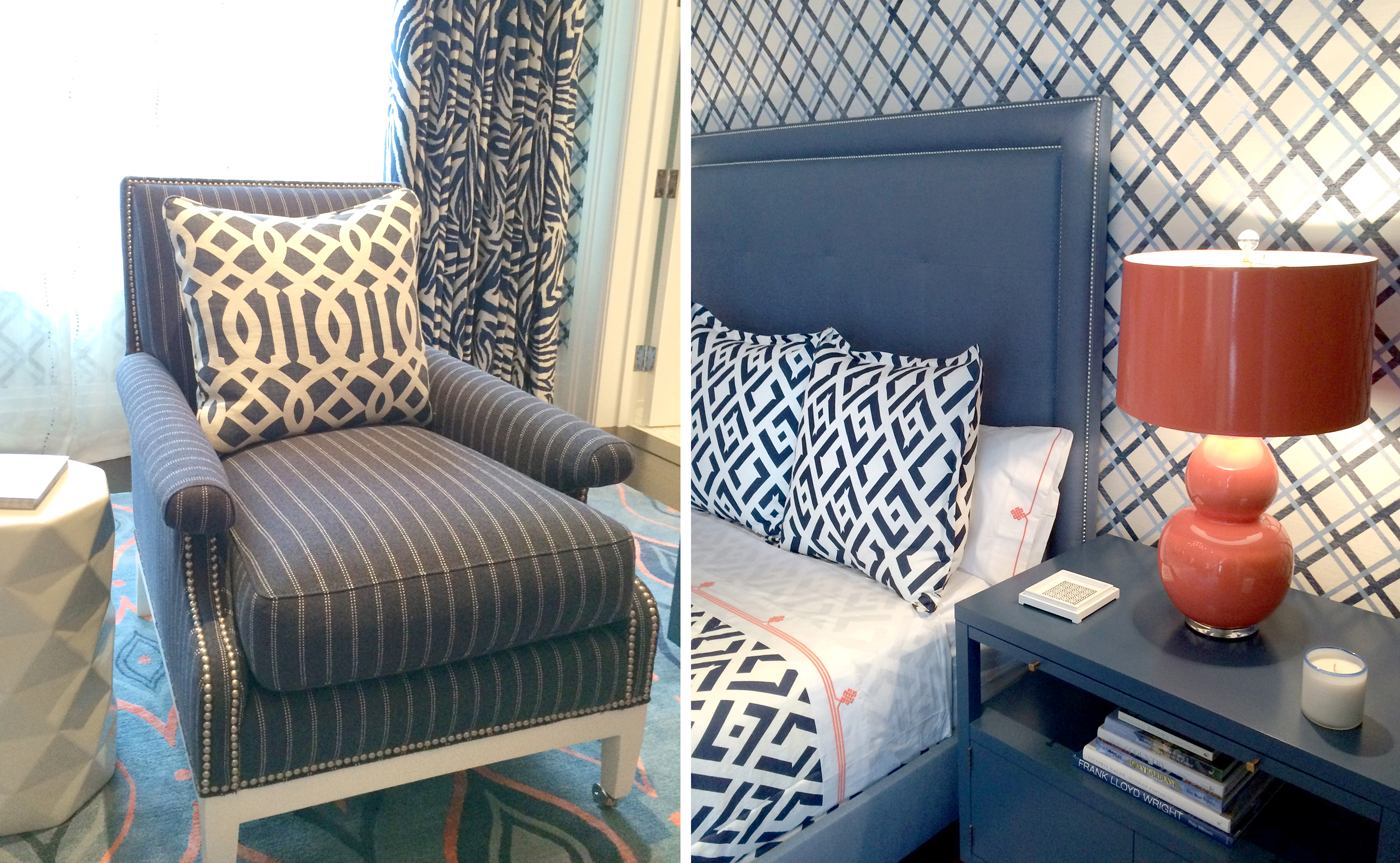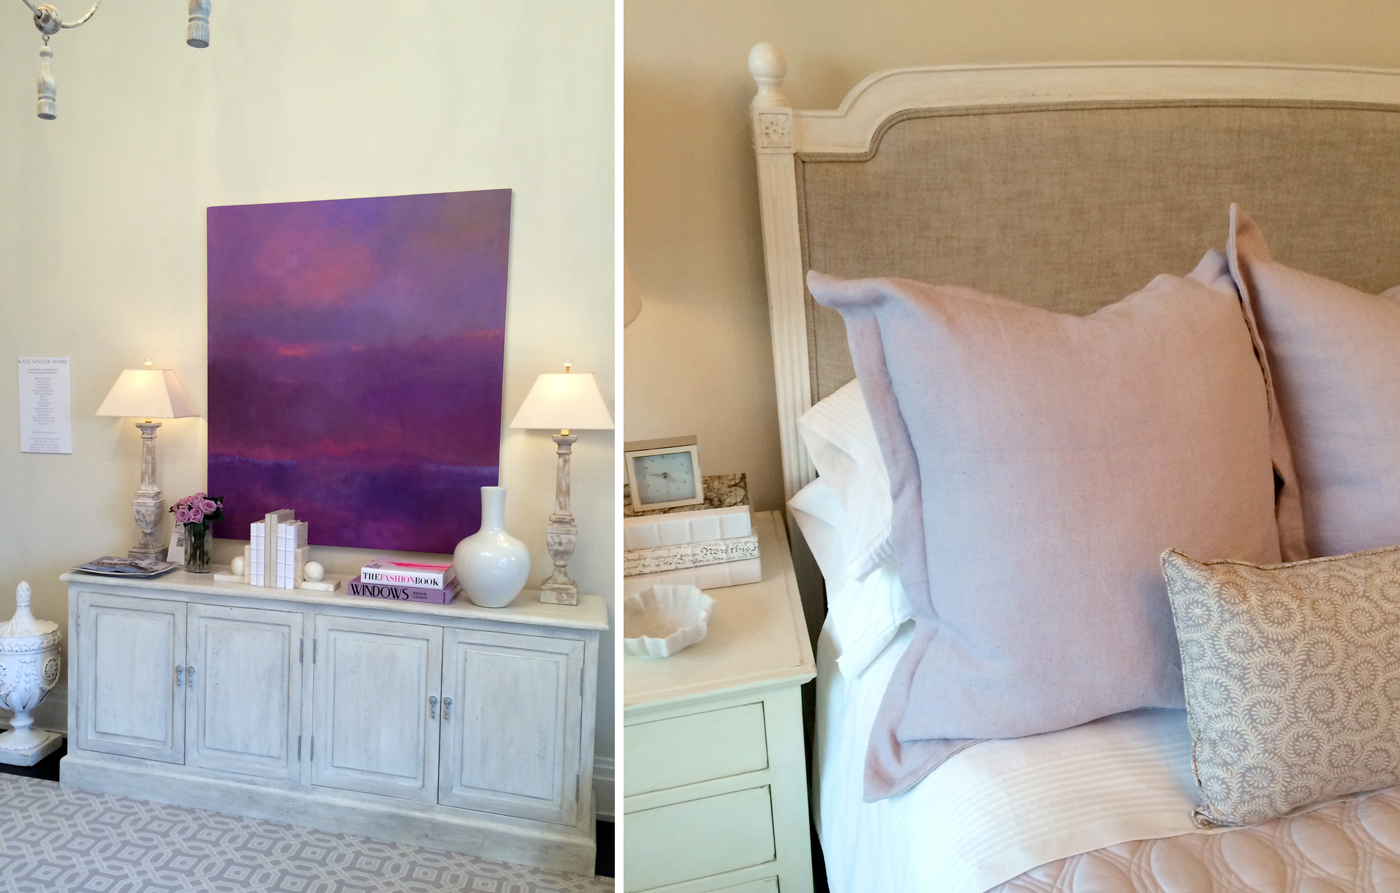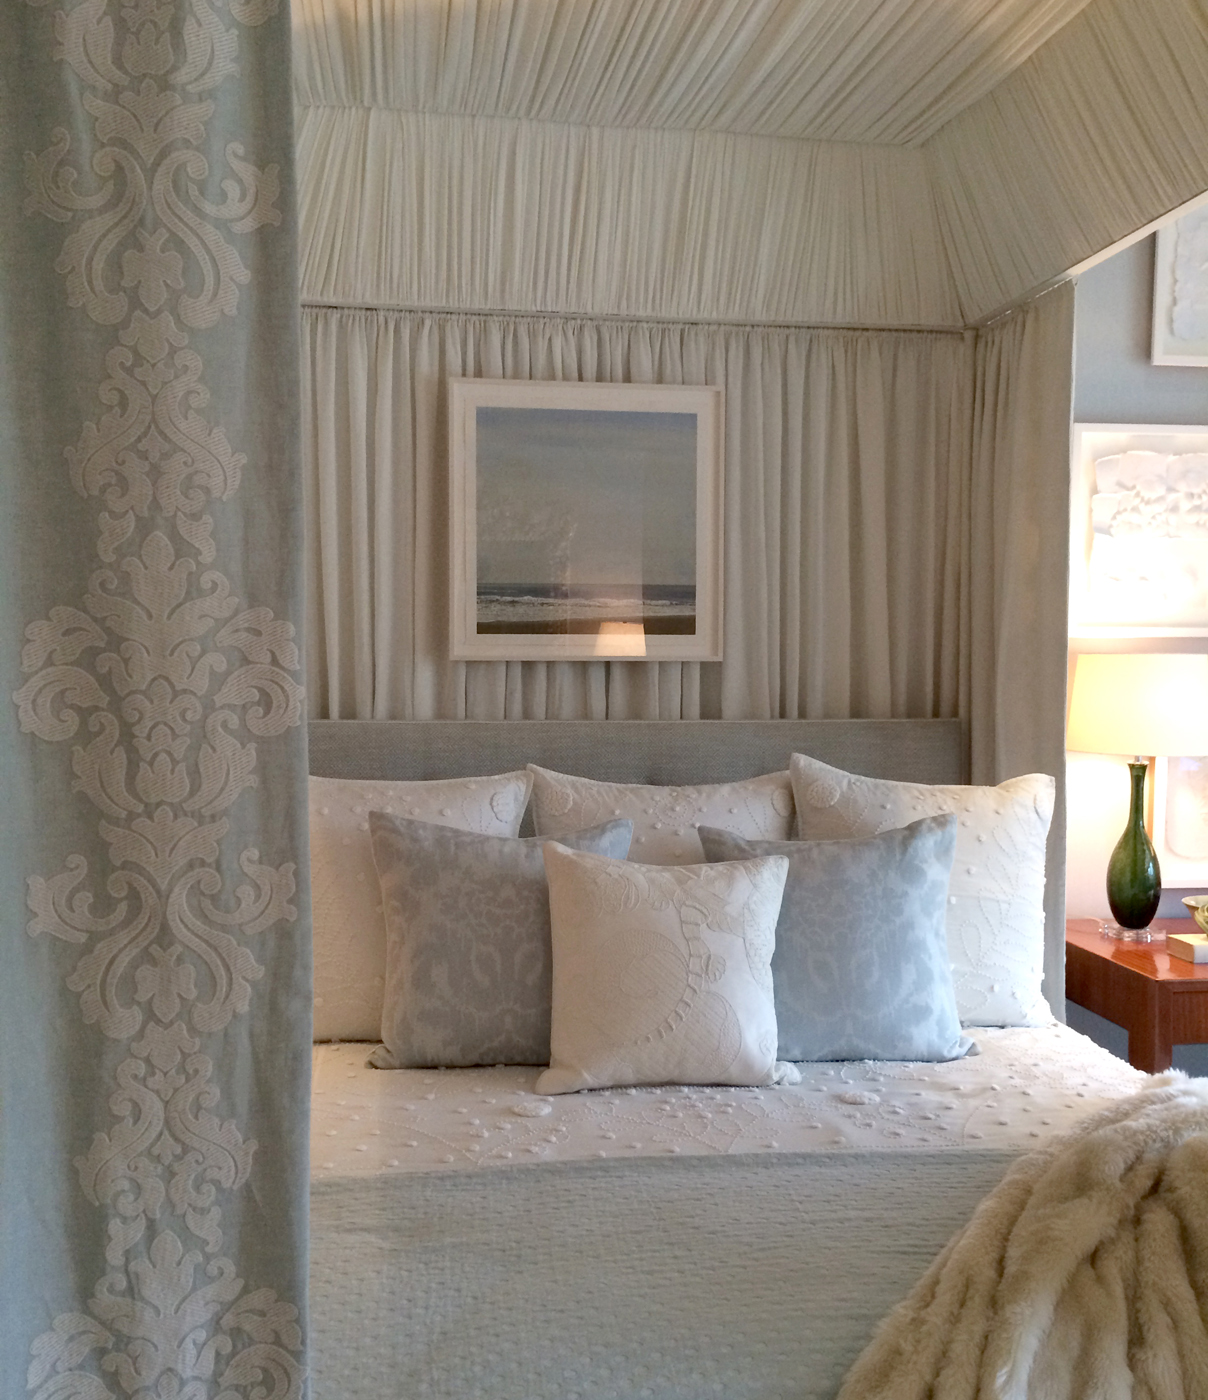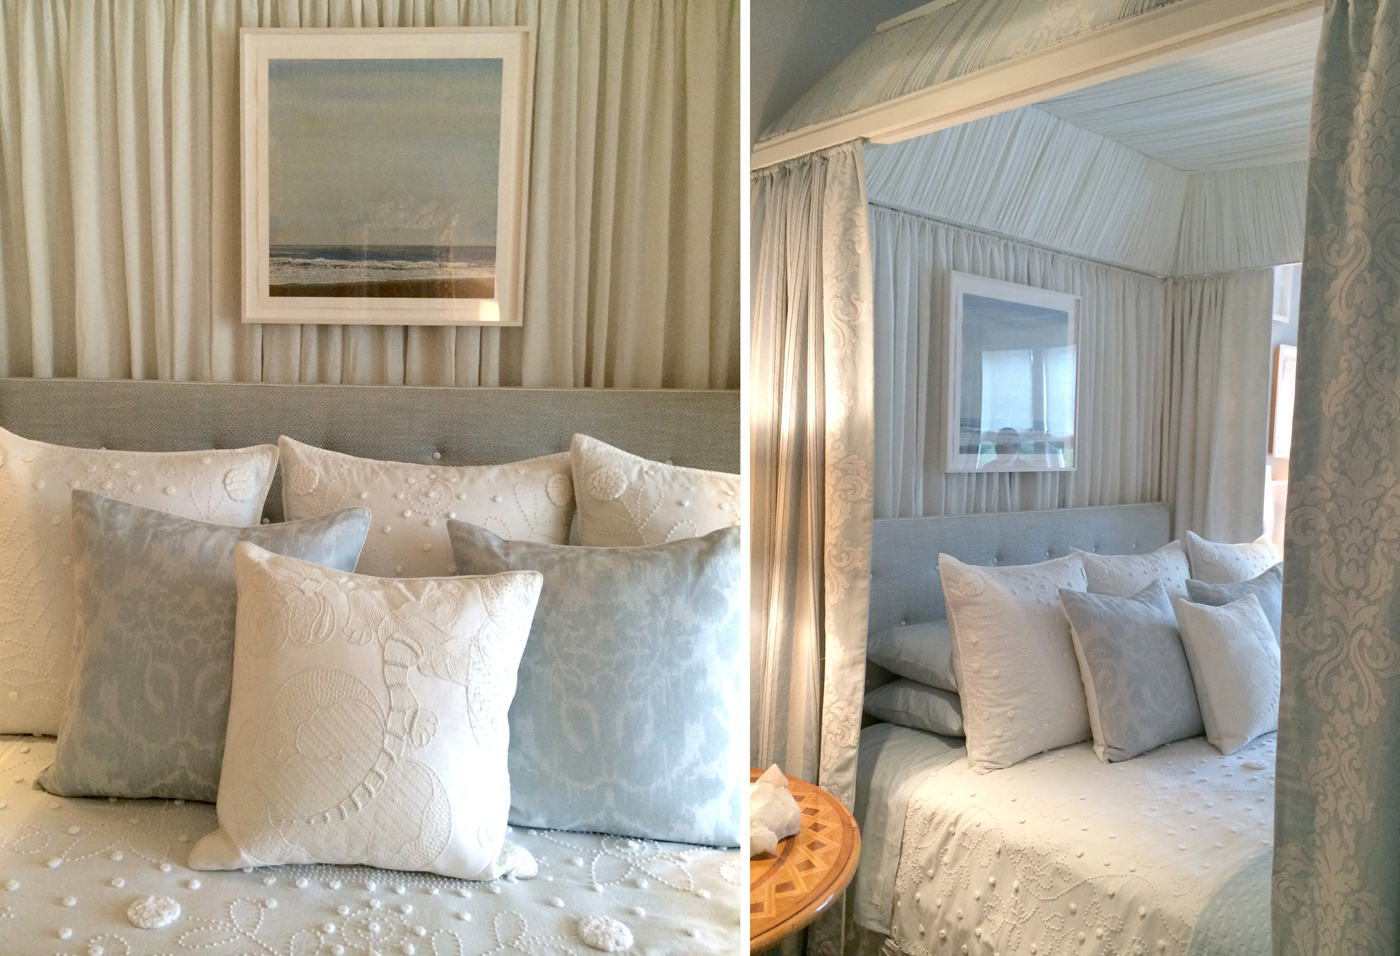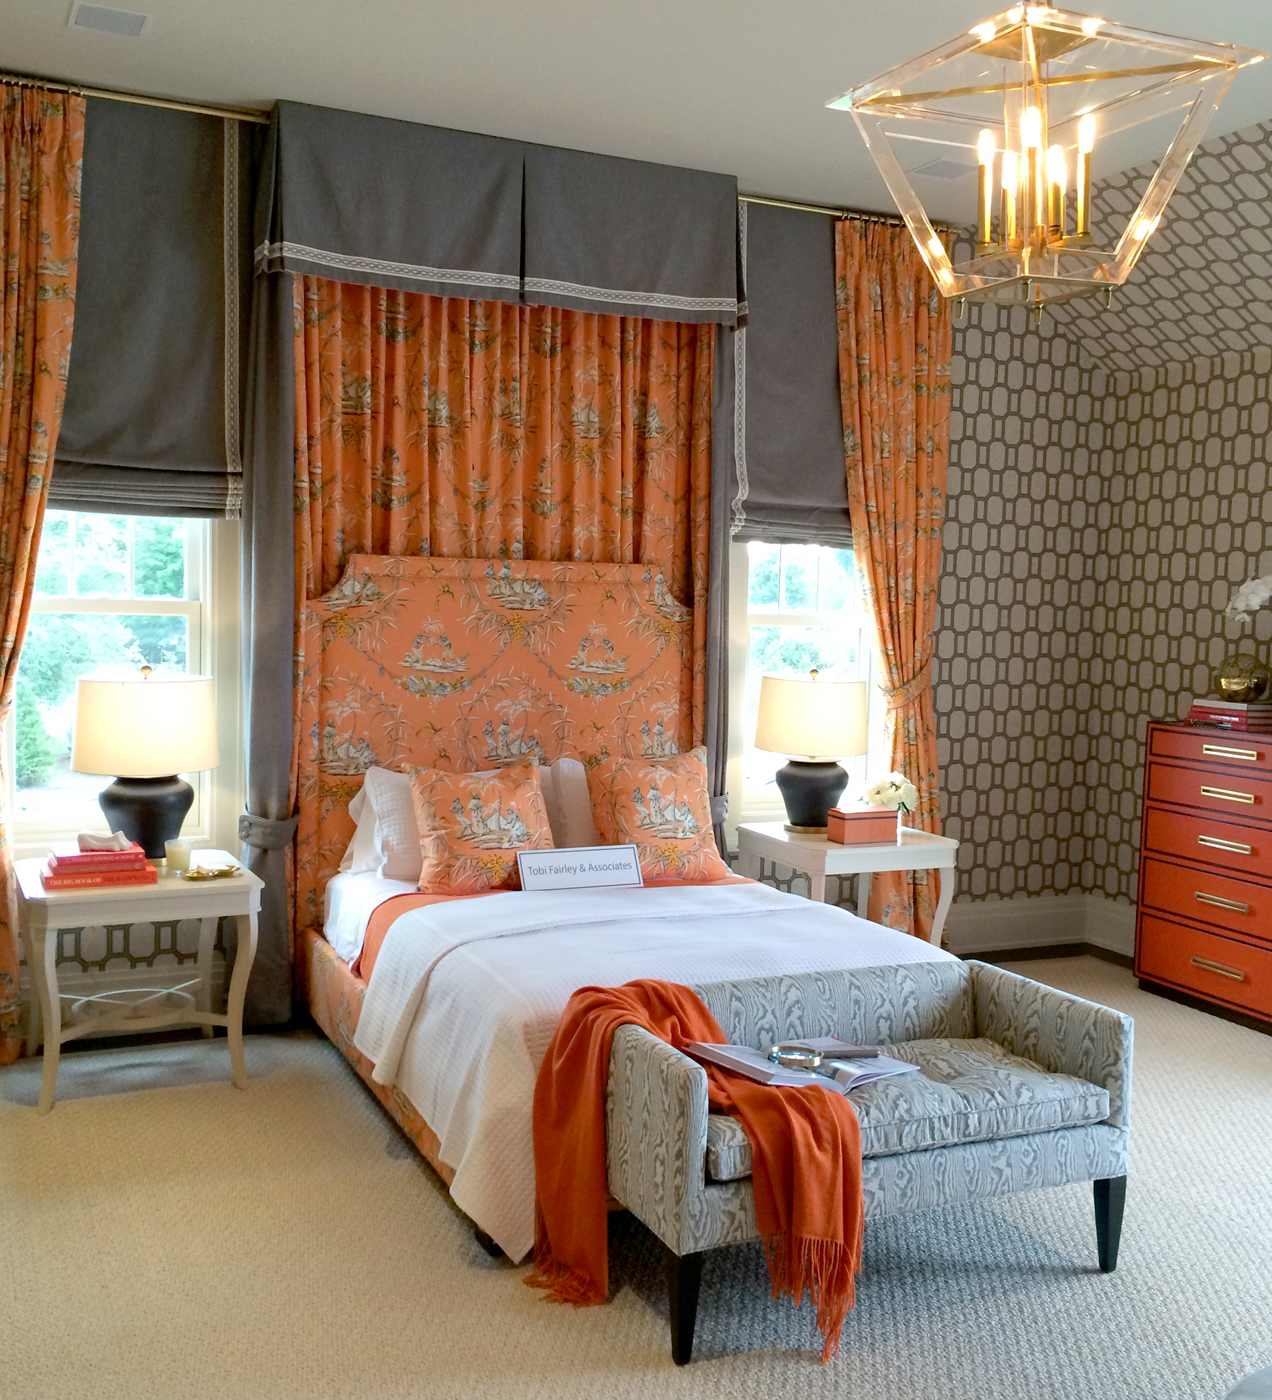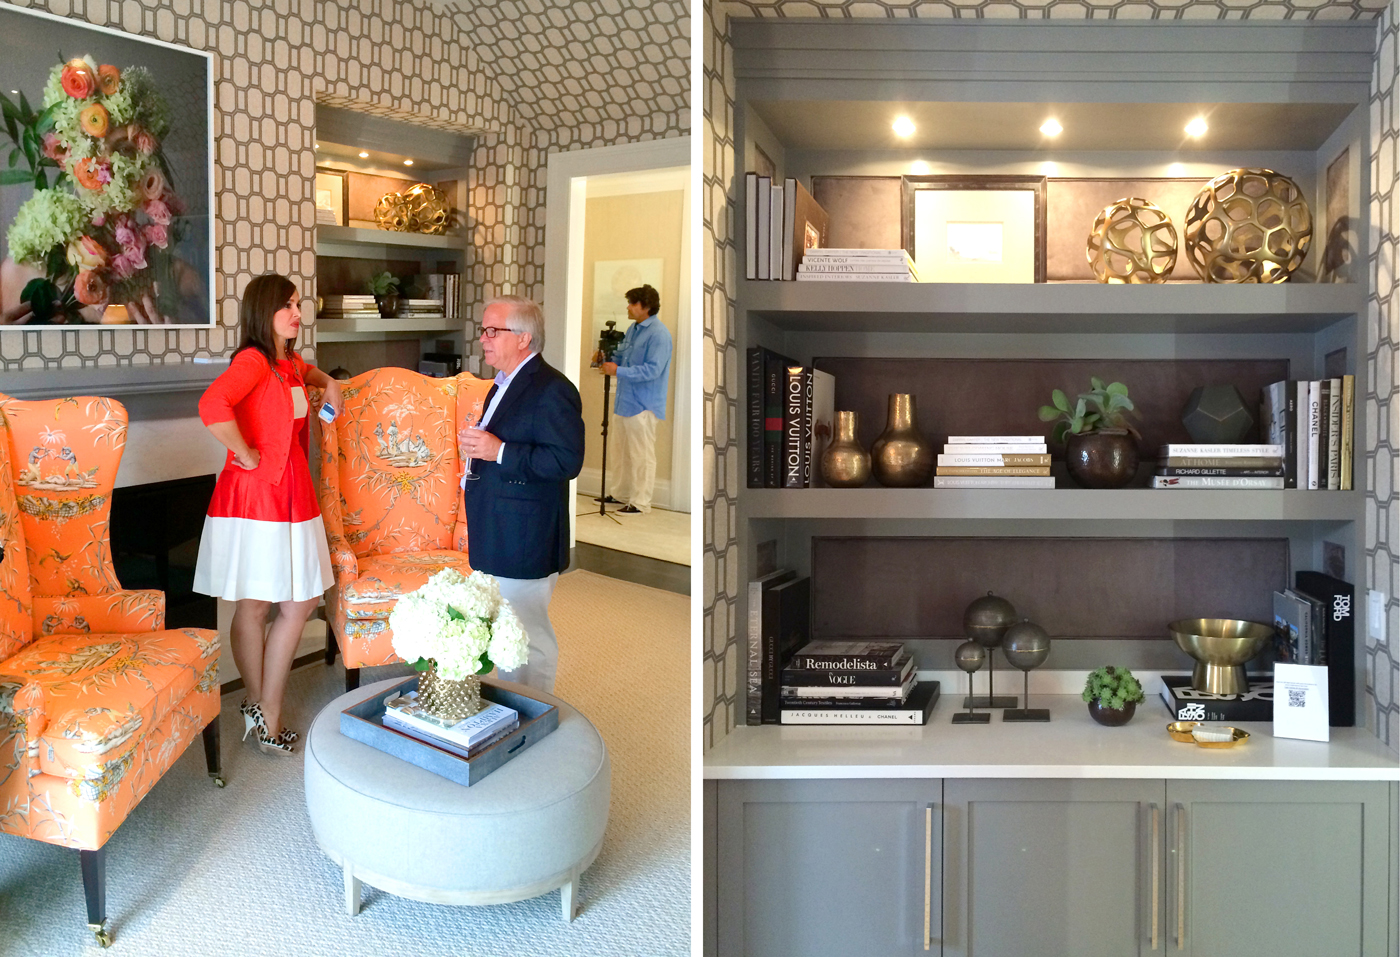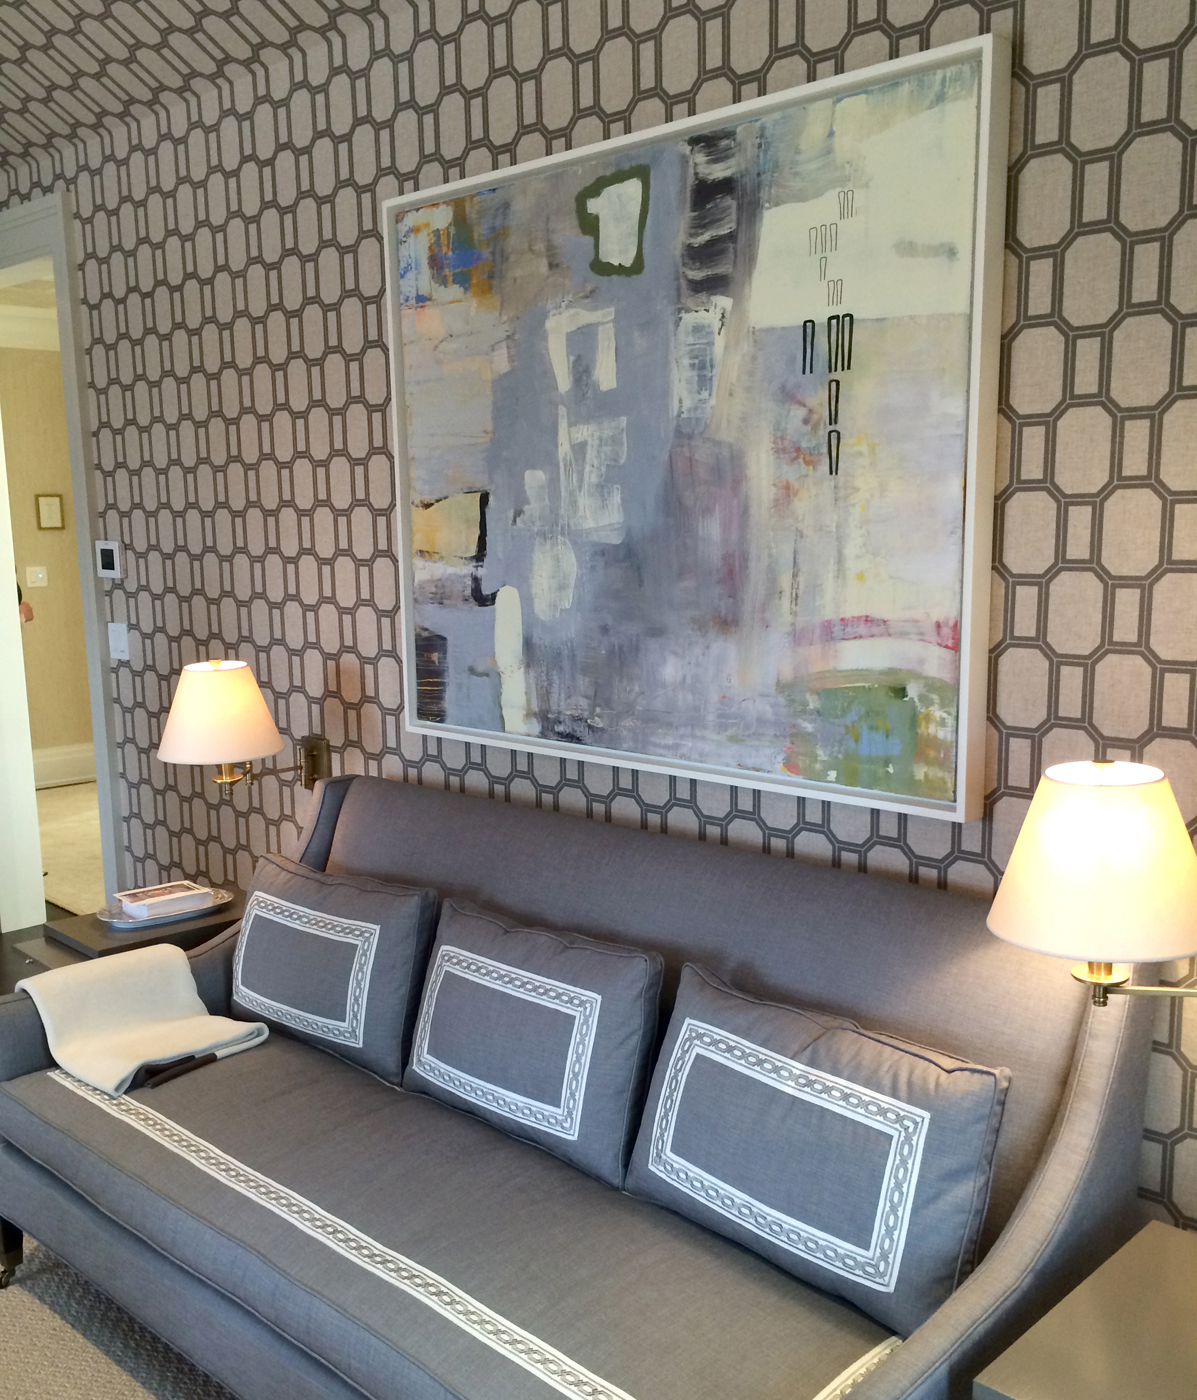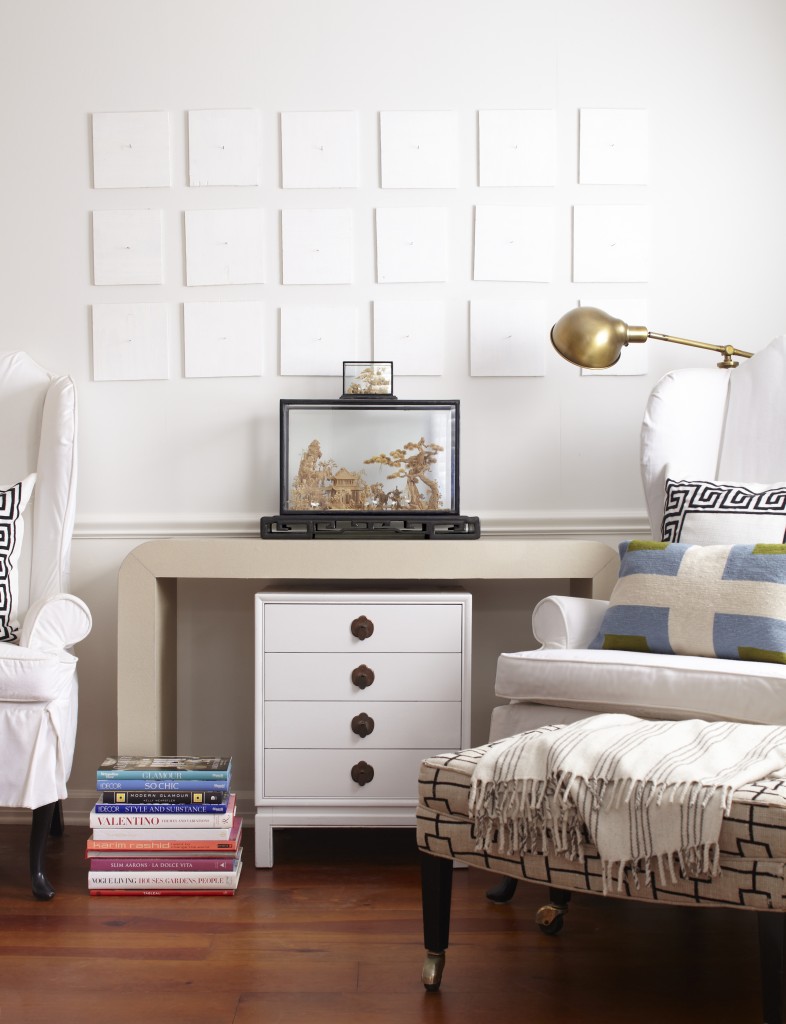
Photo by Laura Moss. Interior design & styling by me, Meredith McBride Kipp.
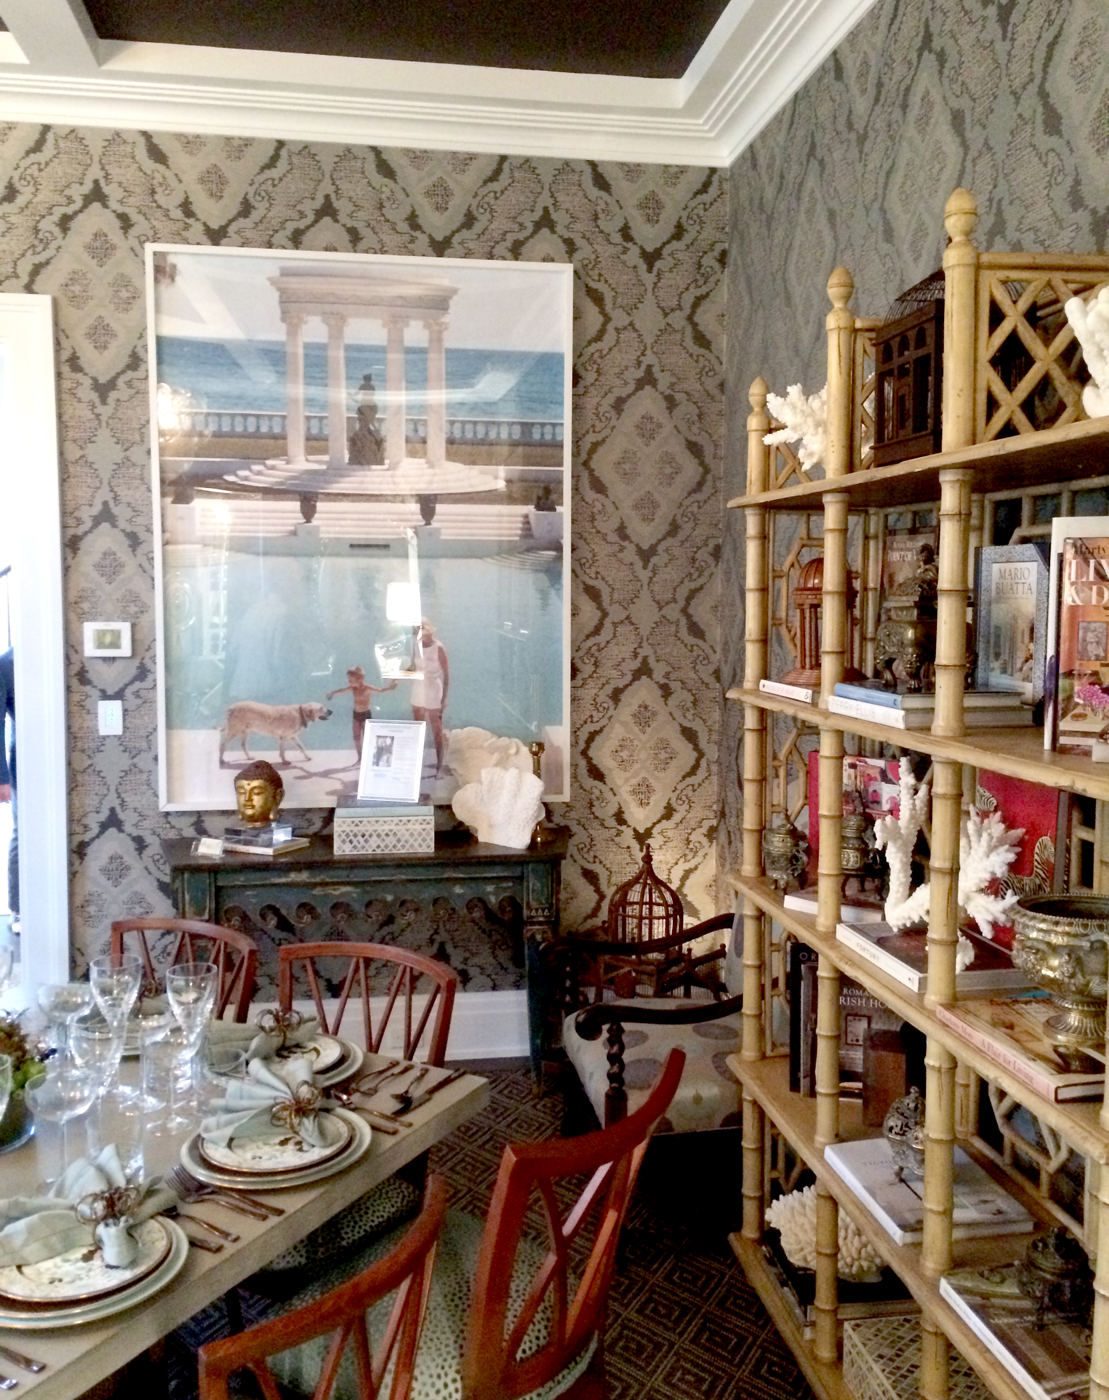
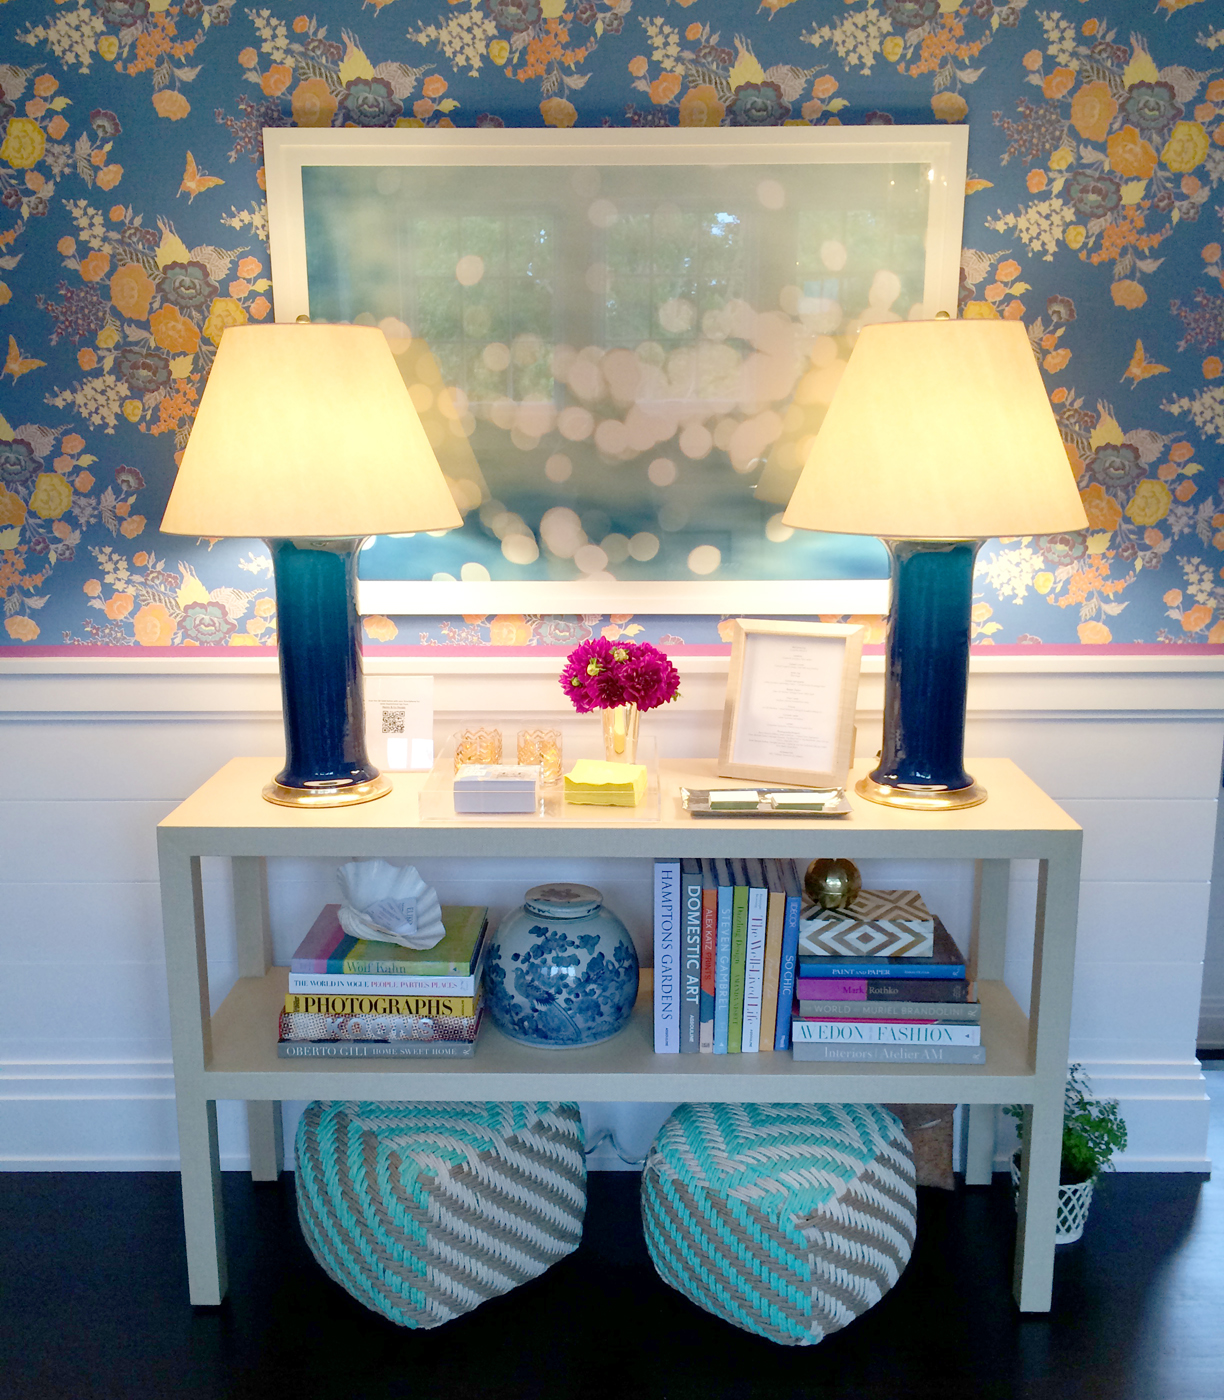
I found this great console table recently and dragged it home. It’s got great lines and would look perfect covered or lacquered in just about anything (except mauve). I envisioned covering it in real shagreen (j’adore shagreen) but my lack of diamond-tipped tools and experience steered me towards a nice faux alternative (they have alligator, ostrich and other textures too)!
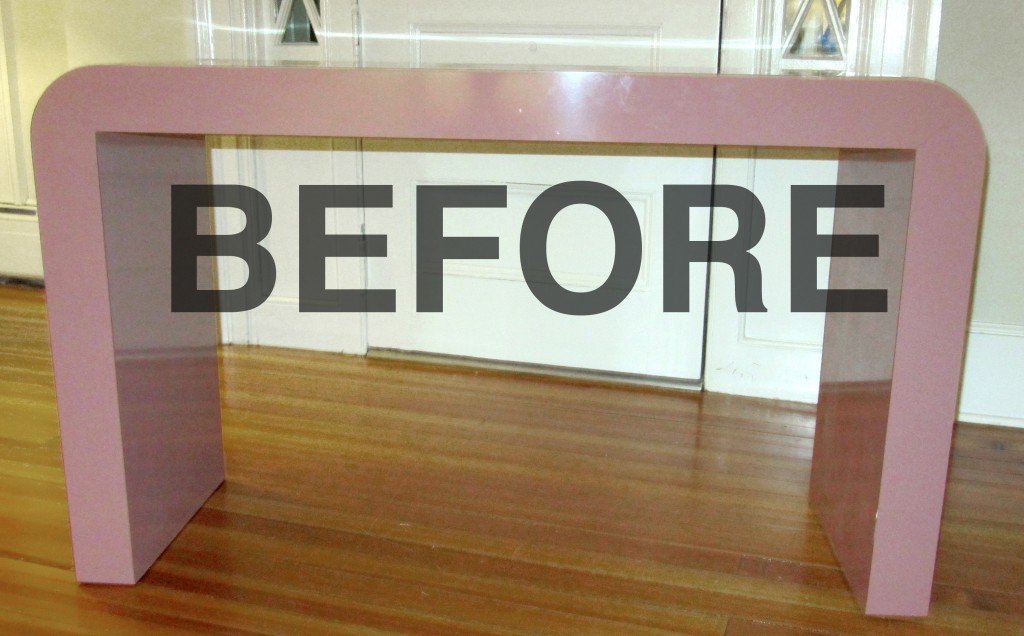
If you dare to DIY—avoir patience! Here’s how I did it:
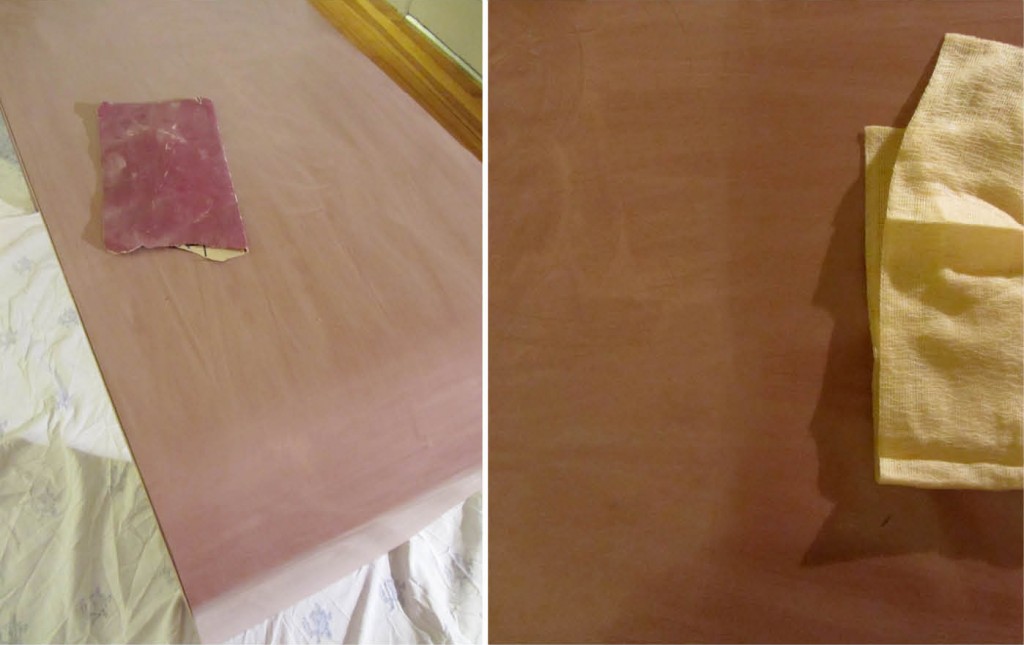
1. I cleaned the table thoroughly to remove all oils, dirt, etc. Then, sanded the entire table with a fine grit paper (I would go a little heavier next time: the more surface texture you can create the better) and wiped it down with a
tack cloth: much better than cleaning again because you don’t want to add moisture to the surface you are about to adhere to.
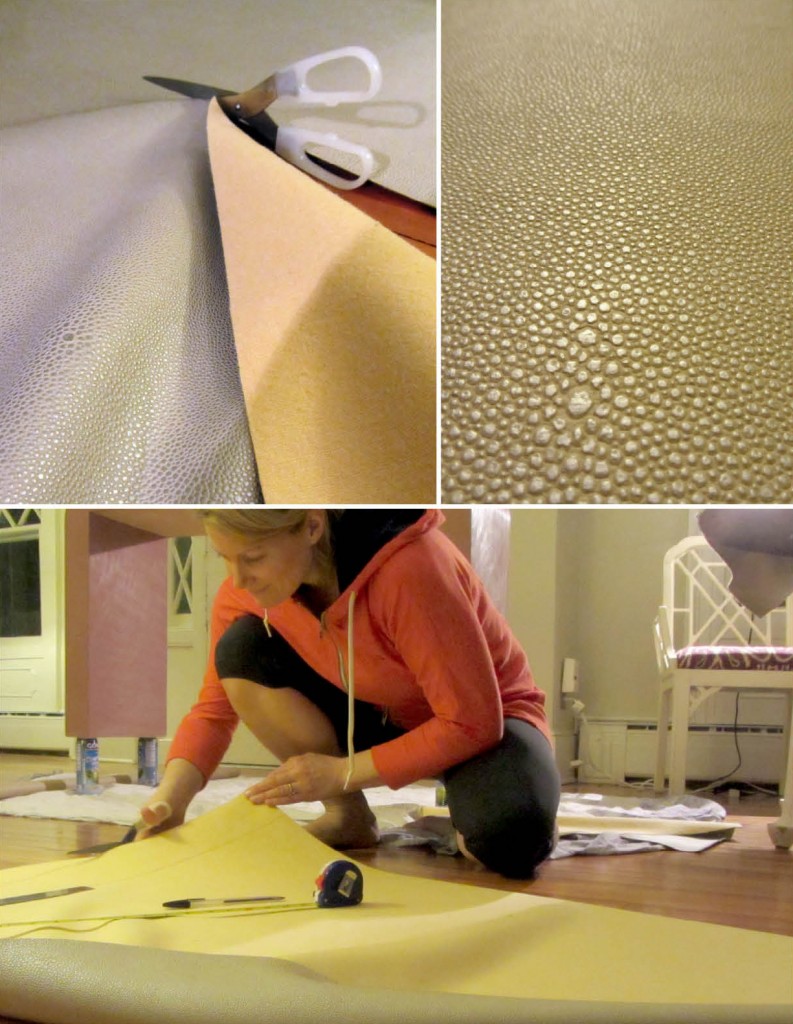
2. I measured out all my leather pieces (with a little excess) and cut them with scissors. If you’re going to cut the pieces to precise dimensions, I’d use an exacto and cutting mat. If you are using a textured fabric or leather, make sure you center your pattern before you cut your pieces.
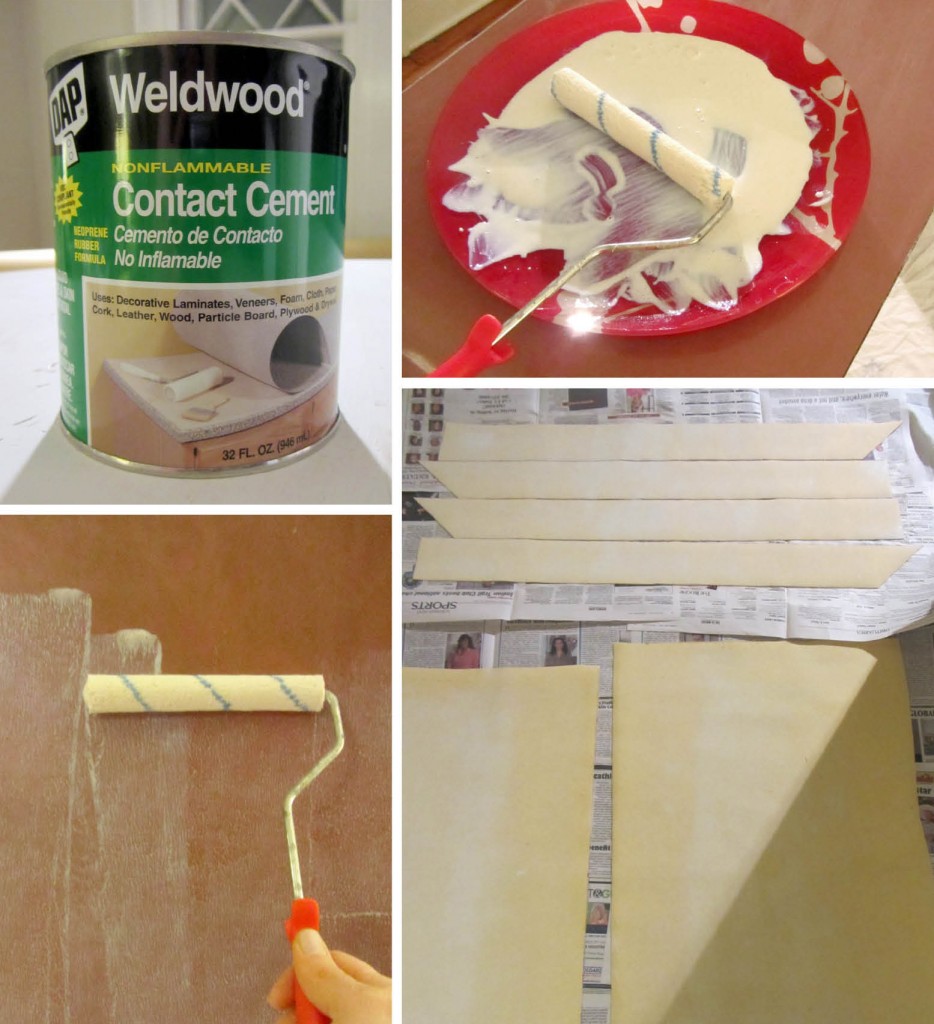
3. After stirring the
DAP Weldwood Contact Cement (follow the directions well), I poured it into a glass tray (easy-wash surface)—for my mini-roller—and applied it generously to all surfaces of the table as well as the backs of all the pre-cut leather pieces.
4. After letting it “set for over 40 mins”, I attempted to apply all the pieces, but had little to no luck bonding leather-to-table. I went to bed completely irate: for not doing it the easy way from the get go (glue gun, staple gun, heavy duty spray adhesive: my usual). To my surprise and delight, I awoke to surfaces that actually bonded! They had just needed more cure time. From there it was easy…
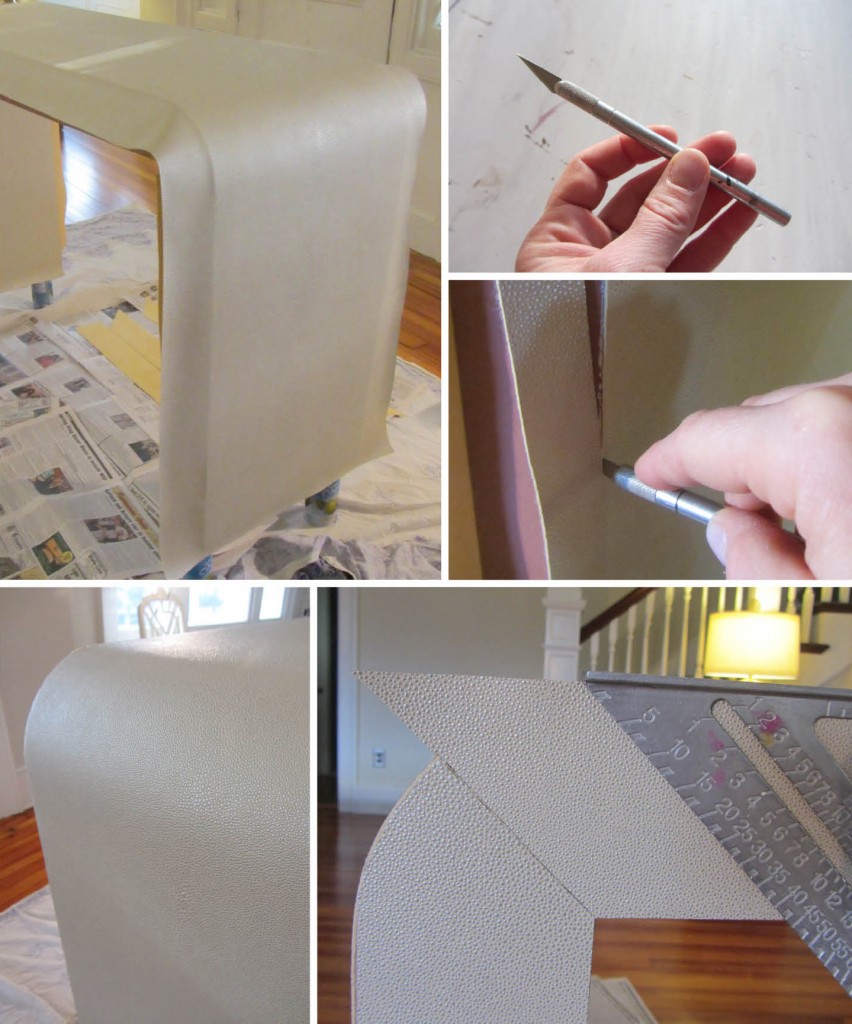
5. I aligned and bonded all the leather surfaces and trimmed them with a sharp exacto (always & often change your blades!), using the table itself as my straight-edge. The material cut like butter.
6. I cut the 45-degree angles with a proper metal angle (after learning the hard way on the now “back” of the table) and trimmed off all the excess.
7. I reached out to my leather expert cousin, Ted Kruckel, at
Gigi New York (where all of my favorite accessories are from) for recommendations on what to use to finish the edges with. He recommended I use Basic Adhesives for custom-matched leather edge paint. Since I wanted to finish this project asap— so I could share w/y’all immediately— I decided to custom-mix acrylic
t-shirt paint instead (same material I’m almost positive), and I painstakingly hand-painted all the edges. This gave it the finished, deluxe look I desired. et Voila: free to fabulous in less than 24 hrs…

amerelife.com by Meredith McBride Kipp is licensed under a Creative Commons Attribution-NonCommercial-NoDerivs 3.0 Unported License.
© Meredith McBride Kipp and amerelife.com. Unauthorized use and/or duplication of this material without express and written permission from this blog’s author and/or owner is strictly prohibited. Excerpts and links may be used, provided that full and clear credit is given to Meredith McBride Kipp and amerelife.com with appropriate and specific direction to the original content.
