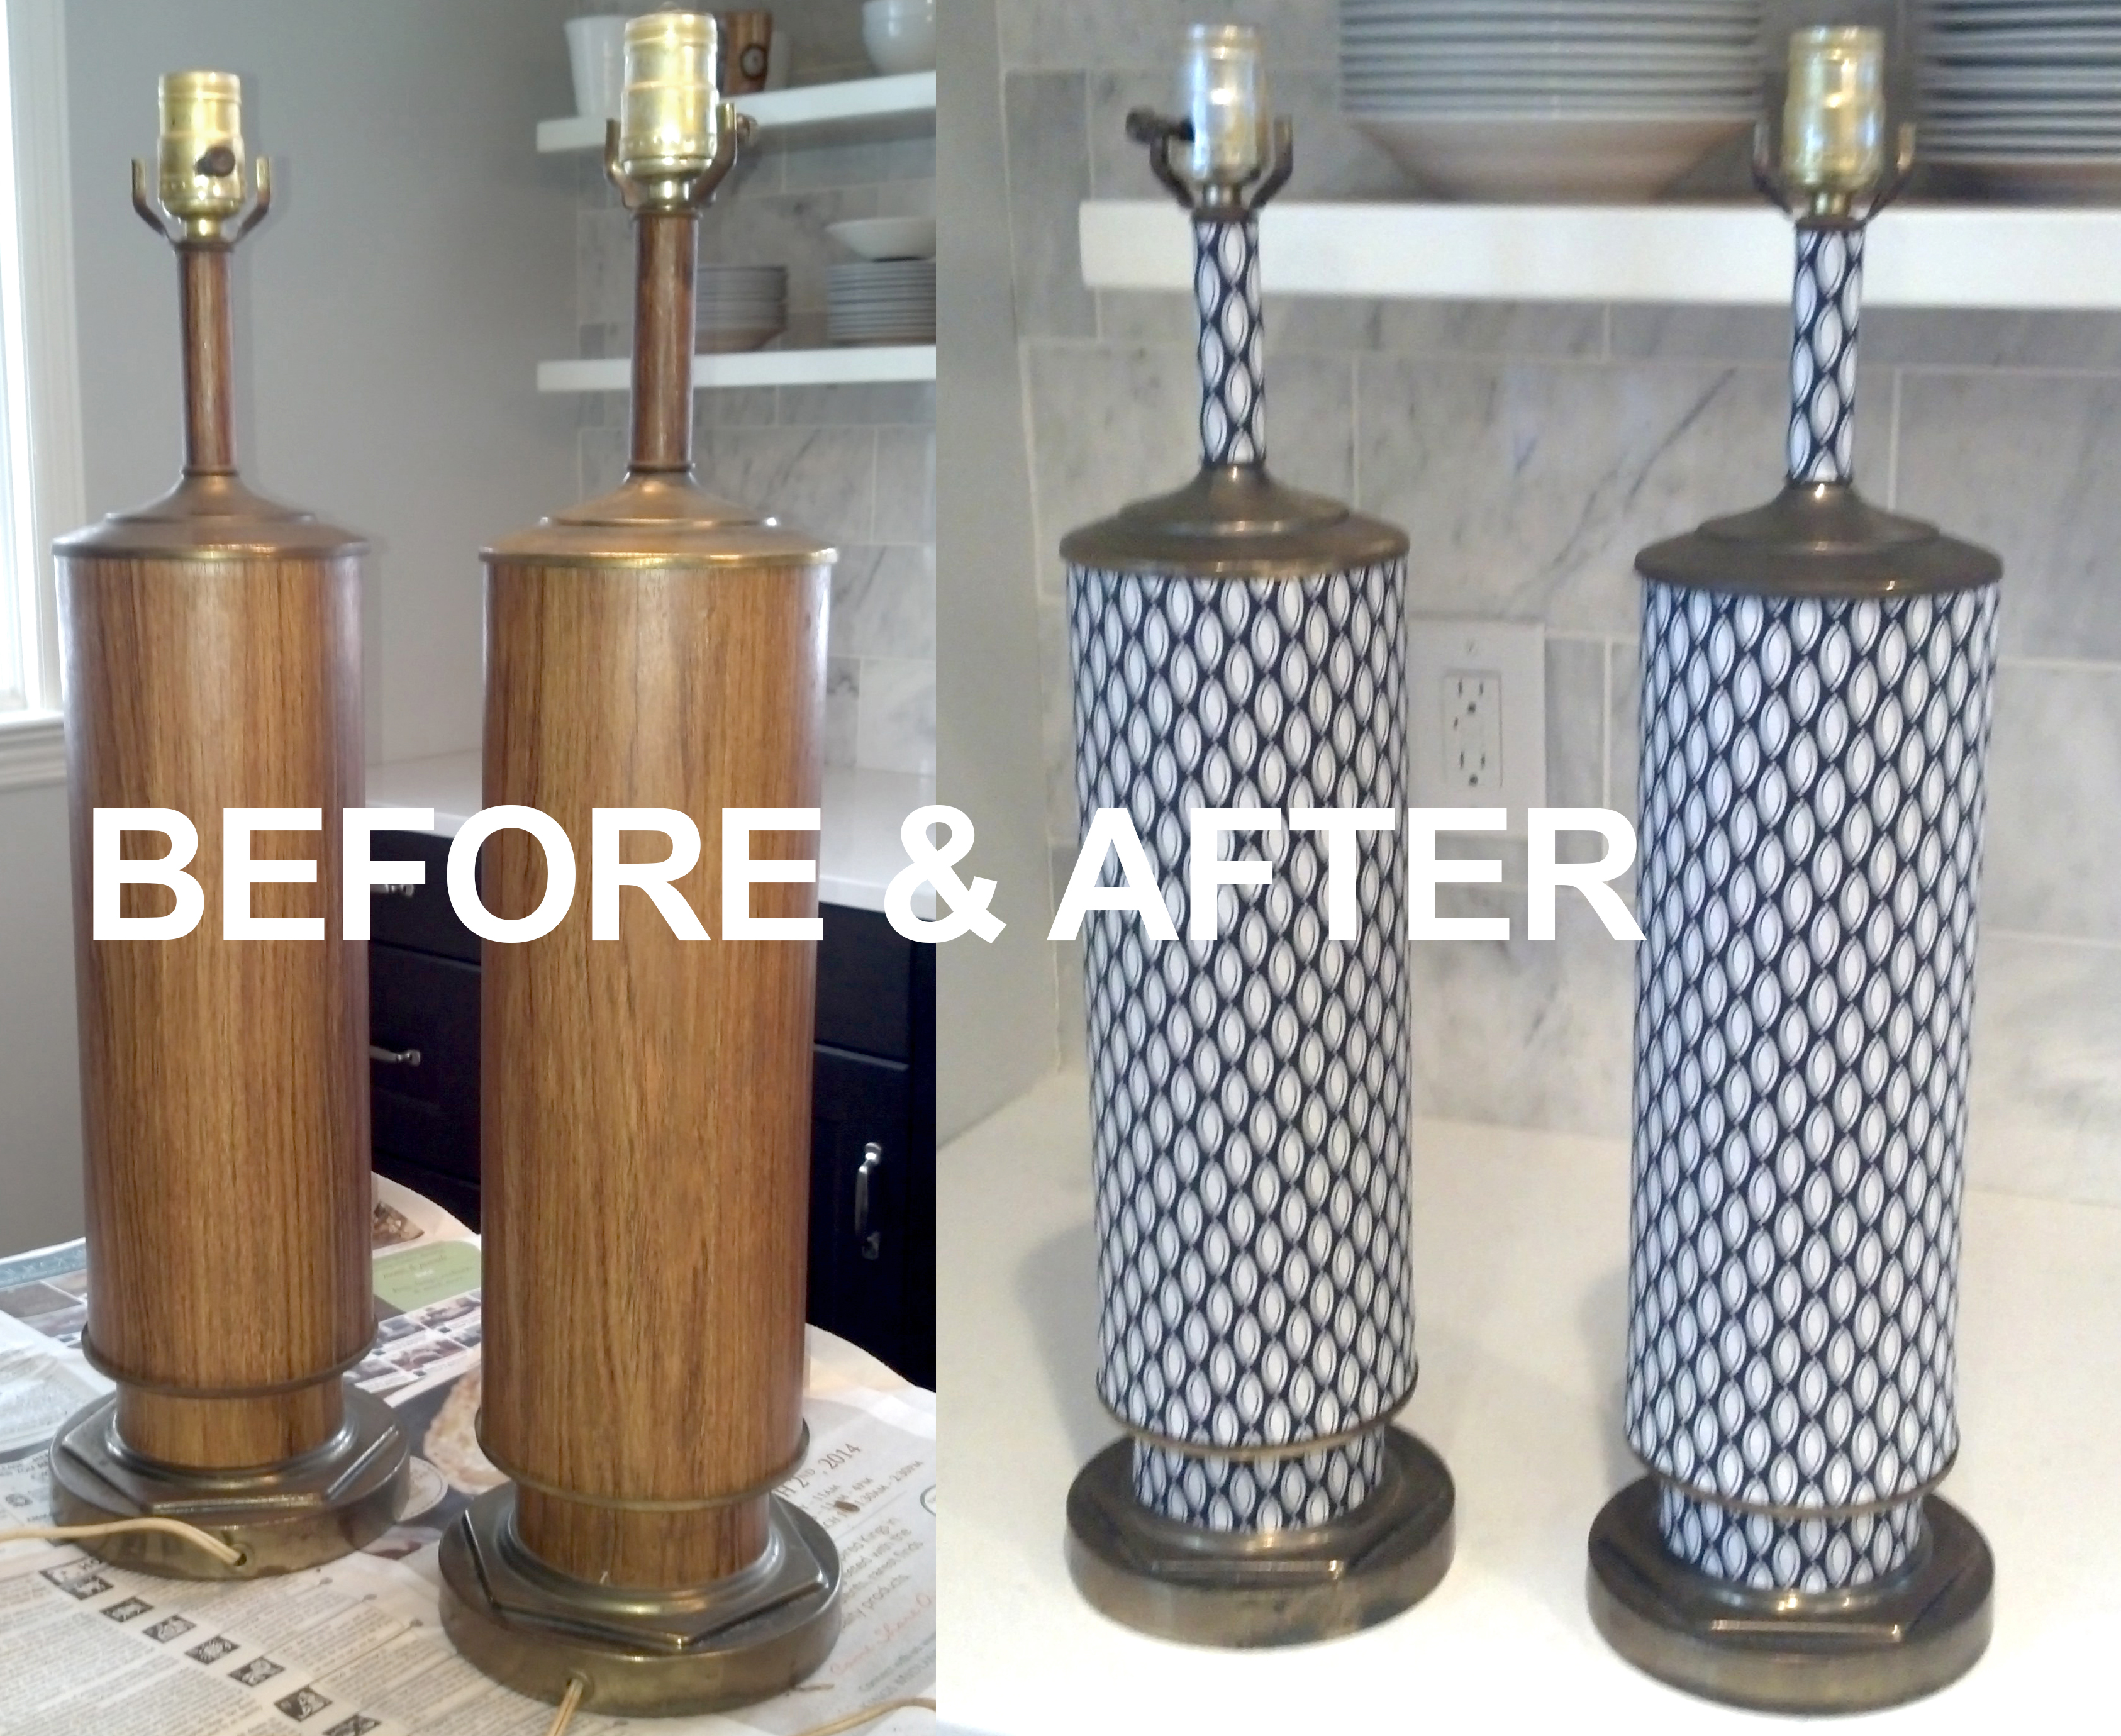
I don’t know about you, but I have a closet of things I should bring to Salvation Army but just can’t part with. I also have a habit of picking up people’s rejects (these 60’s wood veneer lamps for example) and other sad items at antique stores and estate sales that are screaming for a facelift. Here, I help you (and myself) tackle 2 of these afflictions at once and create one beautiful product out of two unwanted ones.
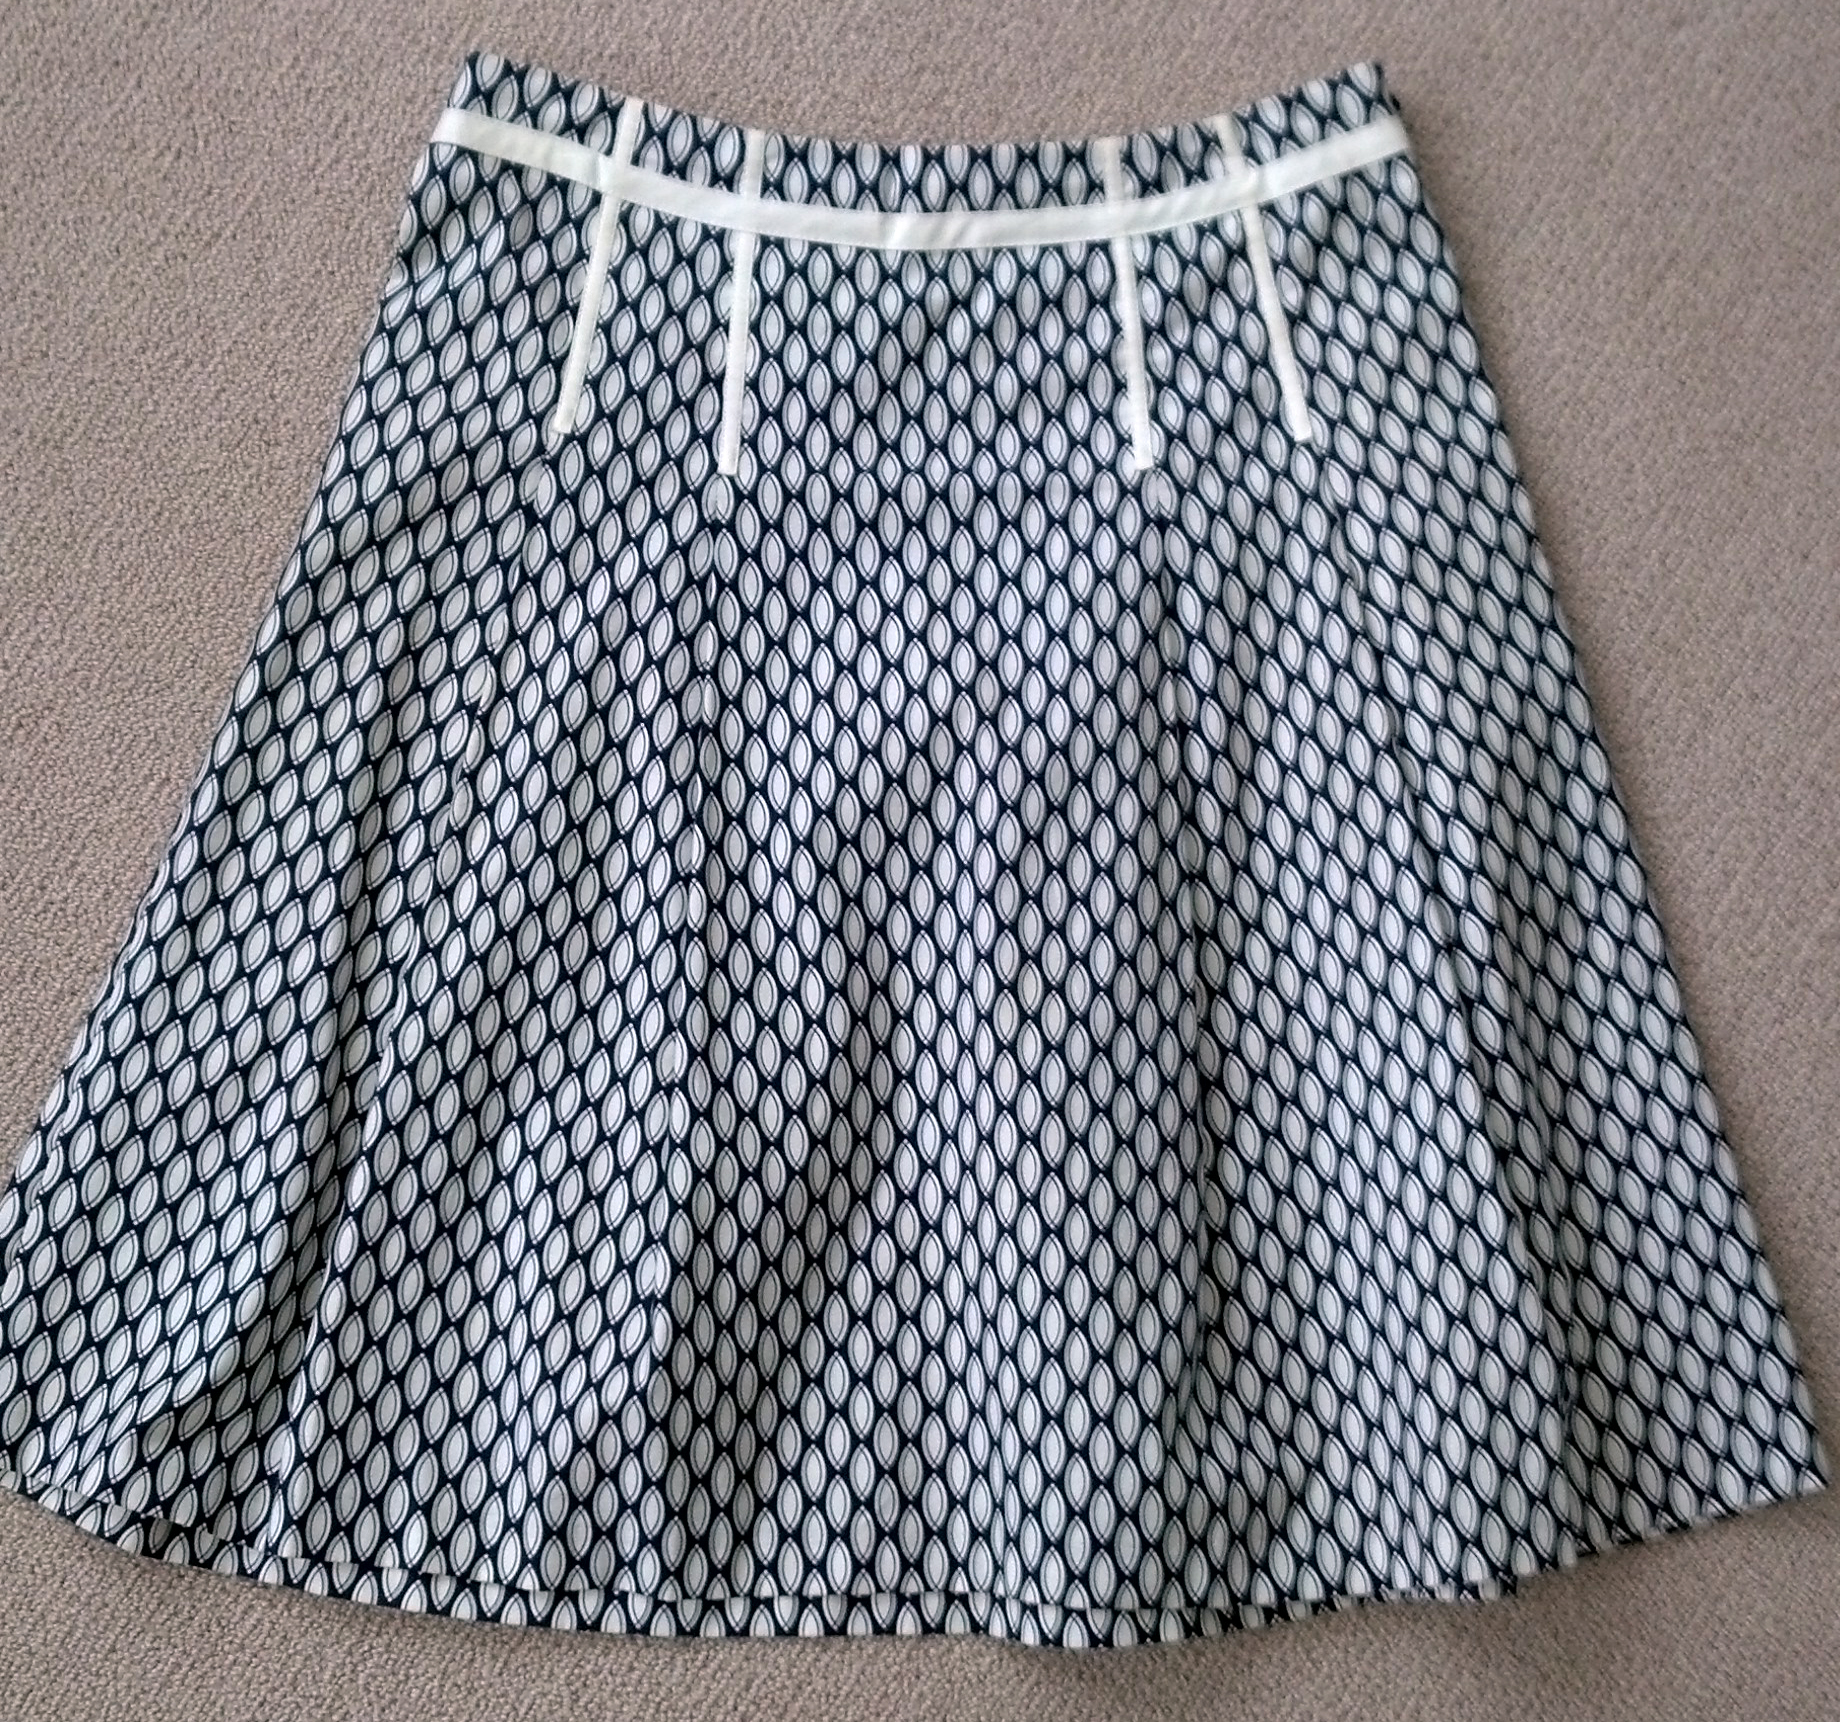
Using a skirt—from about 10 years ago—I reupholster a pair of lamps. Back story on the skirt I only wore once: it was a sweltering summer day in midtown (NYC) and I was working at Elle Decor magazine at the time. We were throwing a book signing party that night in conjunction with PR team LaForce + Stevens for Martha Baker’s coffee table book about beautiful pools, The Swimming Pool: Inspiration and Style from Around the World. I would have paid my small salary to be in a pool at the moment but instead found myself sweaty, running late, and hustling through god-awful Times Sq to get to this event. I detoured into the GAP and in under a minute reappeared refreshed and in this skirt (picture Clark Kent in the phone booth). Both Margaret Russell (EIC of Elle Decor at the time) and author Martha Baker complimented me on the skirt that night, so it only seems appropriate that I’ve—hoarded the skirt until now and—turned it into a pair of lamps.
I think the tight pattern lends itself well to this small-scale project and gives these lamps sort of a French mid-century meets Herend porcelain look. Read below for instructions on how I did it. Happy DIY’ing!
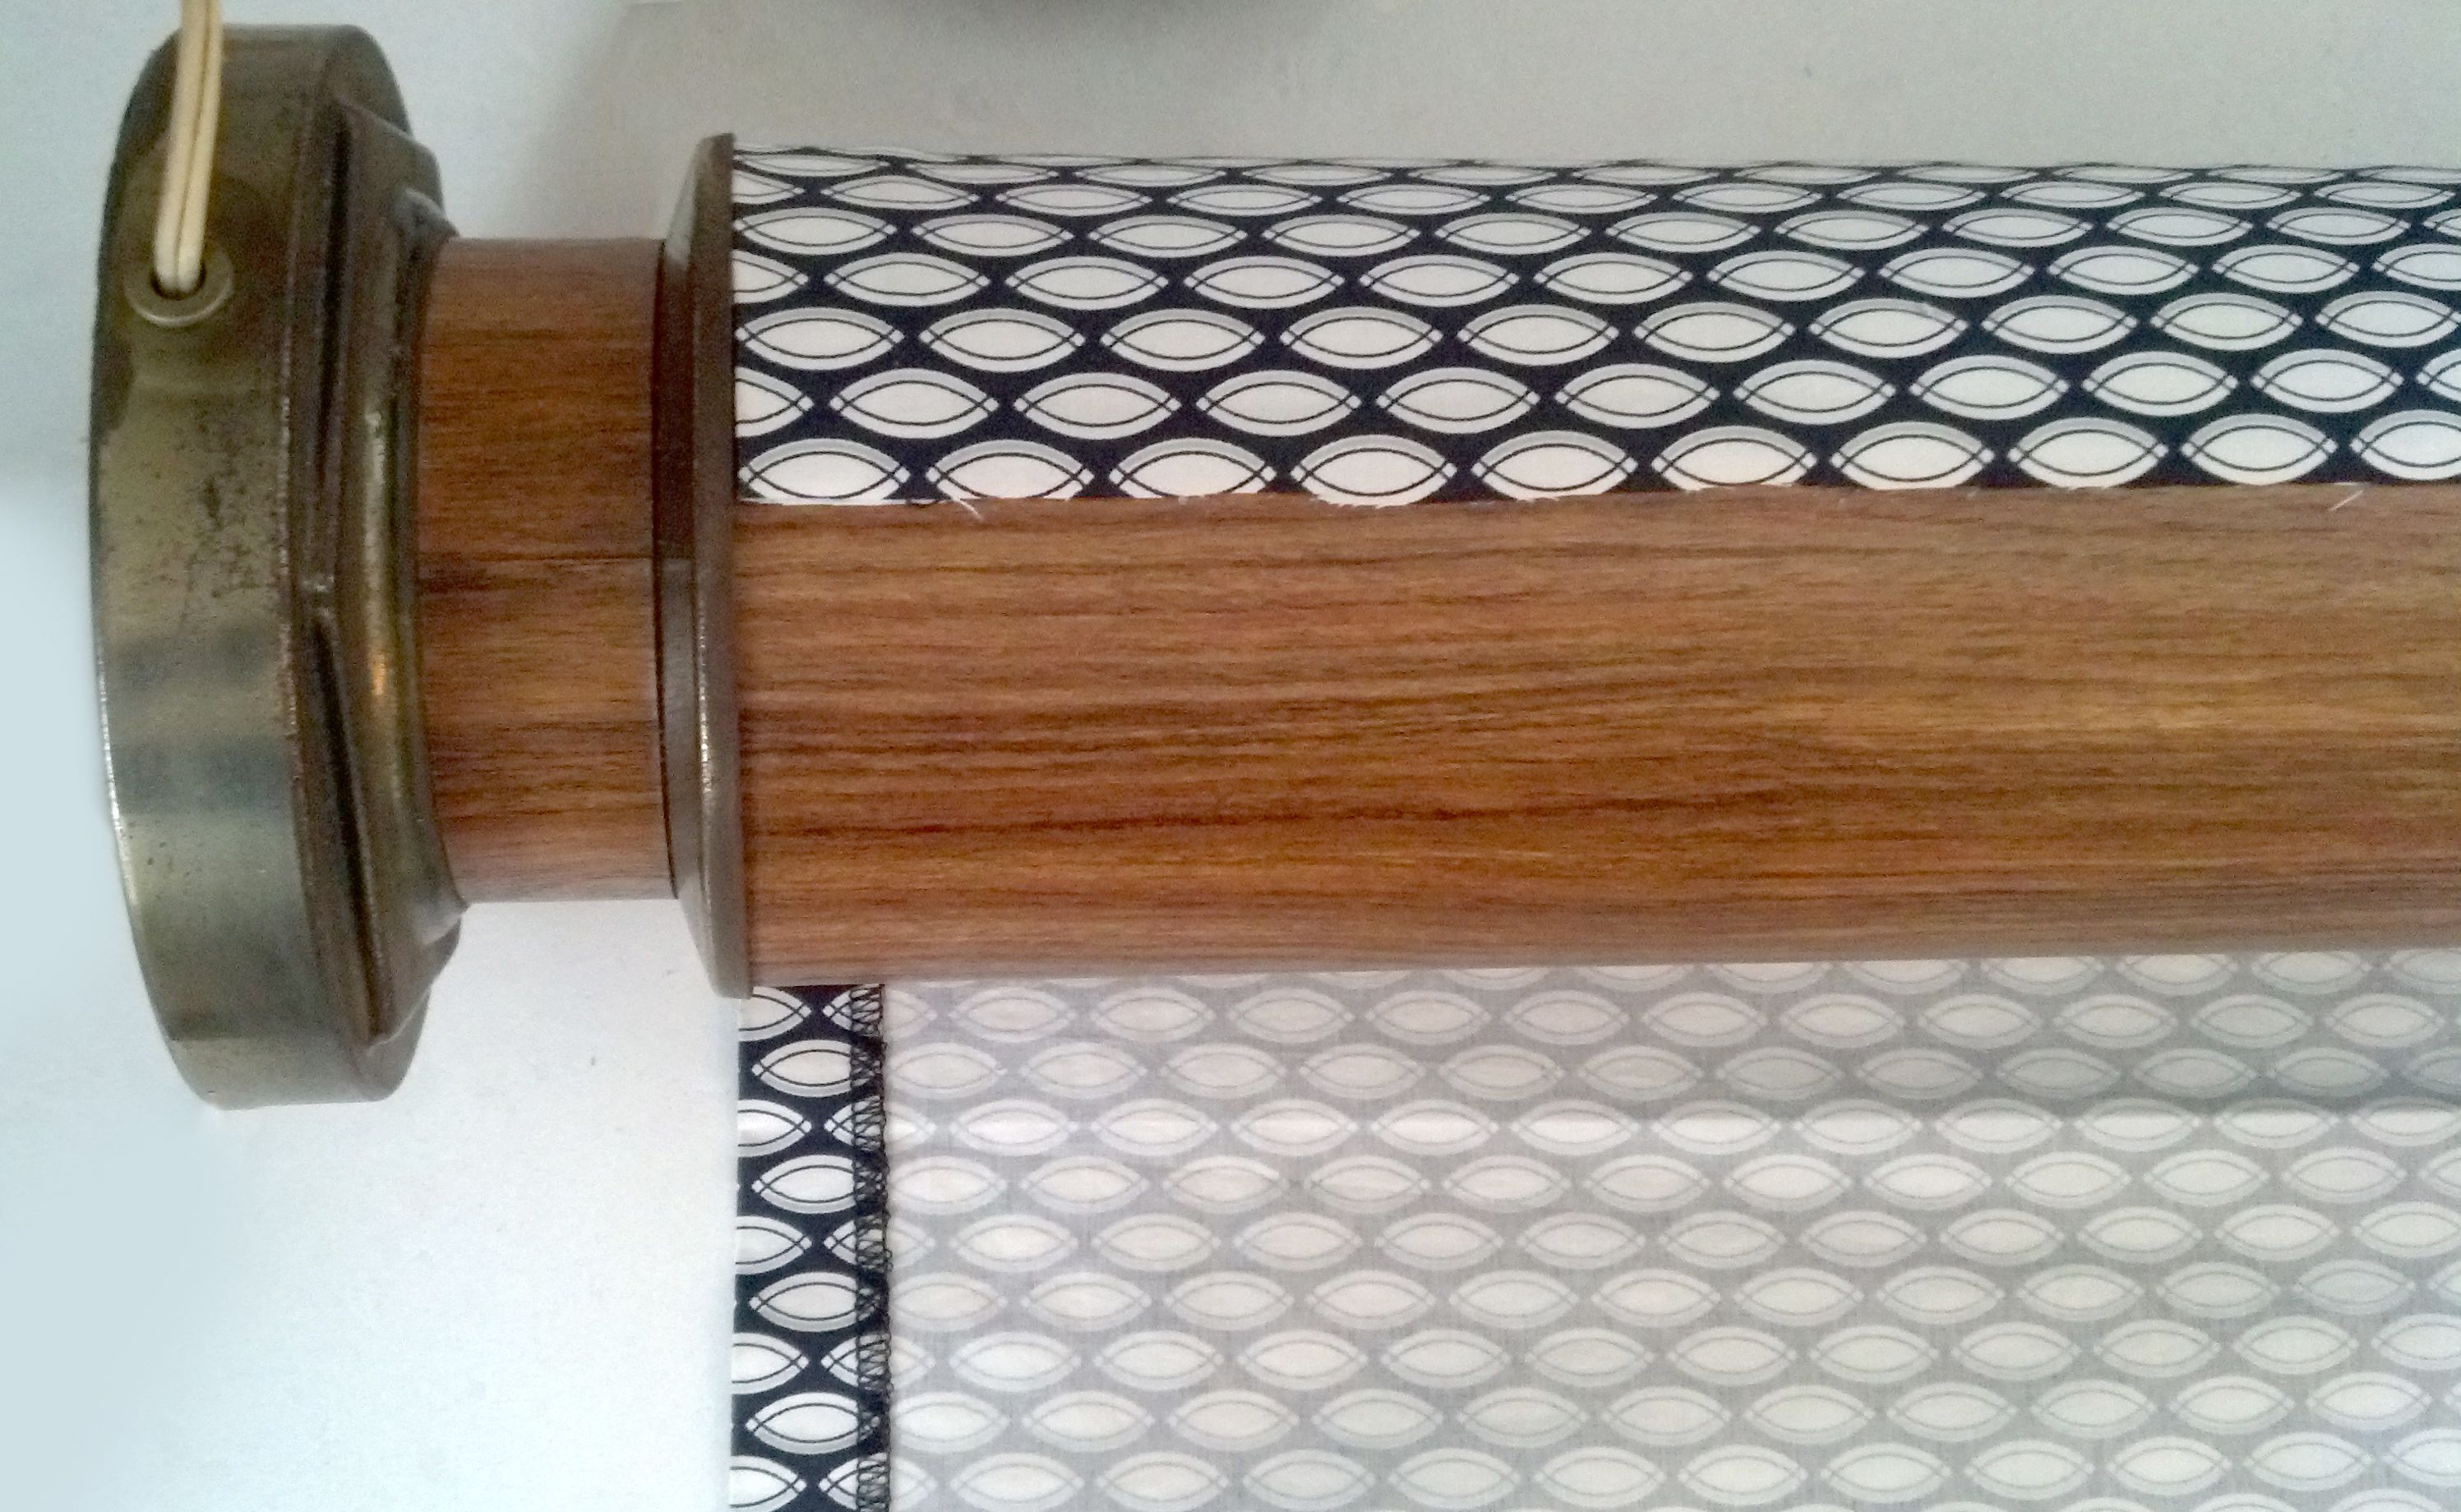
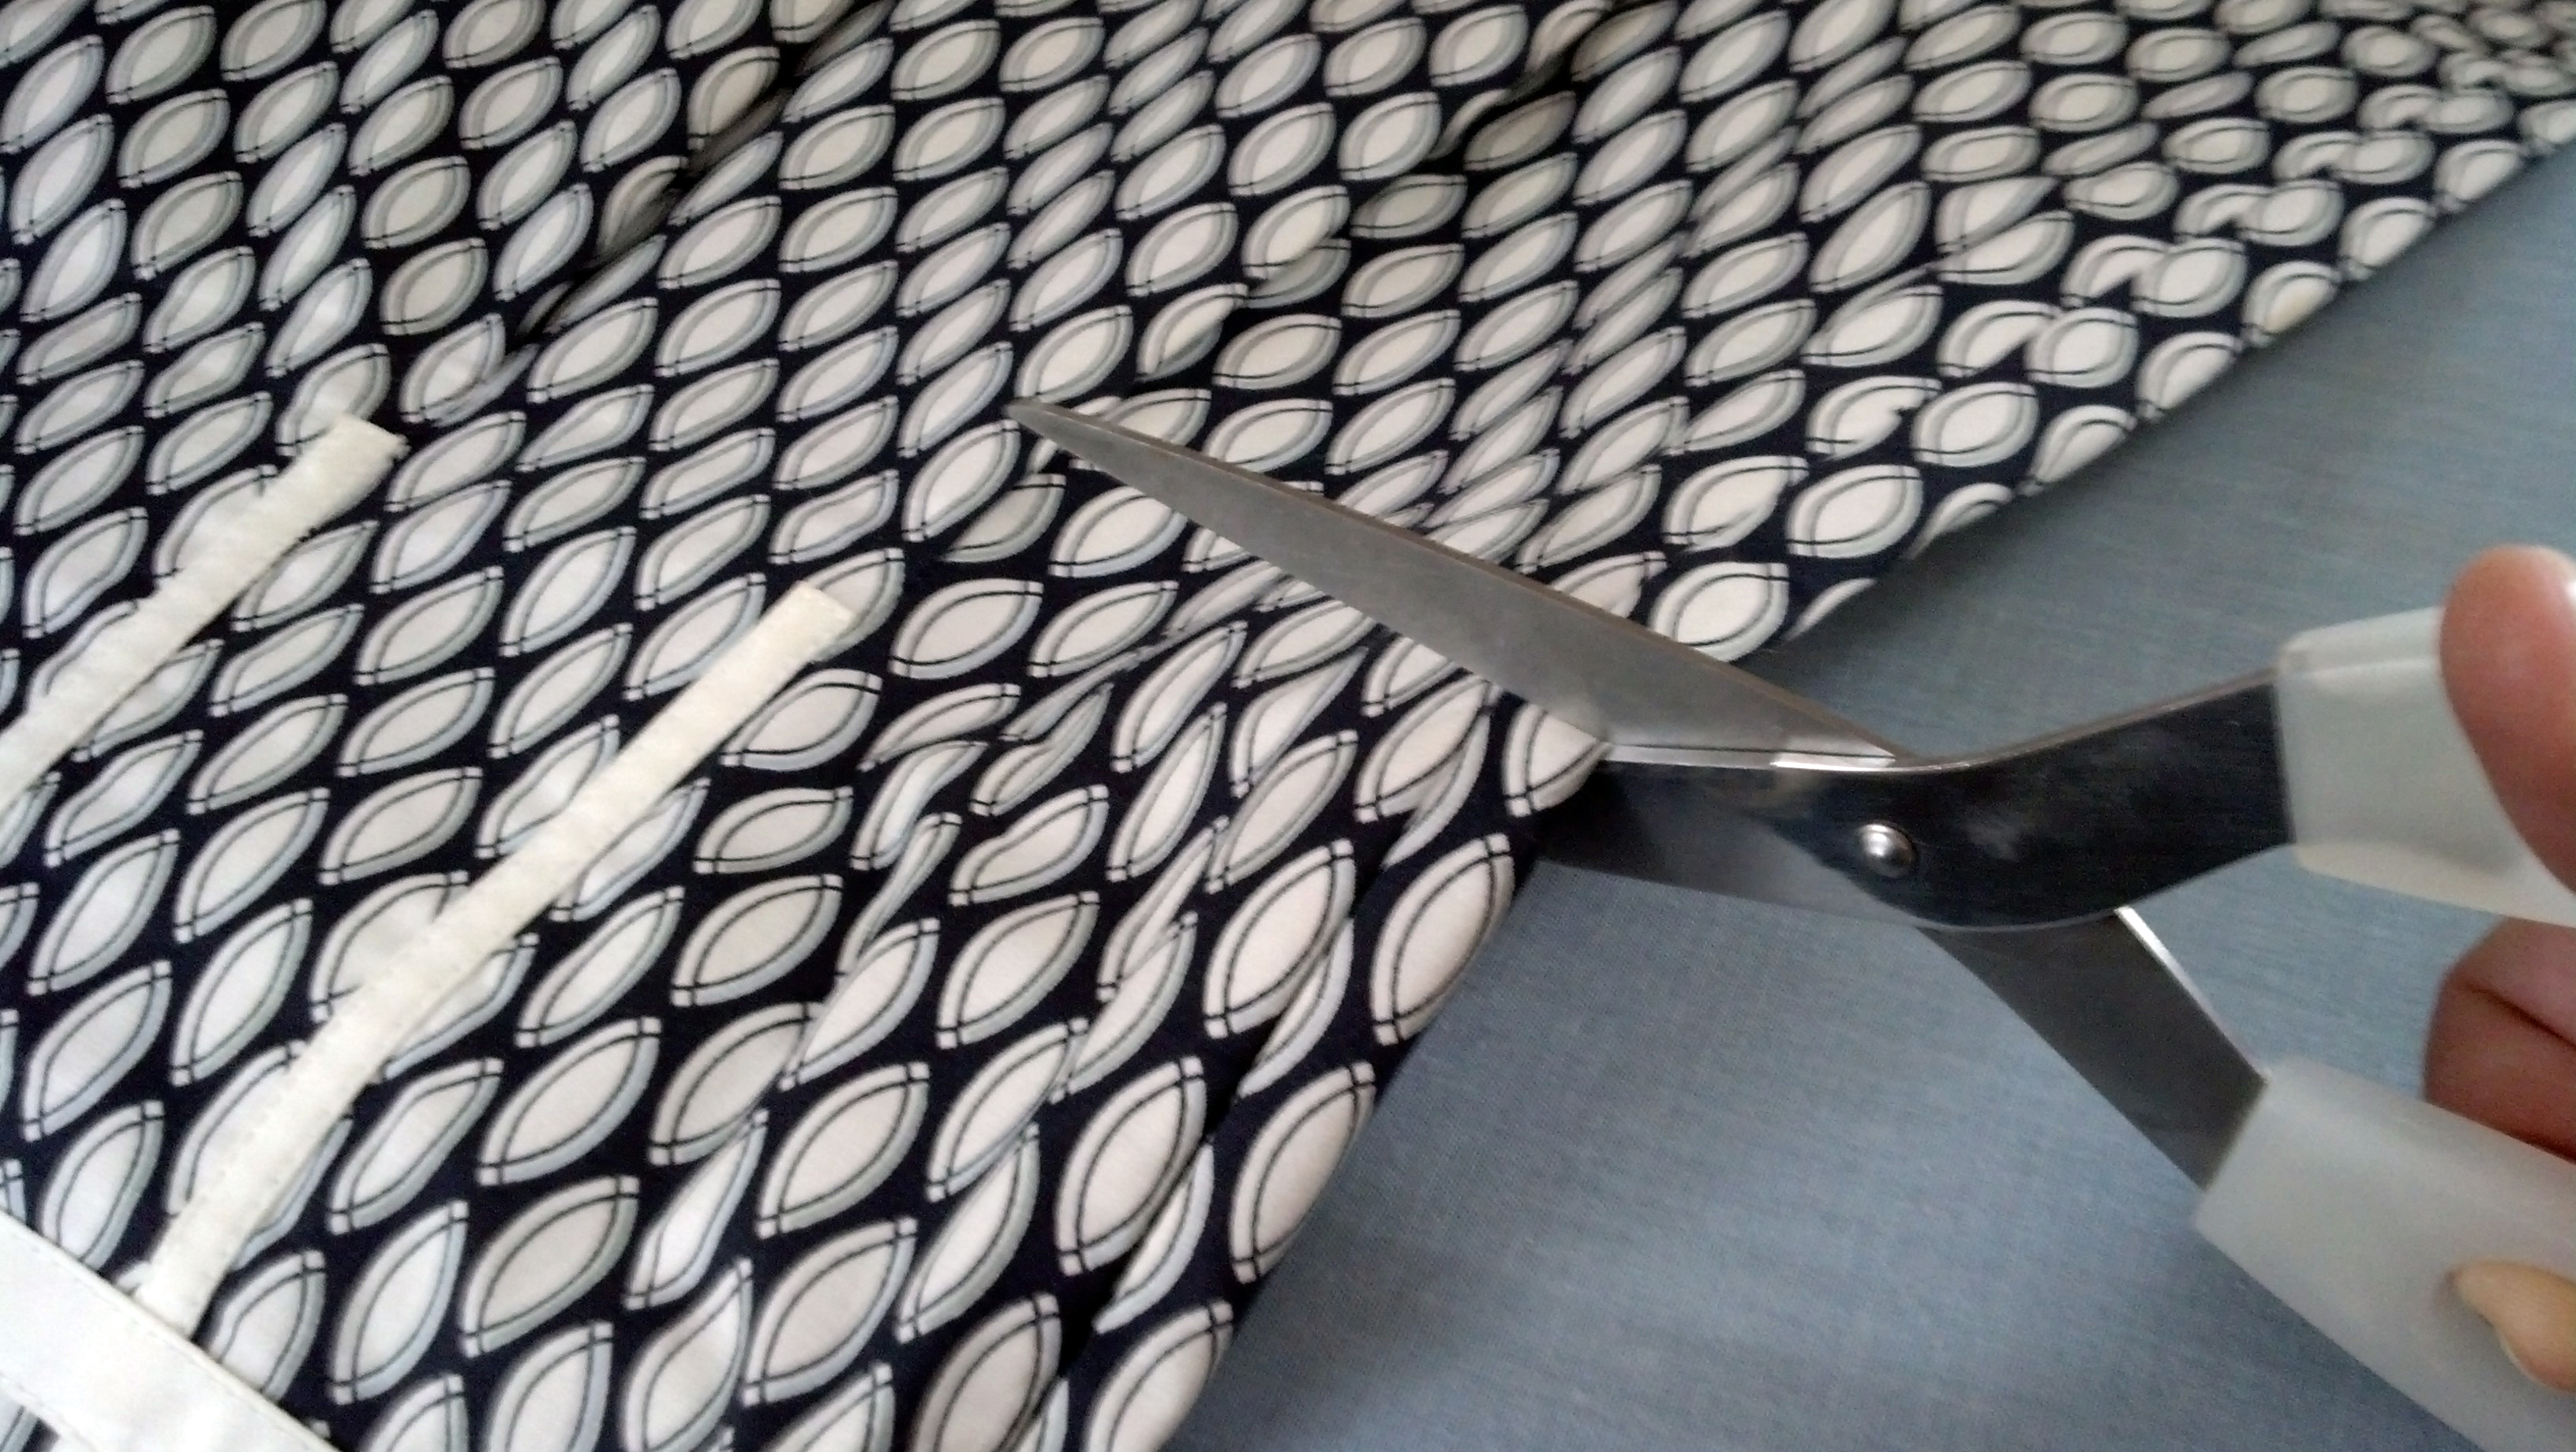
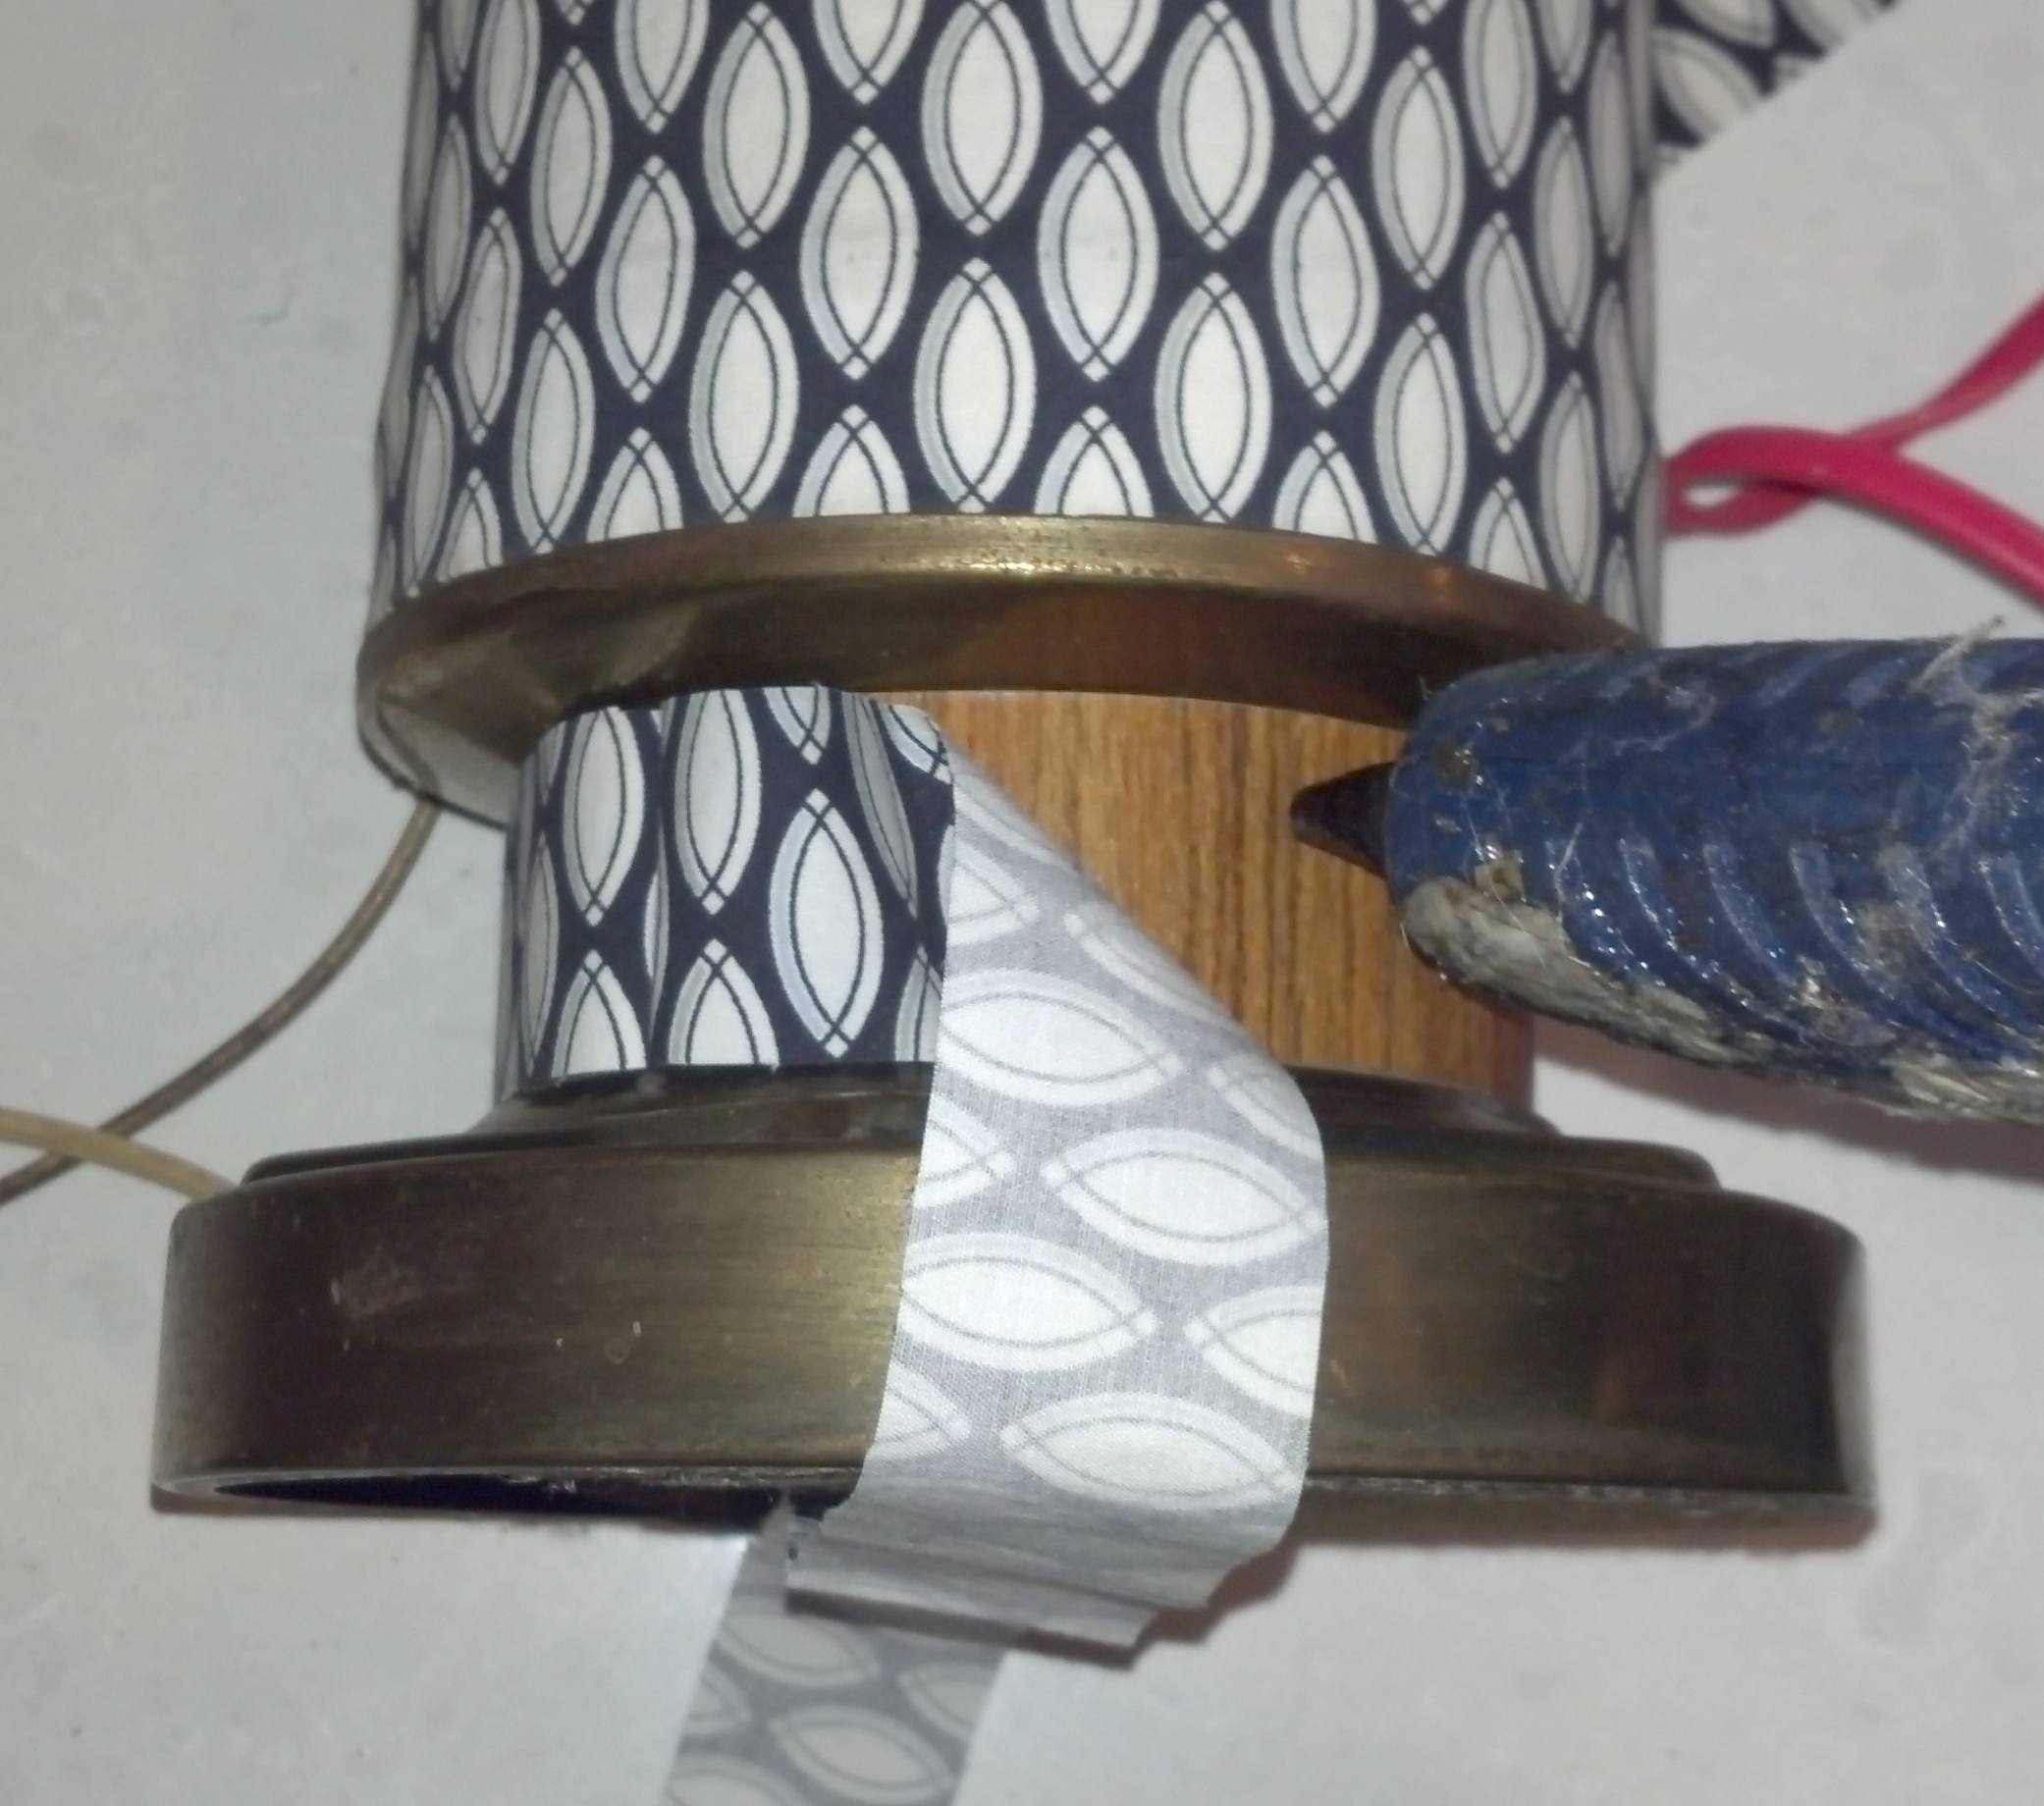
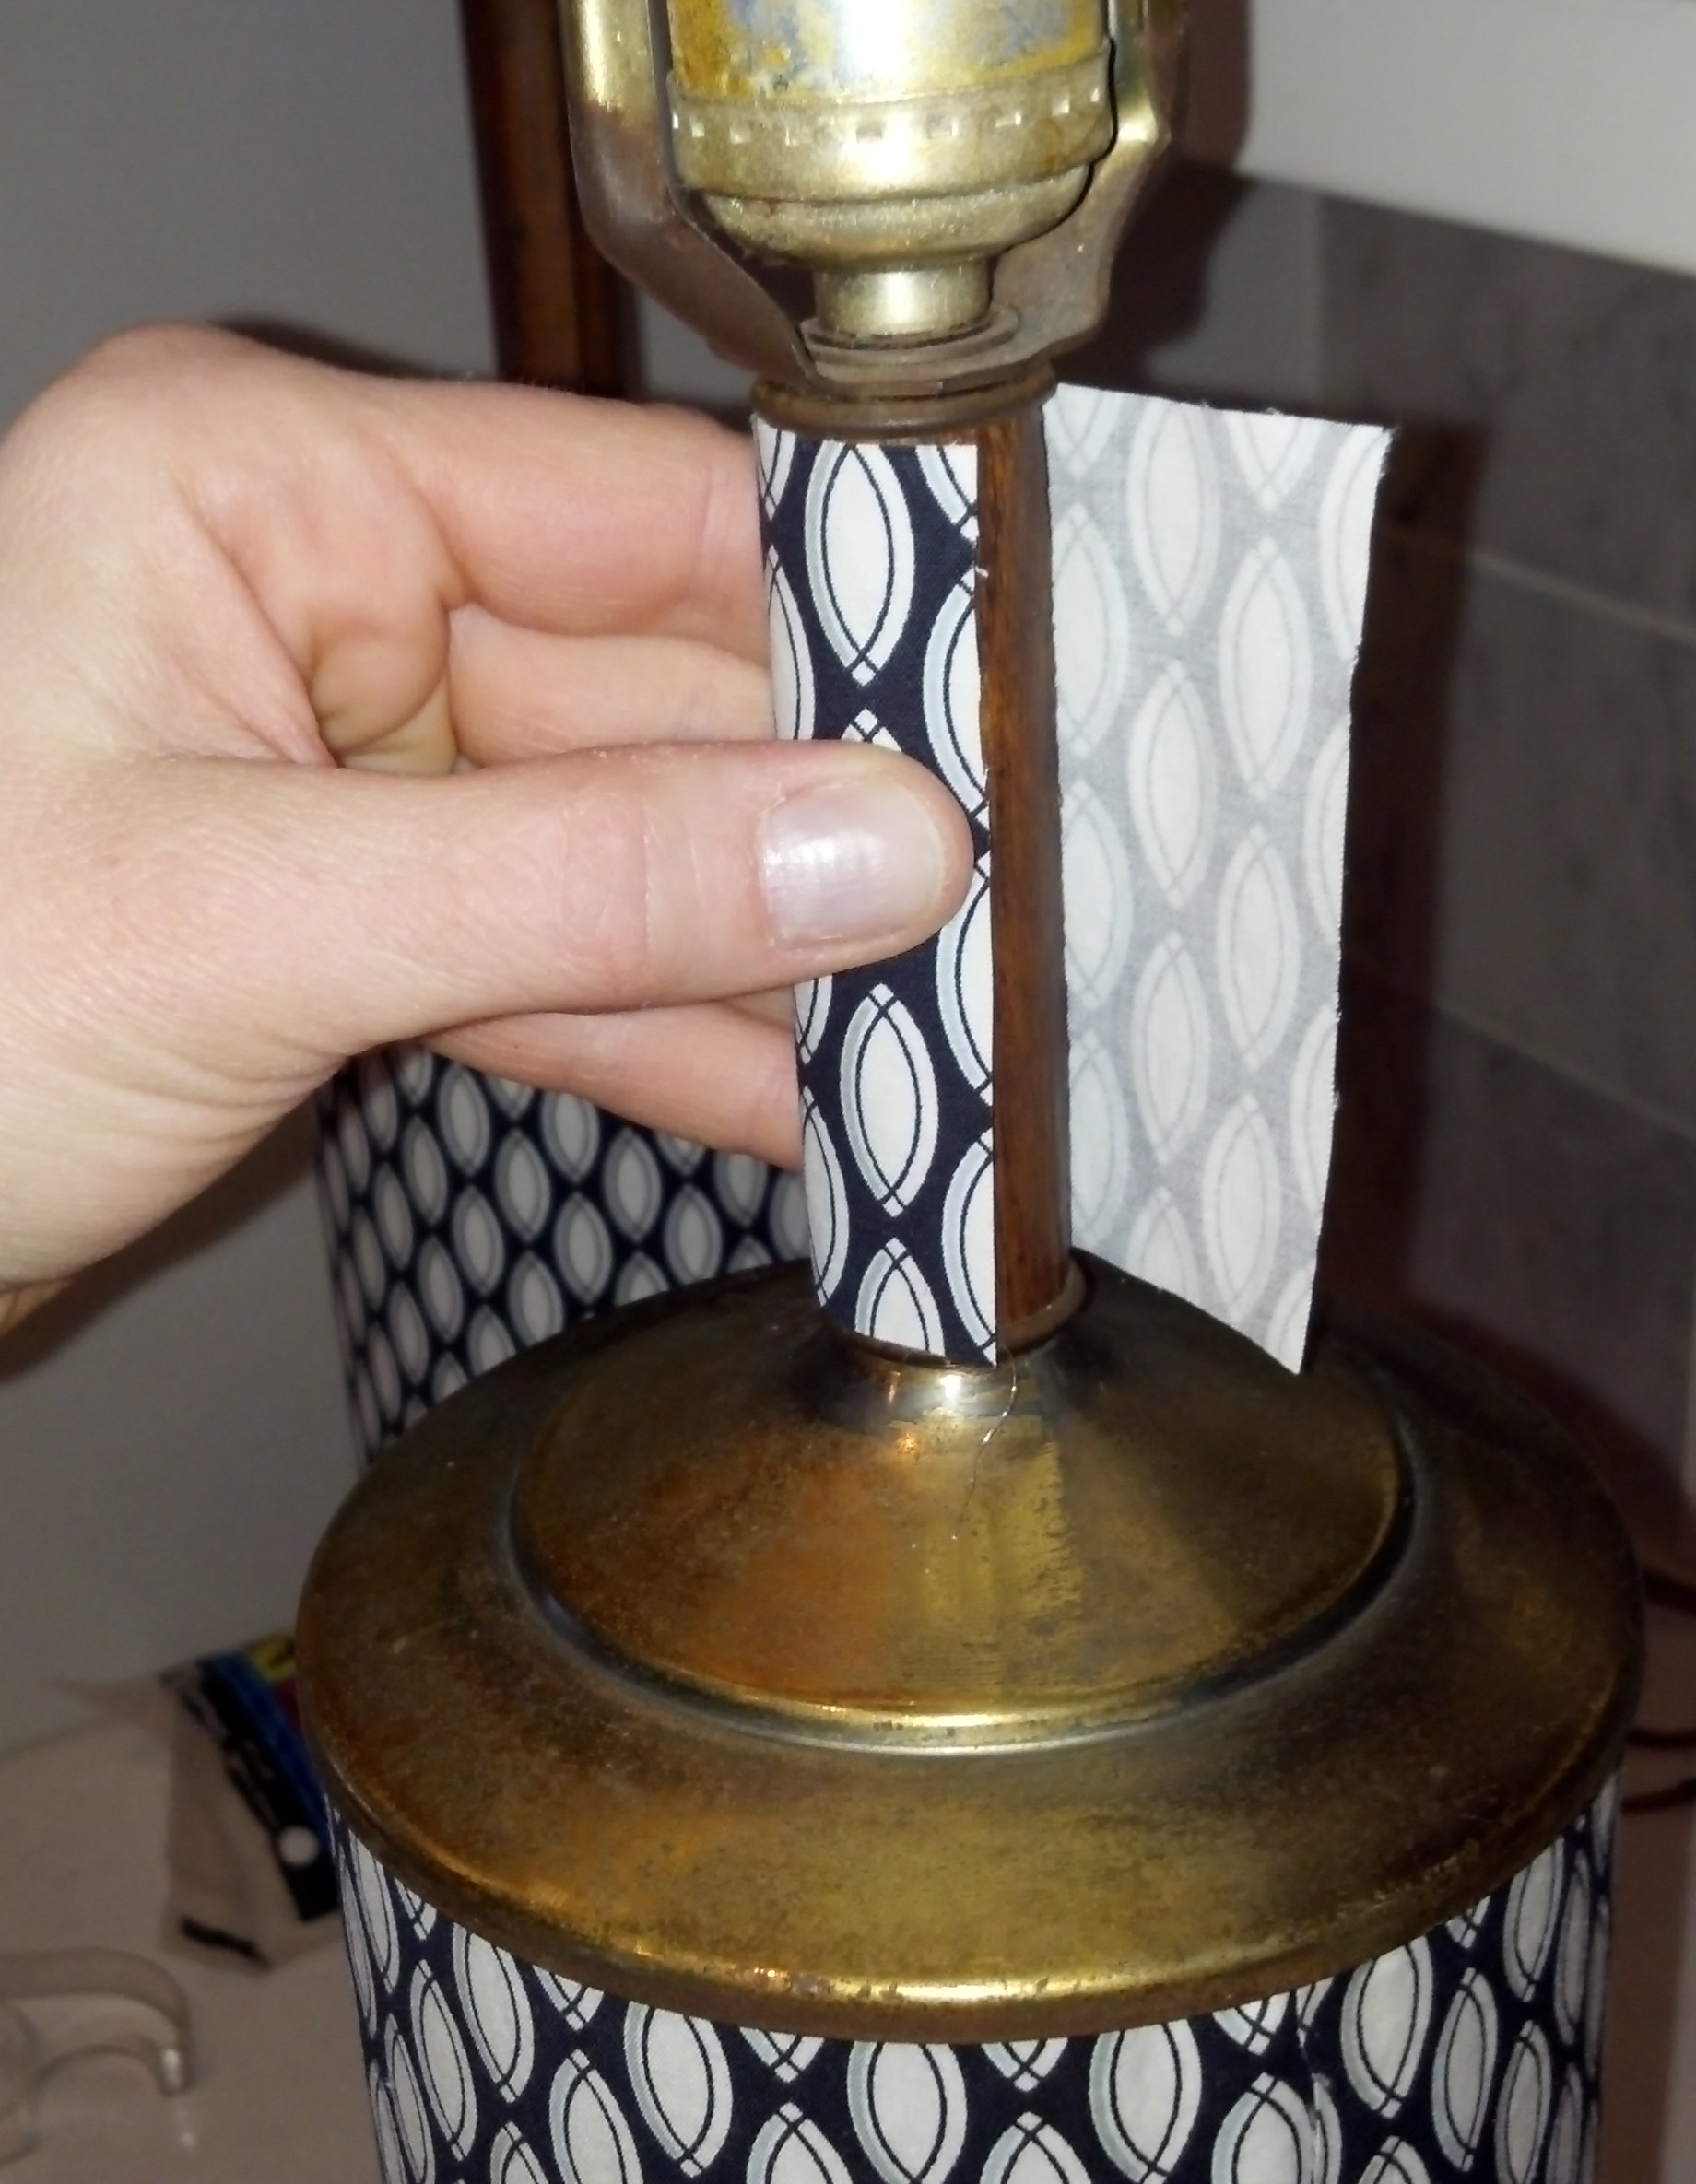
After measuring the height of the lamp base, I cut a panel large enough to wrap the base with a small overlap. I used the factory edge along the bottom of the lamp so I would have one less edge to finish later. With a glue gun, I ran a bead of hot glue along the length of the lamp and slowly fit the fabric to the lamp as i rotated it and glued as I went. I did not hem or fold the finished edge because I had a very clean cut and my final bead of glue was lean and tidy right up agains the edge of the cut.
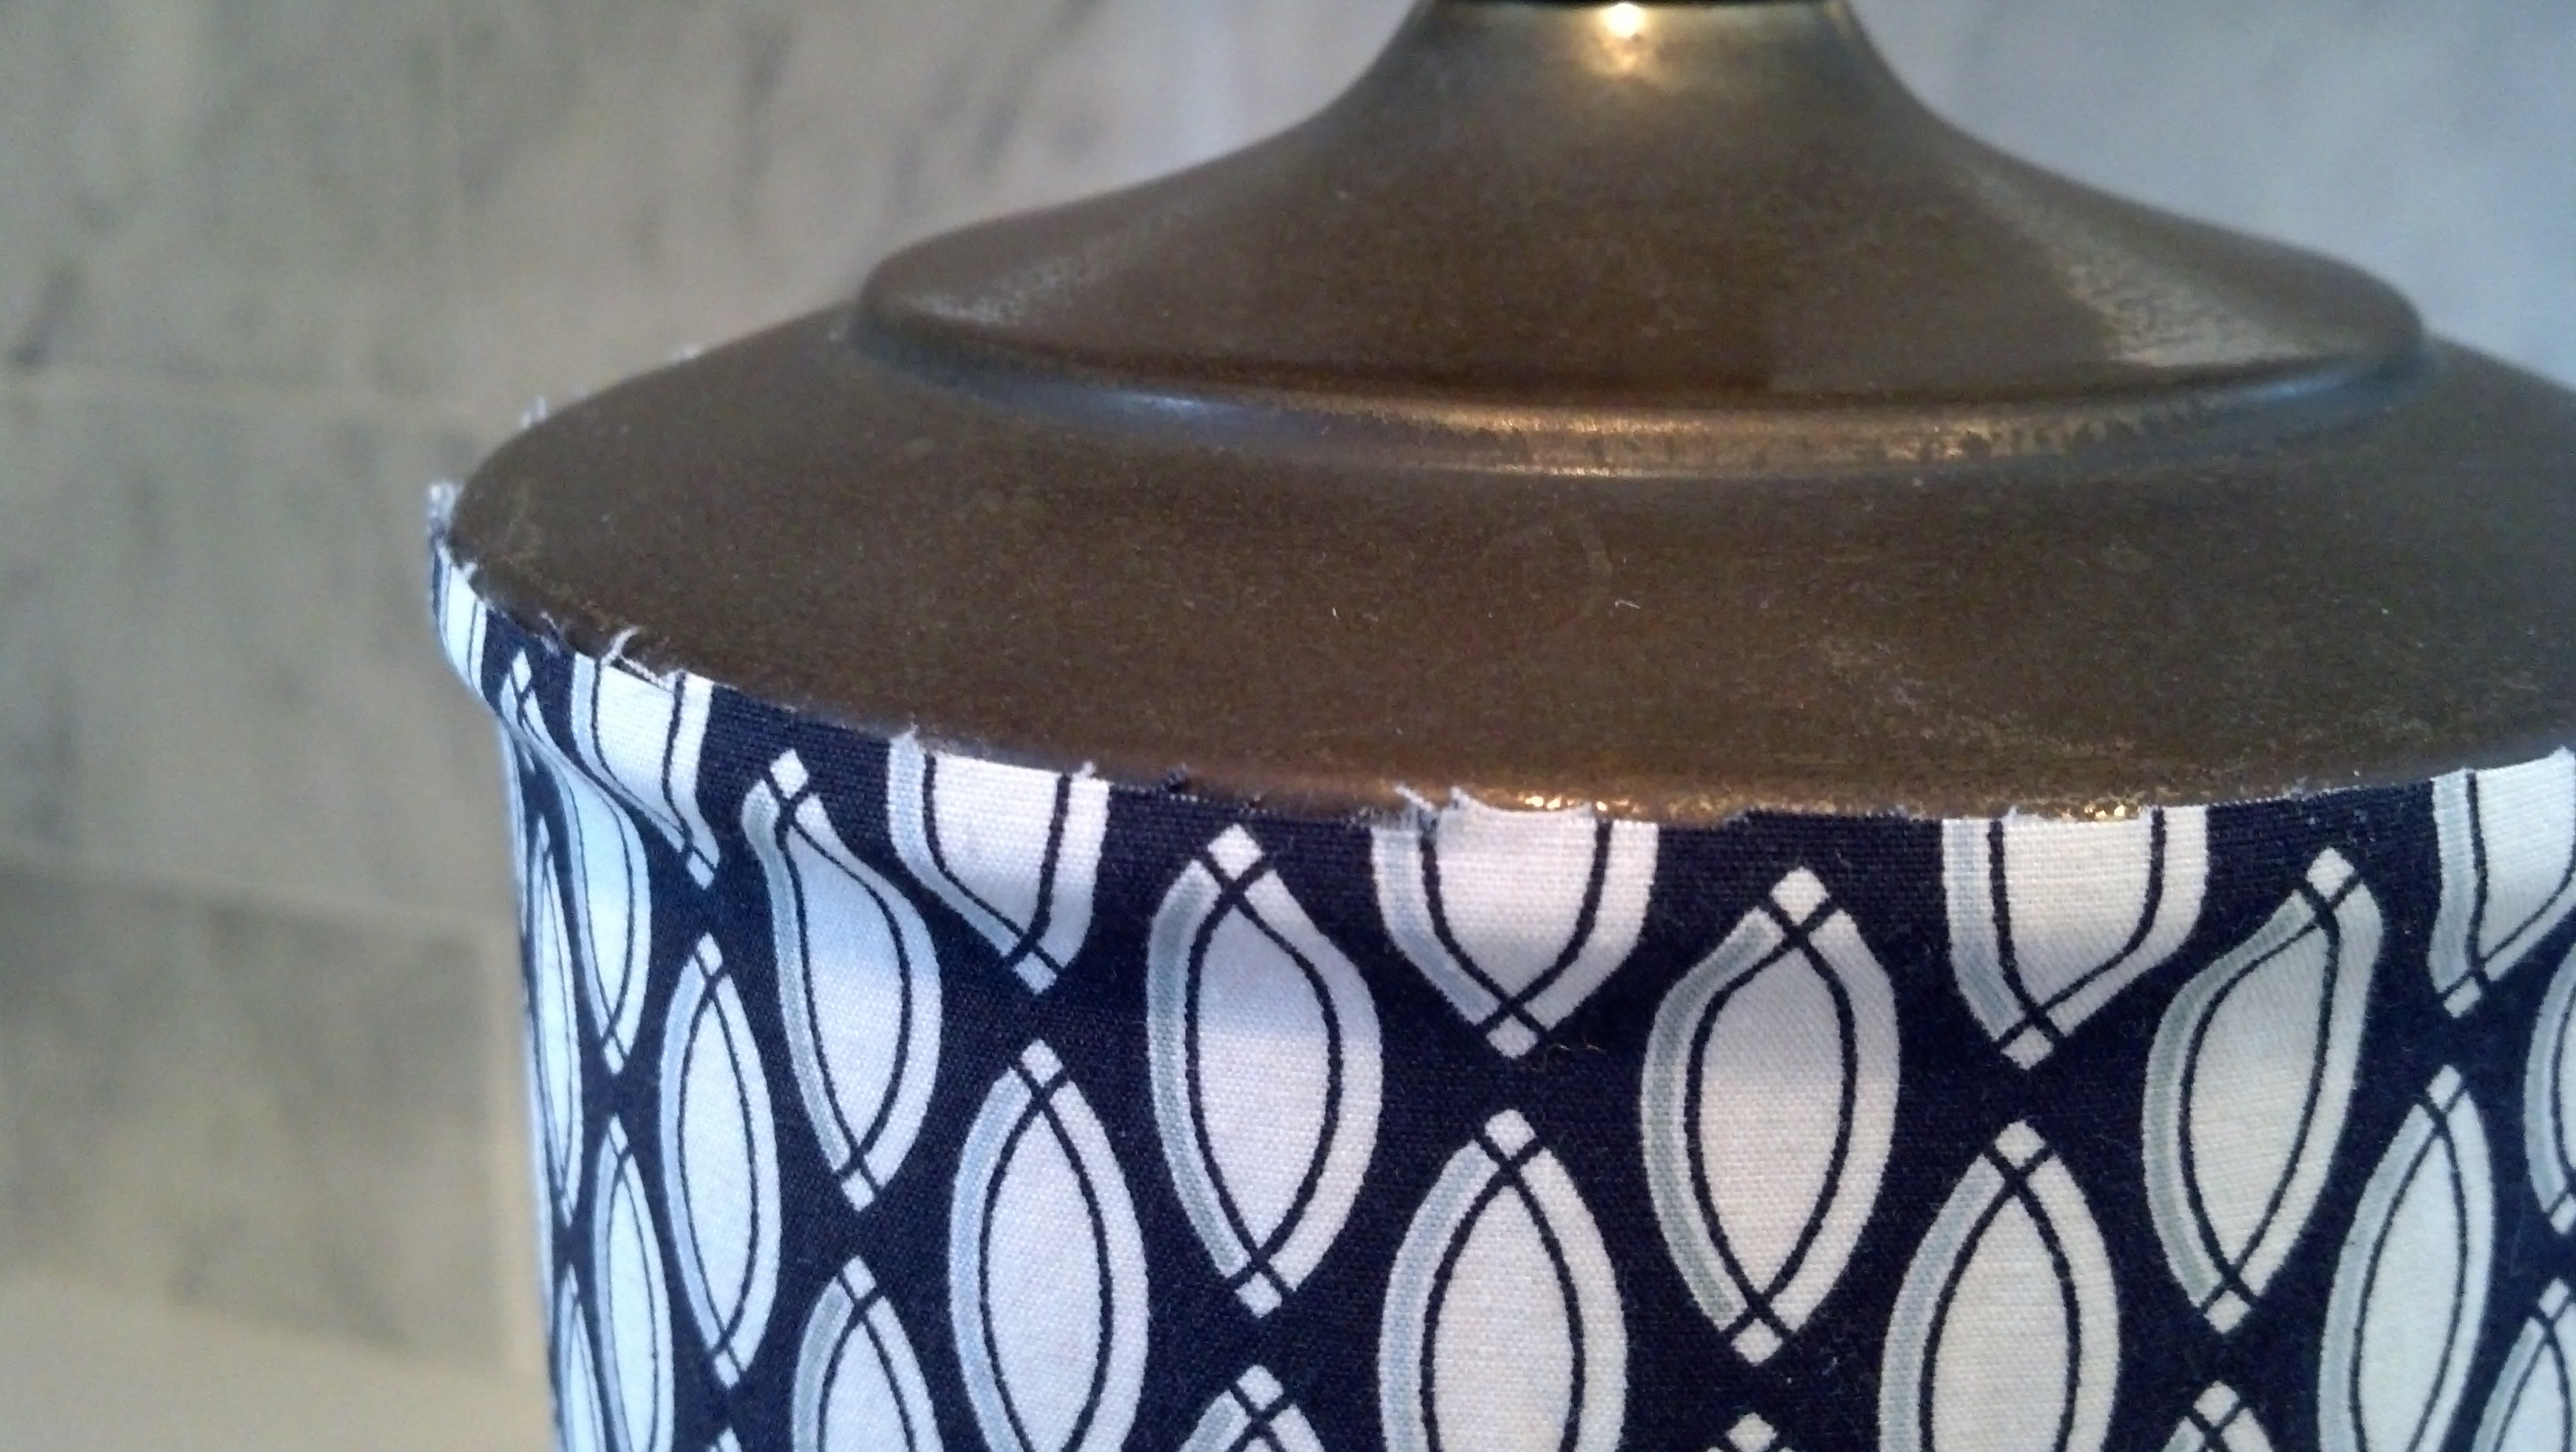
I then trimmed the excess fabric along the top and left a slight overlap so that I would have extra to finish the top with.
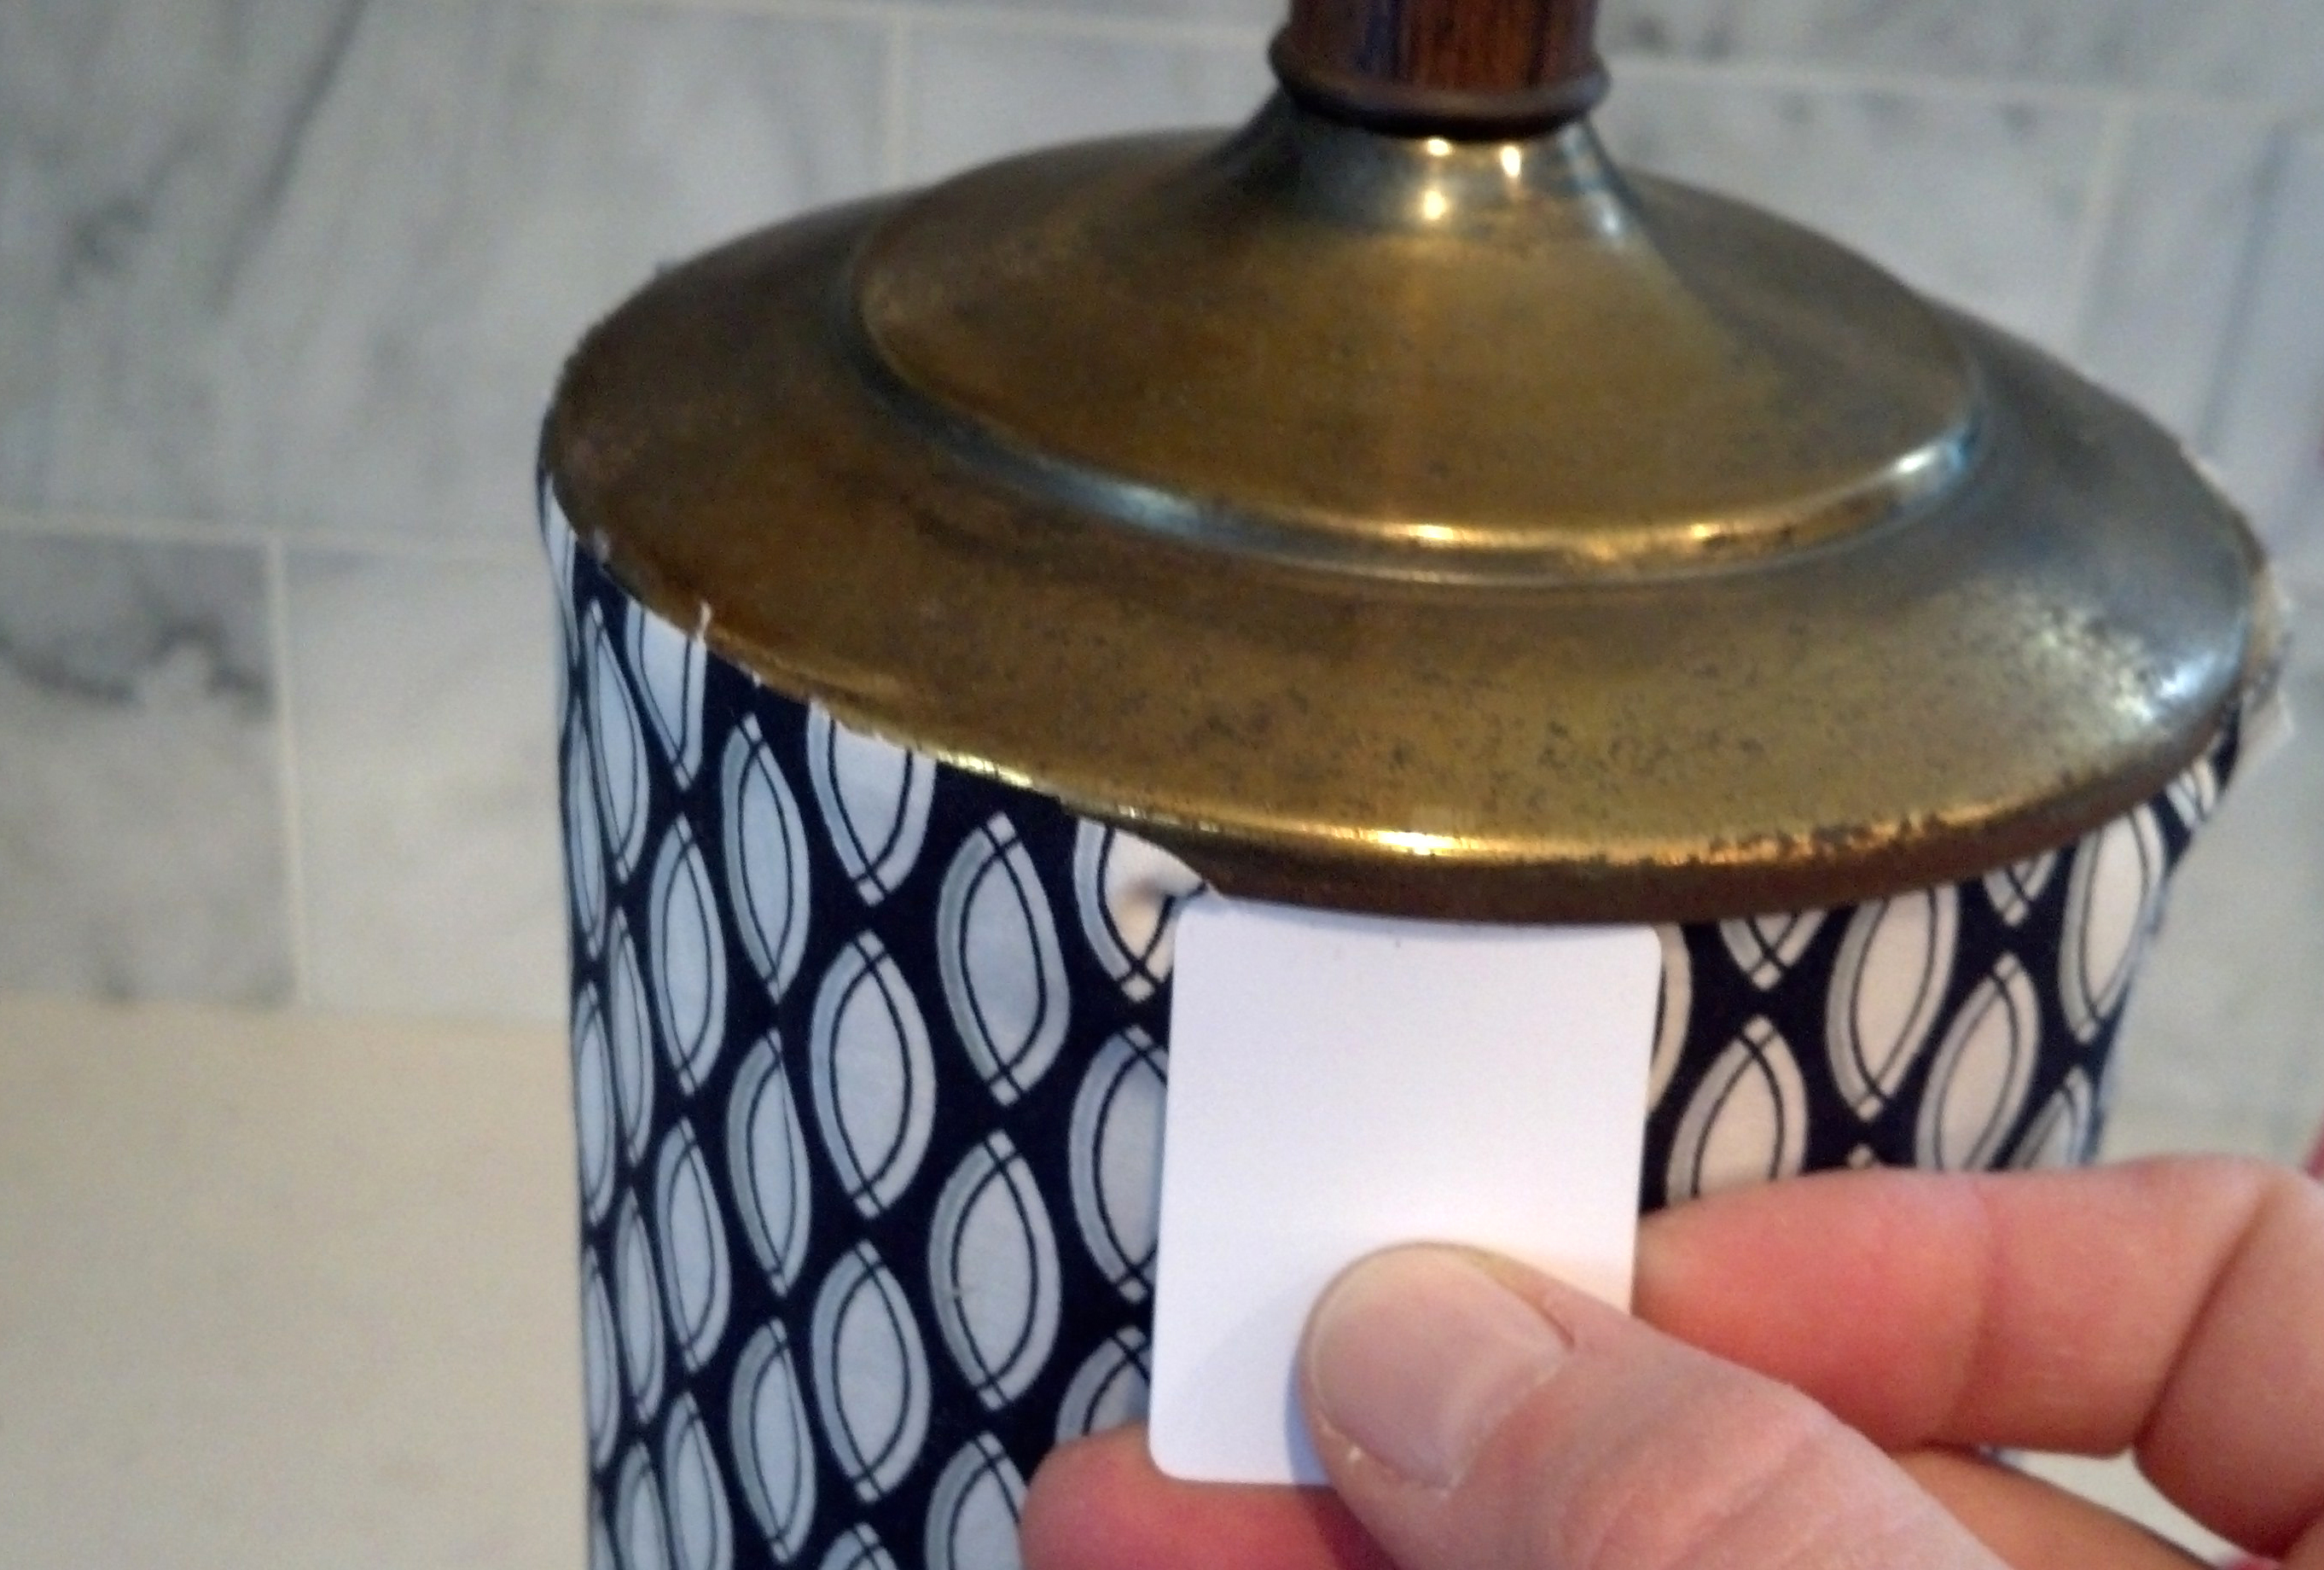
With a small plastic card (you could use the corner of a credit card or a thick business card), I tucked the extra lip of fabric under the metal collar at the top of the lamp.
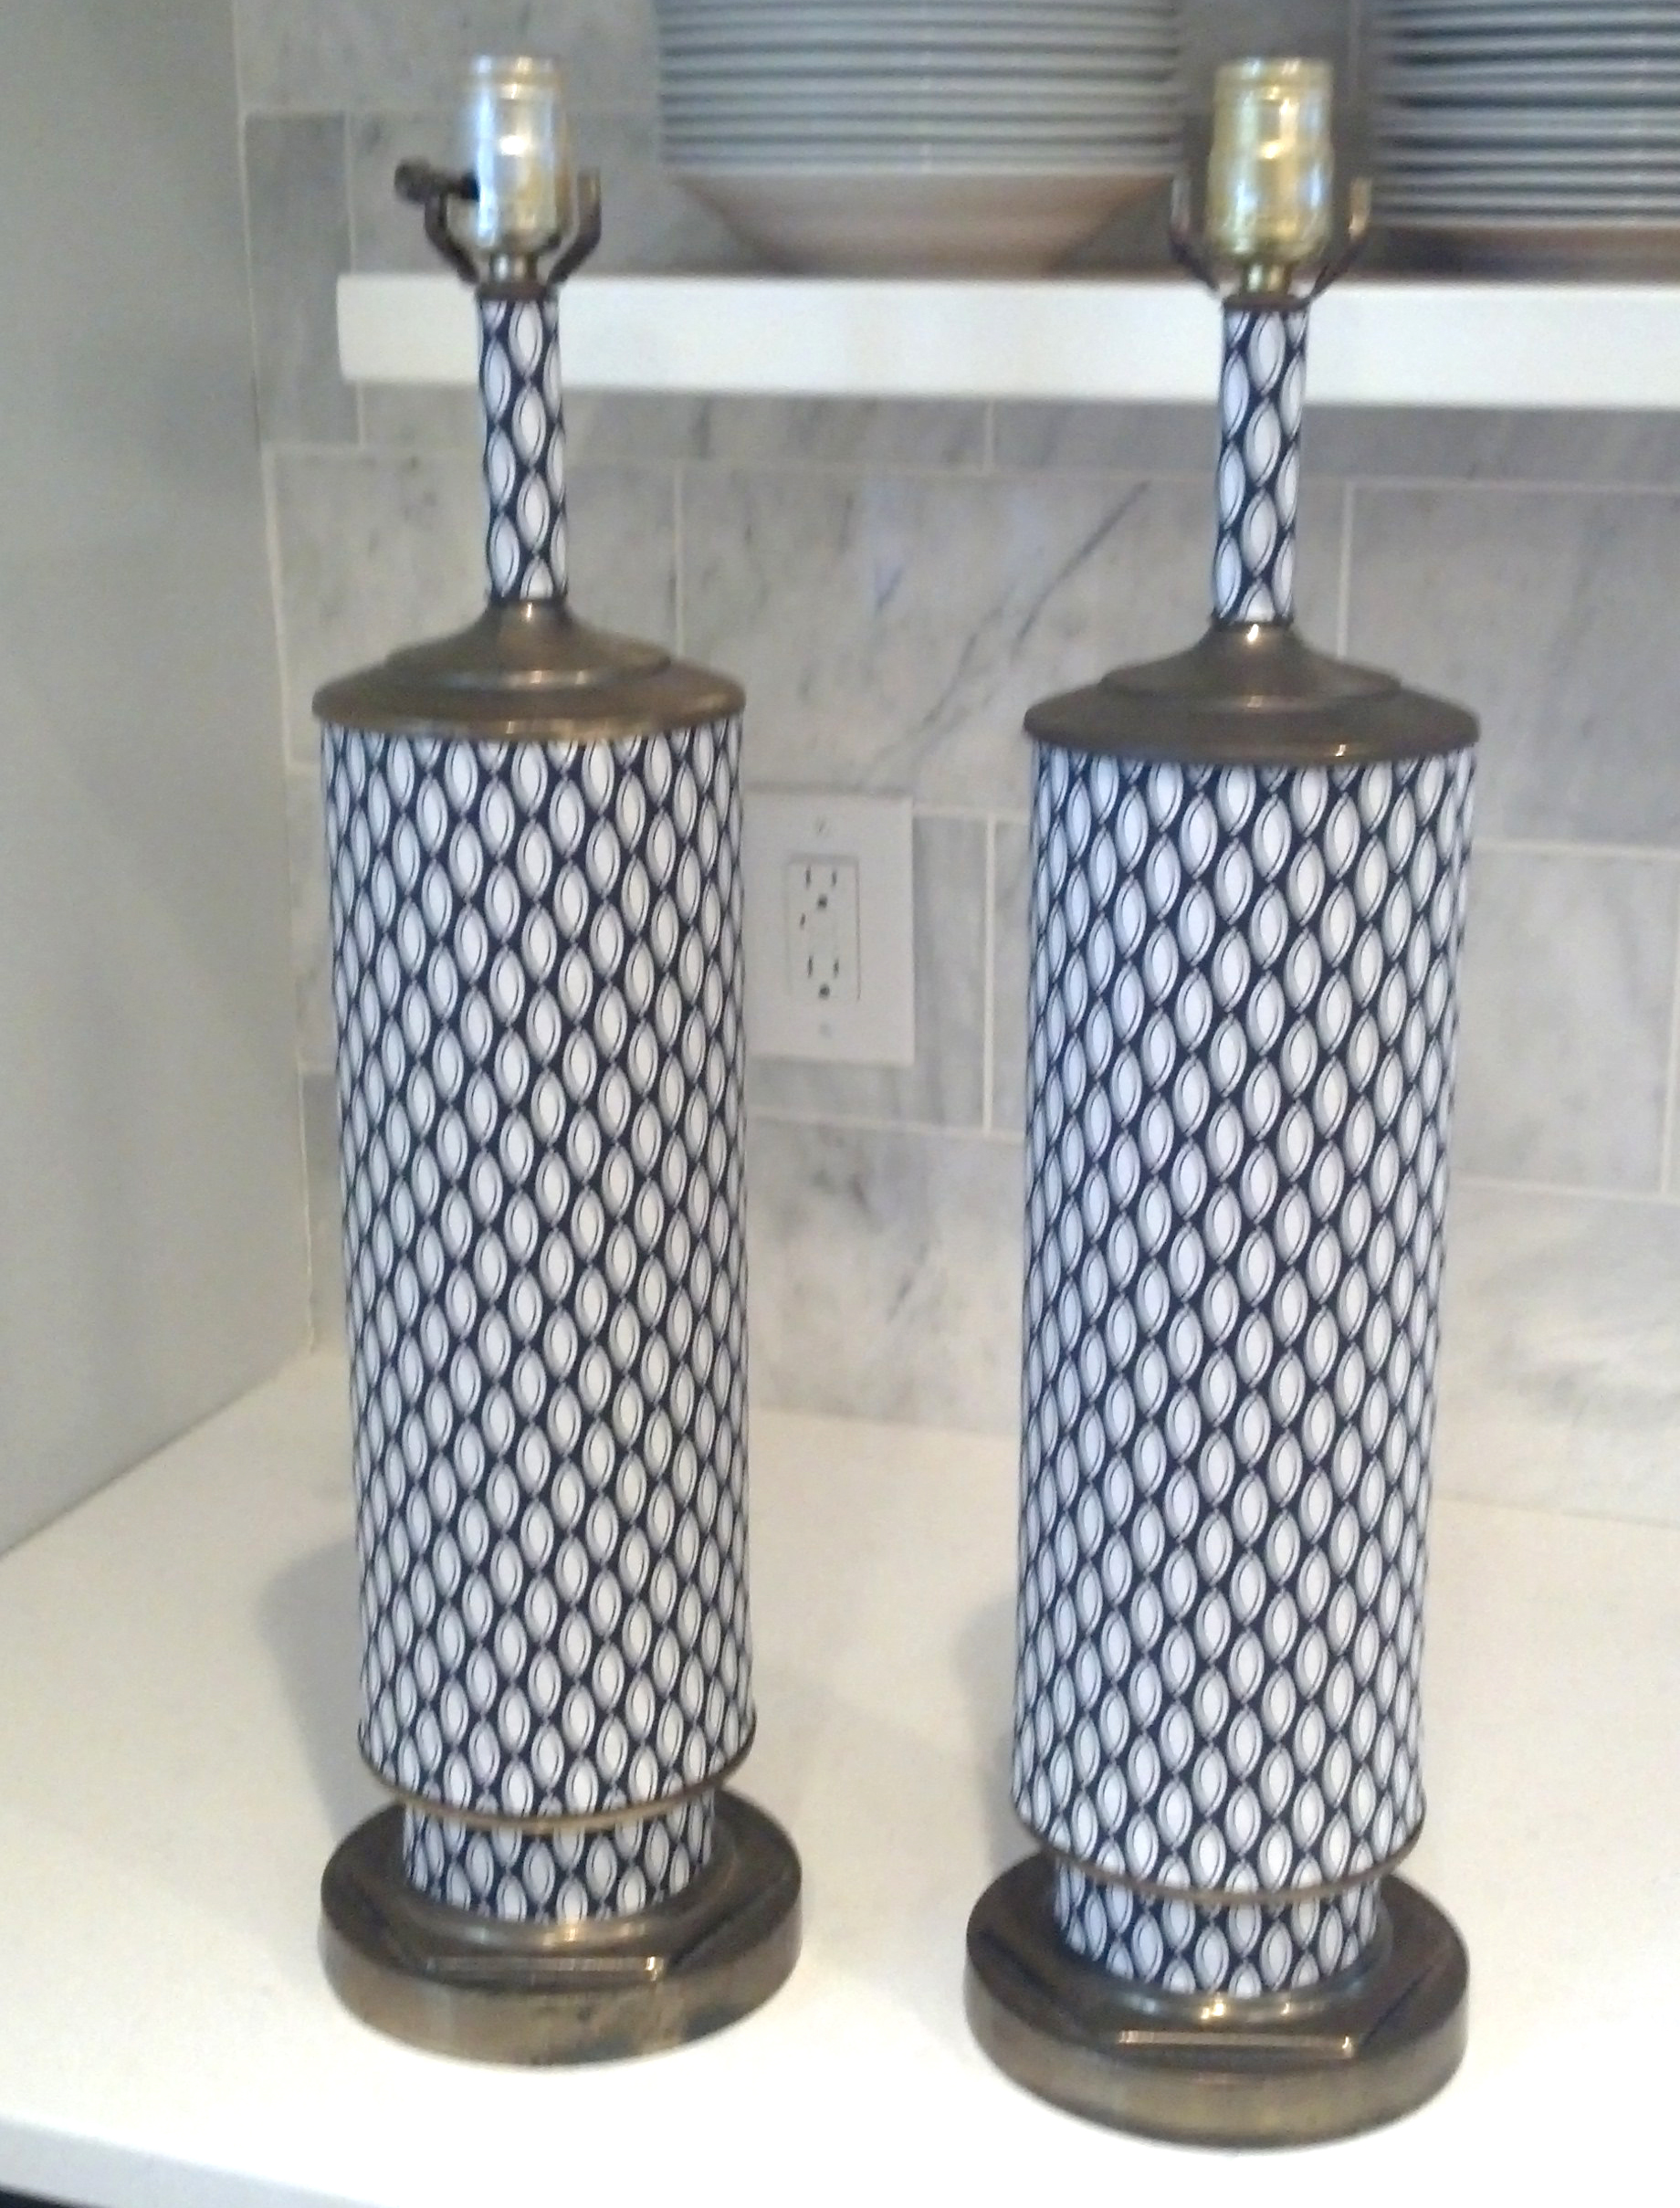
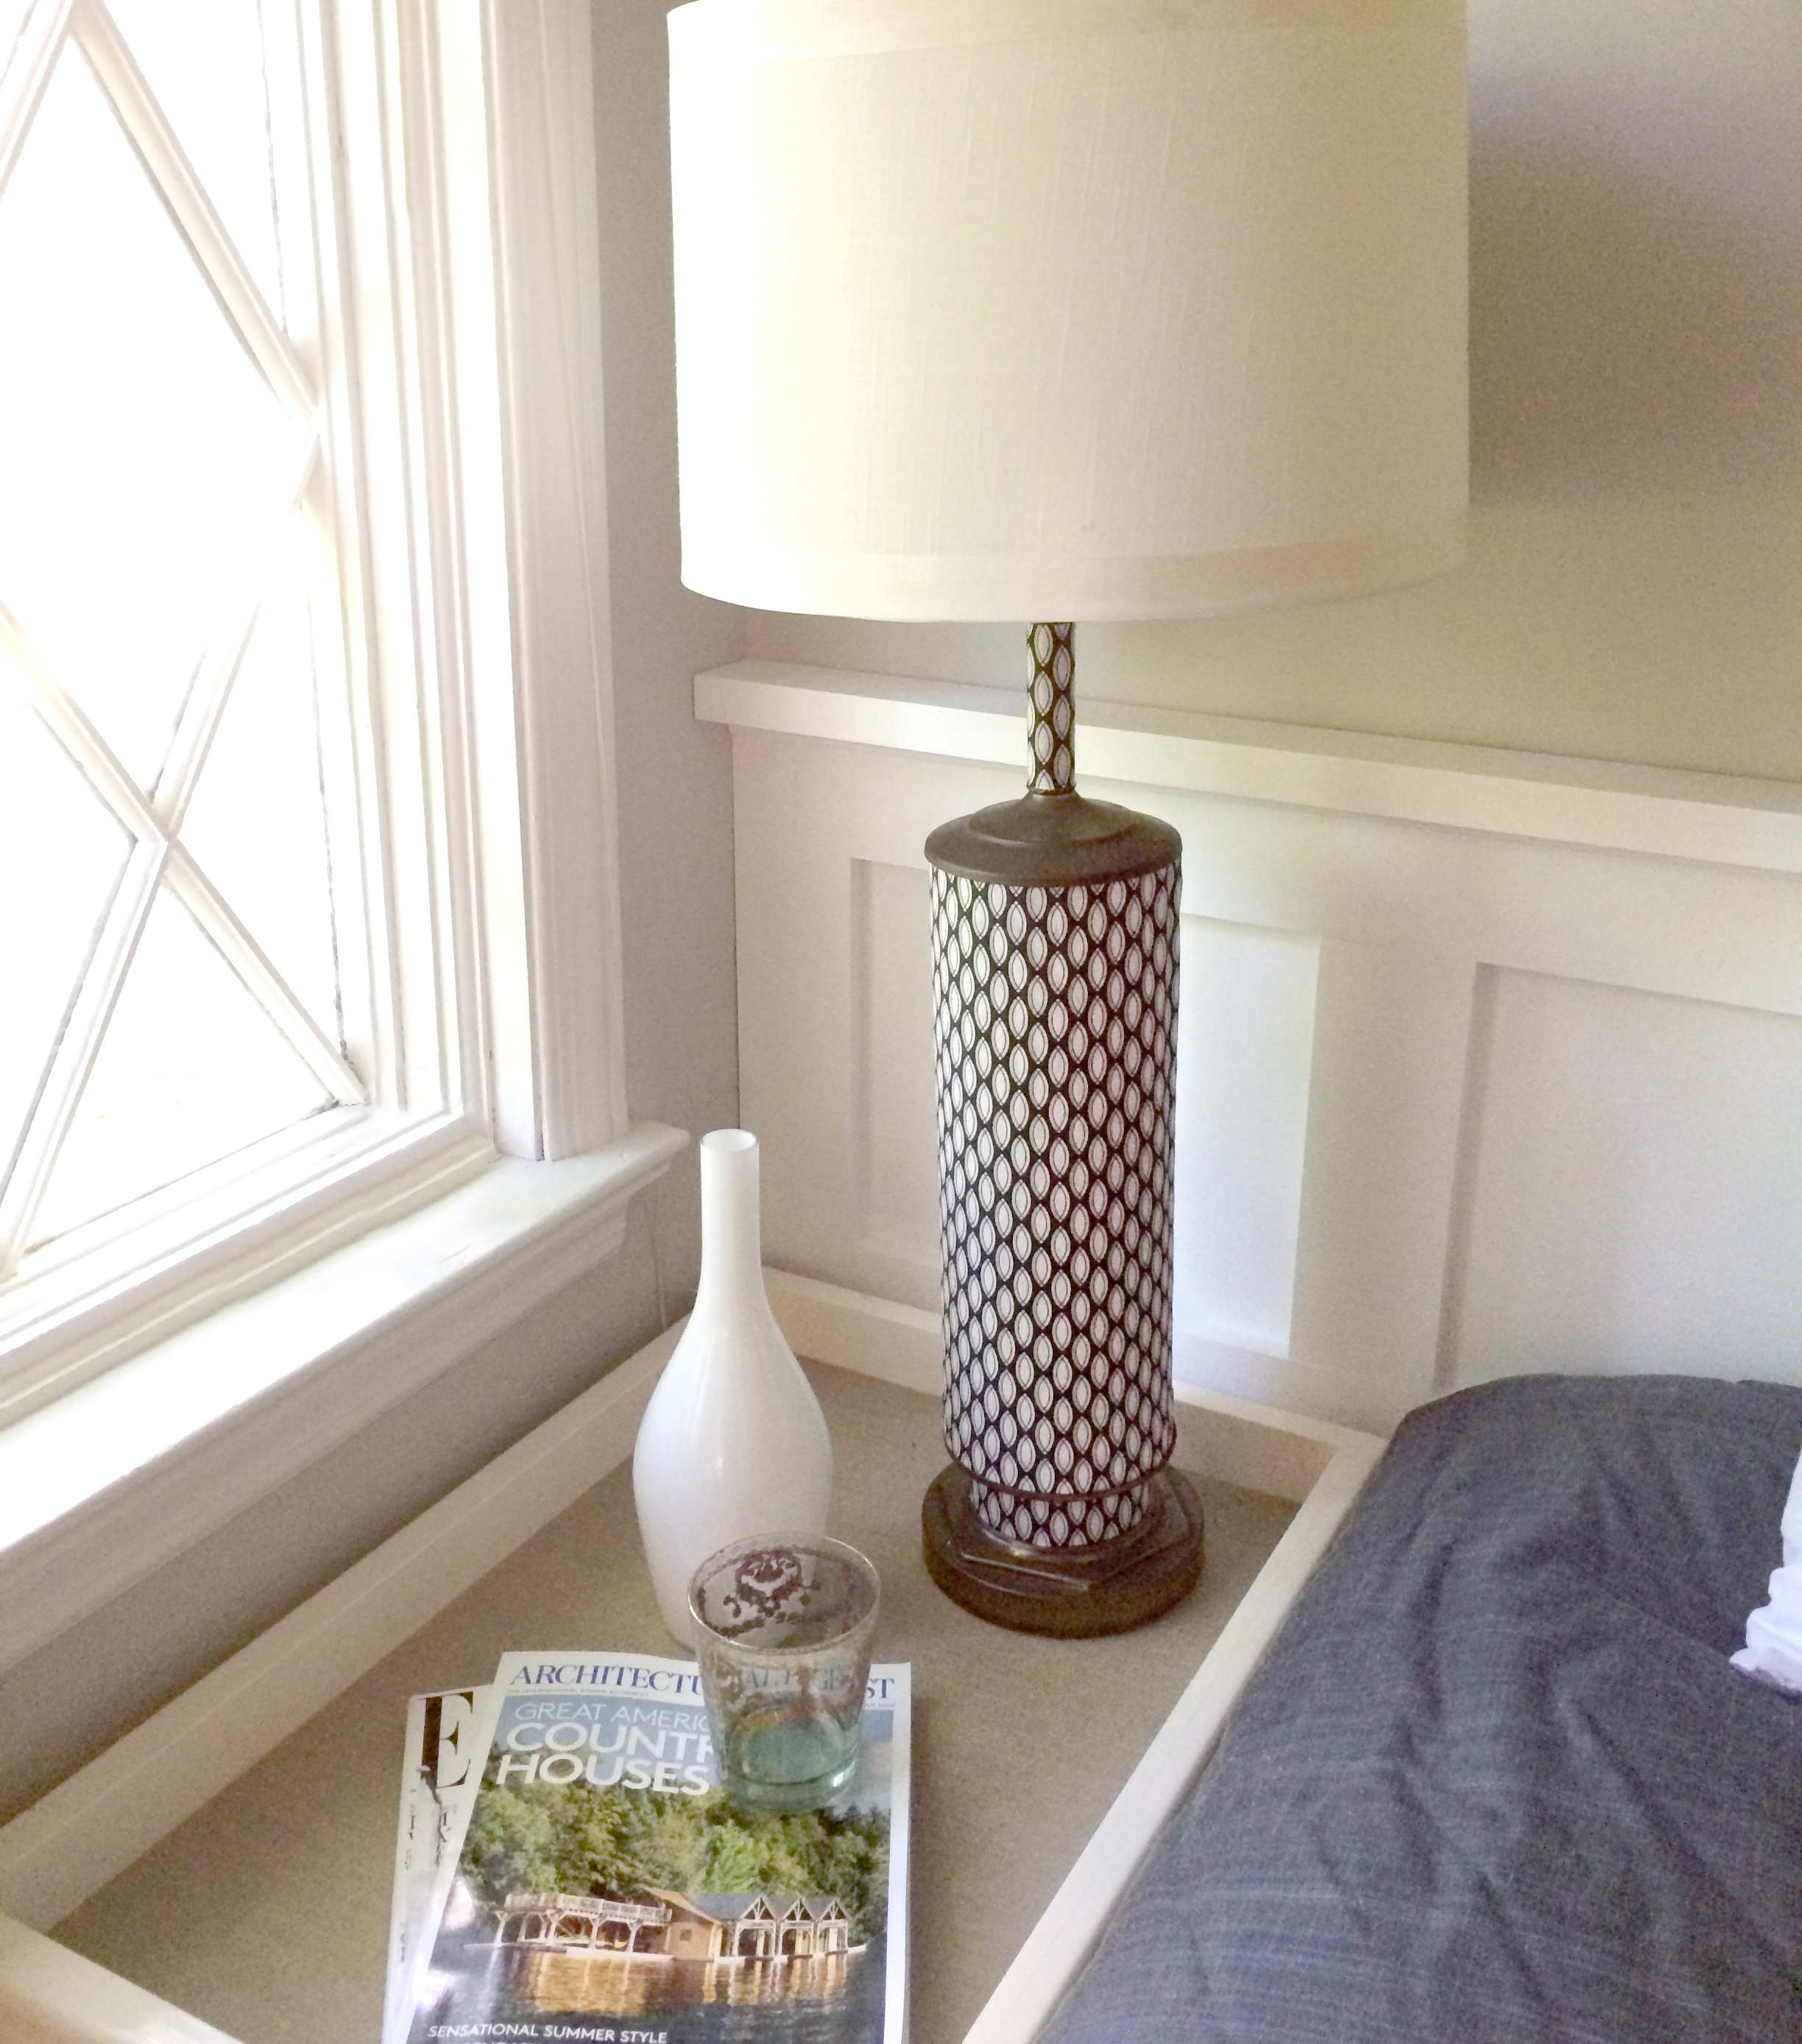
Here’s what they looked like after all was said and done. The tight pattern on the fabric gives the two tired lamps a very sleek new look.
The painting above is by Ellen Reinkraut. Throw pillows are similar to these ones by Pottery Barn.




Wow! Love the lamps! And beautiful guest room.
What an awesome job you did on those lamps!
brilliant, but I would not have the patience at this point of my life to pull off such a feat..
ha! Thank you Julie!