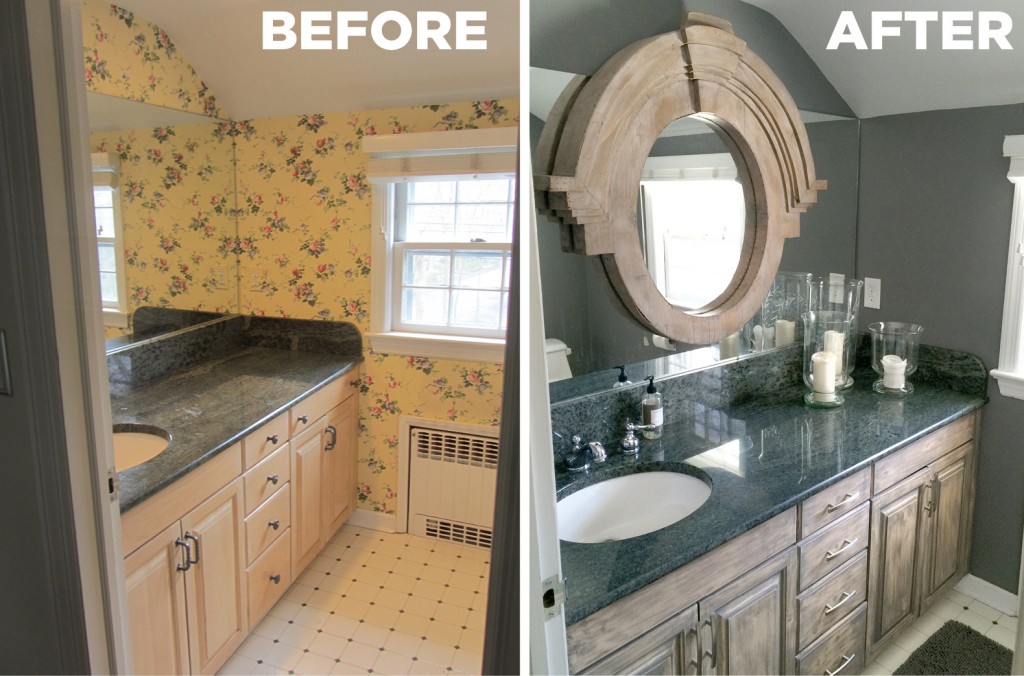
Guest Bath Makeover

BeforeAfterBathroom2
Here’s a good weekend project for you to tackle on this Saturday morning:
Breathe new life into that awful bathroom you have been aching to change.
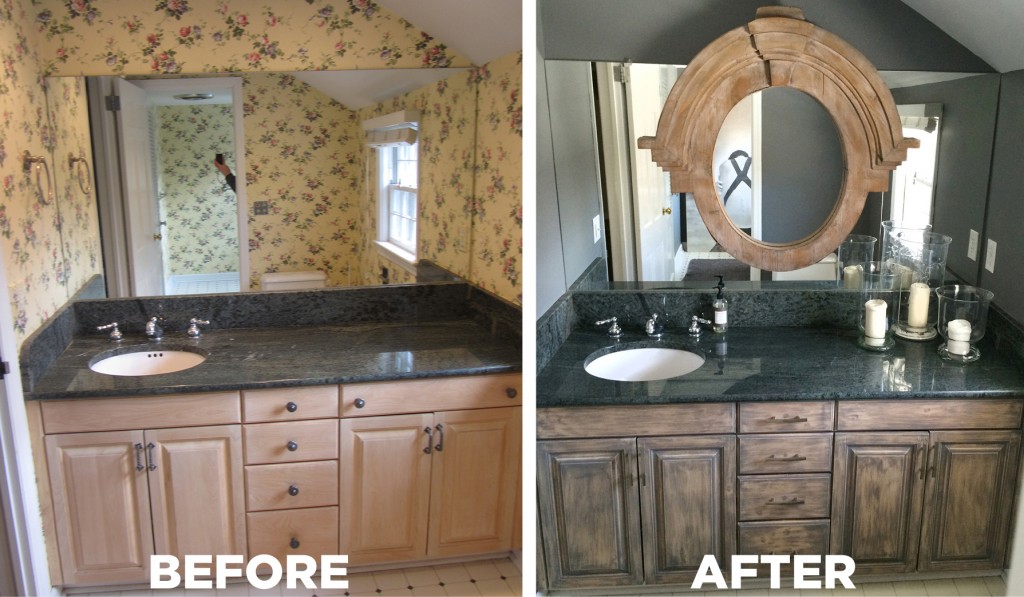
Because I used a few items I already had, I only spent $150 to transform my guest bath in one weekend.

Here were my steps for the Guest Bath Transformation:
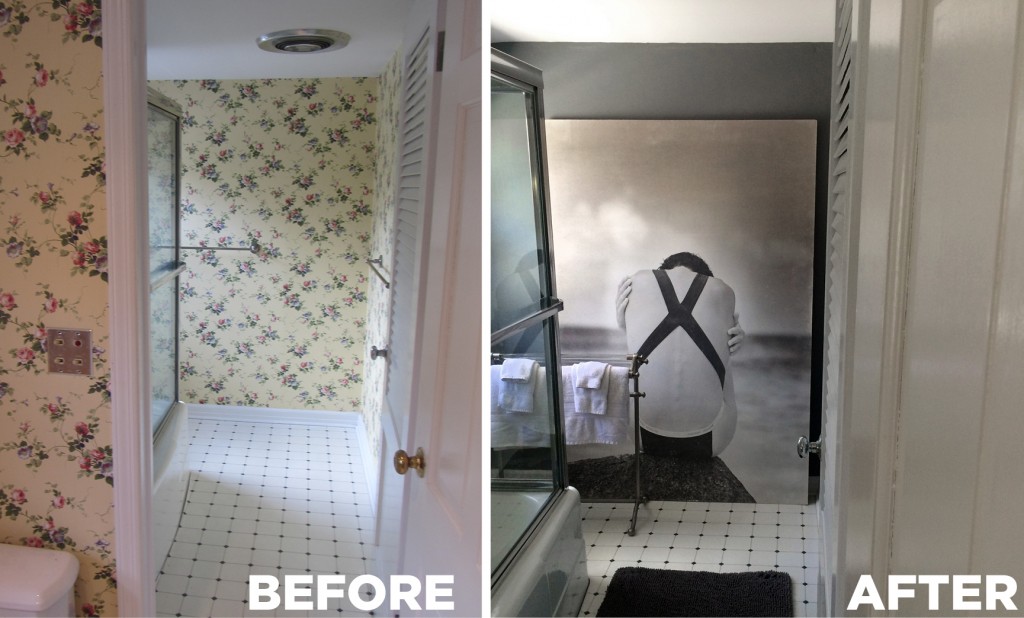
1. I removed wallpaper (Supplies: $30)
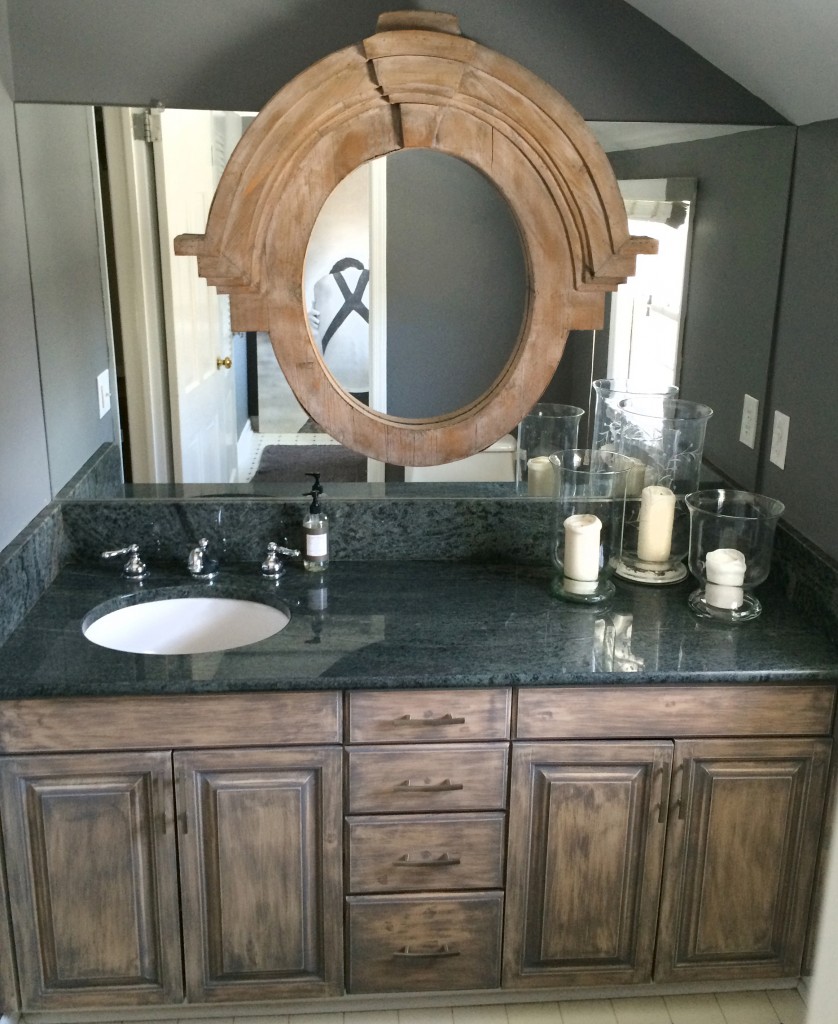
2. patched, primed, painted walls (I chose a cool grey so it would look nice with the existing green stone countertop. Paint: $50)
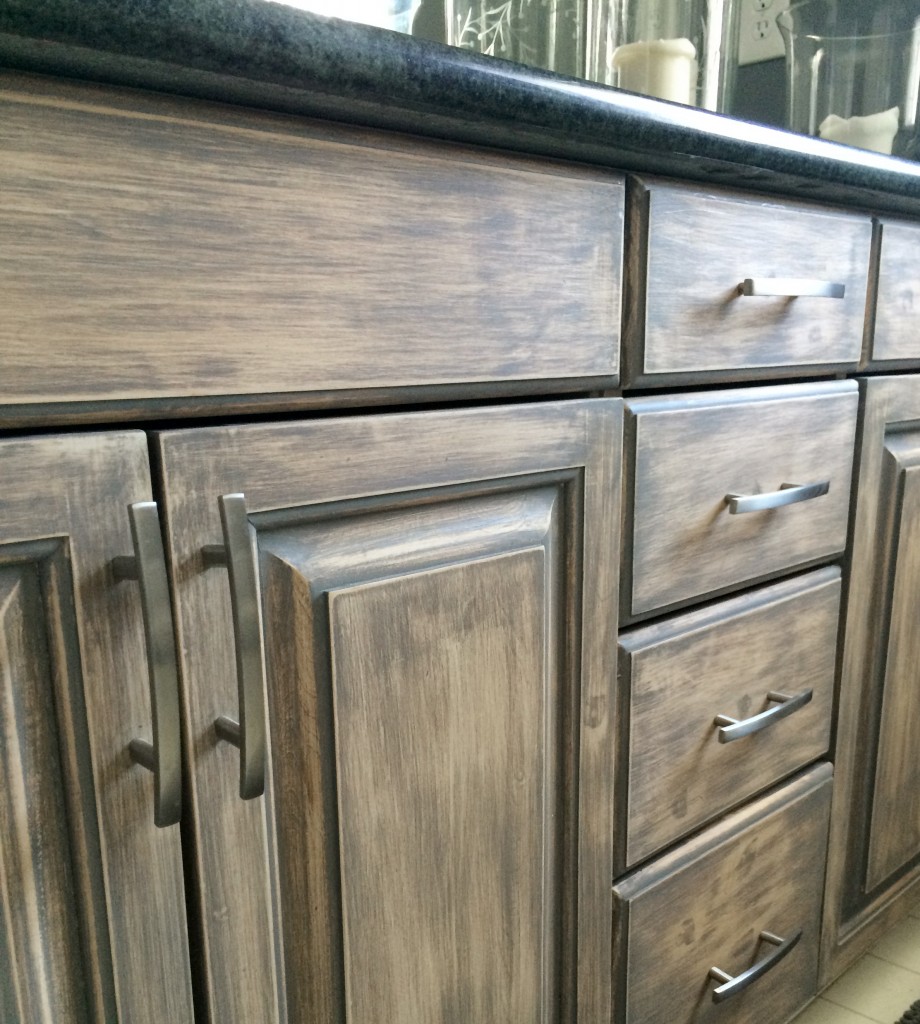
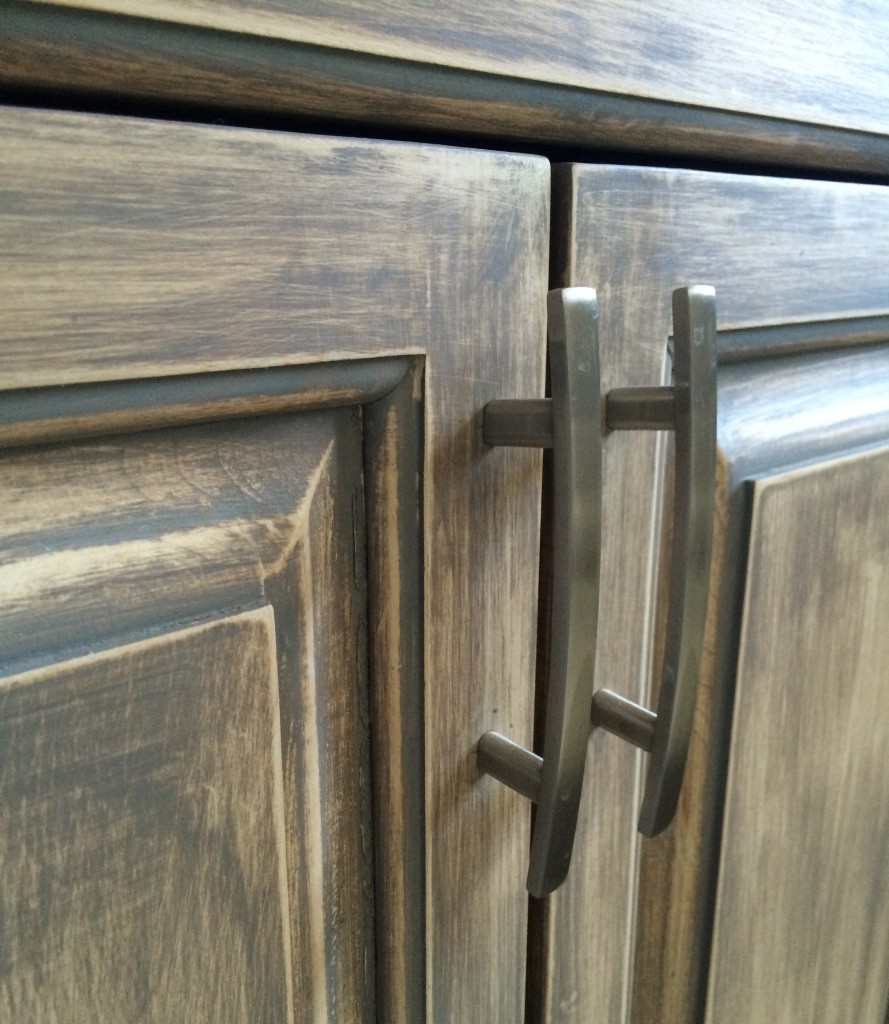
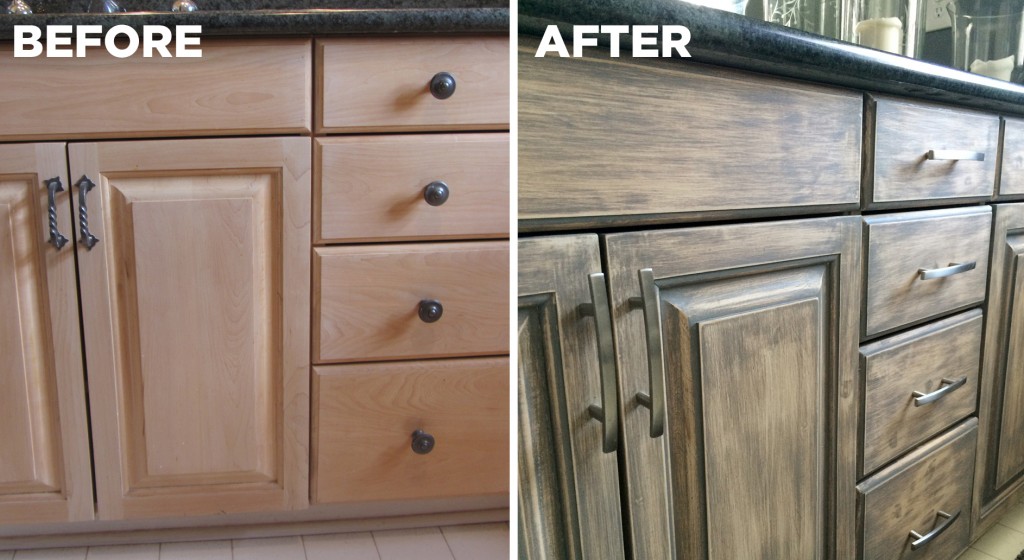
3. cabinetry: removed hardware, filled holes, and sanded the cabinets lightly all over
4. rubbed the cabinets with the wall color on a rag & let it dry
5. sanded the cabinets to the desired amount of distressed
6. drilled holes for new hardware and installed (New hardware: $40)
7. got bath mats to mask the flooring that I didn’t replace (New bath mats: $30)
8. hung a reclaimed wood mirror (that used to hang on the porch of my last house) over the existing mirror (you could do this with just a frame as well. Restoration Hardware Mirror: $$)
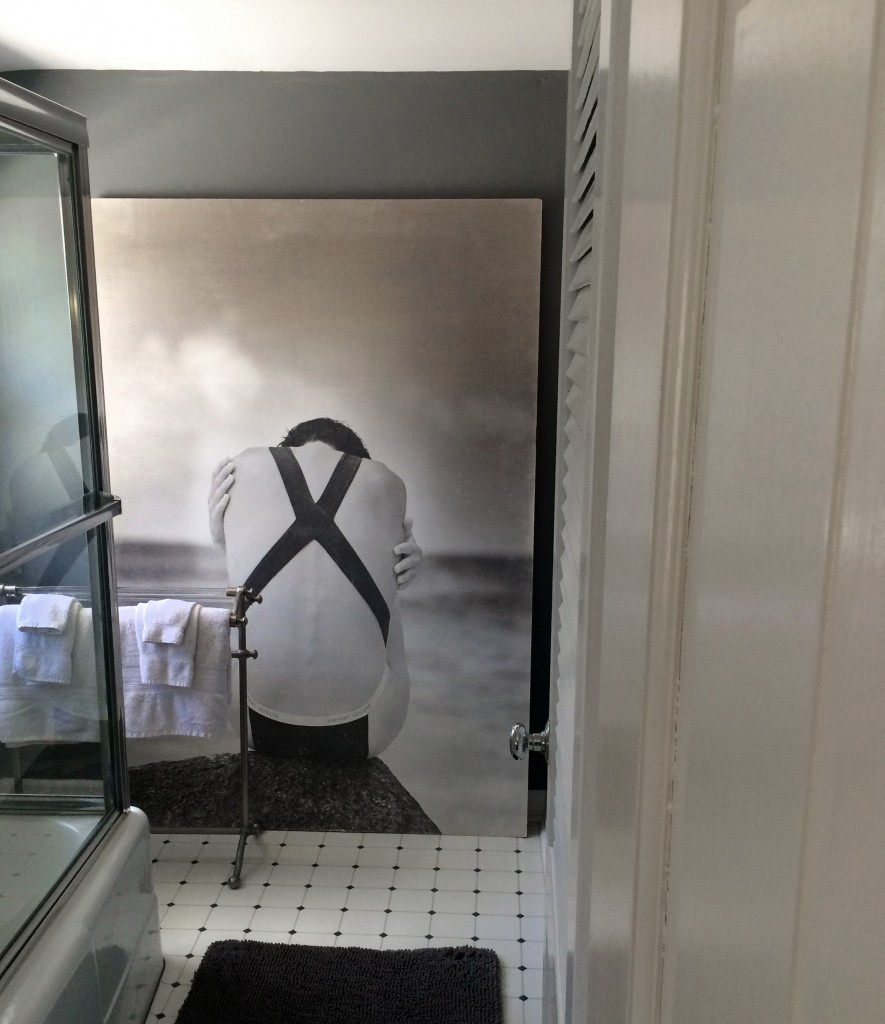
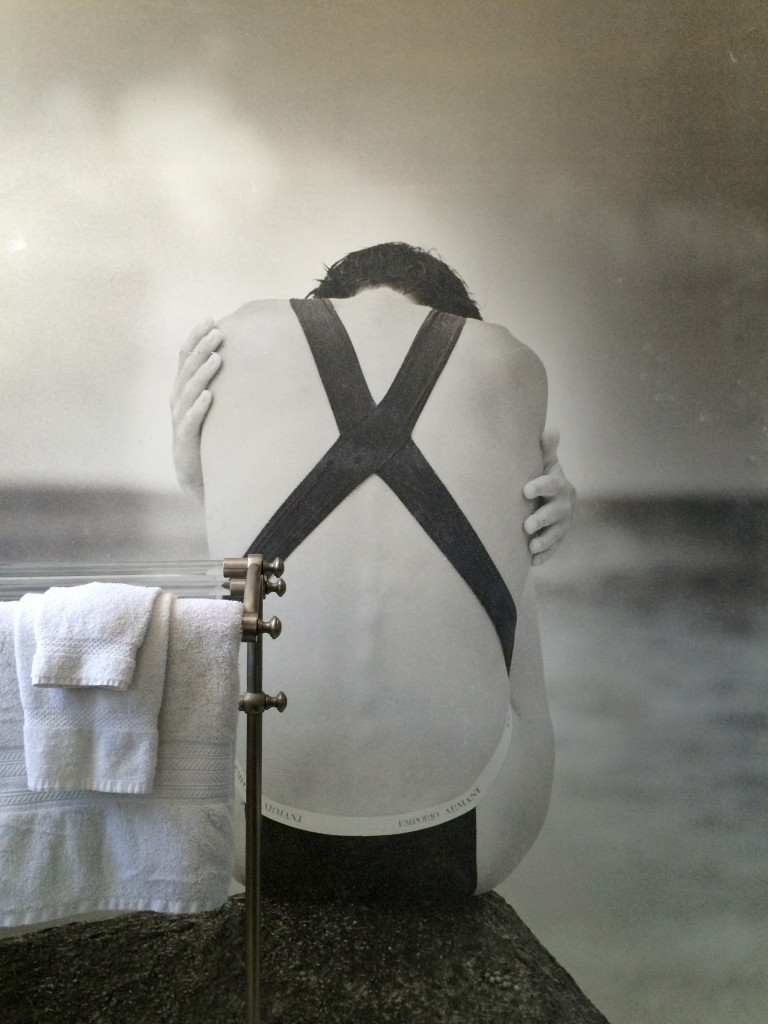
9. leaned an oversized photograph at the far end of the bath for drama (Garage sale from artist $20)
10. used a freestanding towel rack I already had for a little old world charm (Waterworks Towel Rack $$)

_Photo Apr 16, 3 08 46 PM

_Photo Apr 16, 3 00 23 PM_Photo Apr 16, 3 03 01 PM _Photo Apr 16, 2 59 30 PM_Photo Apr 16, 2 59 53 PMBeforeAfterBathroom4BeforeAfterBathroom3BeforeAfterBathroom

Re-soul a Slipper

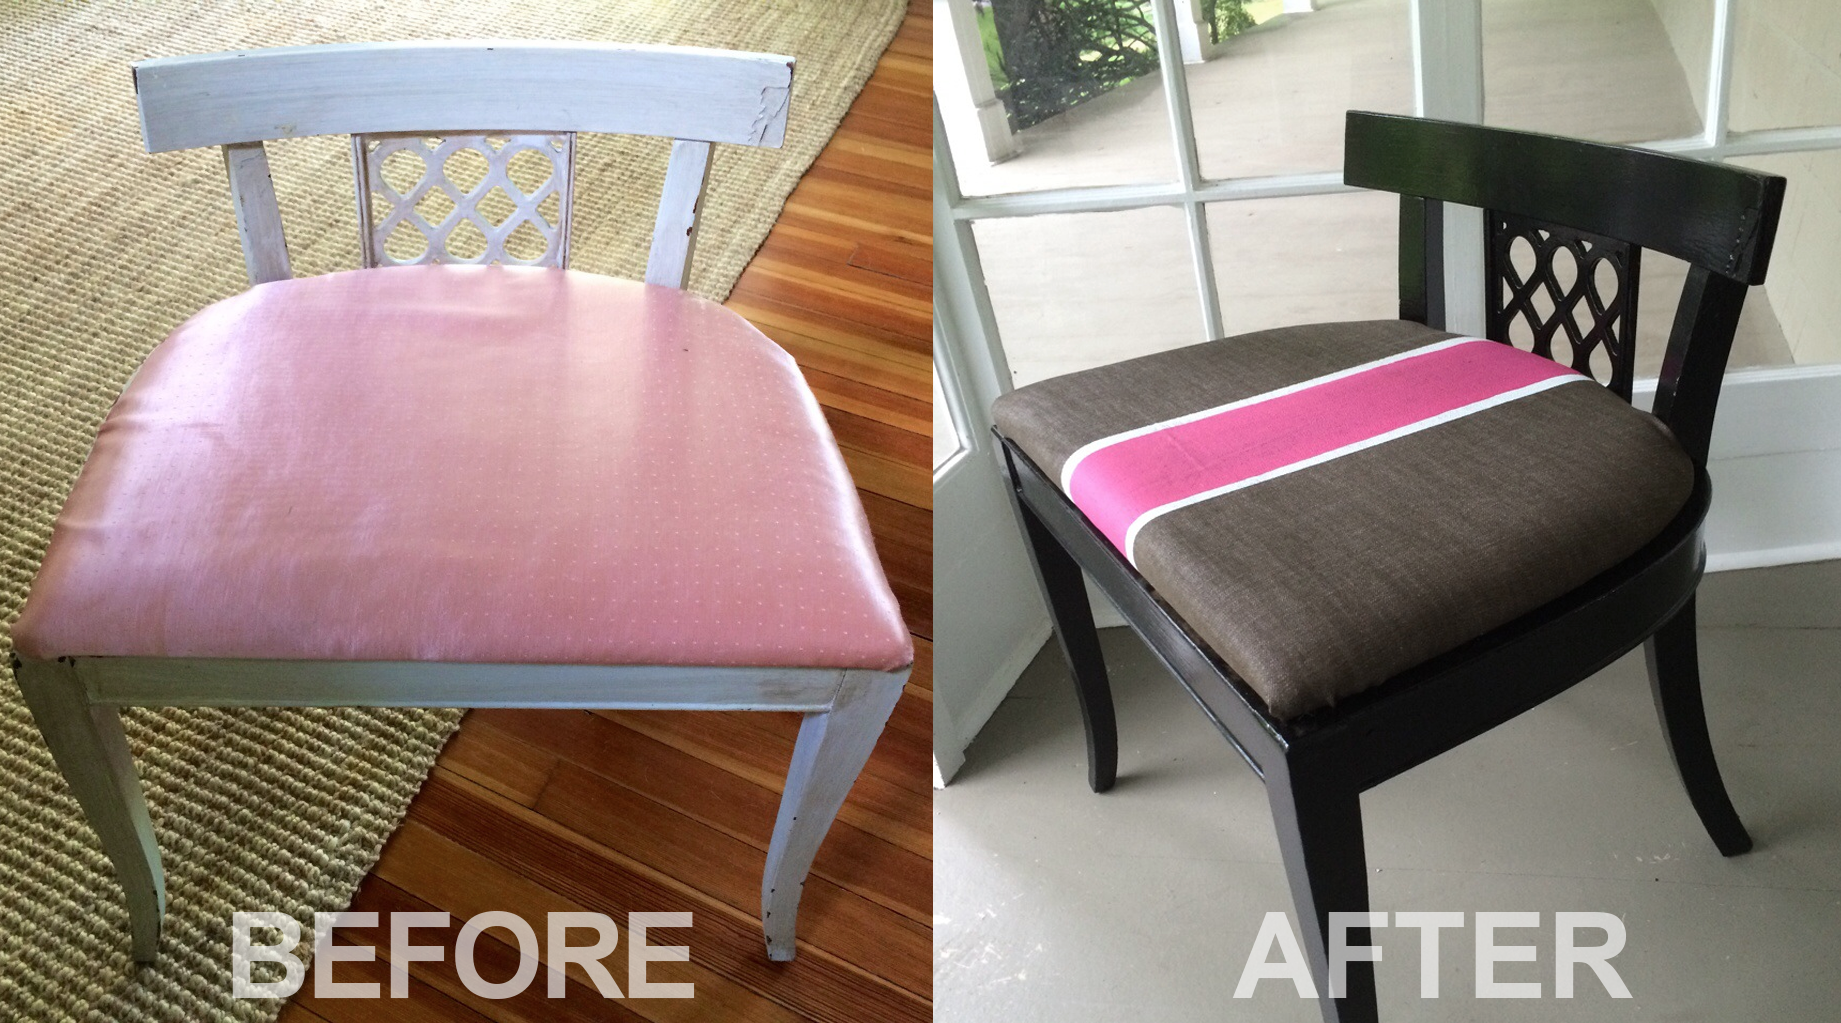
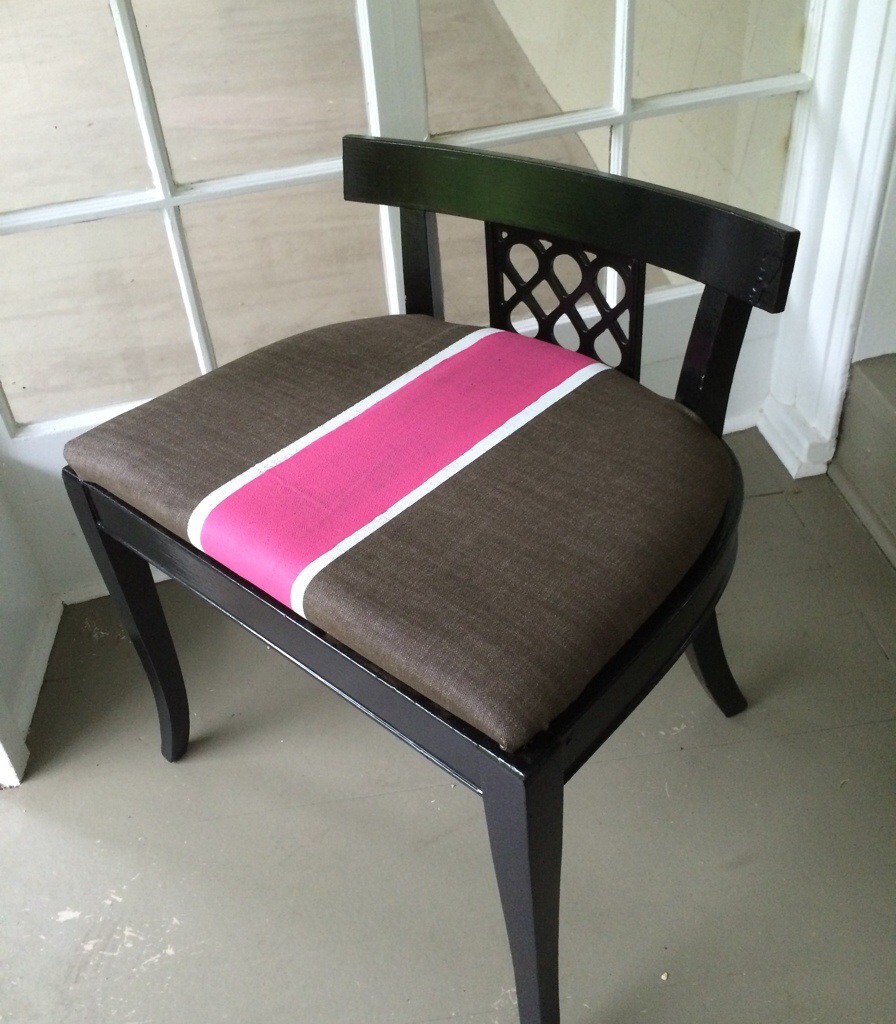
Give new life to  garage sale find this weekend. Whether it be a new purchase from your Memorial Day weekend hunting or one of the pieces you’ve been hanging onto, just rip the bandaid off and do it. Here’s a quick slipper chair remodel I did in a few hours yesterday. All it entailed was a fresh coat of glossy spray paint, a piece of fabric and 2 samples of latex wall paint from my local hardware store. Directions below. Good luck and happy hunting this weekend!

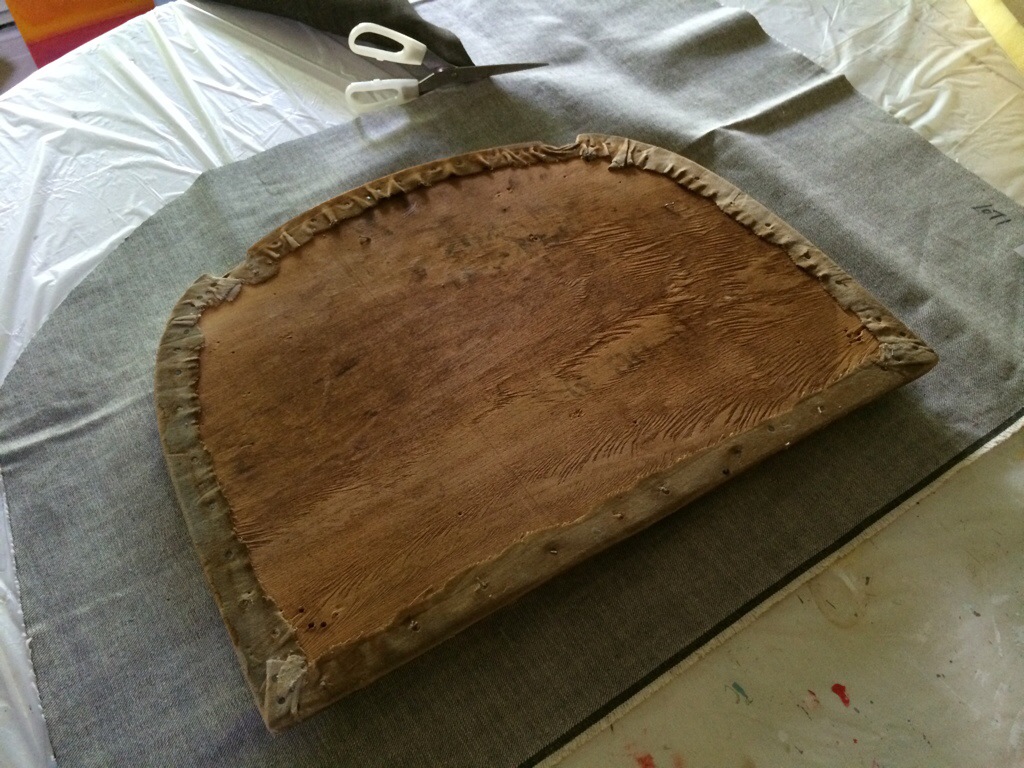
Cut a piece of fabric large enough to wrap around and be stapled. Always give yourself a little extra.

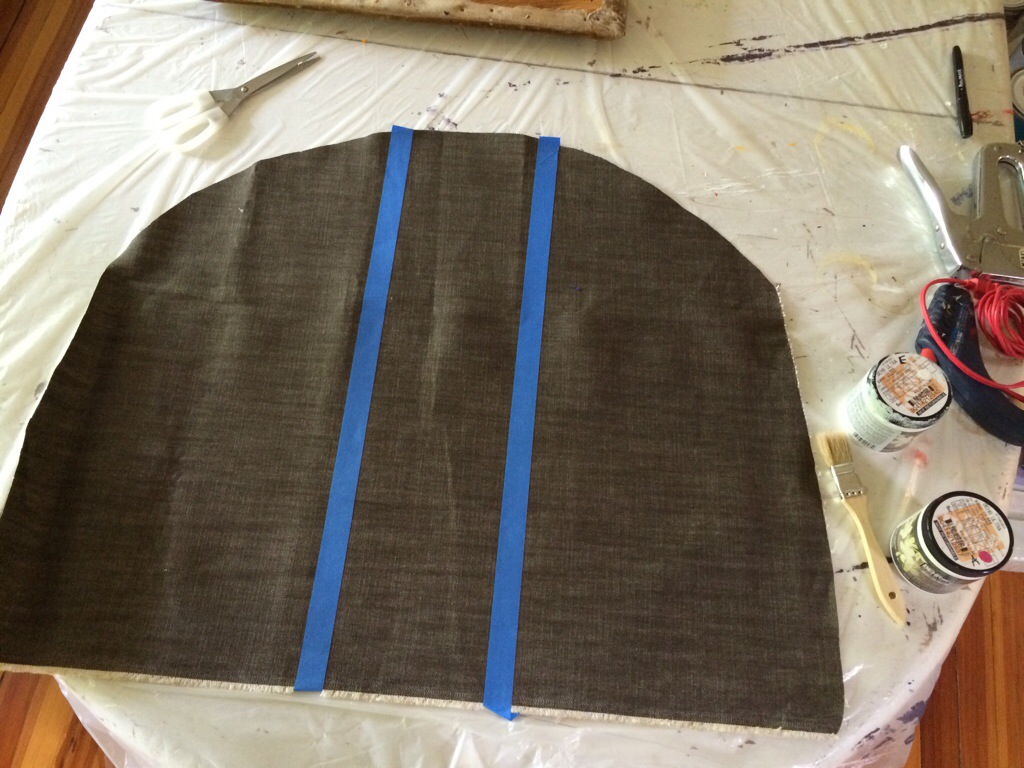
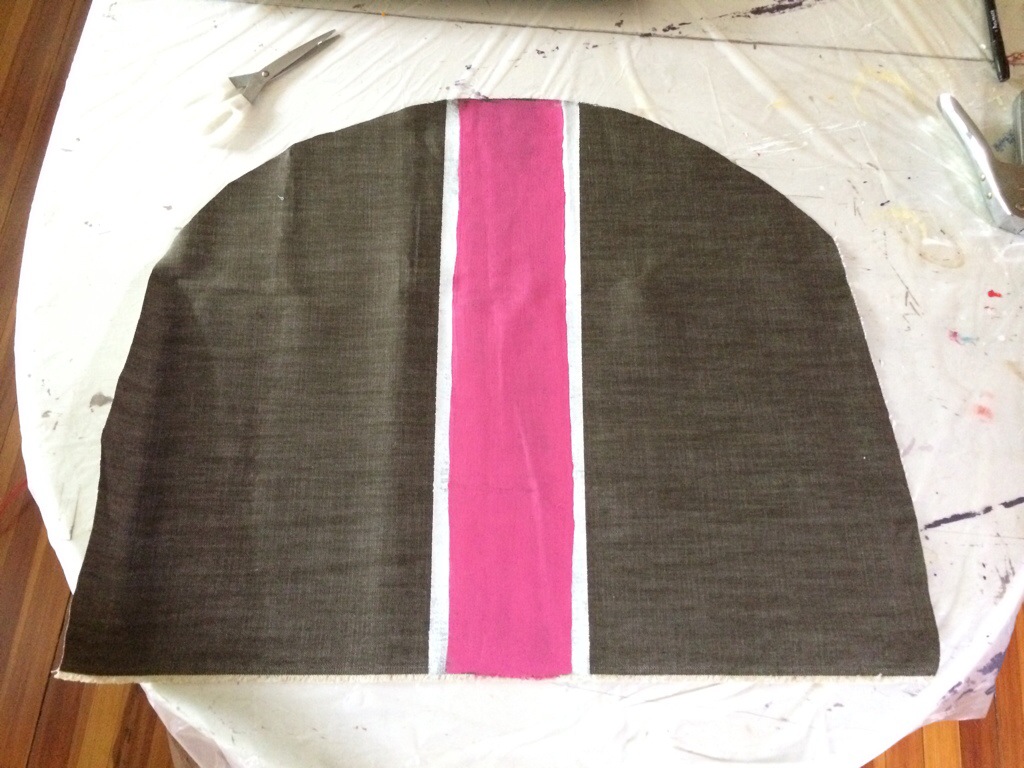
I taped off o wide stripe down the center of the fabric. Measure from each side to make sure your pretty centered.

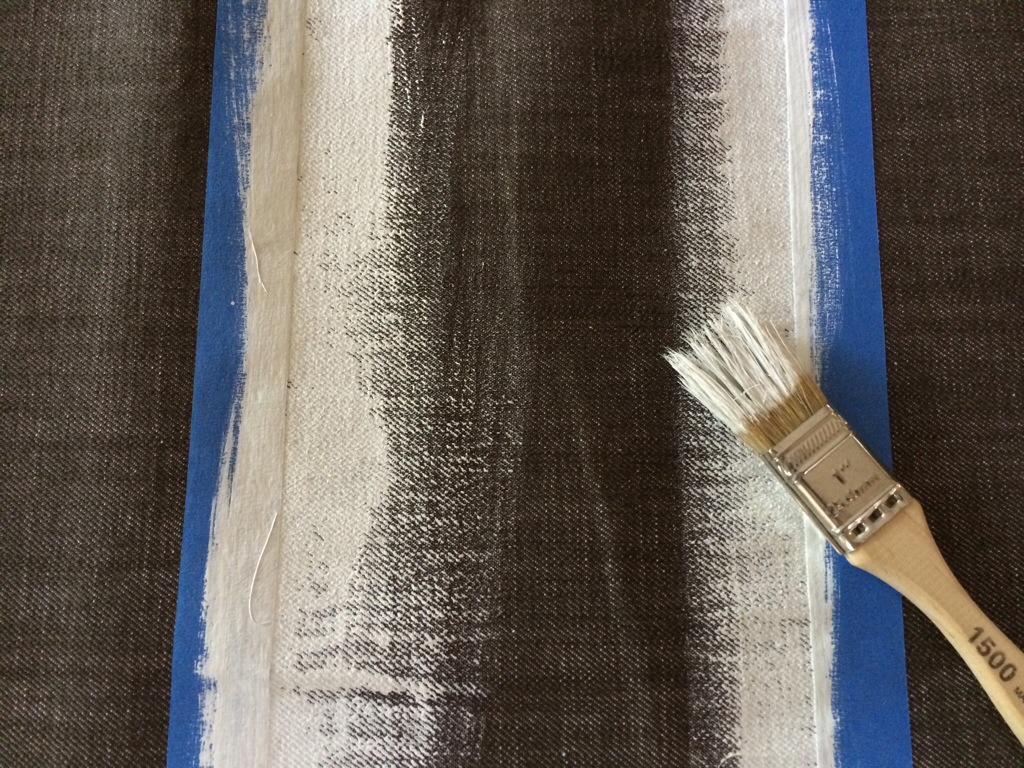
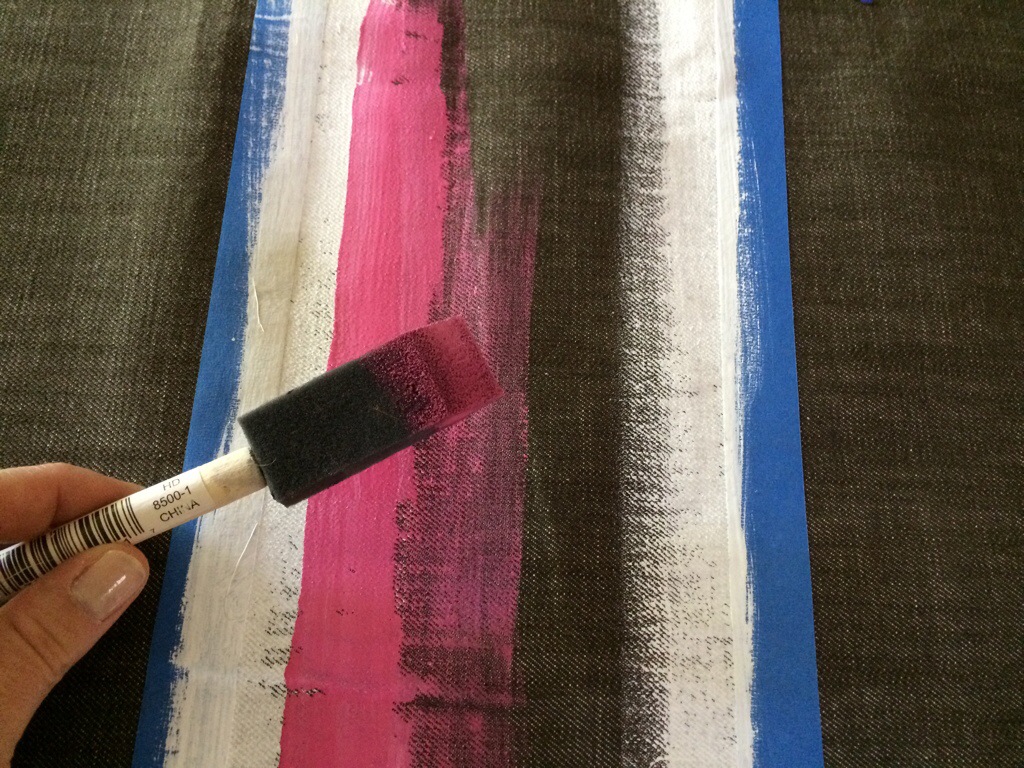
I brushed on white latex paint for a white edge

Then pink. If you want the lines to be perfect, let the white dry, then tape a new line for the pink. I wanted mine to be a little organic so i freehanded it

remove the tape and let it dry thoroughly

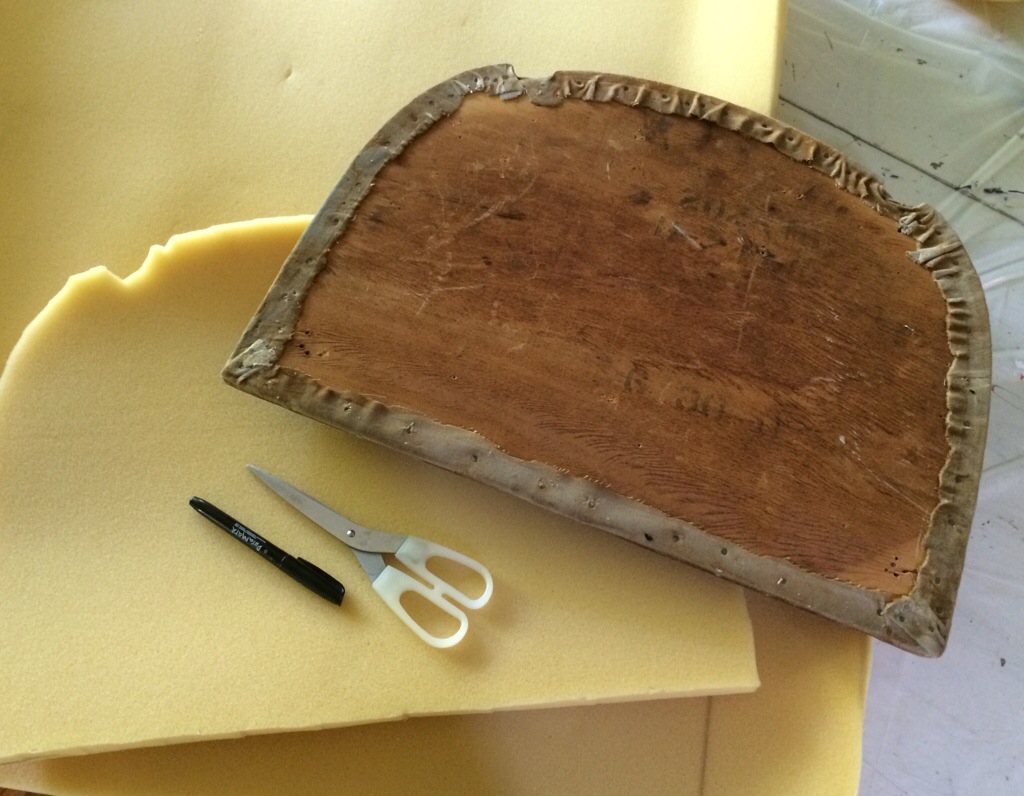
if you need to replace the foam, do so by tracing the seat onto the foam and then cut it out with scissors.

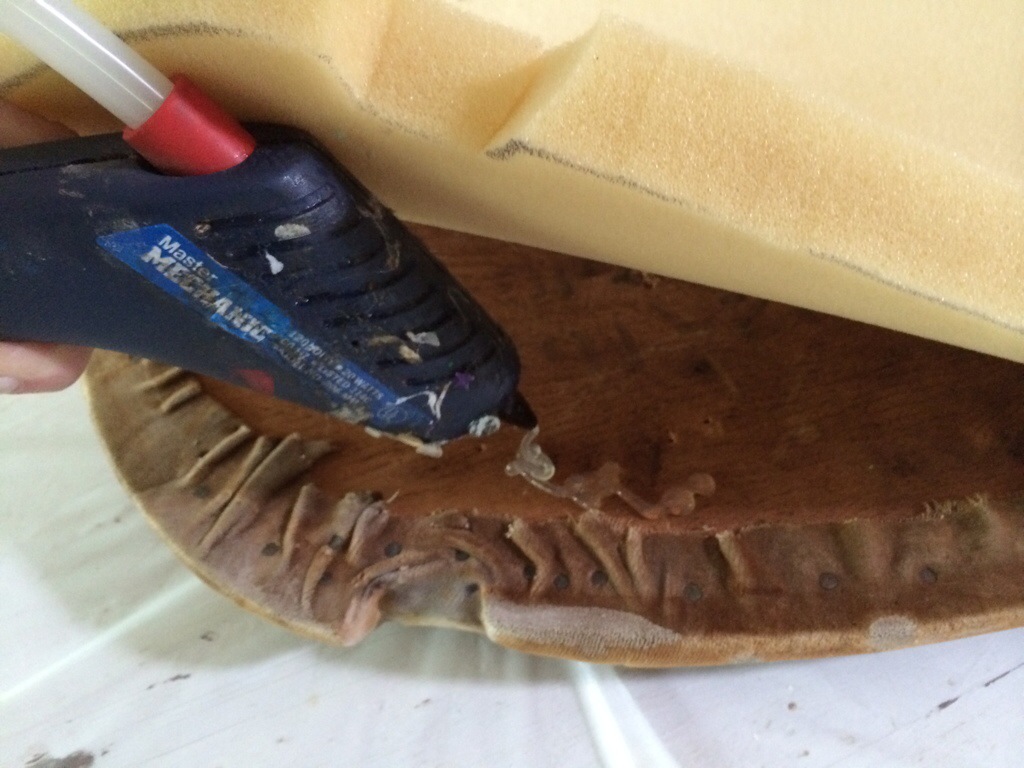
Once lined up precisely, glue your foam in place so that it doesn’t shift while you’re upholstering or in the future

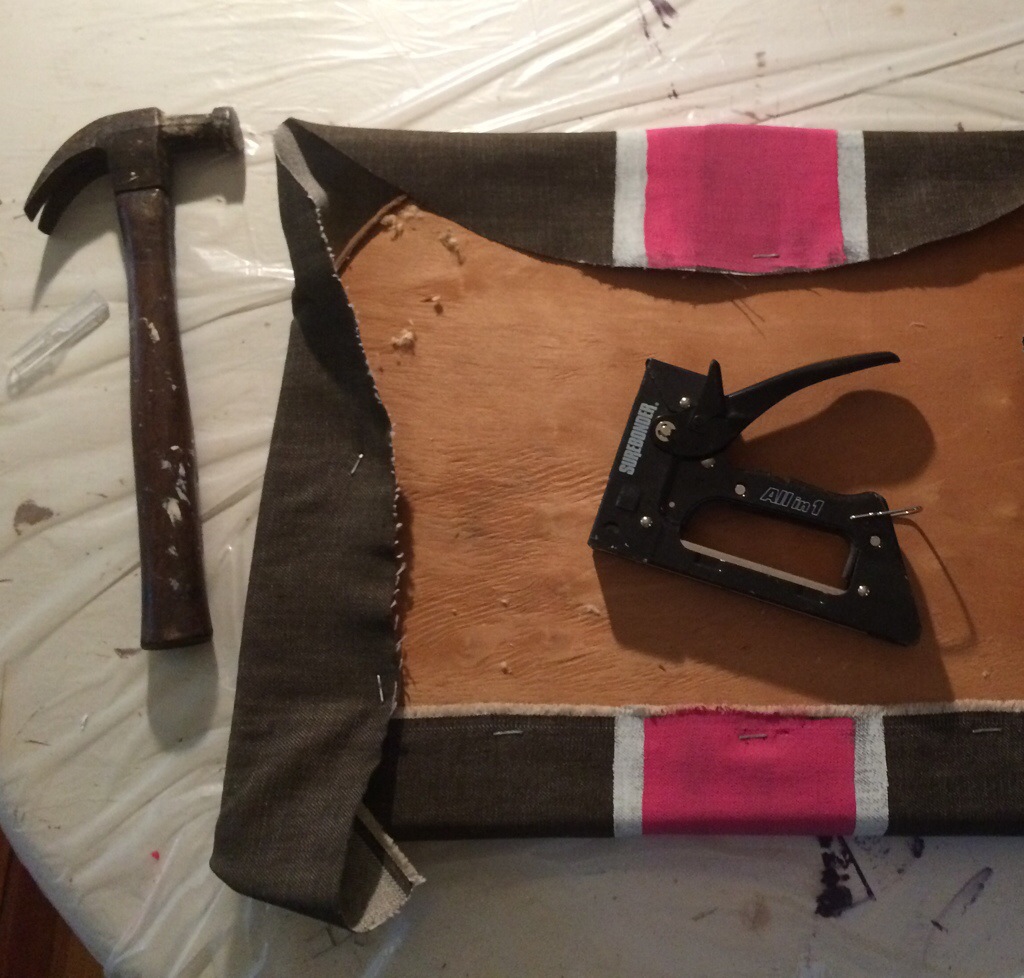
I staple-gunned the fabric taught to the wooden seat, pulling the foam to a rounded edge along the sides of the cushion. Again, measure to make sure your stripe is centered and straight before you staple.

Et Voila! A new soul for your Slipper chair!