Photography by Laura Moss
Styling by Meredith McBride Kipp
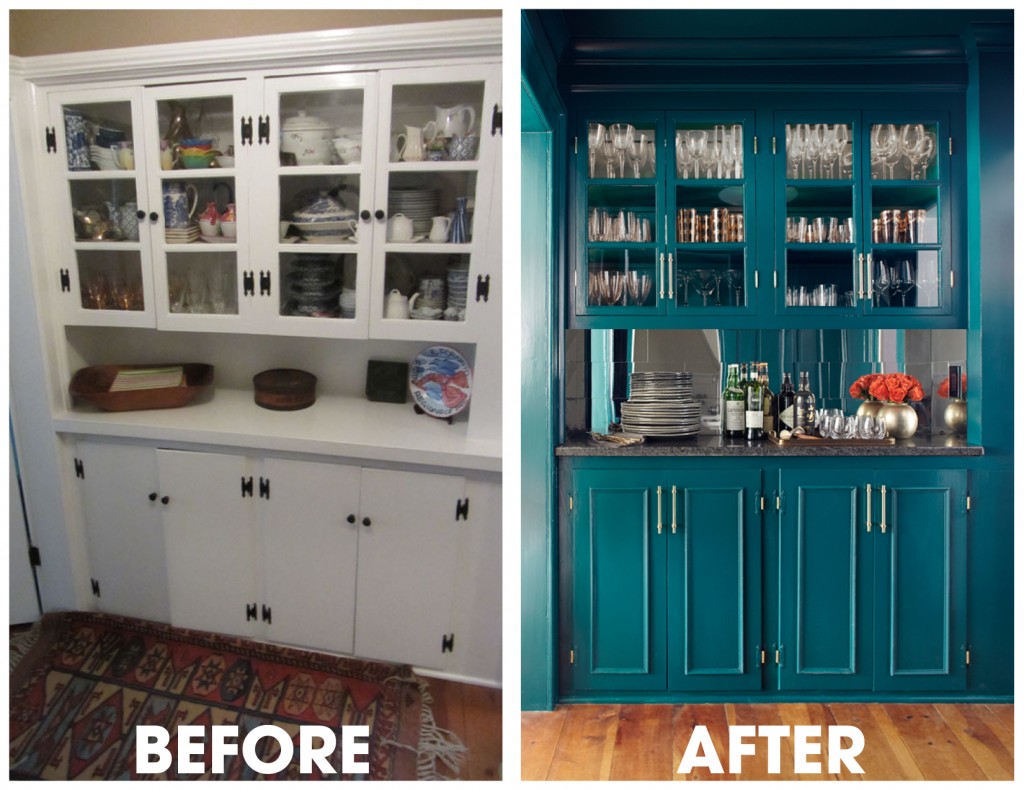
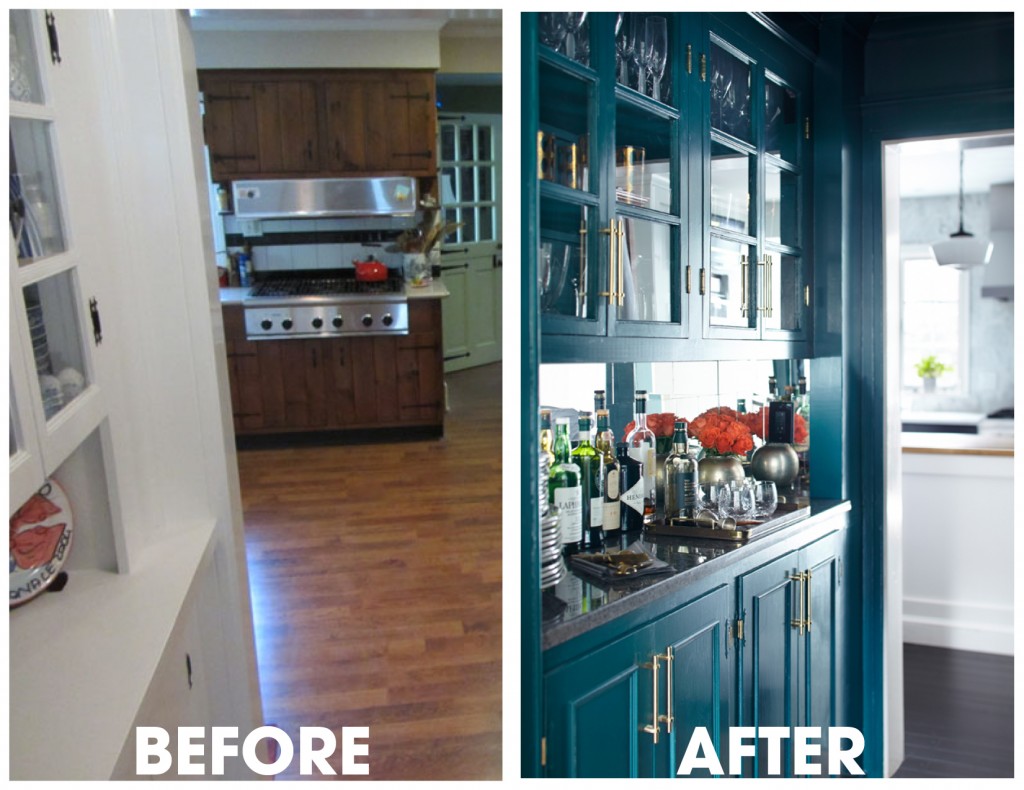
When touring old homes (and new), a butler’s pantry is always the highlight for me. It was one of the selling features when my husband and I bought our 1805 farmhouse. Despite the charm of the home, the butler’s pantry lacked the proper character and polish. We believe it was added in the 1950’s, and was in need of a major facelift. First off, the upper cabinets needed to be moved up nearly a foot in order to actually accommodate the height of a bottle.
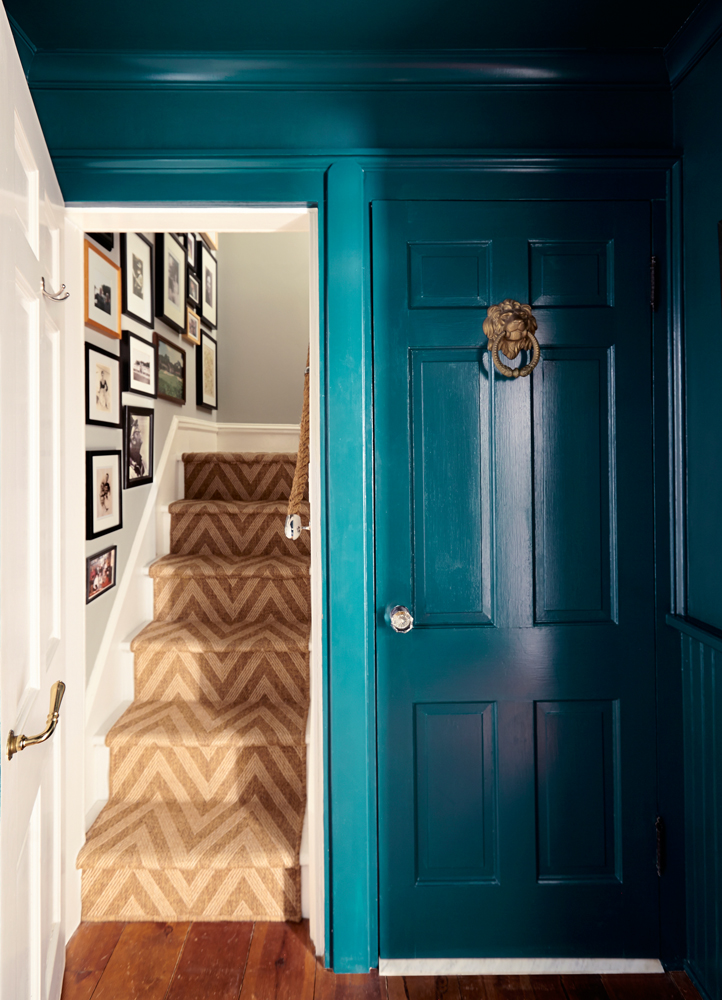
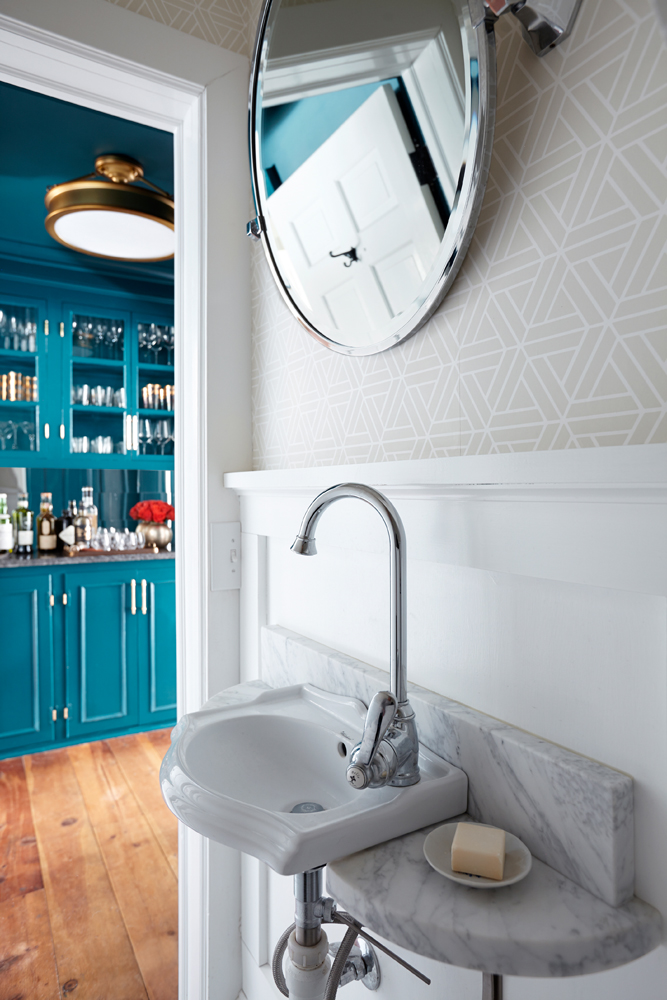
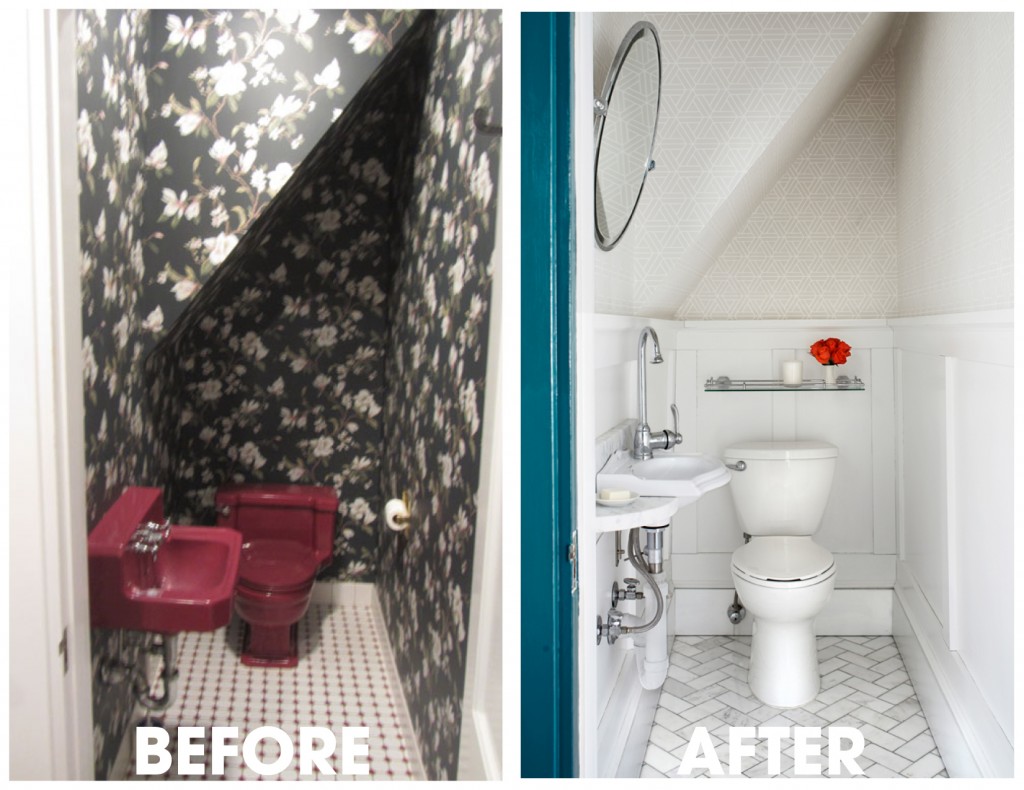
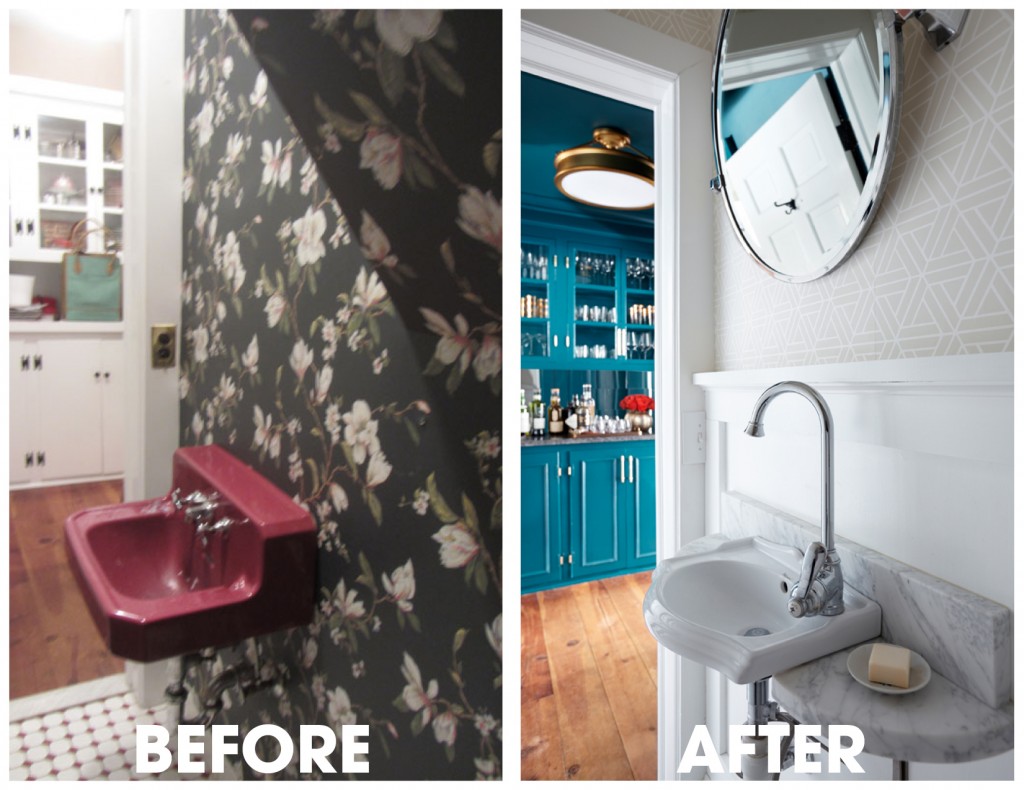
My husband tackled this project with full steam last year while I worked on our soon-to-arrive baby’s nursery upstairs (I will post that decor story soon). Our thought was that ‘if we’re going to have a child, we’re probably going to need a proper place to mix a cocktail.’ (SEE OLD FASHIONED RECIPE BELOW) So we bumped the project to the top of the list. With that he tackled the powder room and the back stairwell. SEE BEFORES AND AFTERS BELOW
Steps for transforming the BUTLER’S PANTRY:
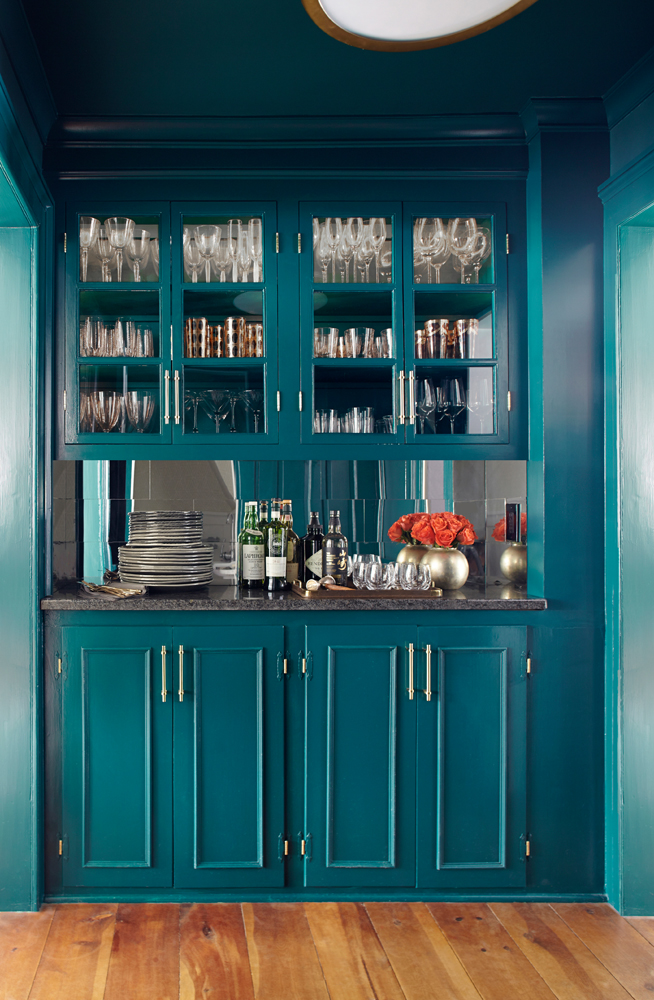
Removed the overhead soffit and upper cabinets
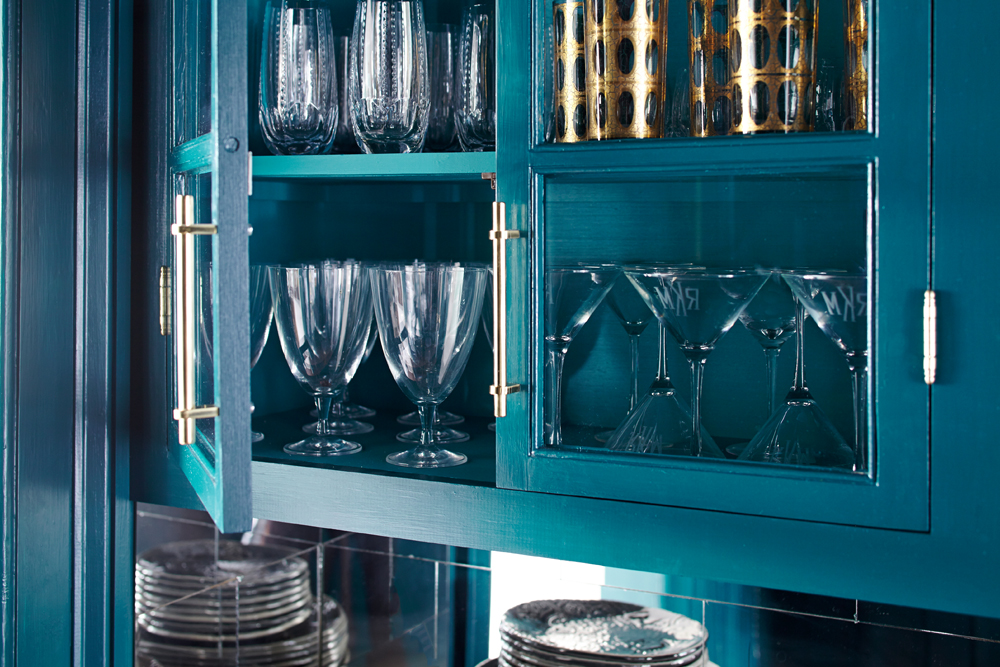
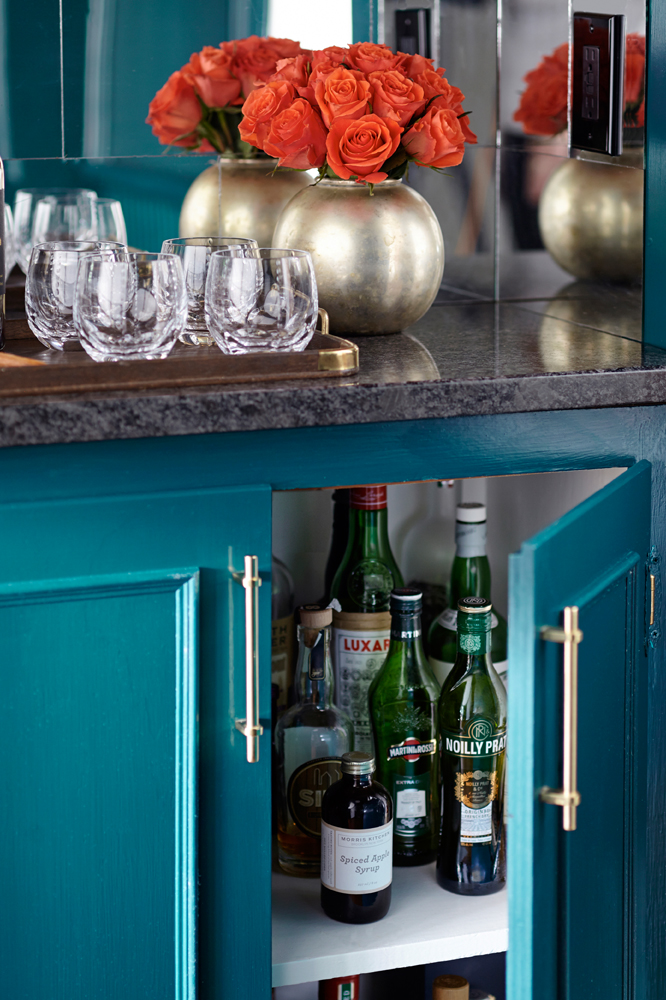
Rebuilt the upper cabinets using only the existing doors (which we think are original from the home’s first kitchen)
Trimmed out the lower cabinet doors
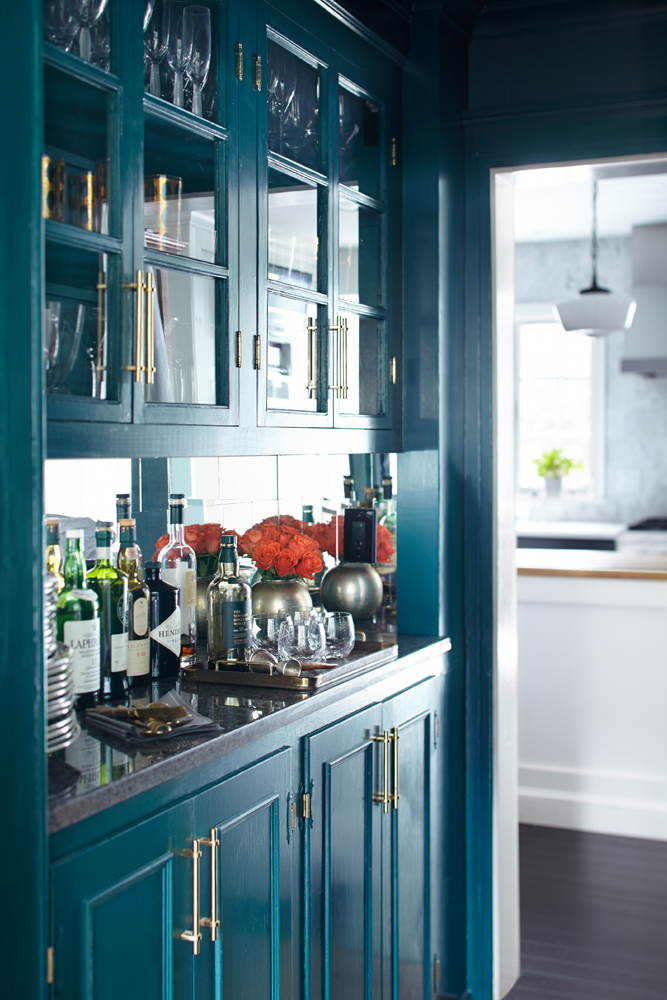
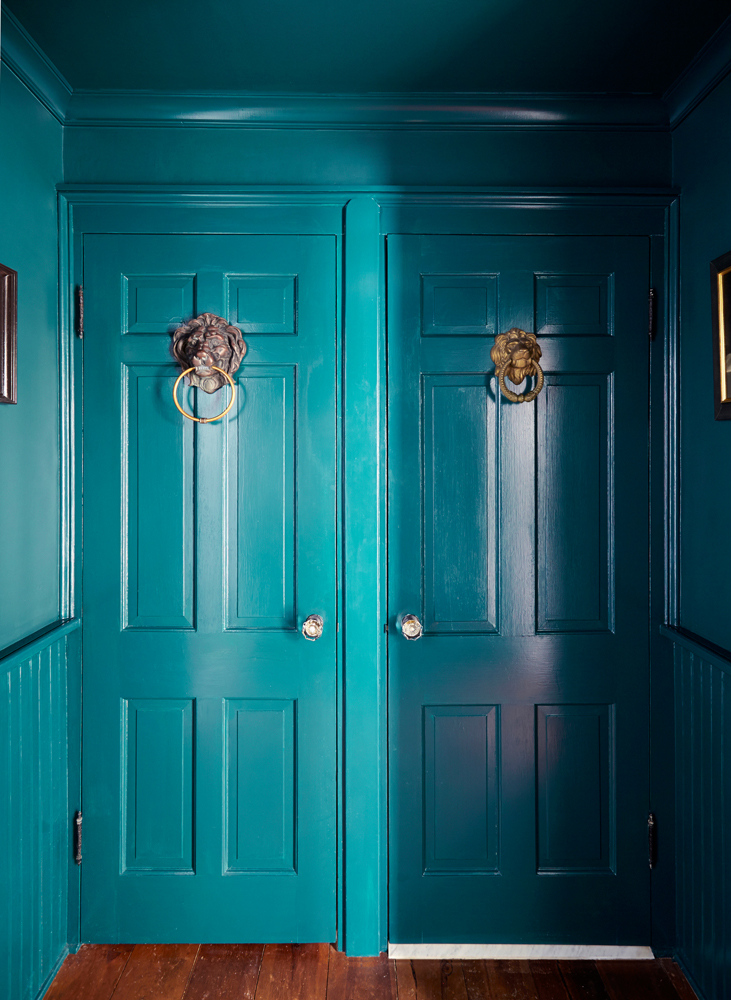
Painted the whole room a delicious prohibition-era-inspired dark teal
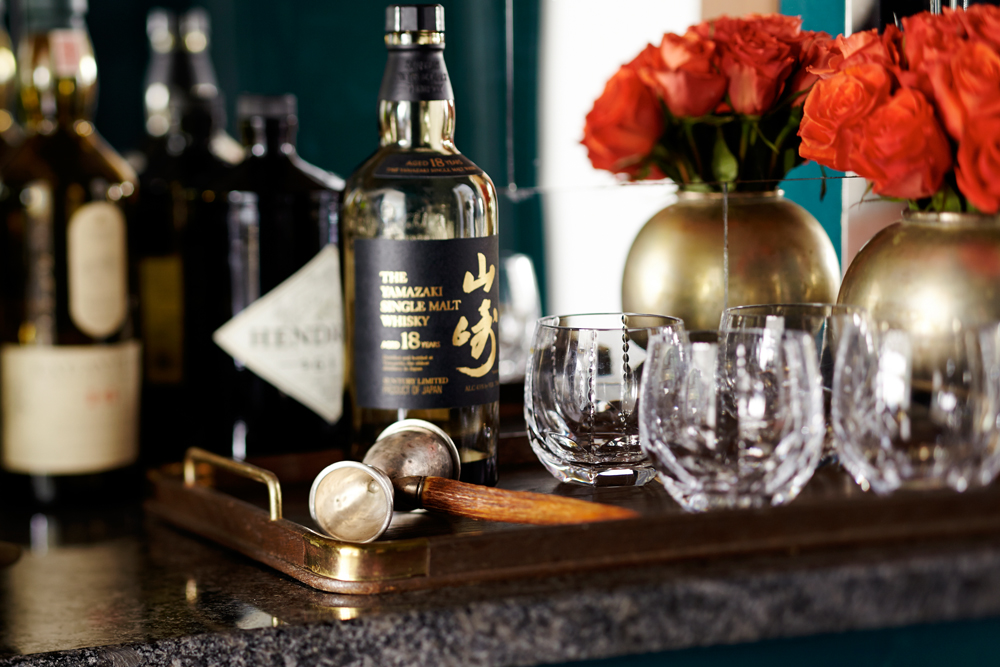
Replaced the painted wood counter with black granite
Tiled the backsplash with 6″x12″ (subway style) hand-cut mirror tiles
Installed art spotlights, under-cabinet lighting, interior-cabinet lighting, and electrical outlets
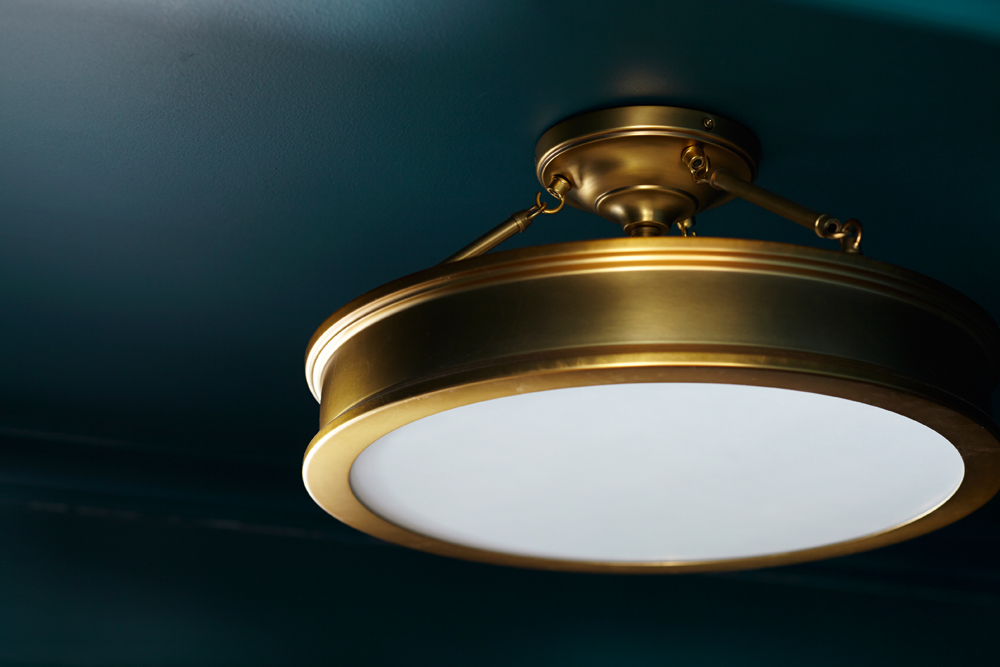
Hung a beautiful oversized, overhead, brass light fixture
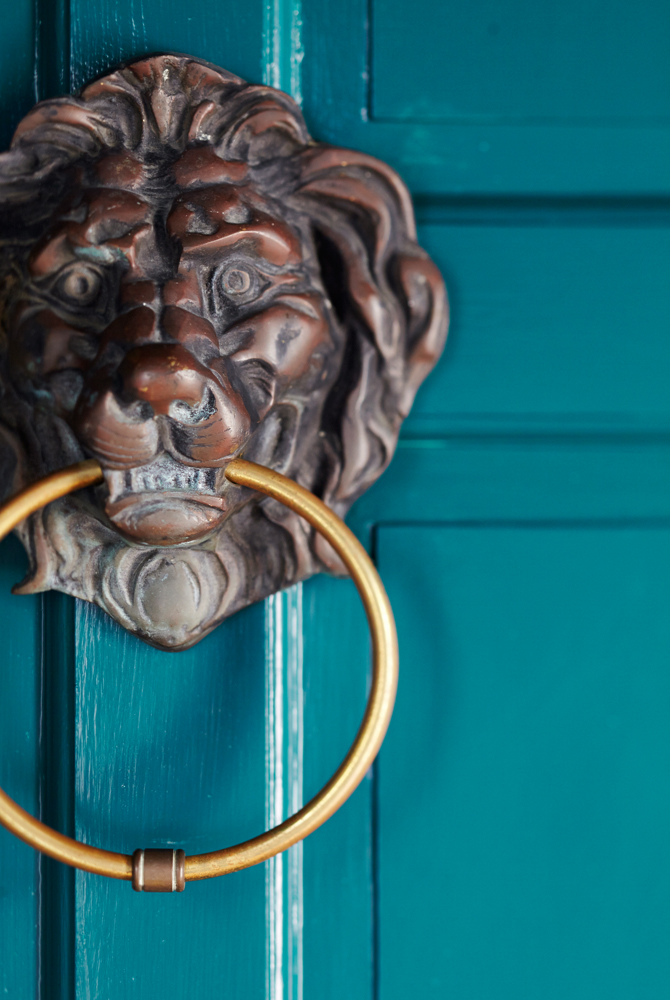
Hung lion-head door knockers for a bit of (Bowie’s) Labyrinth whimsy
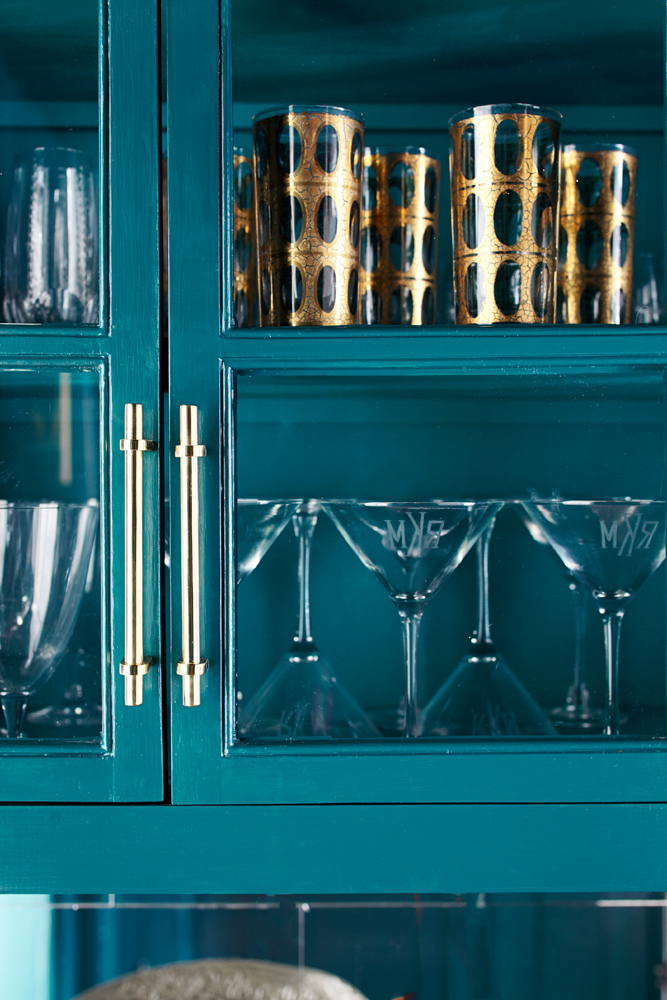
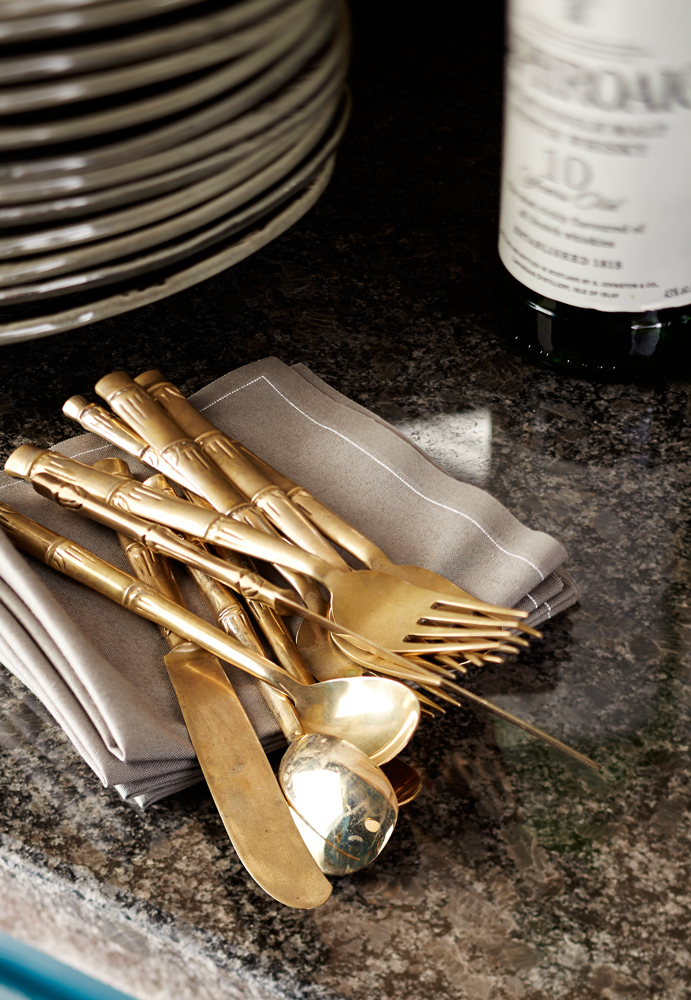
Installed sleek brass hardware
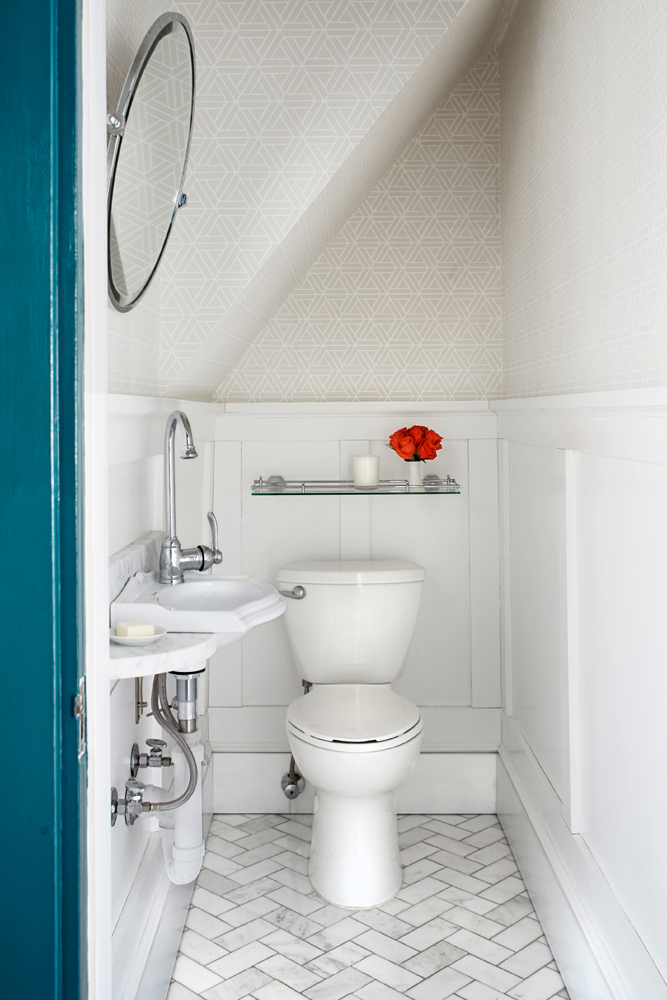
Steps for transforming the POWDER ROOM:
Removed toilet, sink and tile floor
Removed wallpaper and light fixture
Installed paneling on walls and repaired, primed and painted walls and trim
wallpapered above paneling
installed Julisk light
installed new miniature sink with custom-designed marble backsplash and counter
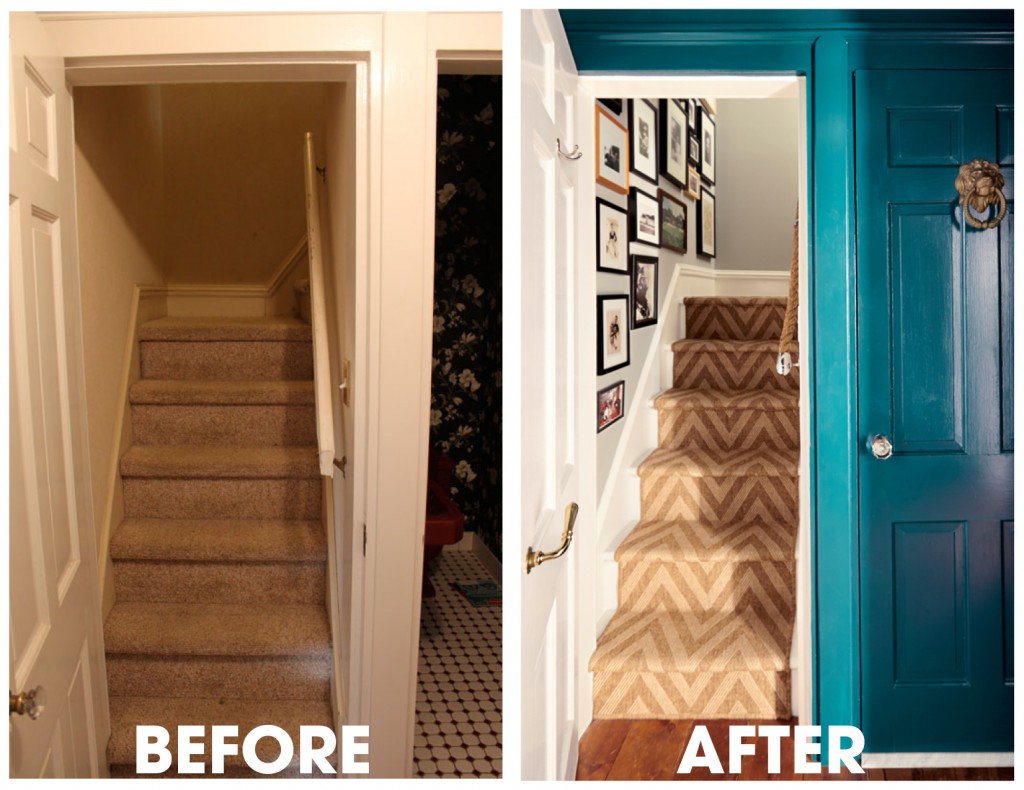
Steps for transforming the BACK STAIRWELL:
Stripped the carpet & wallpaper
Caulked and repaired walls, trim and floors
Primed and painted walls, ceiling and stairs
Cut and stapled floor runners to create continuous look
Framed and hung important historical family photos
BEFORES & AFTERS:
BUTLER’S PANTRY CLICKABLE RESOURCES:
Brass light fixture
Custom teal paint color: click to see image of scannable barcode for home depot BEHR color
Lion head door knockers are antique, but here are some similar ones
POWDER ROOM CLICKABLE RESOURCES:
Juliska light fixture
Miniature porcelain sink
Marble sink surround and backsplash custom designed by Meredith, cut by Atlas Stone
Marble sink surround and backsplash installed with love by Sebastian Martorana
Rose vase by his talented wife, Amanda Martorana
BACK STAIRS RESOURCES:
Chevron stair runners

