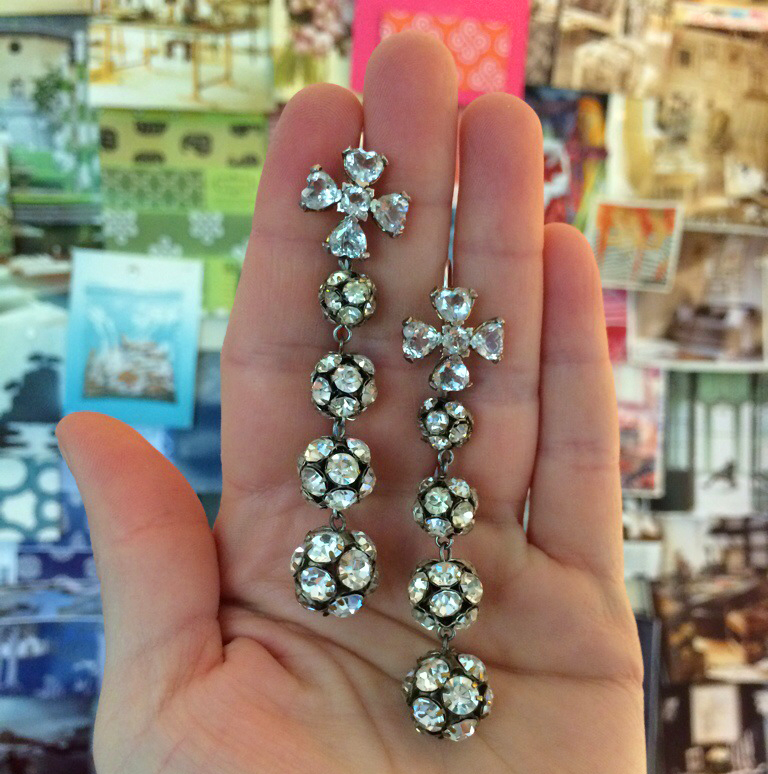
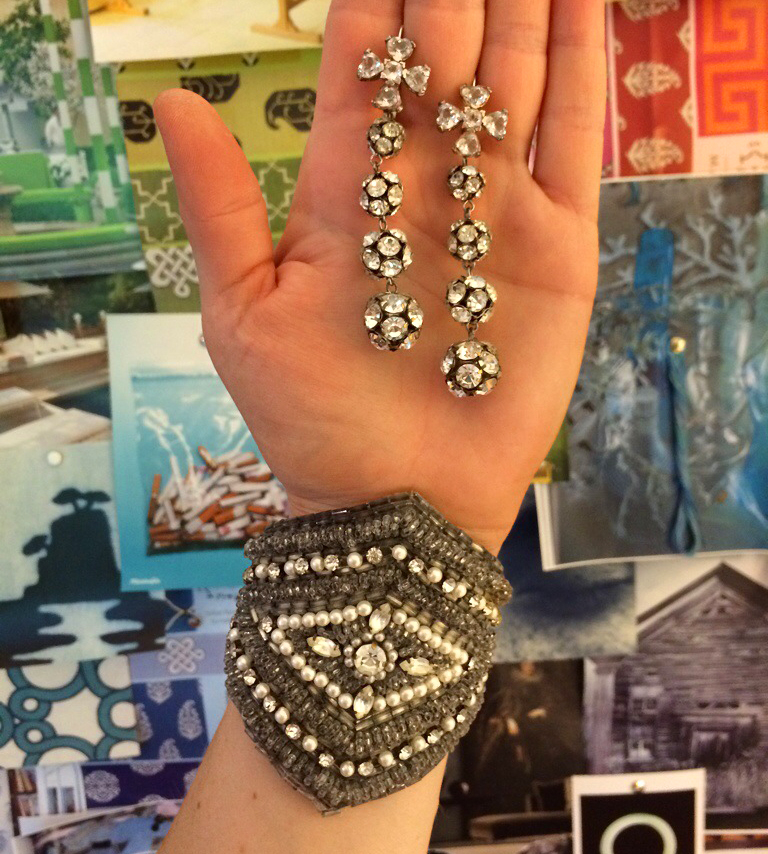
I rehabbed a few pairs of damaged vintage deco earrings today and made a cuff bracelet to match with a salvaged beaded appliqué from a beat-up vintage dress from Salvation Army.
Earrings: I removed both the clip-on backs and post backs from the 2 pairs of earrings, to start. With fine, but heavy weight fiber wire I strung the earrings together and fastened them to new, stainless steel (hypo-allergenic) earring hooks. Side story, my grandmother wore the long rhinestone-cluster ones—that look like lincoln center’s huge exterior chandeliers—to Nixon’s inaugural ball in the late 60’s. They are my absolute favorite but were both missing a bead at the top… and were clip-on.
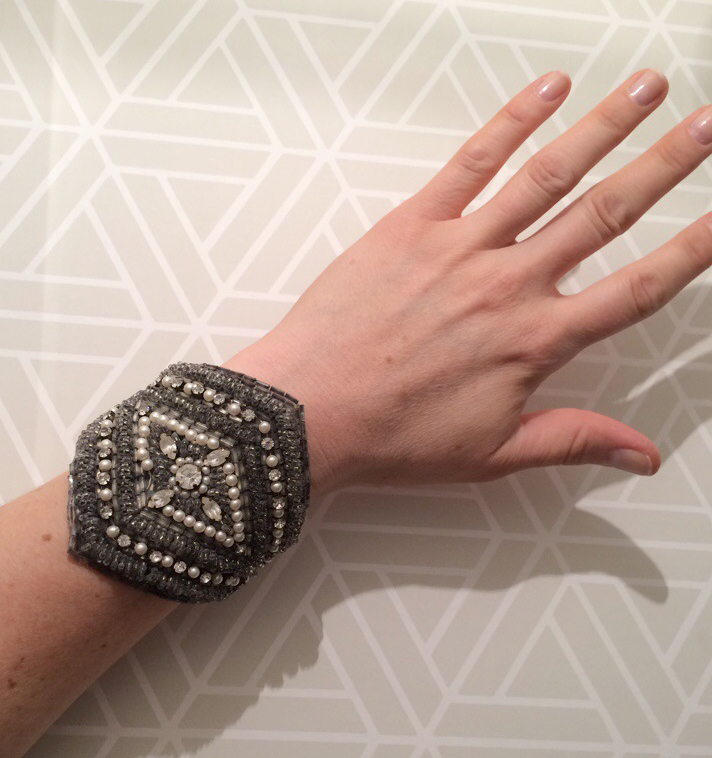 Here’s what I did to make the bracelet:
1. Using crazy glue I secured the beads around the edges and trimmed excess fabric and thread.
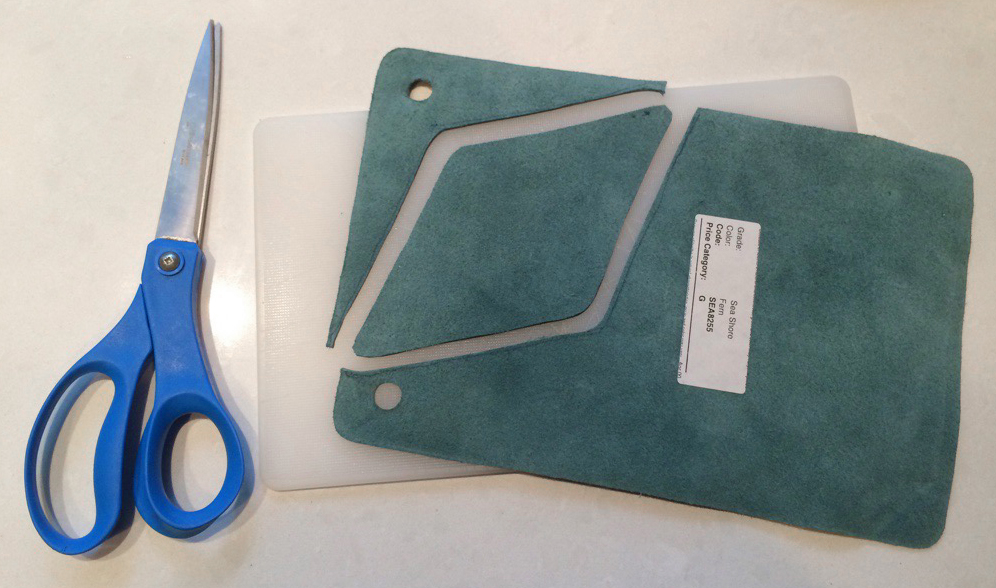
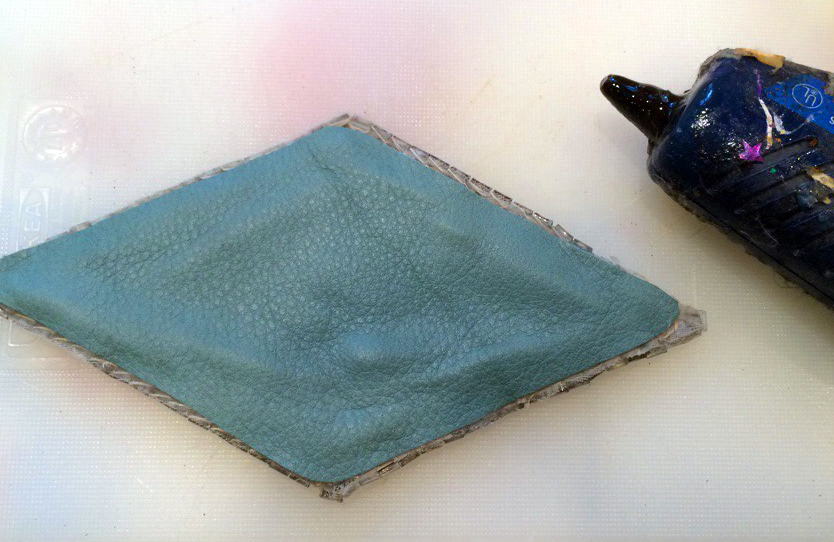
2. I traced the appliqué onto the back of a leather sample (I used turquoise for a pop of color) and cut the leather smaller by an eighth of an inch all the way around so that it would not show from the other side once bent into shape.
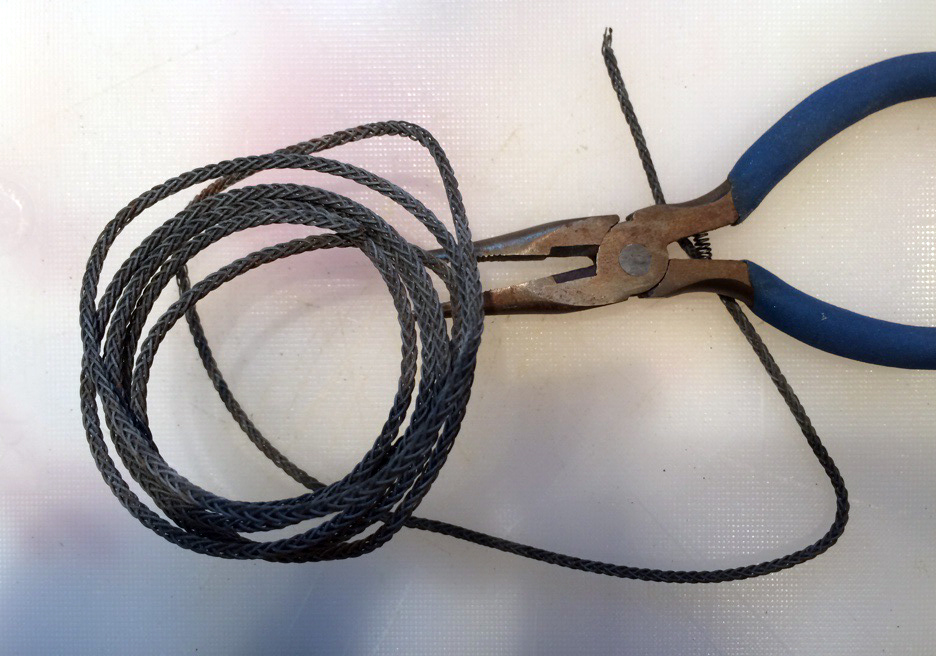
3. Using thick, heavy-duty woven art-hanging wire and a pair of wire cutters, I ran a spiral around the leather piece—with about a half-inch setback from the edges—and secured it in place with hot glue. (sorry, forgot to shoot his part!)
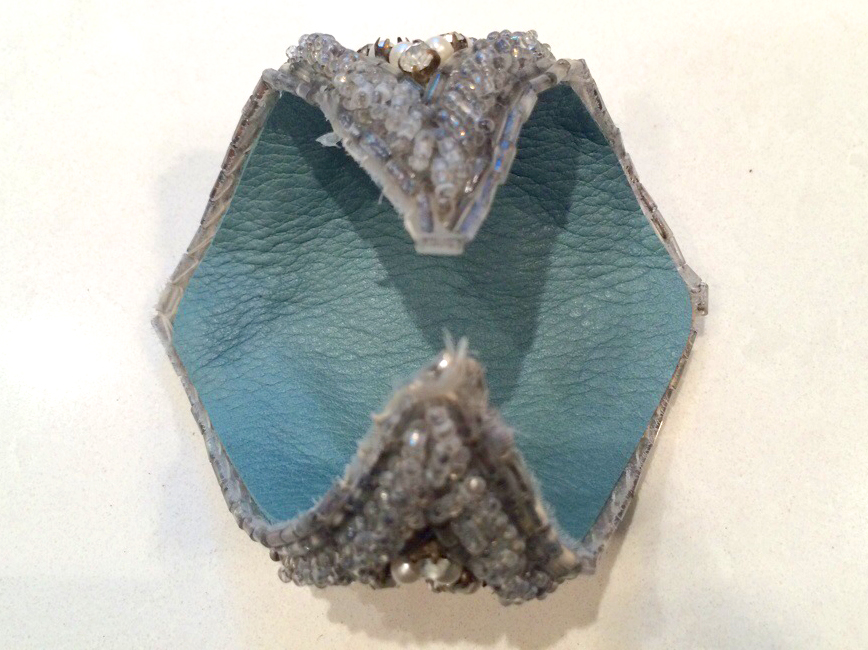
4. Once the wire was set in place on the leather, I ran a bead of hot glue around the outside edge of leather piece and several more lines along the center and then adhered it to the back of my beaded appliqué. I pressed firmly on both sides to secure them together.
5. Once glue had cooled and set completely, I bent the piece to form a cuff and fit it around my wrist an adjusted as necessary.


Meredith…I love this post. So very clever and the final final is so beautiful. With the little hidden side story, even more unique. Love your DIY projects