Swiss Miss

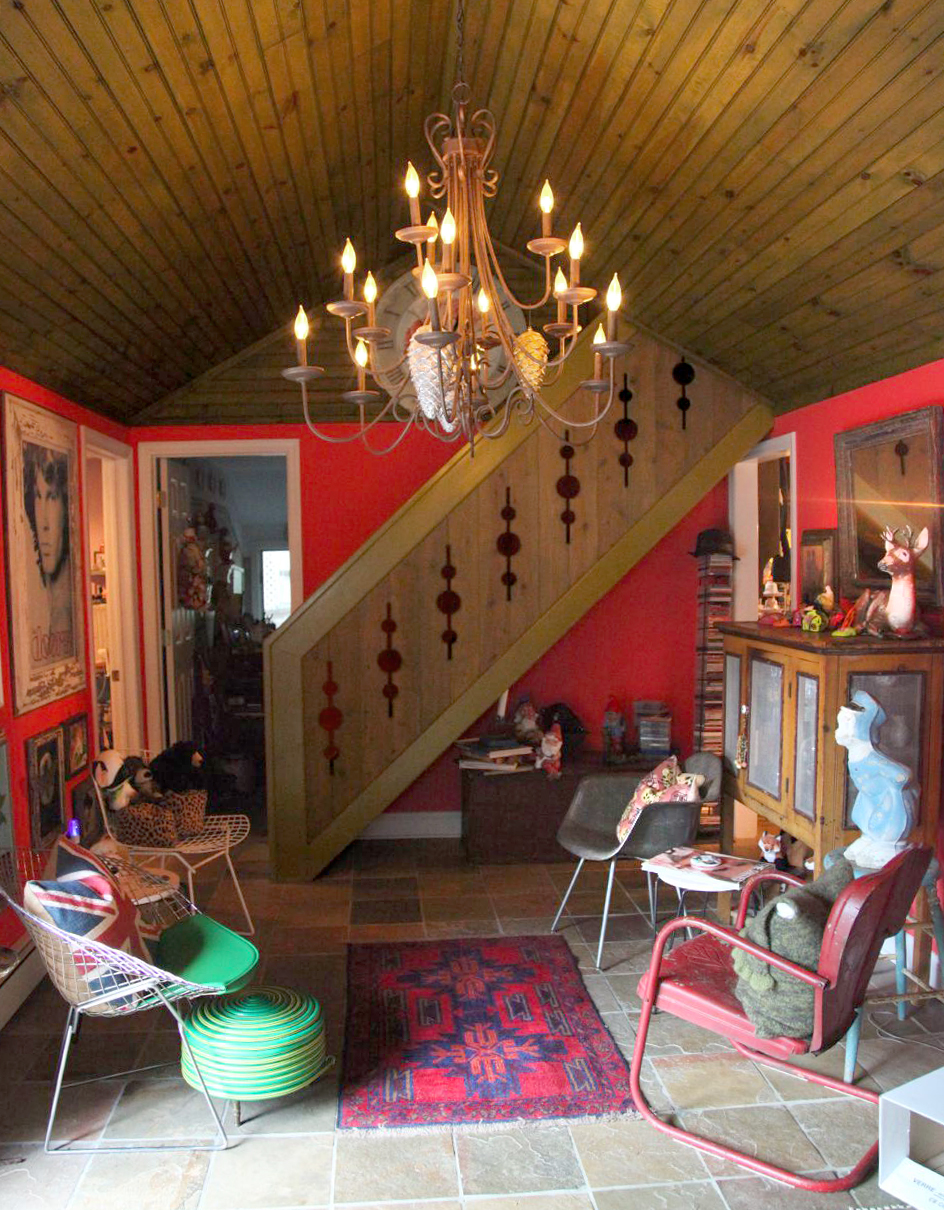
The living room with a narrow stairwell up to a small studio and DOLL ROOM!

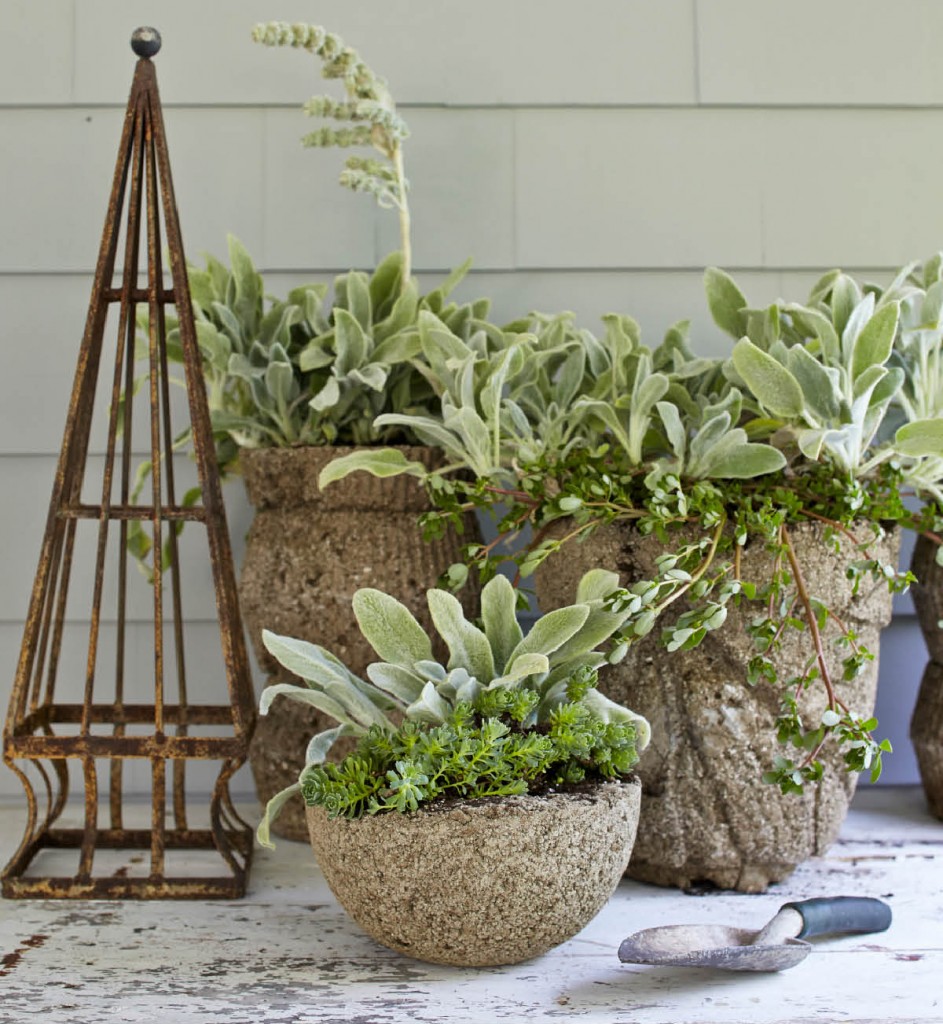
Welcome to the home of Jorge & Katie Lengyel. You met them last Fall in my post about DIY Hypertufa Potting Containers (which would be a great project to do this weekend for your new plantings.) Jorge is an Argentinean gentleman and artist, Katie is Dutch with a passion for crafting, collecting, and anything Anglophile. Together they have built a petit chalet that is multi-cultural, very-colorful and eccentric beyond belief.

The home is situated on a shaded property that slopes towards sparkling Lake Mohawk in the beautiful and über-Swiss village of Sparta, NJ. Between Katie’s collections, Jorge’s ingenuity, and both of their vivid imaginations, they’ve built themselves a really unique and fantastical abode worthy only of fairytales and fables. I think you’ll agree that this feast for the eyes is like nothing you’ve ever seen in real life!
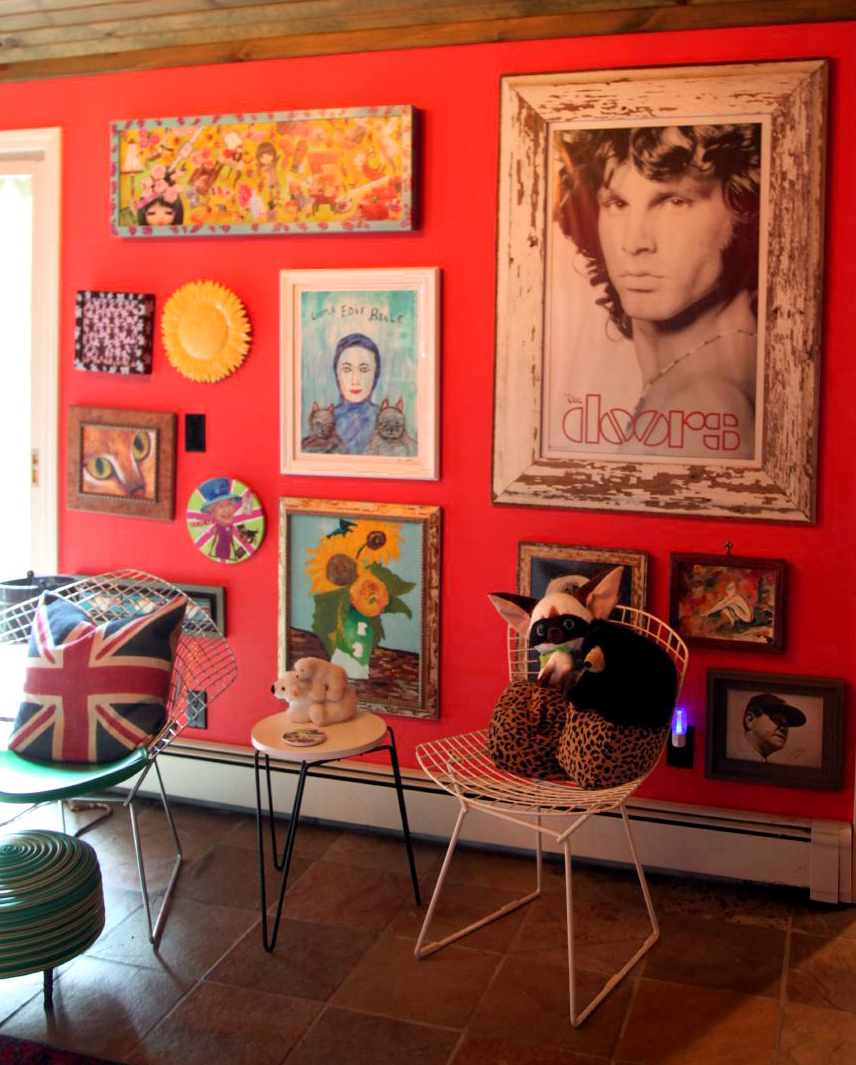
Wall of eclectic finds and projects including poster of Katie’s coveted Jim Morrison

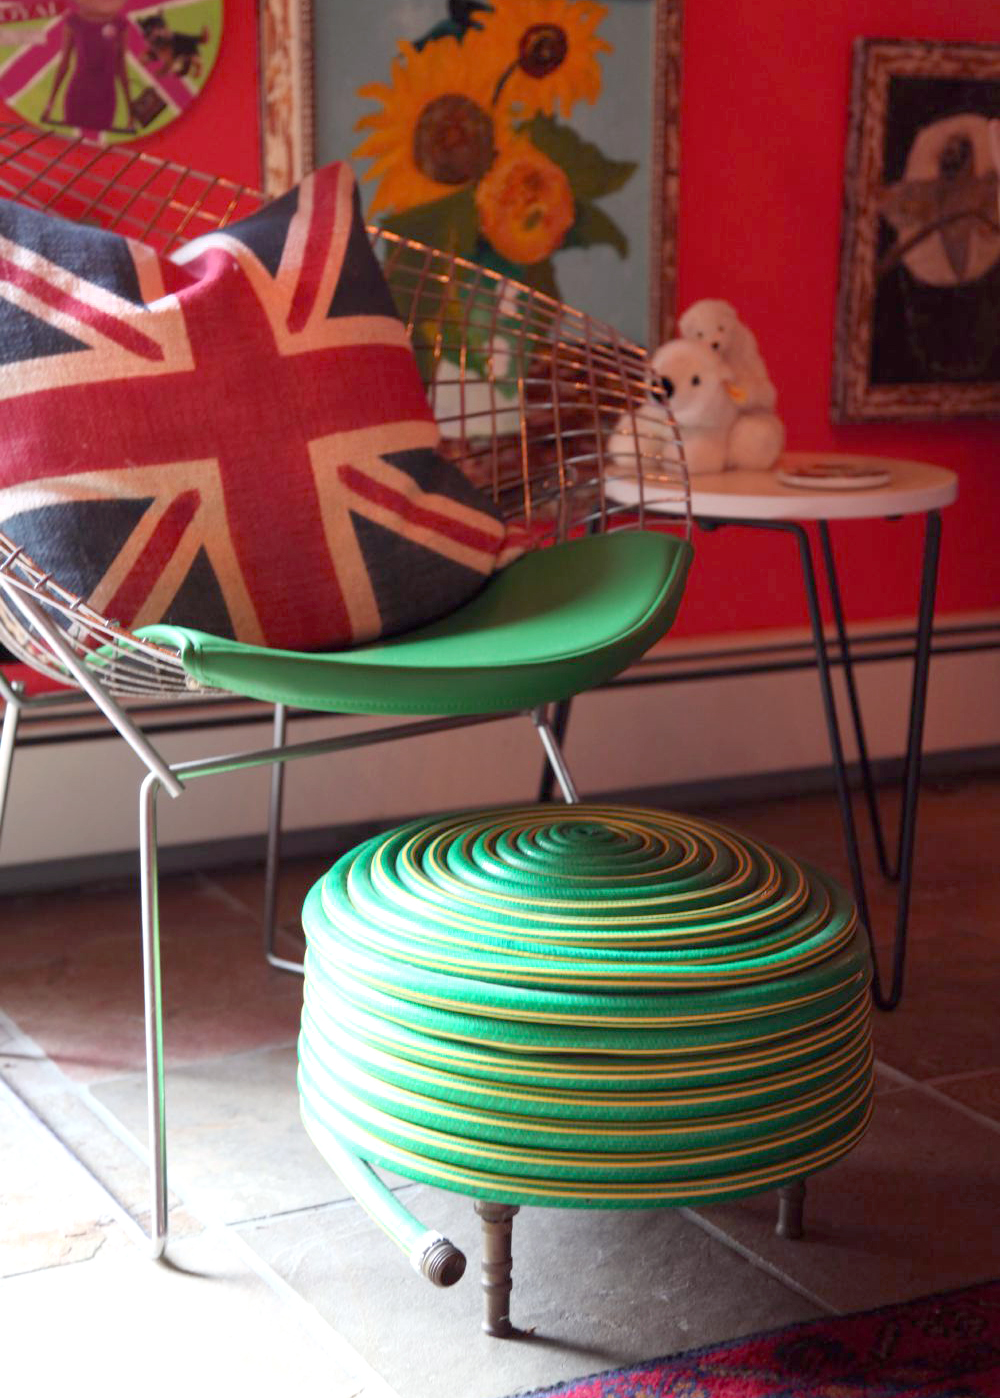
Katie made this fabulous little ottoman. She used nozzles for legs as well. Such a fun piece.

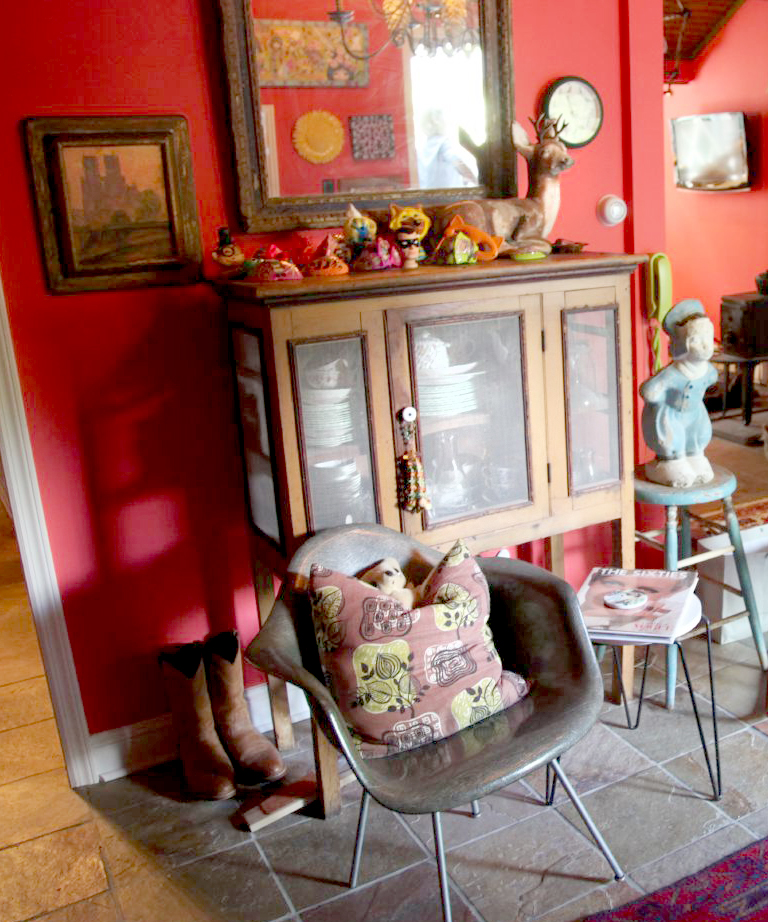
Pie chest filled with china and adorned with kitsch galore

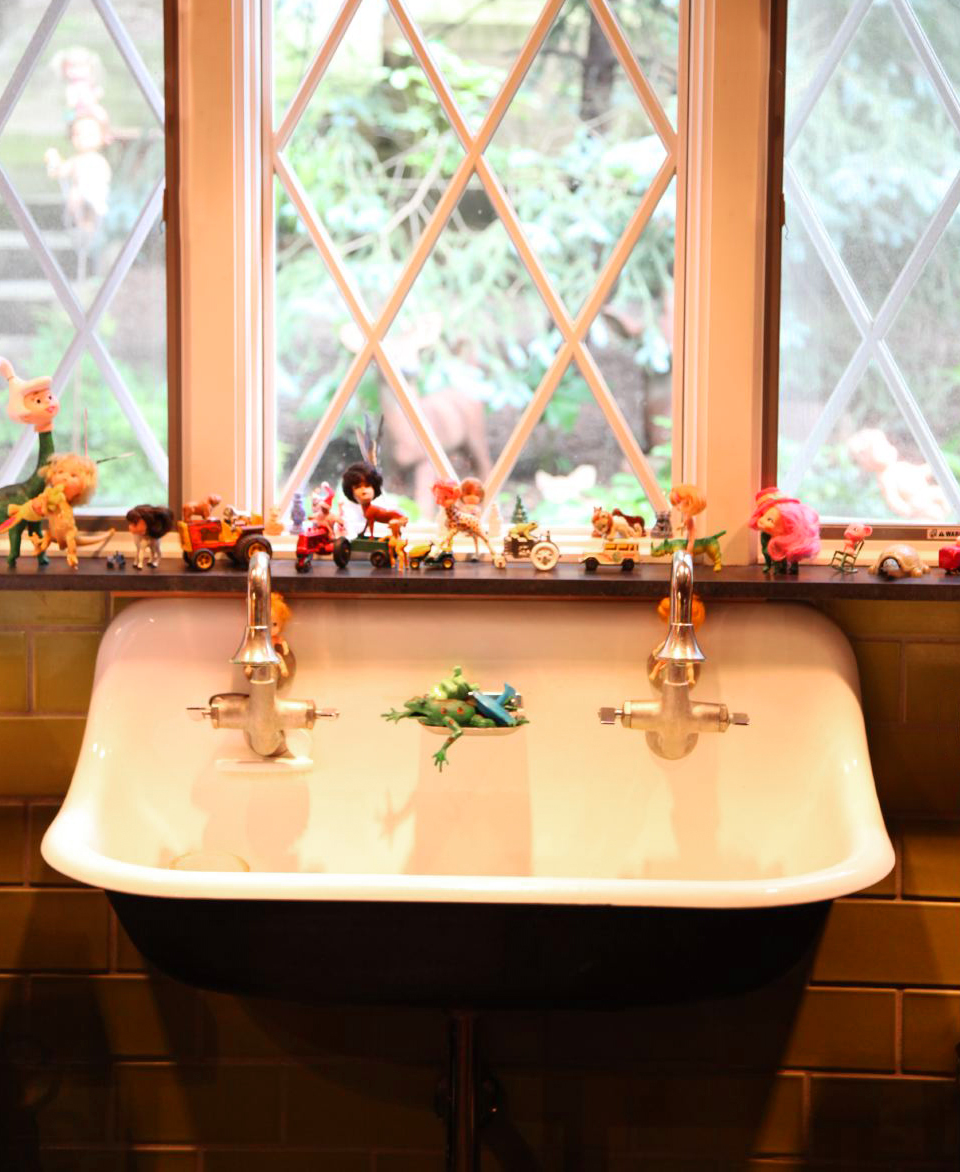
This is my favorite vignette in the house. Big porcelain basin in the kitchen with 2 faucets looks out onto their front porch and natural landscaping. The sill is covered in colorful toys, some as-is, some Katie’s hybrid sculptures.
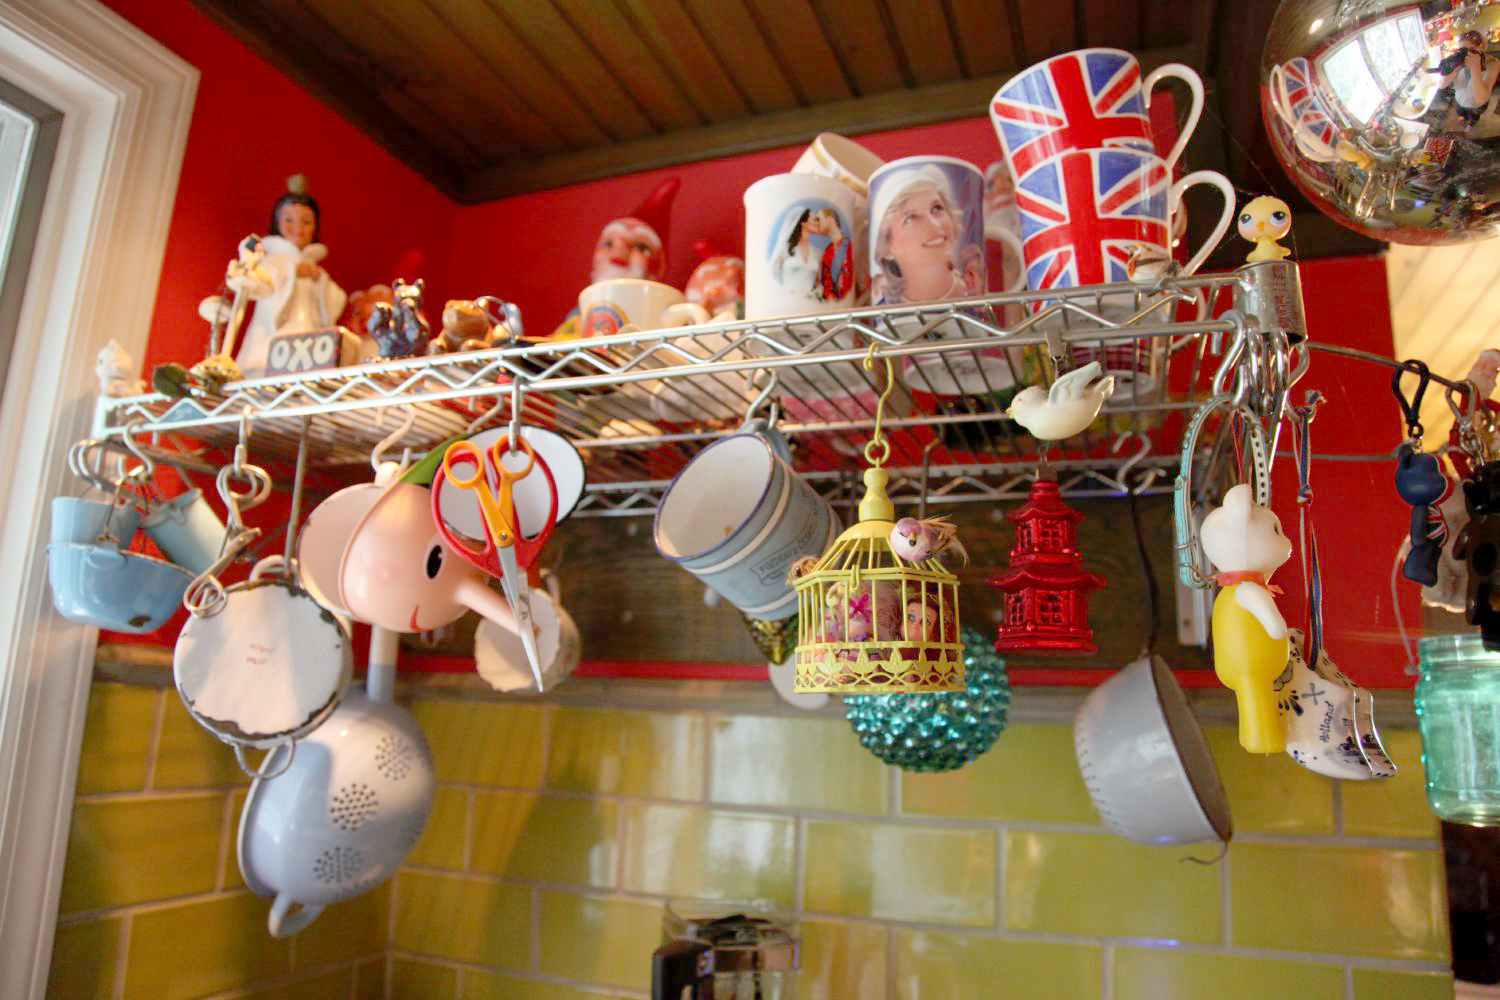
 

To the left and right of the sink are these great and simple industrial racks that hold their drying dishes and everyday needs… and some kitsch of course
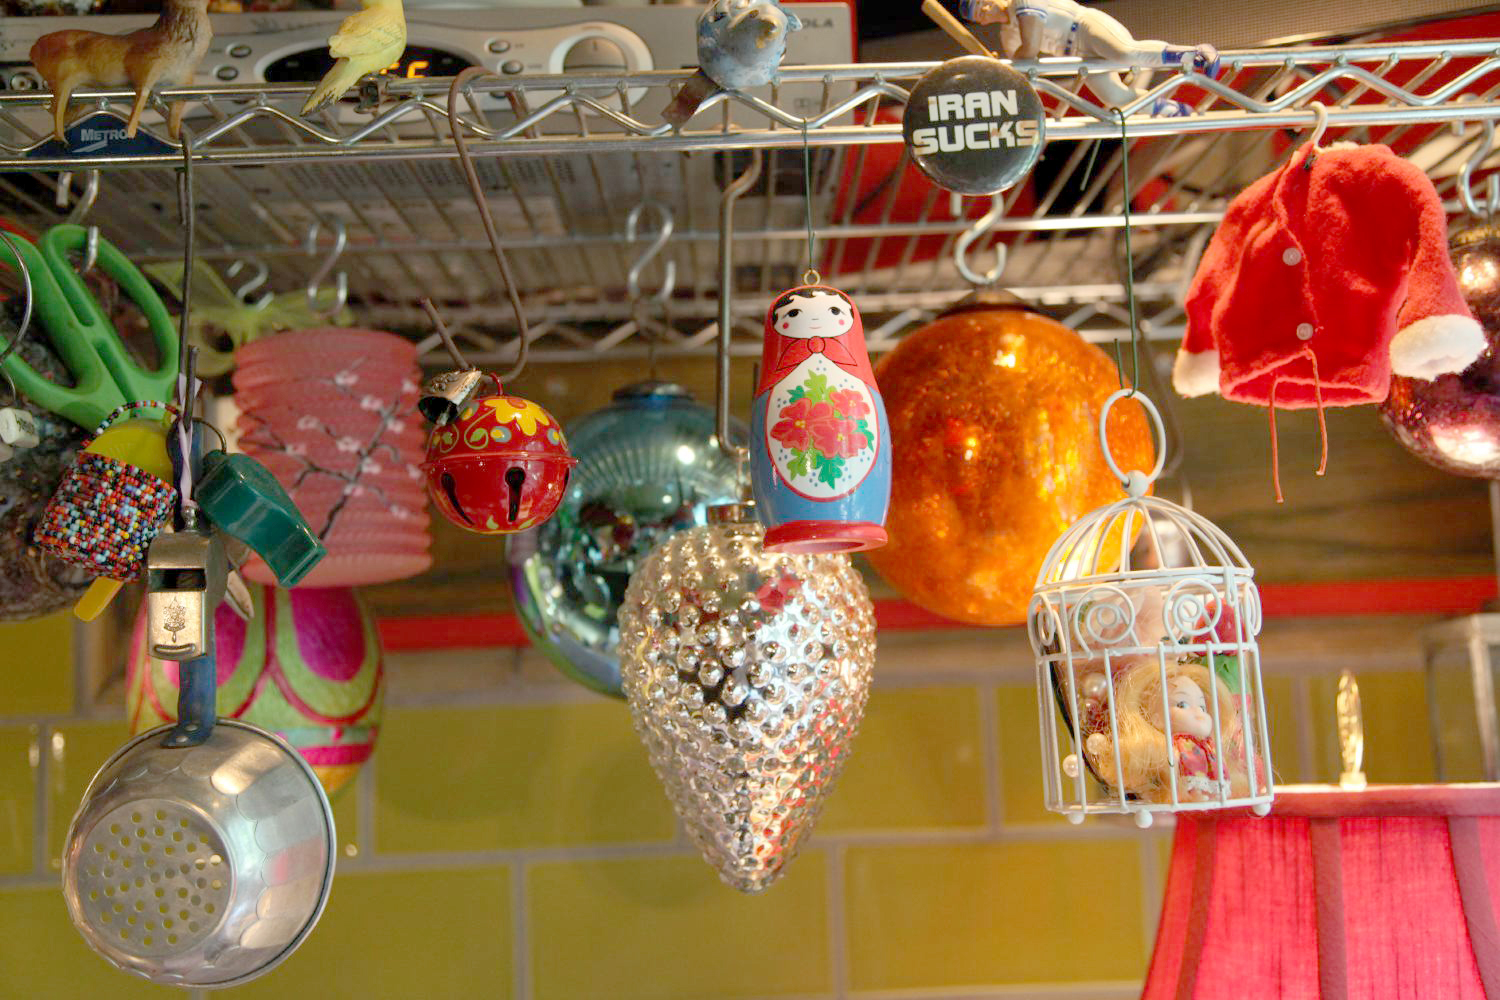
To the left and right of the sink are these great and simple industrial racks that hold their drying dishes and everyday needs… and some kitsch of course.
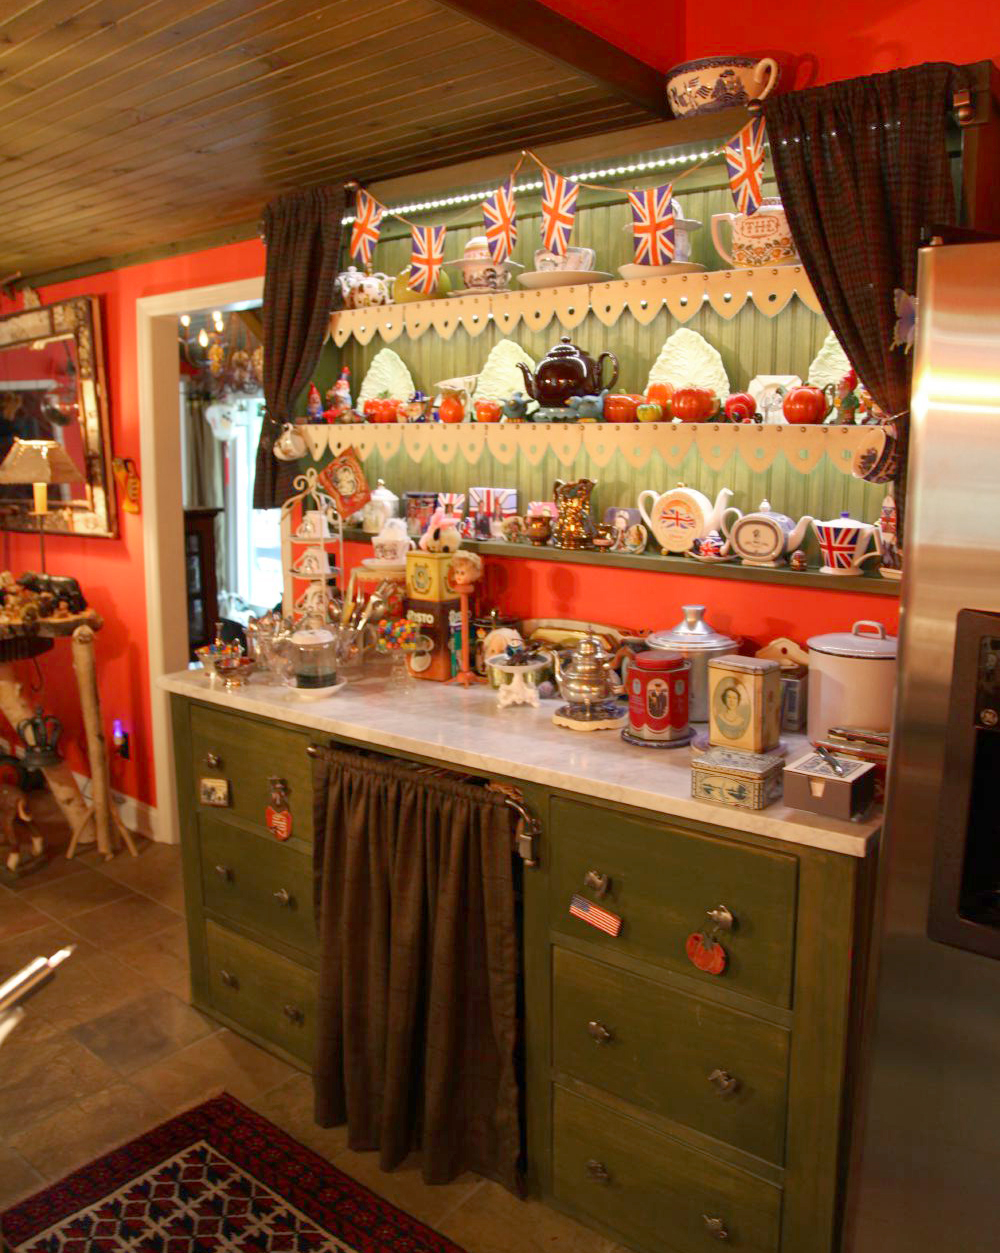
This kitchen cabinetry serves as both storage and a buffet for the dining room. Katie and Jorge cut thick felt trim for each shelf and attached it with decorative nail heads. This is one of the spots Katie displays her British wares
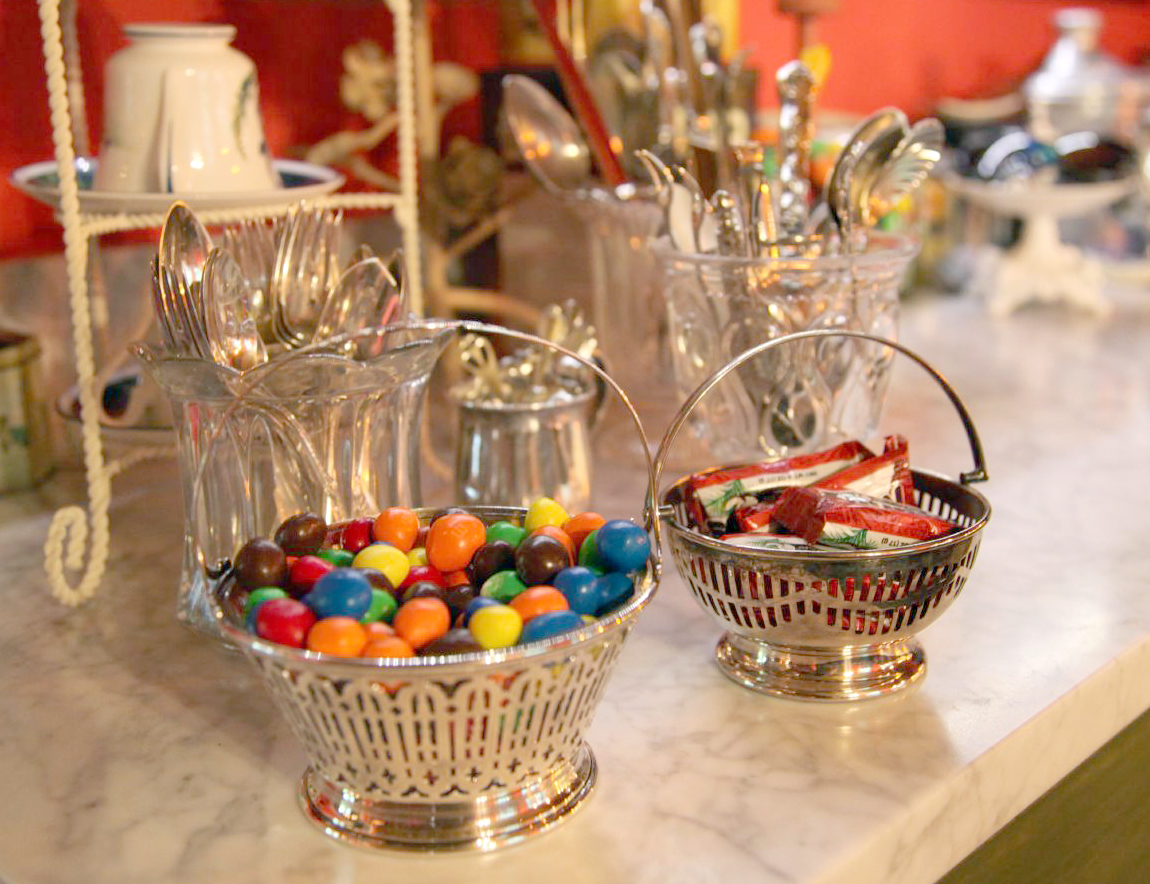
The silver is always polished and in use on the Anglo’d-out buffet in the dining room

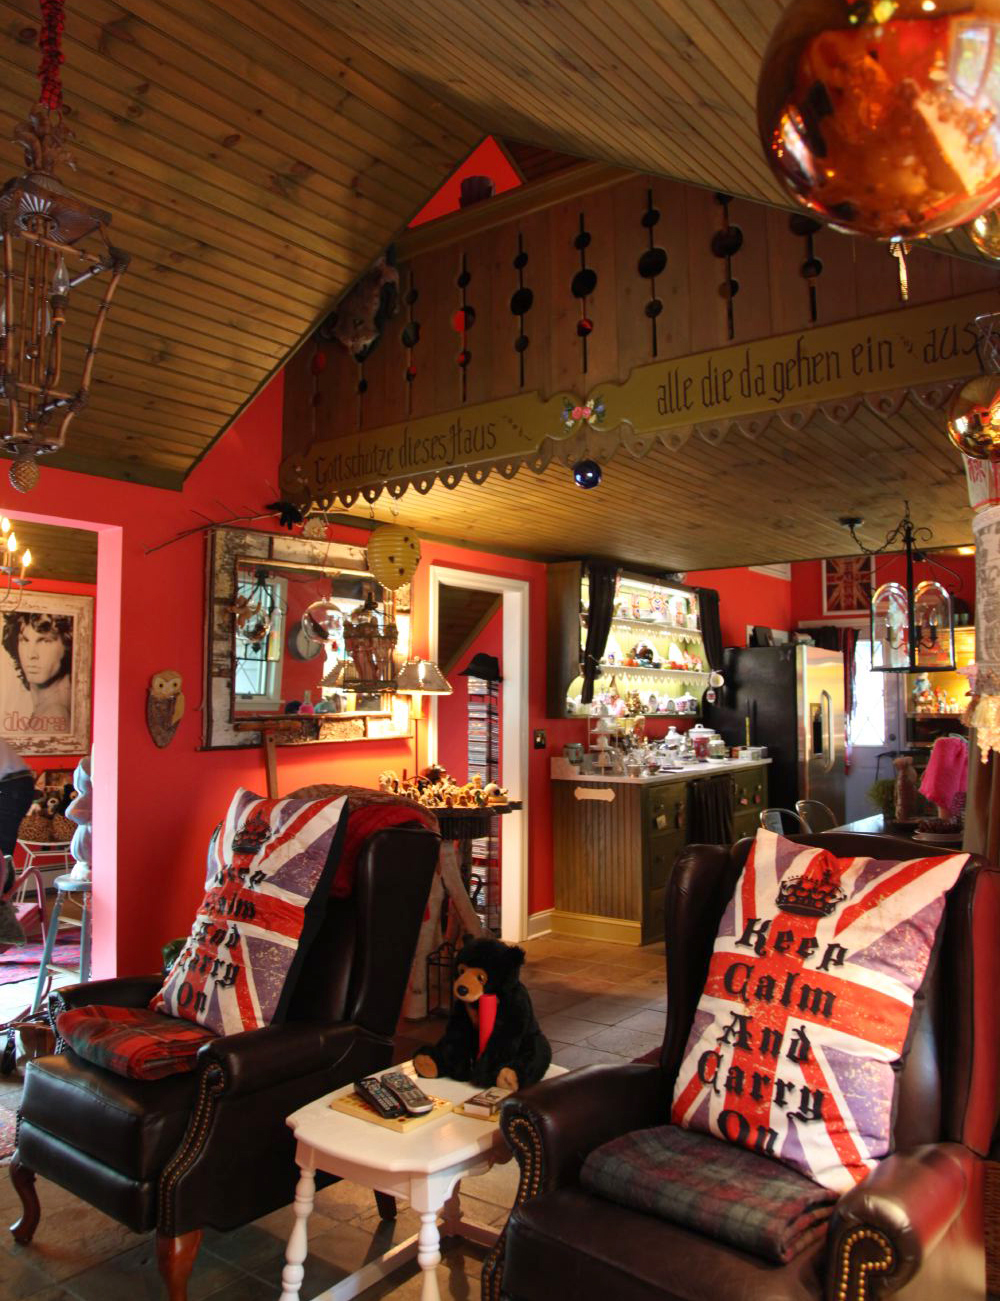
A view from the den into the dining room and kitchen beyond. Two leather chairs in foreground face a cast iron potbelly stove and a TV. Very cozy spot on a cool night.
One of Katie & Jorge’s siamese cats, Hunter

Love this cage aux folles. Not something you see every day.


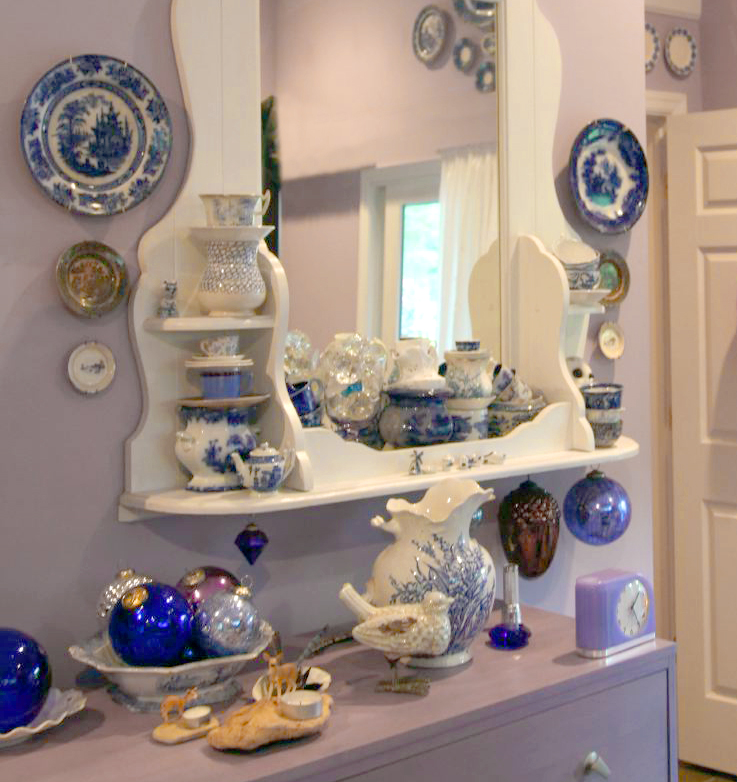
A quick peak into the bedroom. As you can see, this is where the blue & white china lives.

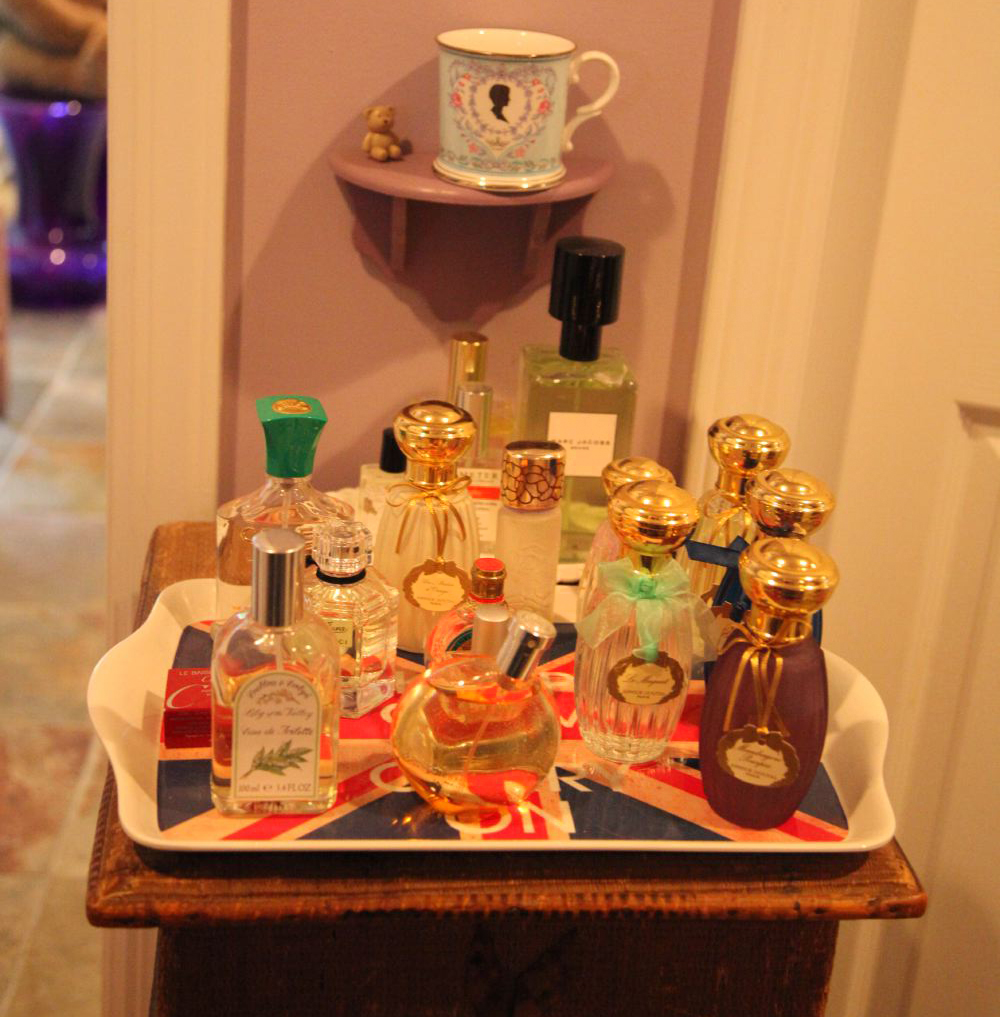
I even love her abundant perfume station (I too am a huge user of French perfumer Annick Goutal)… with a few nods to the motherland of course.
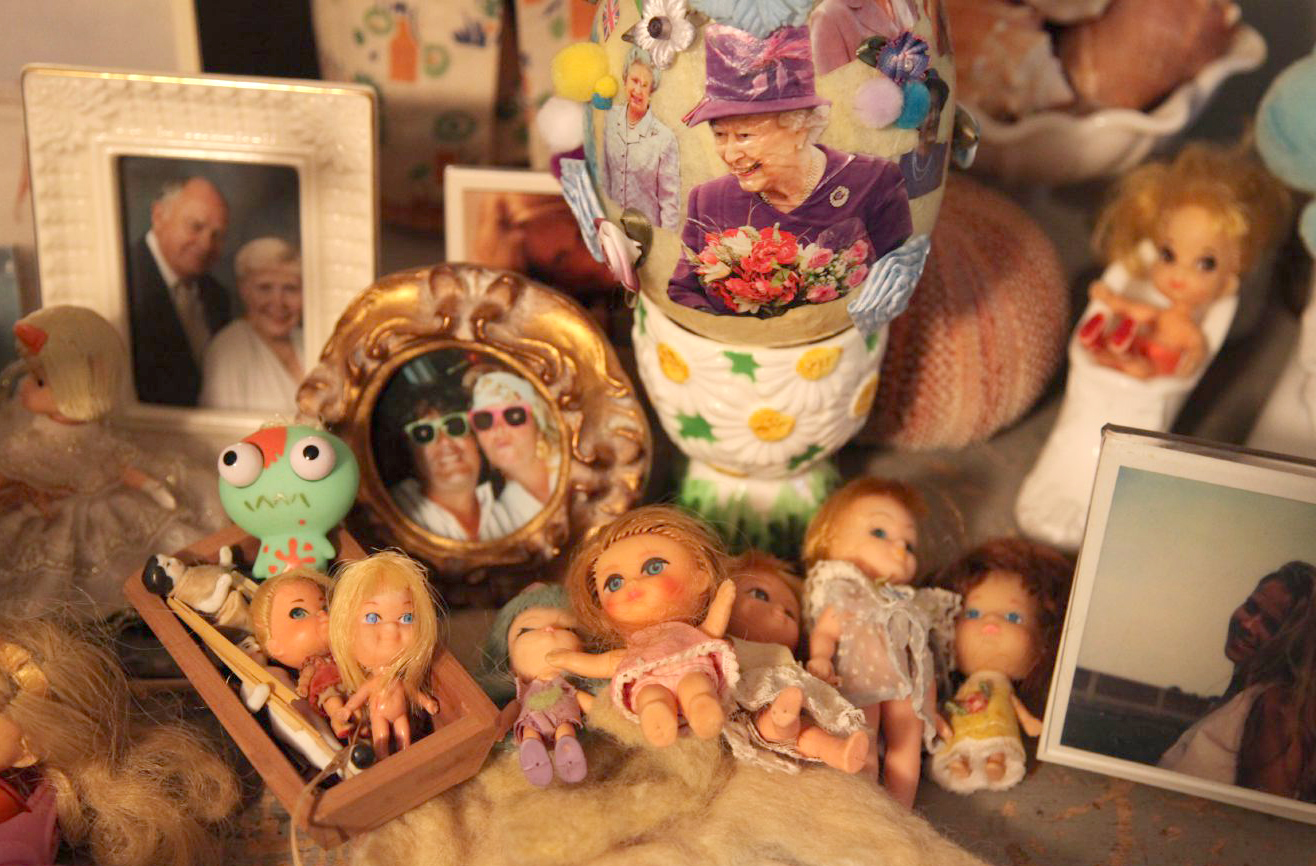
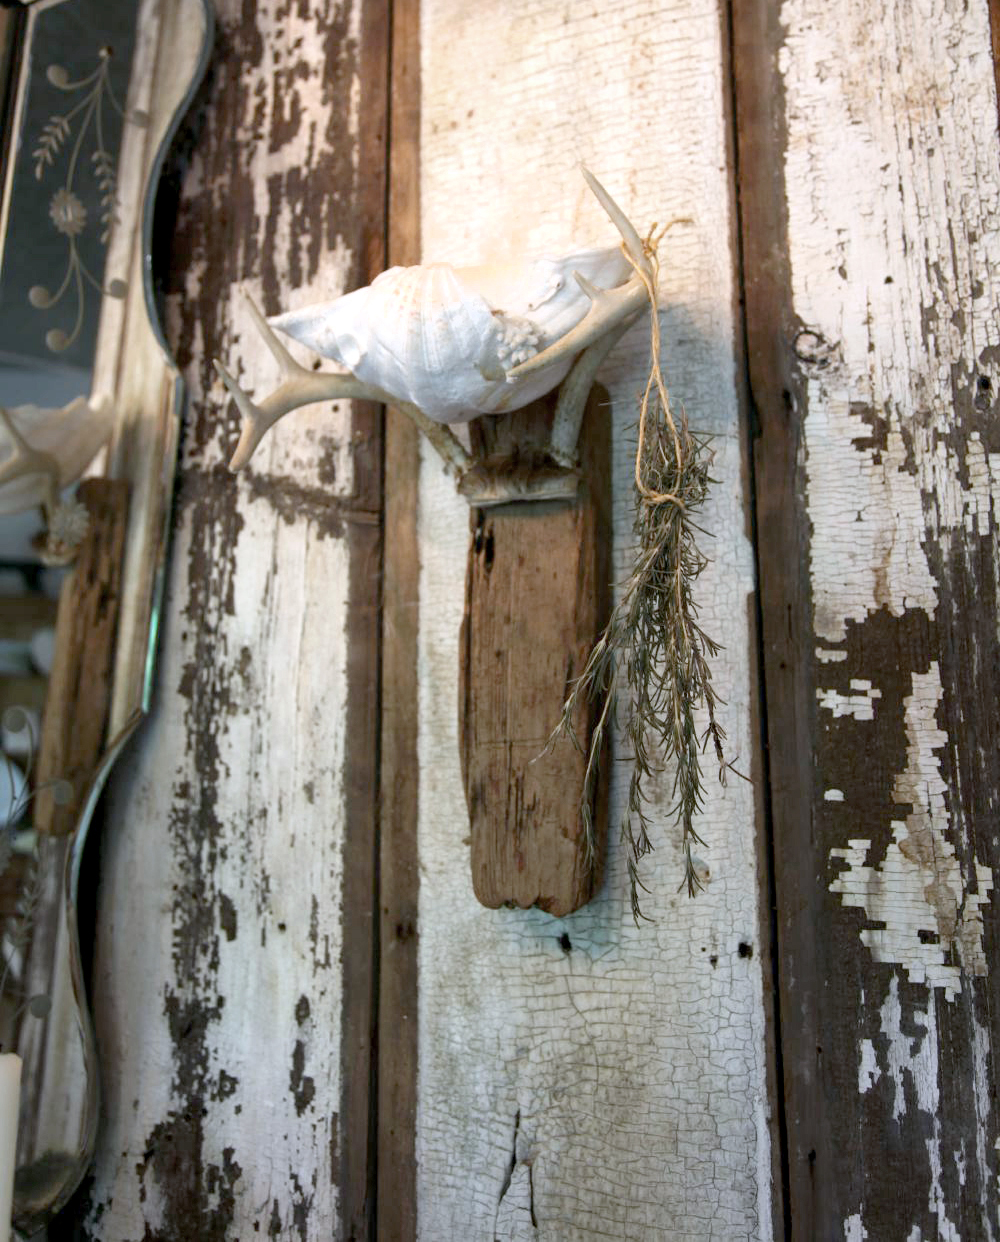
There is too much going on in Katie’s office (behind the living room stairs) to really show you in one photo, but here’s a little detail of the mix of things either waiting to be worked into one of her sculptures or just hanging around to keep her company while she works.
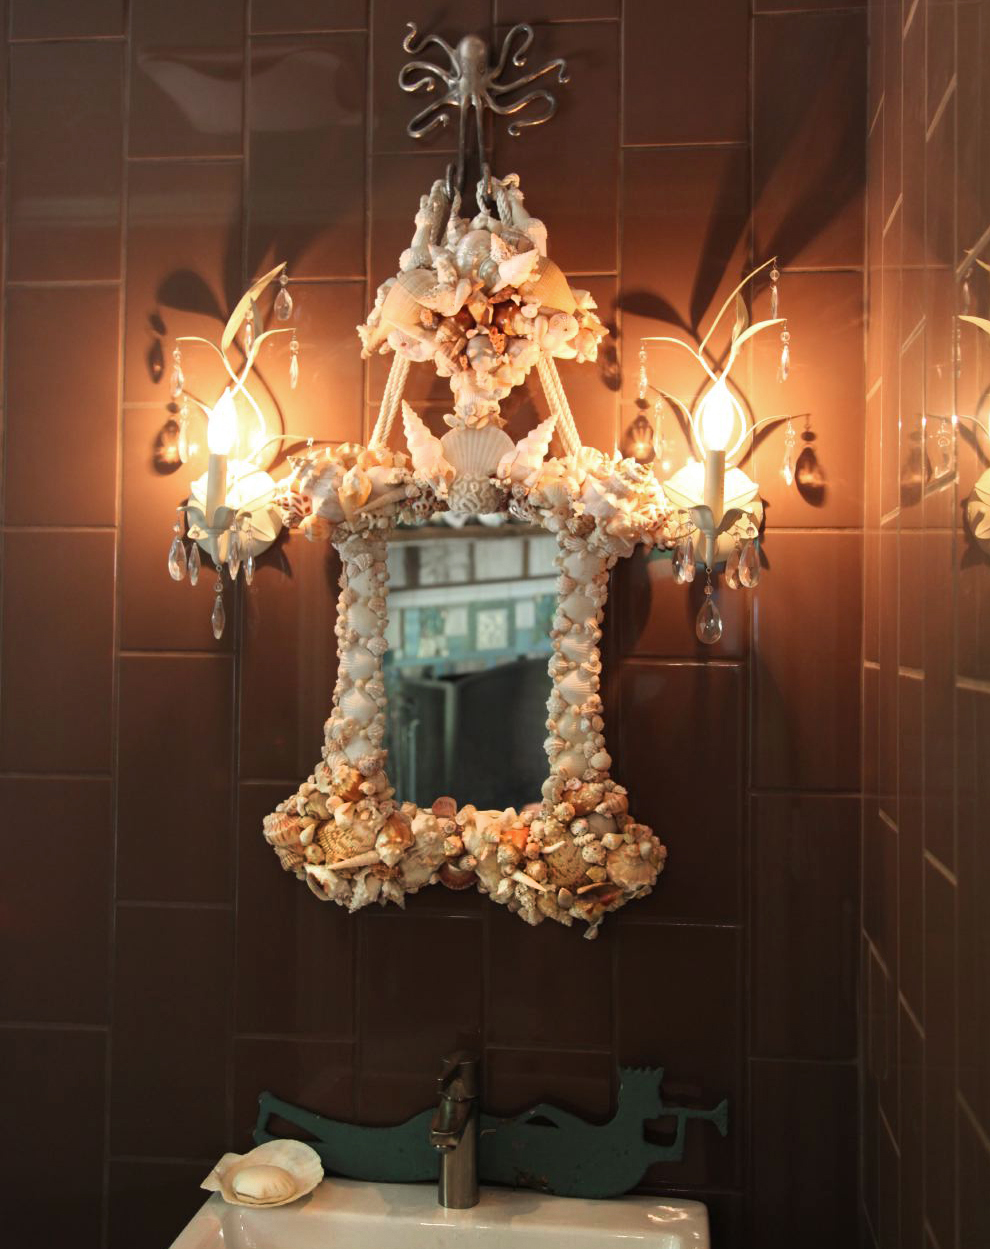
The powder room is incredible! The glossy, rich brown tiled walls reflect the gentle light that comes off the shell piece—that the couple made—for a really dramatic look.
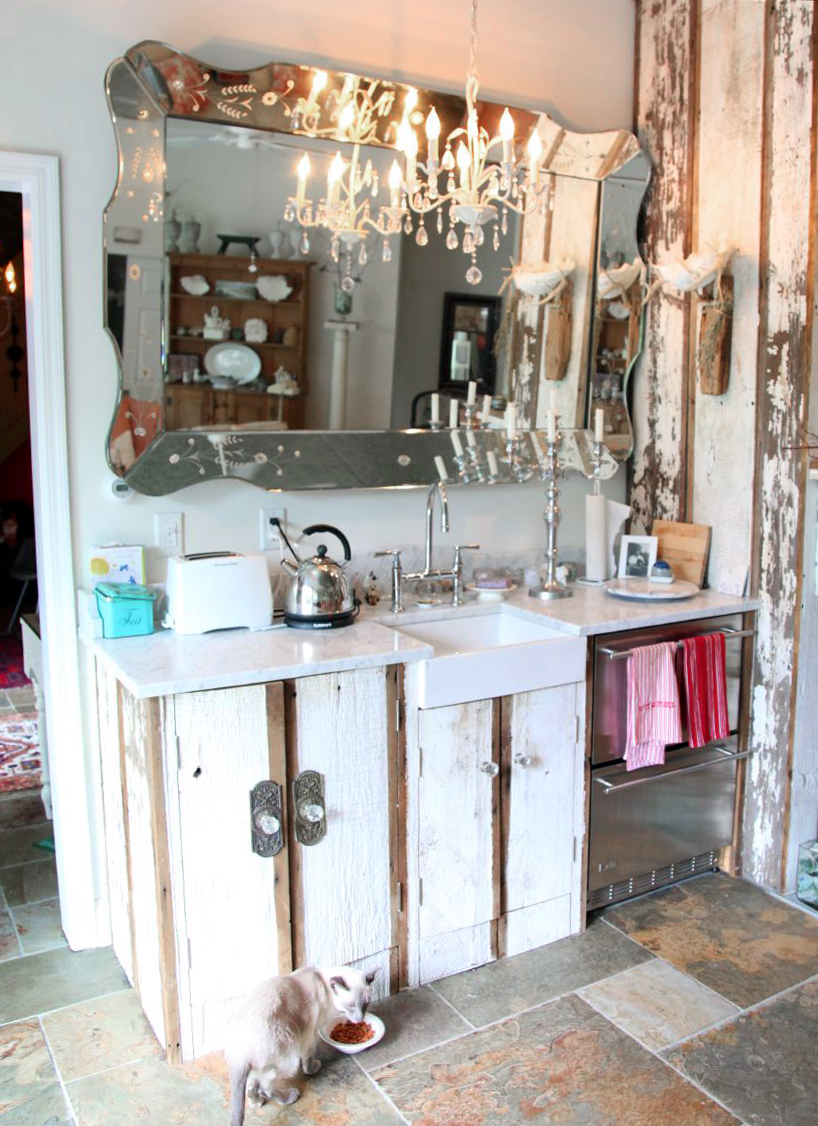
The deluxe wet bar in their family room. Loads of lights spills in from the wall of doors that exit to the back porch.
A delicious little detail from above the wet bar

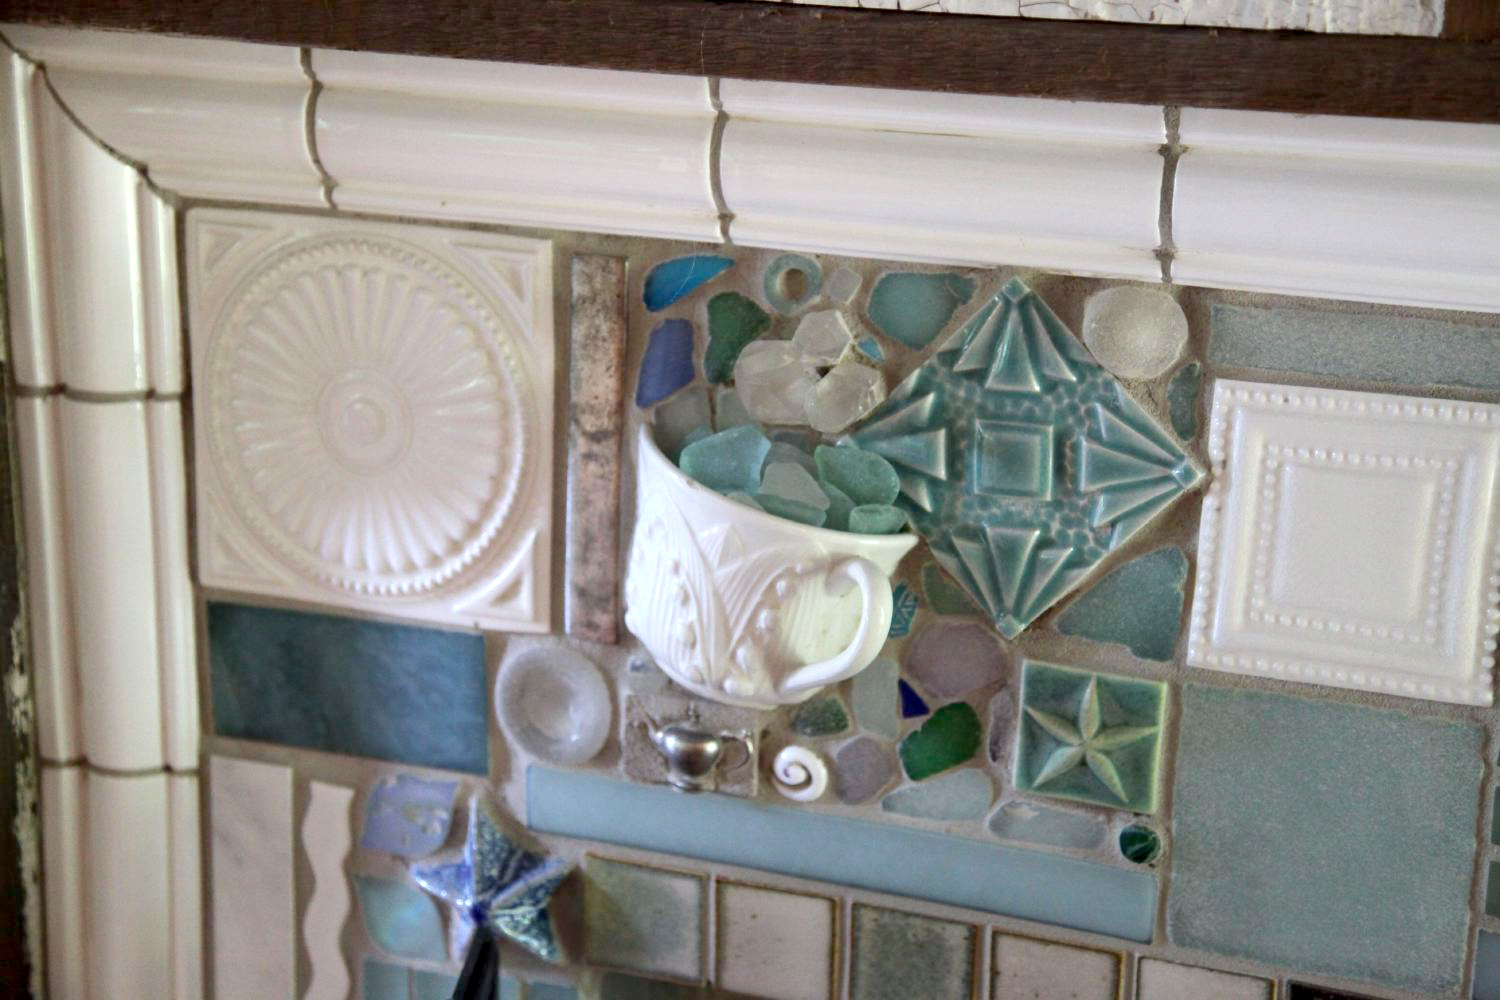
A detail of the ornately mosaic’d fireplace that Jorge made for Katie in their family room.

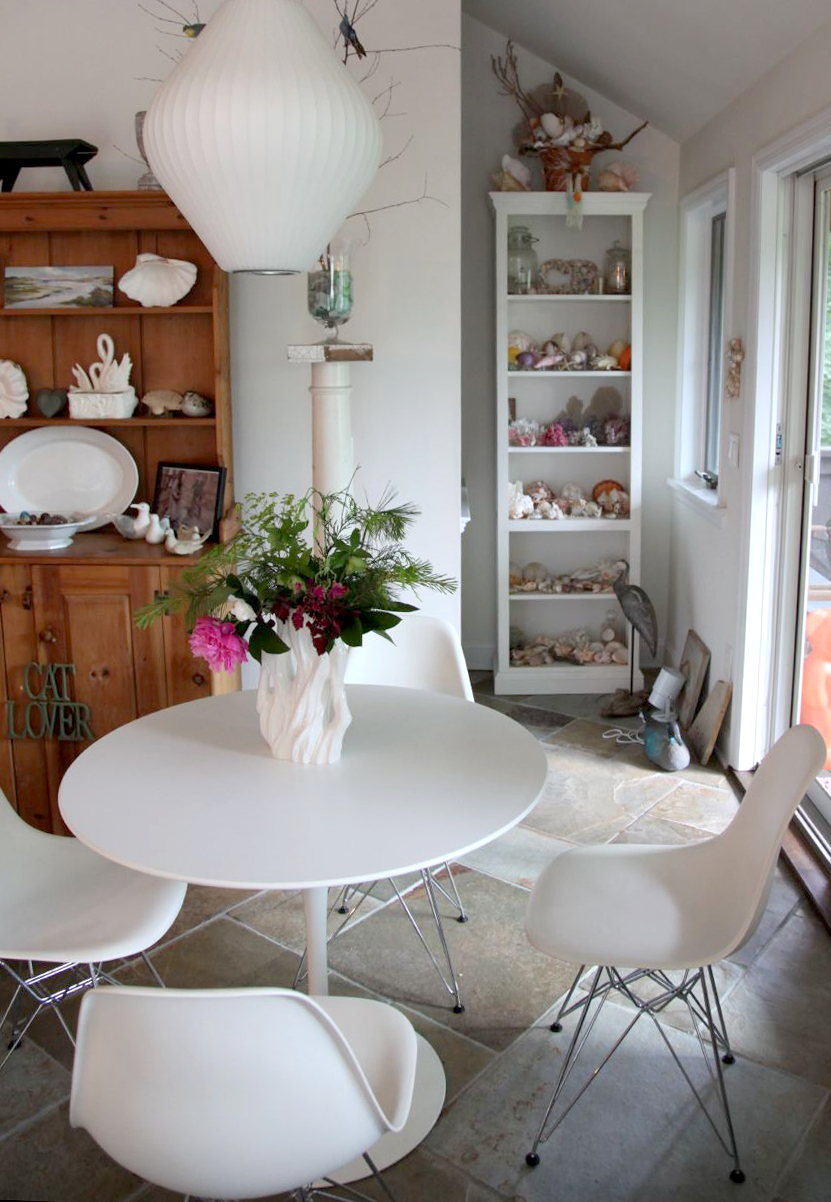
The breakfast table in their family room. As you can see, this room is all about the white and light collections
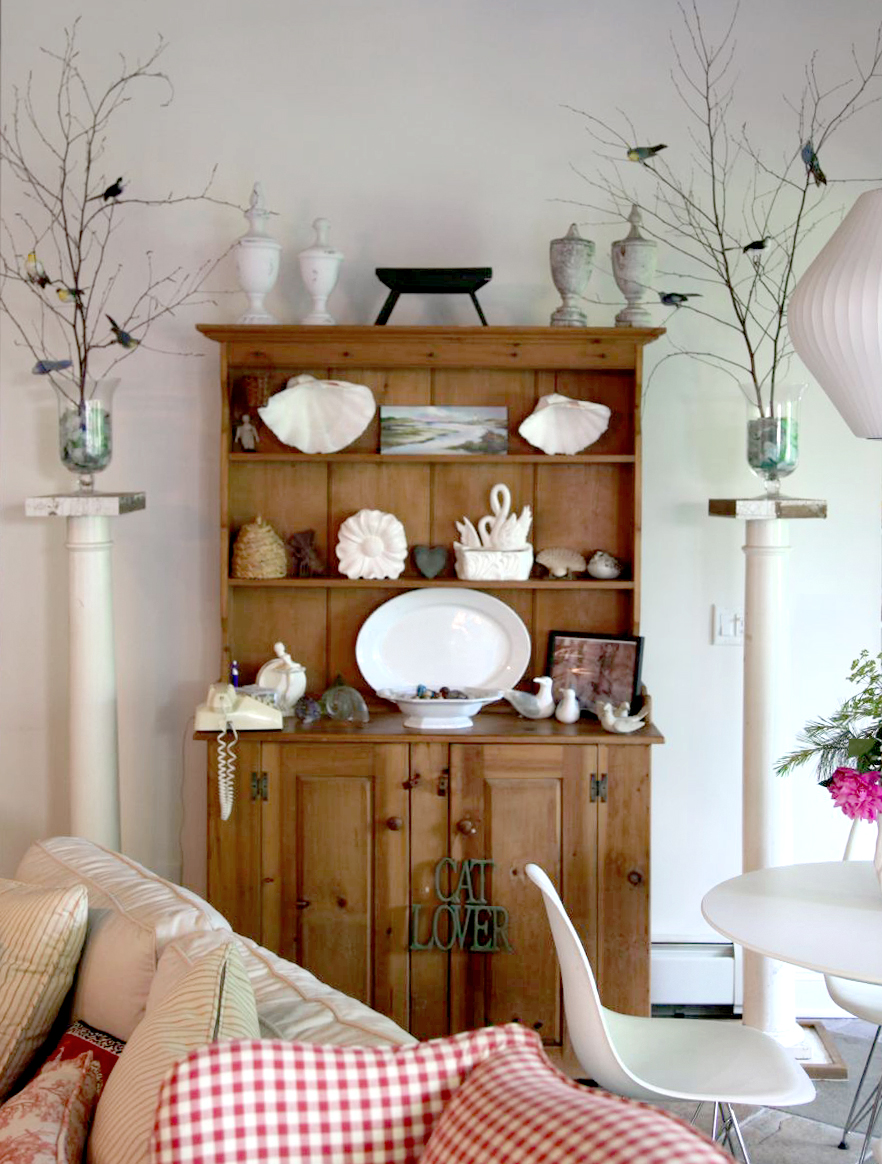
And antique china cupboard is flanked by two fabulous peeling columns.

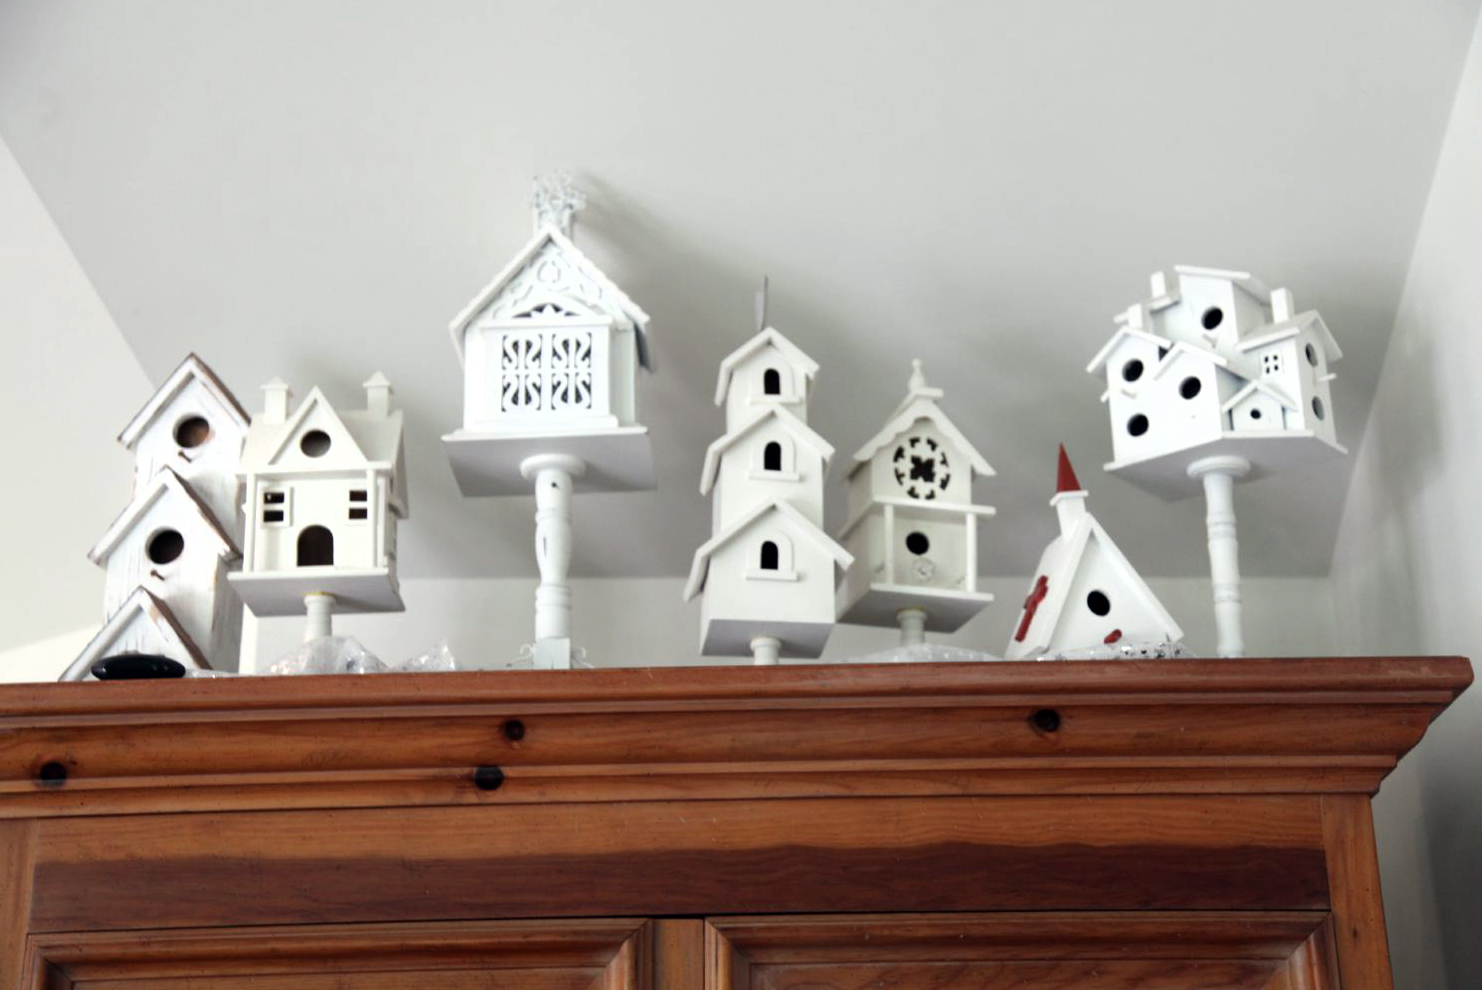
A birdhouse collection hovers above the entertainment cupboard in the family room.

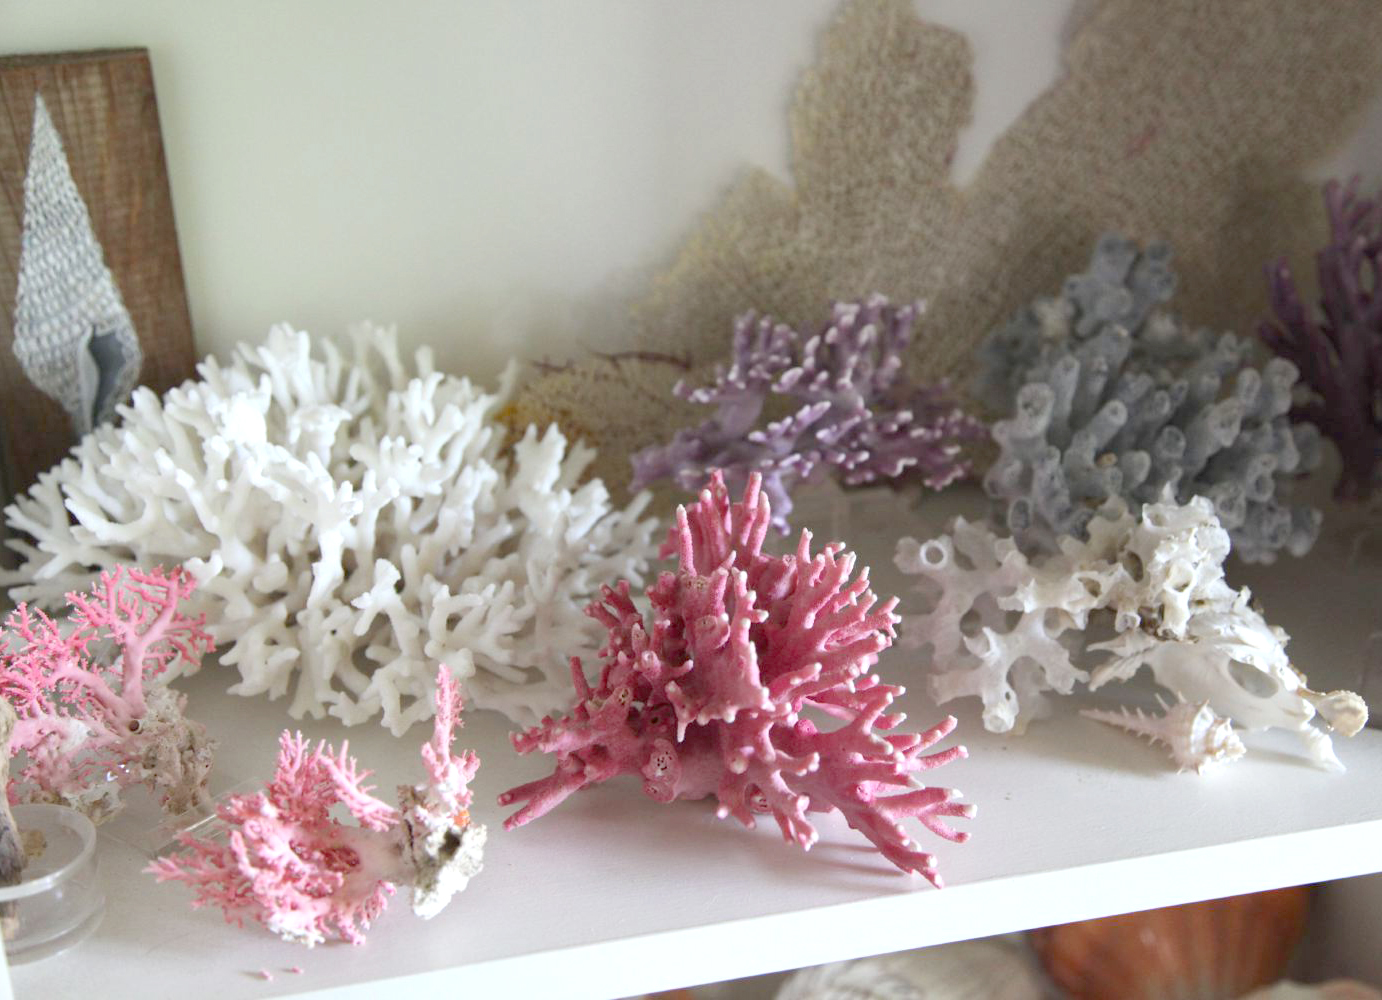
A detail of another collection in their almost-all-white family room.


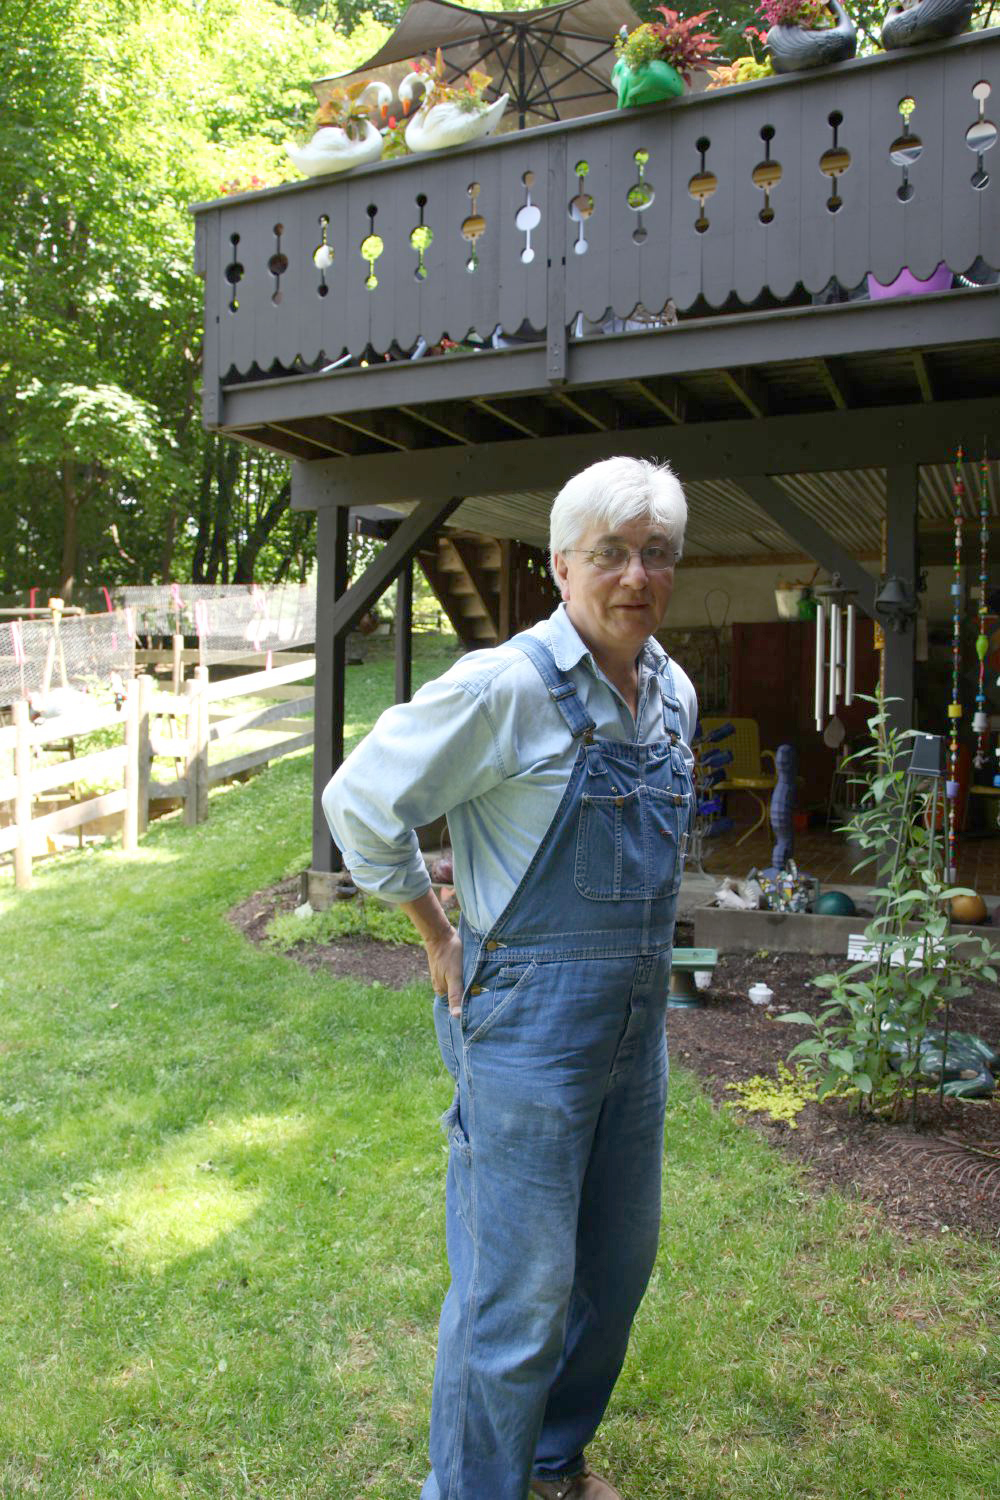
This is Jorge about to do some gardening in the back yard. He built the home they live in. Detail of back porch in the background.

What I don’t even get to show you is the full master suite (i just give you a few details) with walk-in closet, 4-poster bead and steam shower; Jorge’s office upstairs; the creepy and magical doll room Katie has for her doll collection (too narrow to shoot); the full guest suite downstairs; the ornate herb storage wall-unit they have built leading to the basement off the kitchen; and the magnificent wrap-around back porch with abundant vintage planters (perhaps photographer friend Laura Moss will provide exterior for an upcoming post: she focused on the exterior of the home while I drooled over the interior.)

Hypertufa Potting Party

Photography by Laura Moss, styling by Meredith McBride Kipp

Now that the hectic summer is behind us, it’s a great time to catch up with friends over an outdoor art project. Eccentric artist/collectors Jorge & Katie Lengyel invited a few pals (along with photographer Laura Moss and me) to their custom-built swiss chalet on Lake Mohawk for an afternoon of crafting.

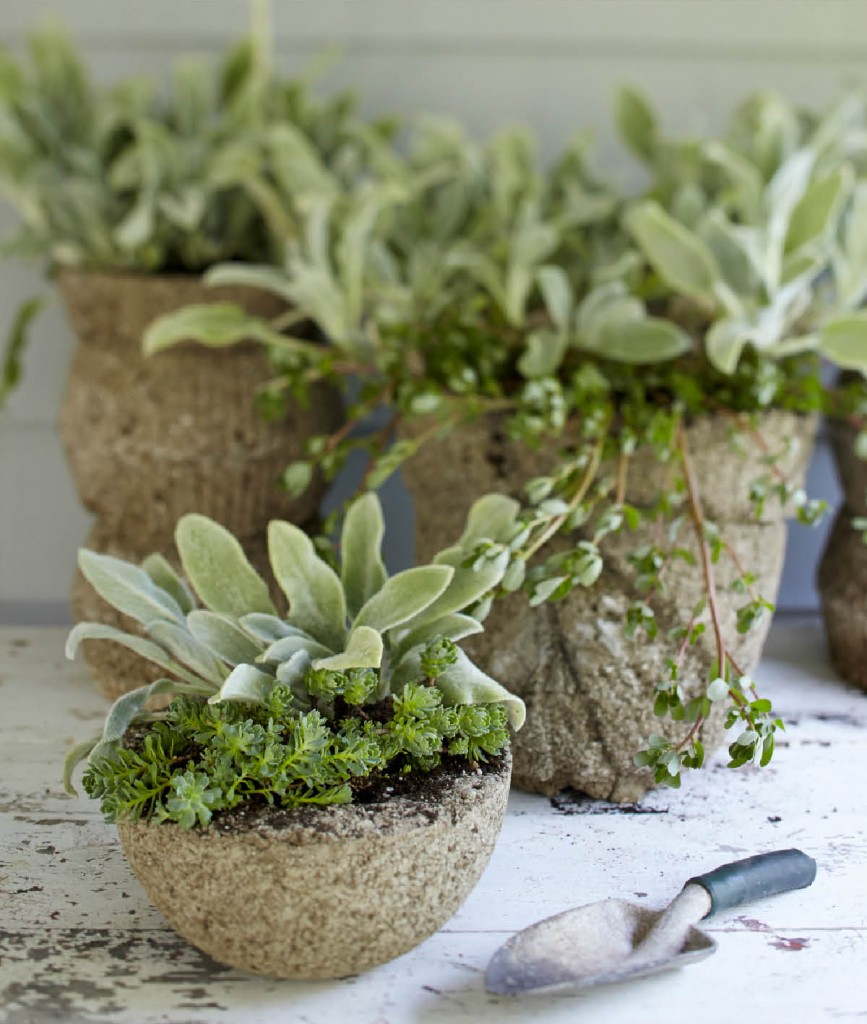
On the agenda: Hypertufa garden containers. Hypertufa is a material that looks a lot like cement (tufa is a volcanic rock found in nature) but quite a bit lighter in weight. It’s easy to do and you can use just about anything for a mold.

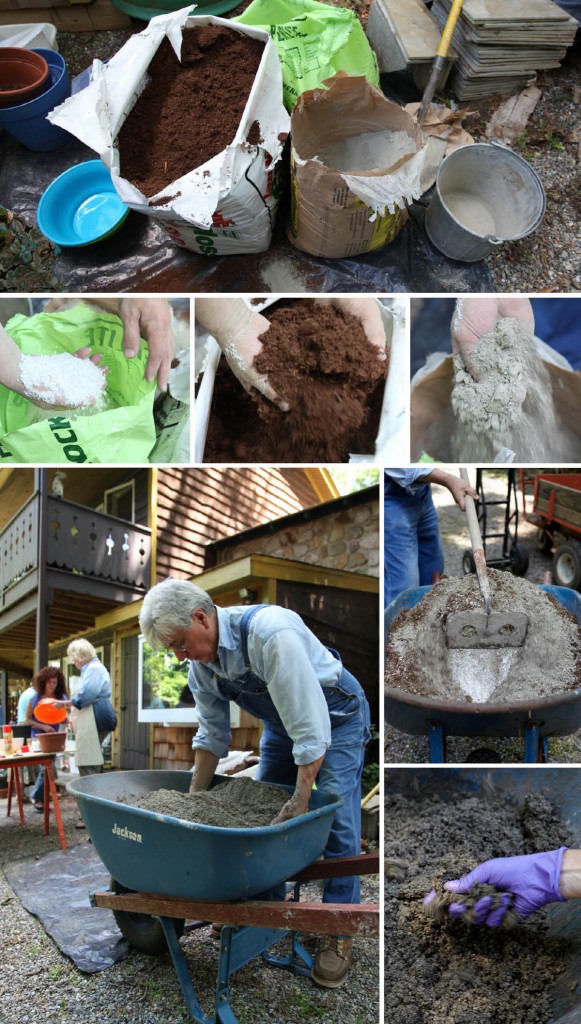
What you’ll need (you can find at Home Depot, a grocery store, or at home):
•    Rubber gloves
•    Dust mask (very important when working w/cement)
•    Perlite
•    Peat moss
•    Portland cement
•    Plastic tub (or wheelbarrow)
•    Water (nearby hose ideally)
•    Spray cooking oil
•    Mold  (box, nursery pot, large bowl, etc)
•    Plastic garbage bags
•    Large leaves or branches for surface texture (optional)
•    Wire brush

Martha Stewart’s (with my edits and additions) How-to Instructions:
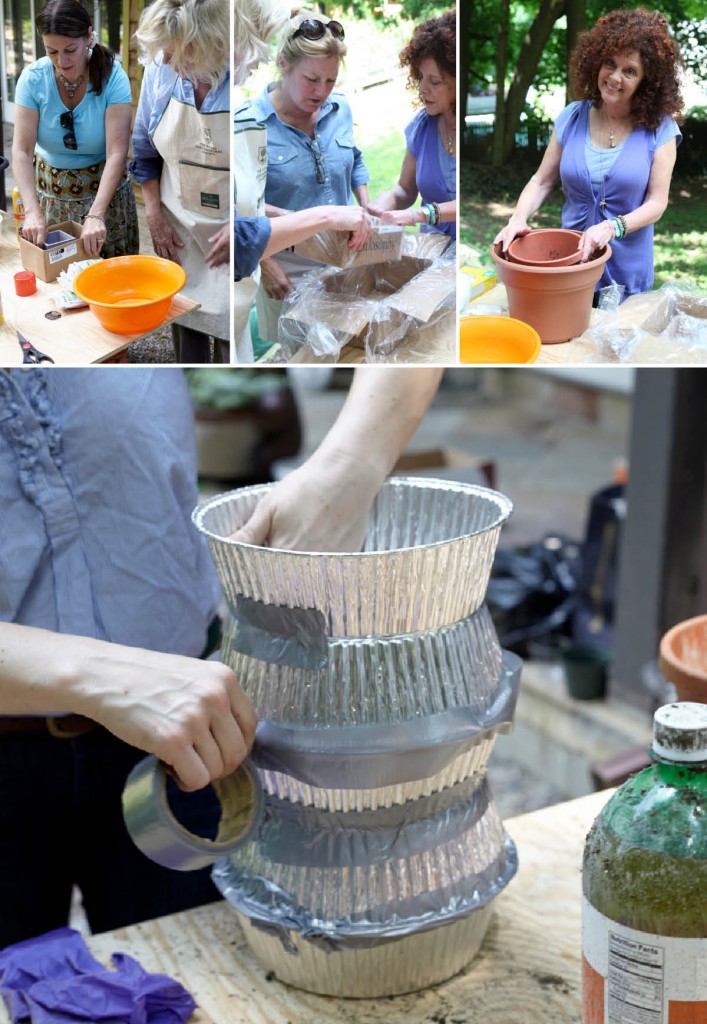
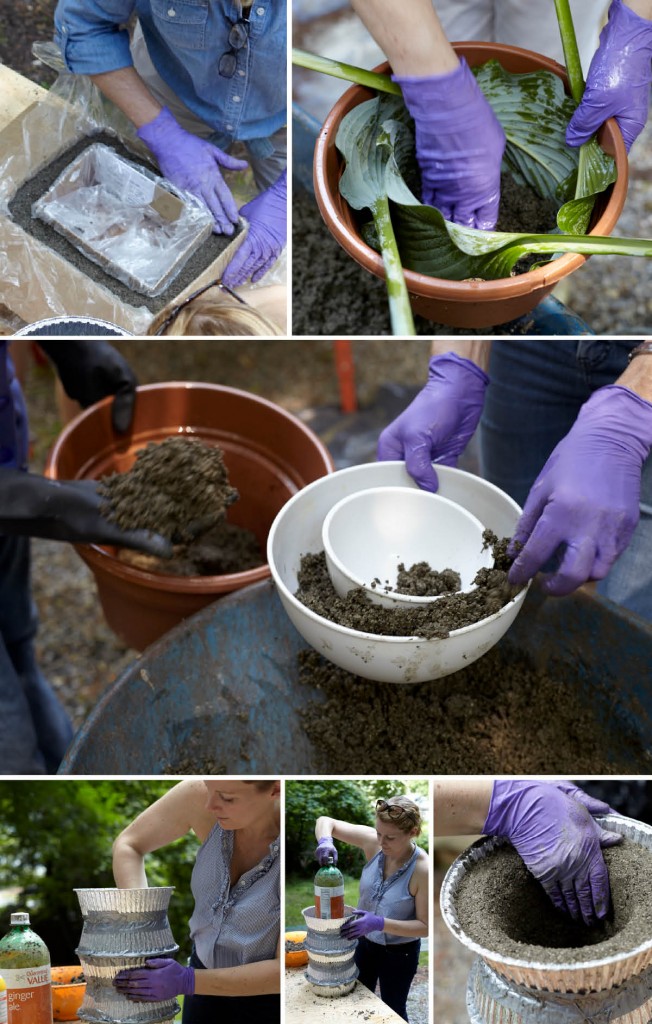
1. Set up your mold(s) so they are ready to go and (if porous) line them with a plastic garbage bag. If they are smooth, non-porous surfaces, merely spray inside of mold with cooking oil. I was going for a Kelly Wearstler/mid-century shape, so I built my molds out of aluminum pie tins (with the centers cut out) and duct tape.

2. Wearing rubber gloves and a dust mask, mix 3 parts perlite, 3 parts peat moss, and 2 parts Portland cement in a plastic tub or wheelbarrow. Add water to tub, a bit at a time, until the mixture has the consistency of moist cottage cheese.

3. Push a handful of wet hypertufa mixture firmly against the bottom of the mold (if you are lining the mold with leaves or branches for texture make sure that goes in before the hypertufa). Repeat until you have made a bottom base that is approximately 1 inch thick. Push handfuls of wet hypertufa mixture firmly against the sides of container approximately 3/4 inches in thickness. Continue until rim of mold is reached. Press bottom and sides firmly to remove air pockets. I used a large soda bottle to help support and shape the inside of the vessel because of its height.

4. Create drainage hole by pushing finger or small dowell through the bottom of mold so that it penetrates the hypertufa mixture.
5. Cover with plastic bag, let dry for about 48 hours.
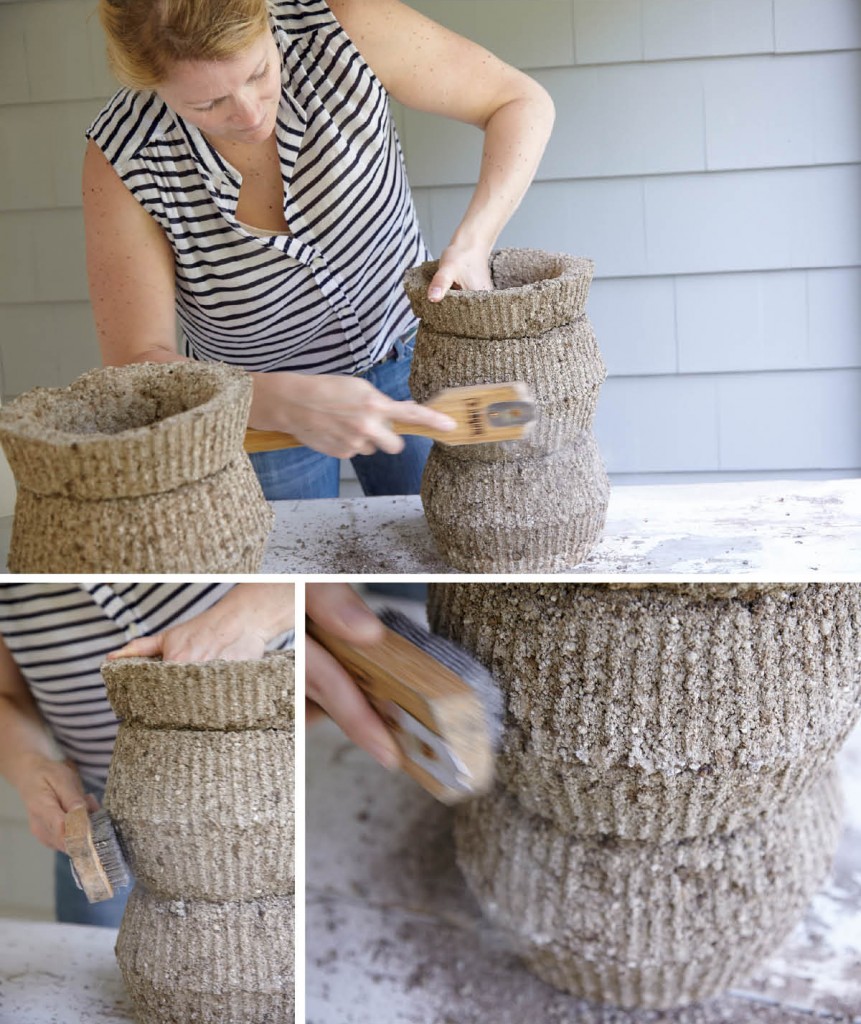
6. Take off plastic bag and remove pot from mold (pot with be slightly wet). Using a wire brush, rough up the surface of the hypertufa for a more rustic appearance. Let sit for 2 to 3 weeks to cure completely. Now you’ll be all set for your early spring plantings!

Creative Commons License
amerelife.com by Meredith McBride Kipp is licensed under a Creative Commons Attribution-NonCommercial-NoDerivs 3.0 Unported License.

© Meredith McBride Kipp and amerelife.com. Unauthorized use and/or duplication of this material without express and written permission from this blog’s author and/or owner is strictly prohibited. Excerpts and links may be used, provided that full and clear credit is given to Meredith McBride Kipp and amerelife.com with appropriate and specific direction to the original content.