Photography by Laura Moss, styling by Meredith McBride Kipp
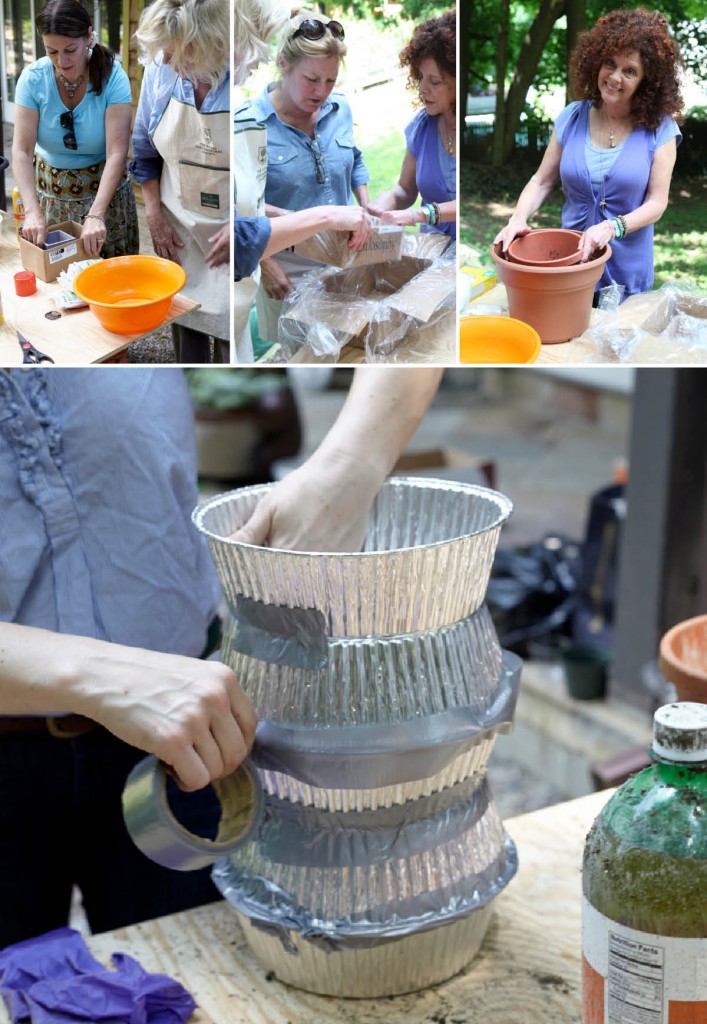
Now that the hectic summer is behind us, it’s a great time to catch up with friends over an outdoor art project. Eccentric artist/collectors Jorge & Katie Lengyel invited a few pals (along with photographer Laura Moss and me) to their custom-built swiss chalet on Lake Mohawk for an afternoon of crafting.
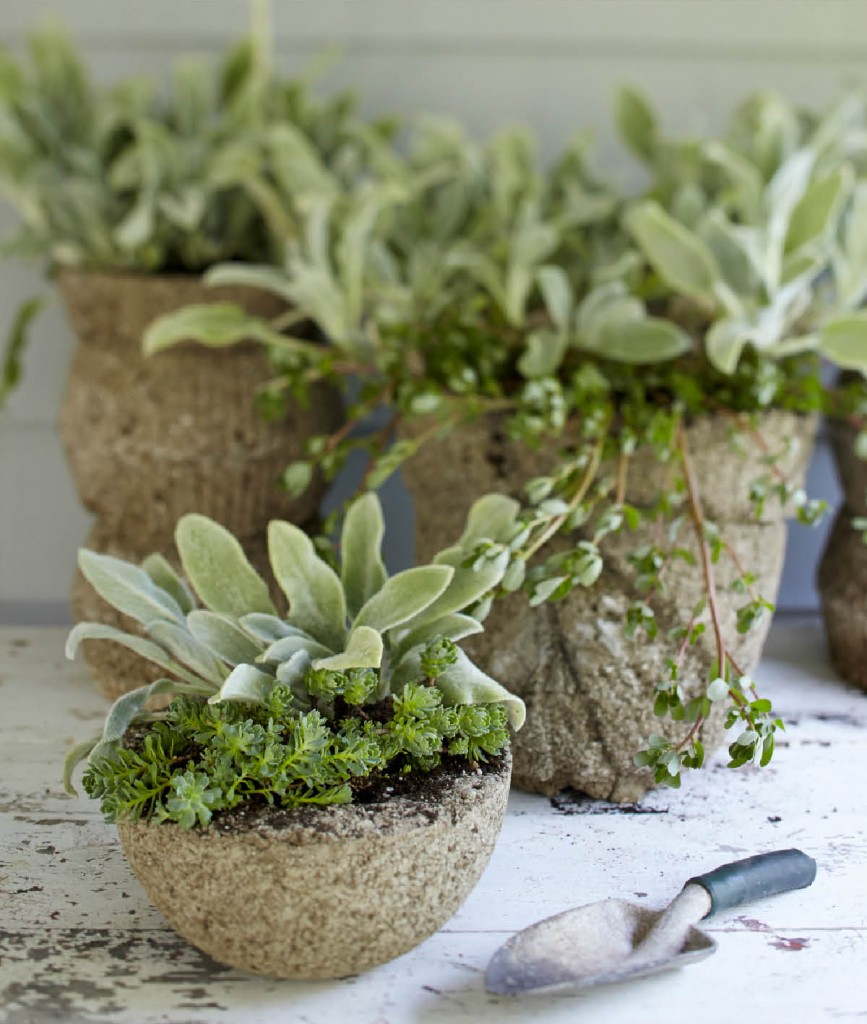
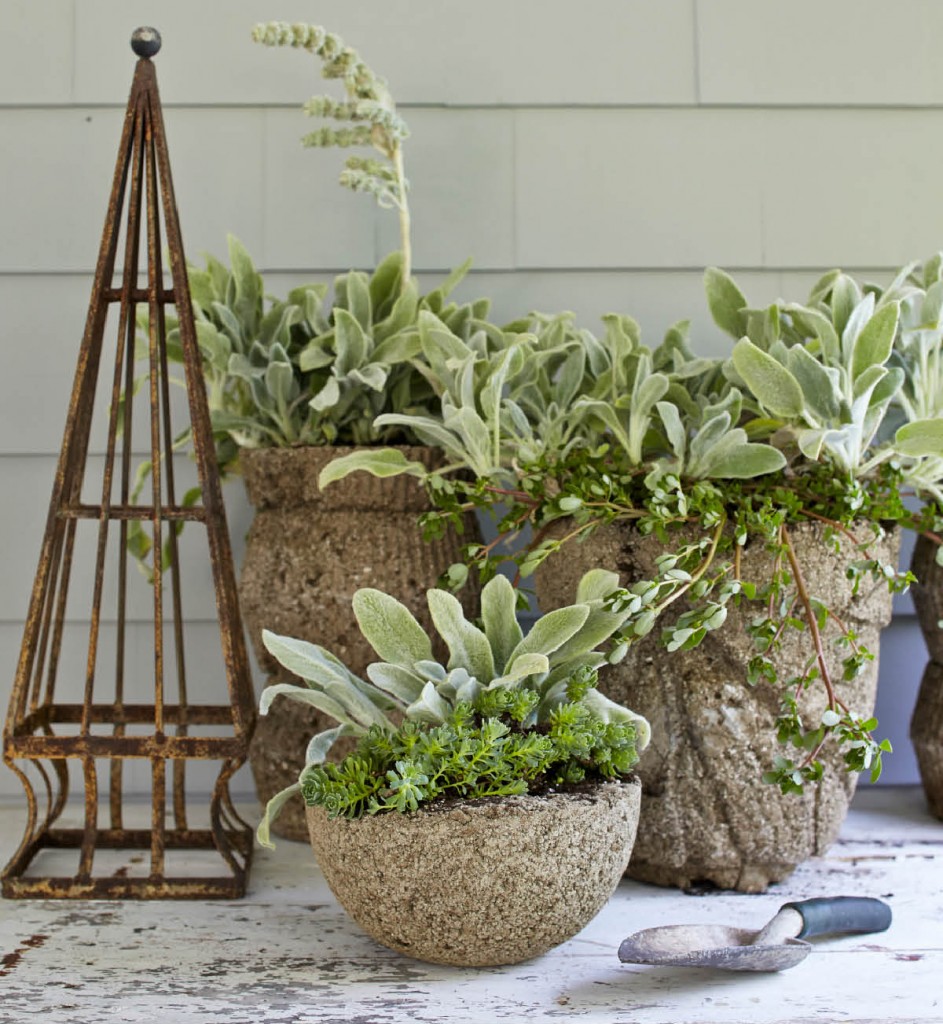
On the agenda: Hypertufa garden containers. Hypertufa is a material that looks a lot like cement (tufa is a volcanic rock found in nature) but quite a bit lighter in weight. It’s easy to do and you can use just about anything for a mold.
What you’ll need (you can find at Home Depot, a grocery store, or at home):
• Rubber gloves
• Dust mask (very important when working w/cement)
• Perlite
• Peat moss
• Portland cement
• Plastic tub (or wheelbarrow)
• Water (nearby hose ideally)
• Spray cooking oil
• Mold (box, nursery pot, large bowl, etc)
• Plastic garbage bags
• Large leaves or branches for surface texture (optional)
• Wire brush
Martha Stewart’s (with my edits and additions) How-to Instructions:
1. Set up your mold(s) so they are ready to go and (if porous) line them with a plastic garbage bag. If they are smooth, non-porous surfaces, merely spray inside of mold with cooking oil. I was going for a Kelly Wearstler/mid-century shape, so I built my molds out of aluminum pie tins (with the centers cut out) and duct tape.
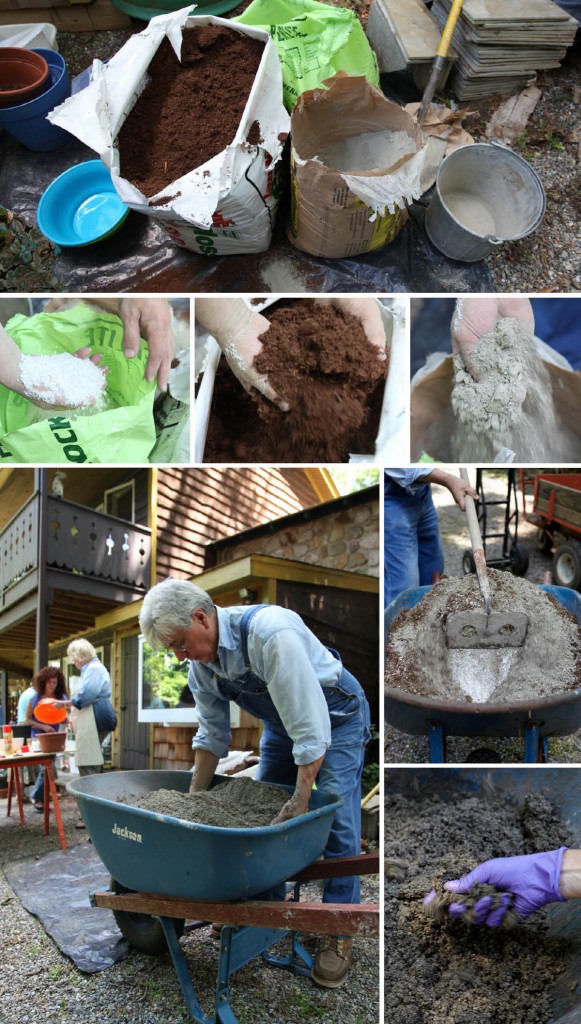
2. Wearing rubber gloves and a dust mask, mix 3 parts perlite, 3 parts peat moss, and 2 parts Portland cement in a plastic tub or wheelbarrow. Add water to tub, a bit at a time, until the mixture has the consistency of moist cottage cheese.
3. Push a handful of wet hypertufa mixture firmly against the bottom of the mold (if you are lining the mold with leaves or branches for texture make sure that goes in before the hypertufa). Repeat until you have made a bottom base that is approximately 1 inch thick. Push handfuls of wet hypertufa mixture firmly against the sides of container approximately 3/4 inches in thickness. Continue until rim of mold is reached. Press bottom and sides firmly to remove air pockets. I used a large soda bottle to help support and shape the inside of the vessel because of its height.
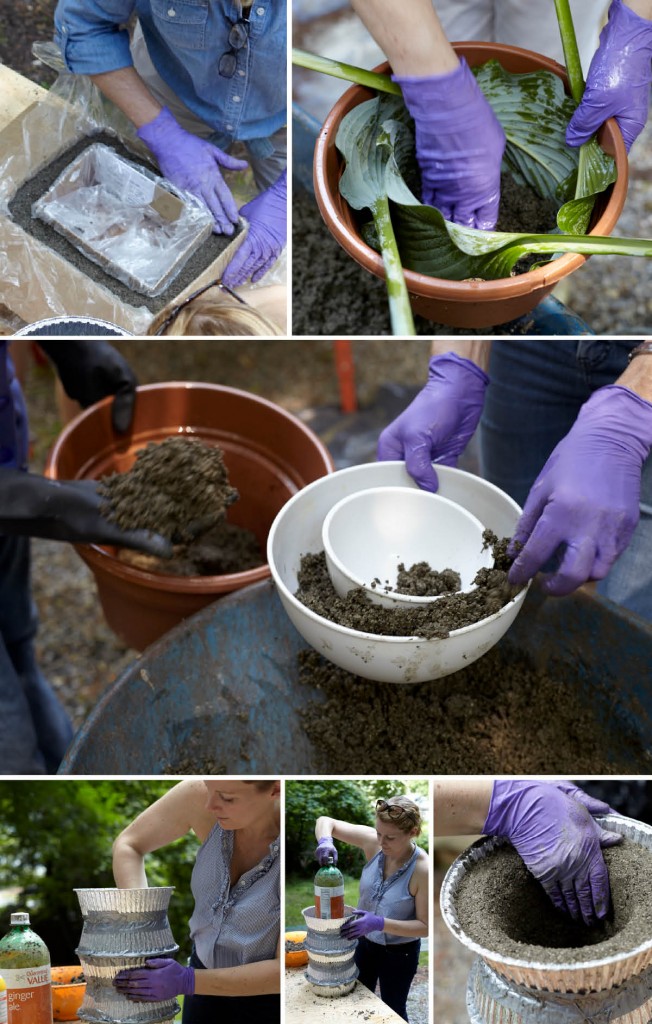
4. Create drainage hole by pushing finger or small dowell through the bottom of mold so that it penetrates the hypertufa mixture.
5. Cover with plastic bag, let dry for about 48 hours.
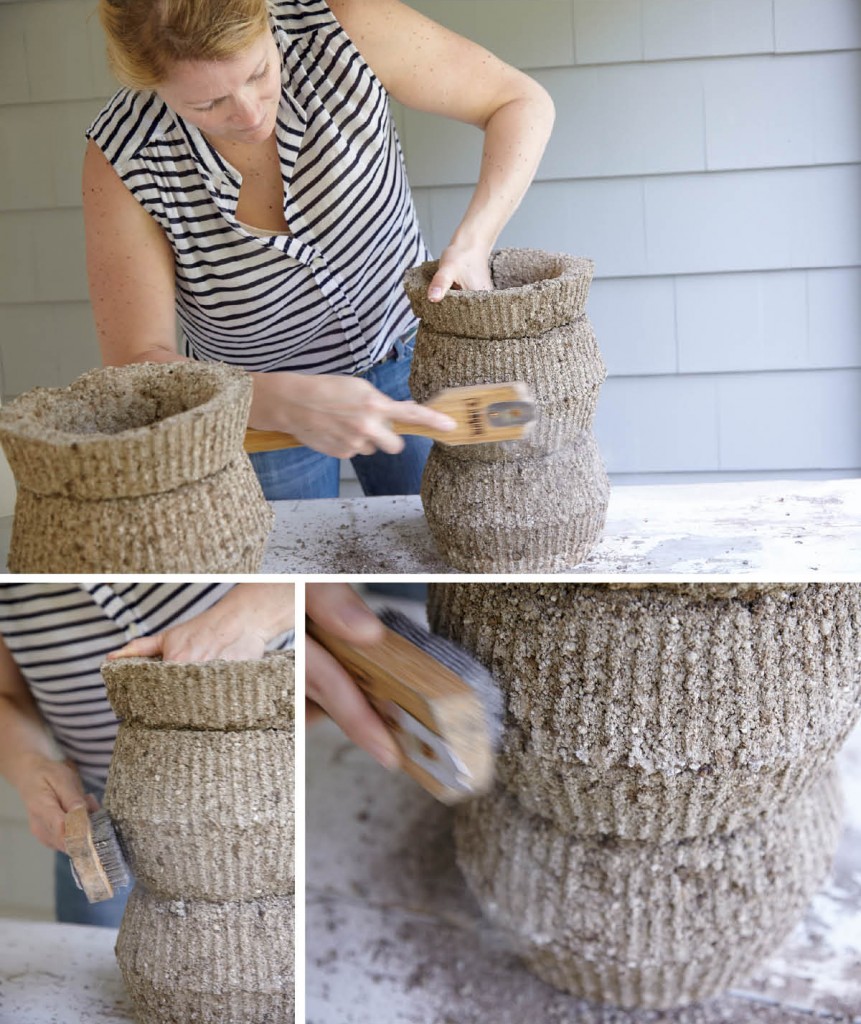
6. Take off plastic bag and remove pot from mold (pot with be slightly wet). Using a wire brush, rough up the surface of the hypertufa for a more rustic appearance. Let sit for 2 to 3 weeks to cure completely. Now you’ll be all set for your early spring plantings!

amerelife.com by Meredith McBride Kipp is licensed under a Creative Commons Attribution-NonCommercial-NoDerivs 3.0 Unported License.
© Meredith McBride Kipp and amerelife.com. Unauthorized use and/or duplication of this material without express and written permission from this blog’s author and/or owner is strictly prohibited. Excerpts and links may be used, provided that full and clear credit is given to Meredith McBride Kipp and amerelife.com with appropriate and specific direction to the original content.

Be careful what you grow in those pots!!! Keep those ideas coming!
this project is so gorgeous Mere… and i see wonderful friends in the photos! thanks so for sharing
What a great time we had.. Loved being the hostess!!!
Pingback: Swiss Miss | hunter & gatherer of style & flavor